Dataset Overview
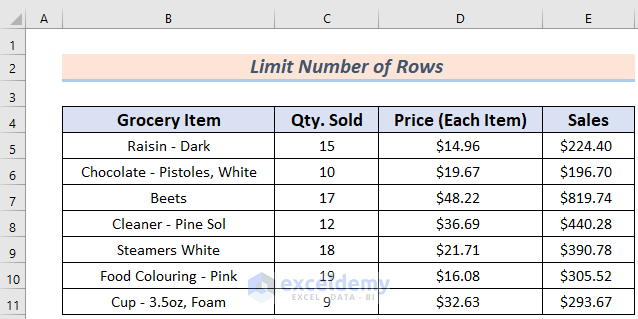
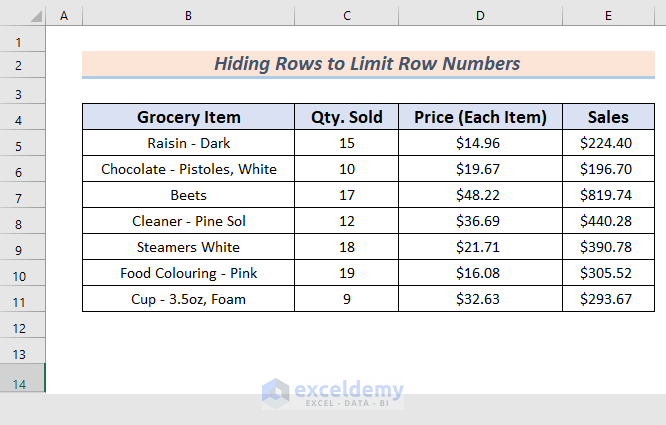
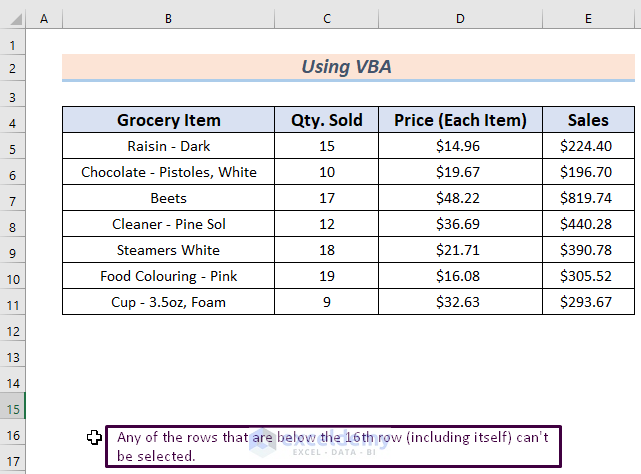
An Excel worksheet has 1048576 rows and 16384 columns. In the dataset, you will see sales information about a grocery store. The number of sales items in the store is not that much. We’ll use this dataset to explain the methods for limiting the number of rows in Excel.
Method 1 – Hiding Rows to Limit the Number of Rows in Excel
- Hiding Rows:
- The easiest way to limit rows in an Excel worksheet is by hiding them.
- Follow these steps:
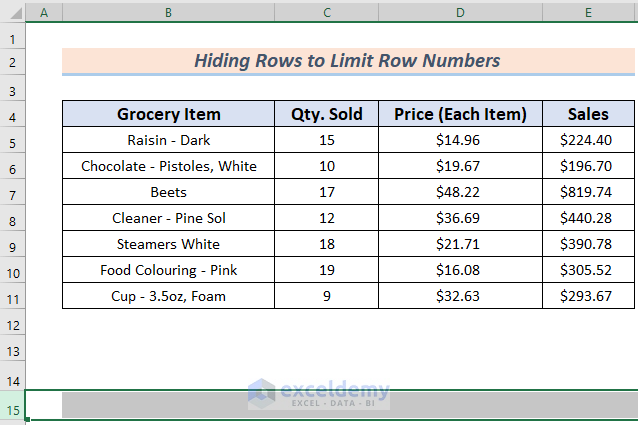
- Select an empty row after your dataset (e.g., if you want to keep up to the 14th row, select the 15th row).
-
-
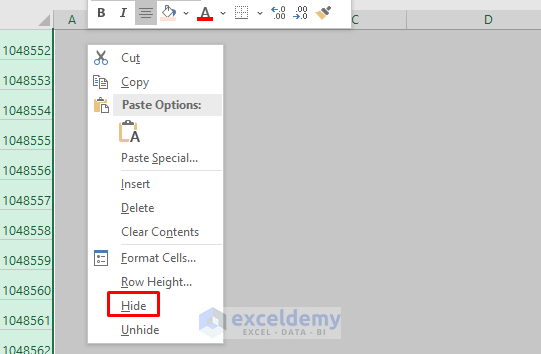
- Press CTRL+SHIFT+Downward key to select all remaining empty rows.
- Right-click on the selected cells and choose Hide.
-
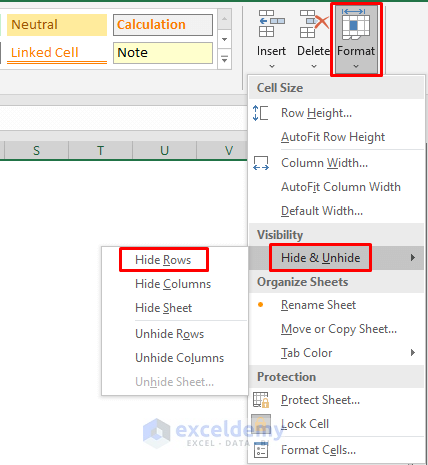
- Alternatively, you can use the same command from the Cells group on the Home tab: Format, select Hide & Unhide and click on Hide Rows.
- After this command, all empty rows after the 14th will be hidden and not available for use.
Read More: How to Handle More Than 1048576 Rows in Excel
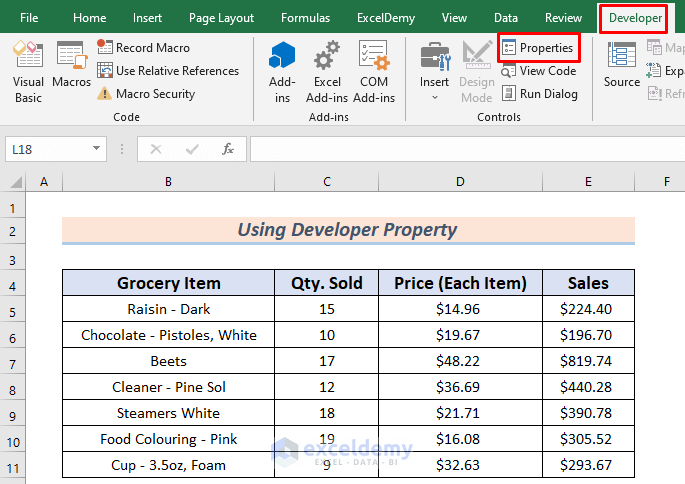
Method 2 – Set Scroll Area in Properties Control (Temporary)
- You can temporarily limit the number of rows by disabling the scroll area using the Developer Property for an Excel sheet.
- Keep in mind that this setting won’t persist if you close and reopen the workbook.
- Follow these steps:
- Go to Developer and select Property.
-
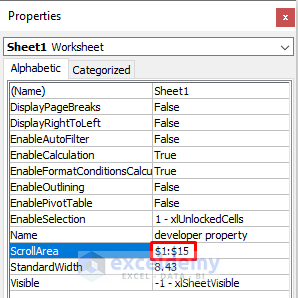
- Insert the range you want to enable for scrolling (e.g., $1:$15).
-
- Close the Properties window.
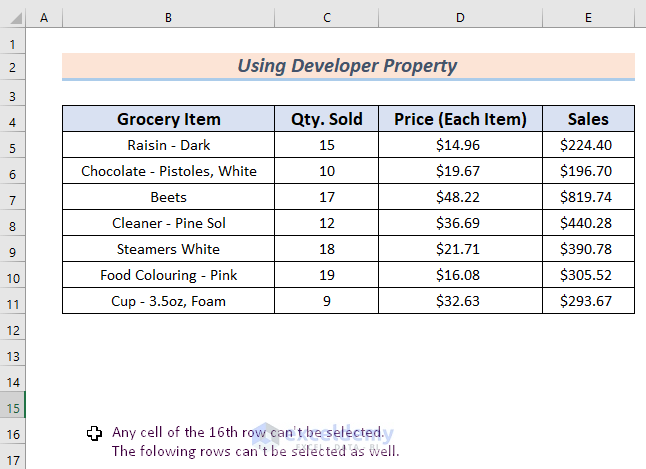
- The scrolling area outside this range of rows will be disabled, limiting the usable rows.
Method 3 – Use VBA Code (Permanent)
- To permanently limit the number of rows, you can use VBA code.
- Follow these steps:
- Go to the Developer tab and select Visual Basic.

-
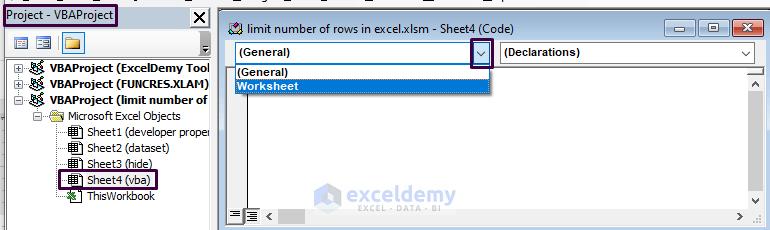
- Open the VBA sheet from the VBAProject window and activate the desired worksheet.
-
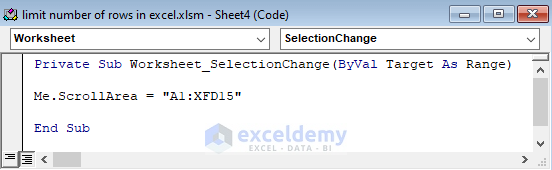
- Insert the statement: ScrollArea = “A1:XFD15” (adjust the range as needed).
Private Sub Worksheet_Activate(ByVal Target As Range)
Me.ScrollArea = "A1:XFD15"
End Sub
- This code restricts the scrolling area to the specified rows.
- Here, we activate the worksheet for Private Sub Procedure and set the desired scrolling area. In this case, we set the range A1:XFD15 for scrolling. This means it’s impossible to select any cell outside this range and thus we can limit the number of rows to operate.
-
- Press CTRL+S to save the file and go back to your sheet.
Note:
To ensure that the code pasted in the sheet module works correctly, follow these steps:
- Activate the Worksheet:
- Click on the drop-down icon next to the sheet name (usually located at the bottom left corner of the Excel window).
- Select the desired worksheet from the list.
- Now you can paste the code into the sheet module, and it should function as expected.
Remember, activating the correct worksheet is essential for proper code execution.
Read More: How to Set the End of an Excel Spreadsheet
Download Practice Workbook
You can download the practice workbook from here:
Related Article
<< Go Back to Row and Column Limit | Rows and Columns in Excel | Learn Excel
Get FREE Advanced Excel Exercises with Solutions!
