Method 1 – Remove HTML Tags Using Find and Replace Tool
Steps:
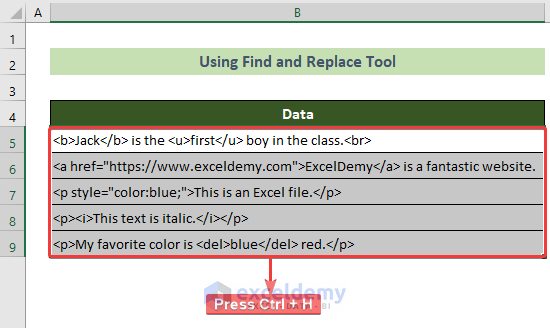
- Select the cells (B5:B9 here) where your texts with HTML tags are present.
- Press Ctrl + H on your keyboard.
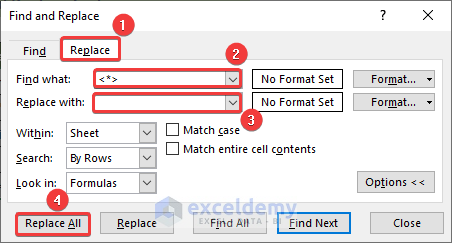
- The Find and Replace window will appear.
- Go to the Replace tab >> insert <*> in the Find what: text box >> Leave a blank in the Replace with: text box >> click on the Replace All button.
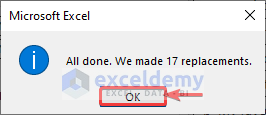
- A Microsoft Excel dialogue box will appear, showing you the information about replacements.
- Click on the OK button.
Remove HTML tags from the texts in Excel and the final outcome would look like this.

Method 2 – Use VBA Code to Remove HTML Tags from Text in Excel
Steps:
- Go to the Developer tab >> Visual Basic tool.

- The VB Editor window will open.
- Go to the Insert tab here >> click on the Module option.
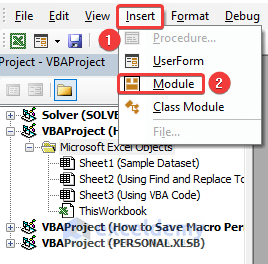
- A new module named Module1 will be created.
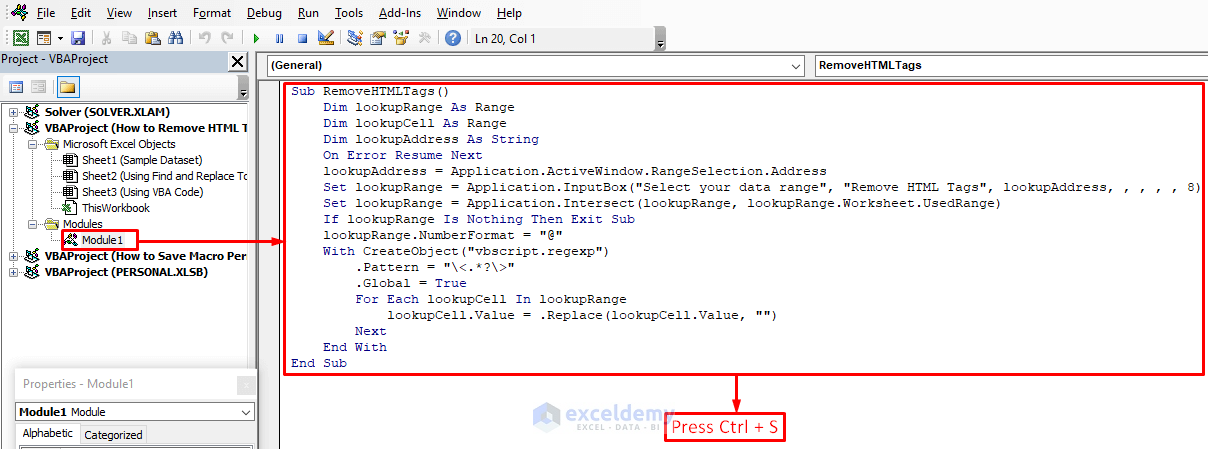
- Go to Module1 >> insert the following code in the code window >> press Ctrl + S on your keyboard.
Sub RemoveHTMLTags()
    Dim lookupRange As Range
    Dim lookupCell As Range
    Dim lookupAddress As String
    On Error Resume Next
    lookupAddress = Application.ActiveWindow.RangeSelection.Address
    Set lookupRange = Application.InputBox("Select your data range", "Remove HTML Tags", lookupAddress, , , , , 8)
    Set lookupRange = Application.Intersect(lookupRange, lookupRange.Worksheet.UsedRange)
    If lookupRange Is Nothing Then Exit Sub
    lookupRange.NumberFormat = "@"
    With CreateObject("vbscript.regexp")
        .Pattern = "\<.*?\>"
        .Global = True
        For Each lookupCell In lookupRange
            lookupCell.Value = .Replace(lookupCell.Value, "")
        Next
    End With
End Sub
- A Microsoft Excel dialogue box will appear.
- Click on the No button.

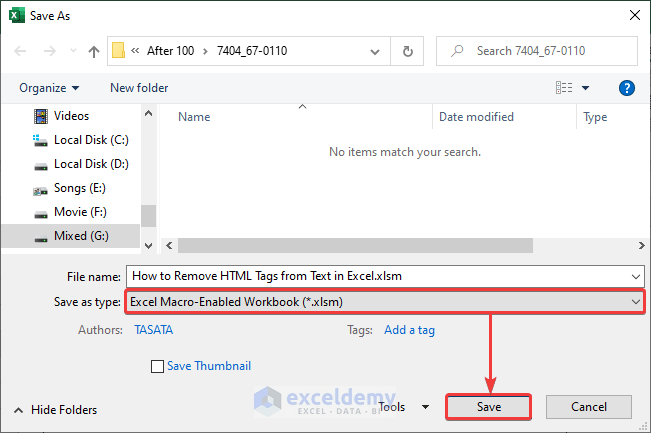
- The Save As window will appear.
- Choose the Save as type: option as .xlsm file and click on the Save button.
- Close the VB Editor.
- Go to the Developer tab >> Macros tool.

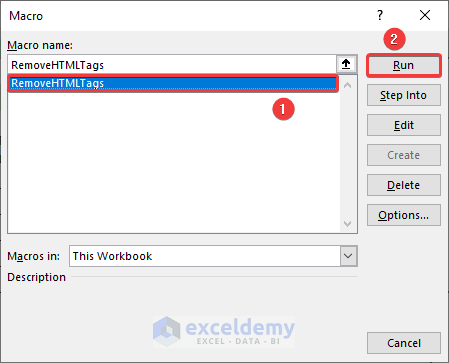
- The Macro window will appear.
- Click on the RemoveHTMLTags macro and click on the Run button.
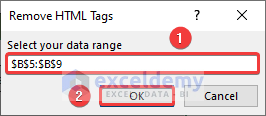
- The Remove HTML Tags window will appear.
- Out cell reference B5:B9 in the Select your data range text box and click the OK button.
The HTML tags from your texts will be removed and you will get the desired output which should look like this.
Download Practice Workbook
You can download our practice workbook from here for free.
HTML File:
Excel File:
Related Articles
- How to Remove Numbers from a Cell in Excel
- How to Remove Outliers in Excel
- How to Remove 0 from Excel
- How to Remove Value in Excel
<< Go Back To Data Cleaning in Excel | Learn Excel
Get FREE Advanced Excel Exercises with Solutions!
