
Image by Editor
Microsoft Word provides a feature that lets you link text boxes, where text automatically flows from one text box to another. This technique is handy for creating multi-column layouts, newsletters, brochures, or documents with complex design requirements.
In this tutorial, we will show how to link text boxes for complex Document flow in Microsoft Word.
Requirements:
To follow this tutorial, you need:
- Microsoft Word (preferably 2016 or later).
- Basic understanding of using Word, such as inserting shapes and typing text.
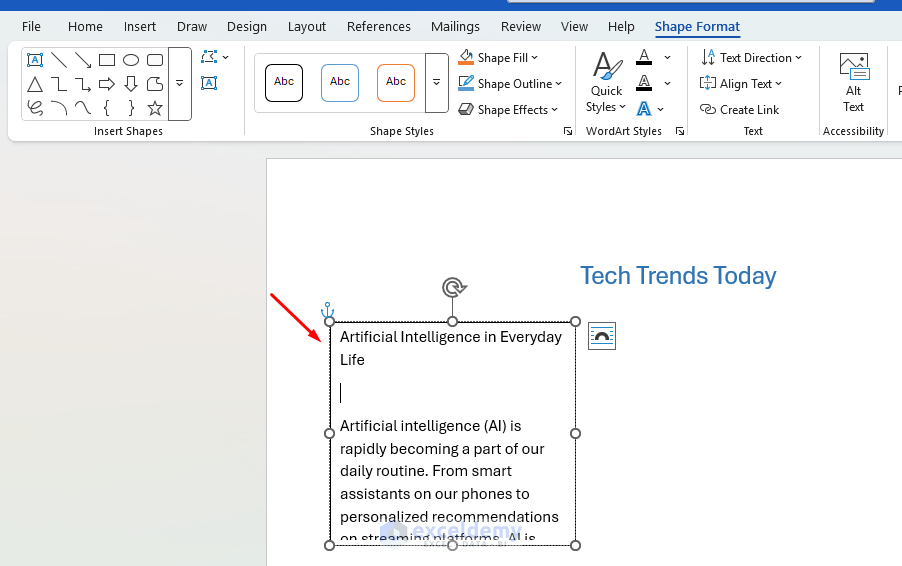
Step 1: Insert the First Text Box
- Open a new or existing Word document.
- Go to the Insert tab >> click Text Box >> select Draw Text Box from the dropdown menu.

- Click and drag on the page to draw the text box.
- Type or paste your initial content into the text box.
- You’ll see an overflow indicator if the content exceeds the text box size.
Tip: You can resize the box or move it by clicking and dragging its edges.
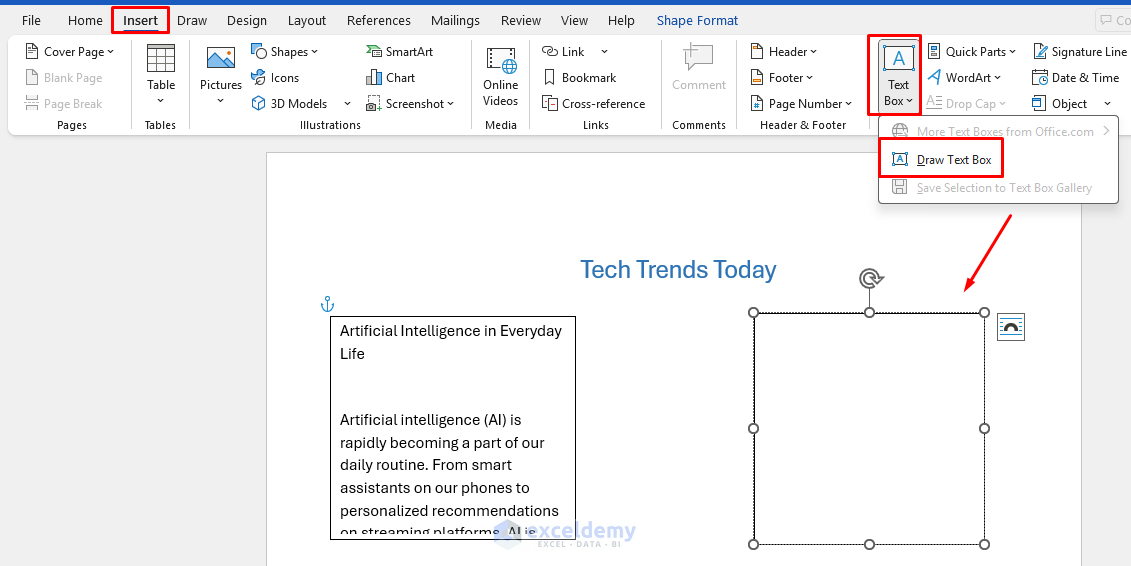
Step 2: Insert the Second Text Box
- Repeat the same steps.
- Go to the Insert tab >> click Text Box >> select Draw Text Box from the dropdown menu.
- Place this box where you want the overflow text to continue. It can be on the same page or another page.
Step 3: Link the Text Boxes
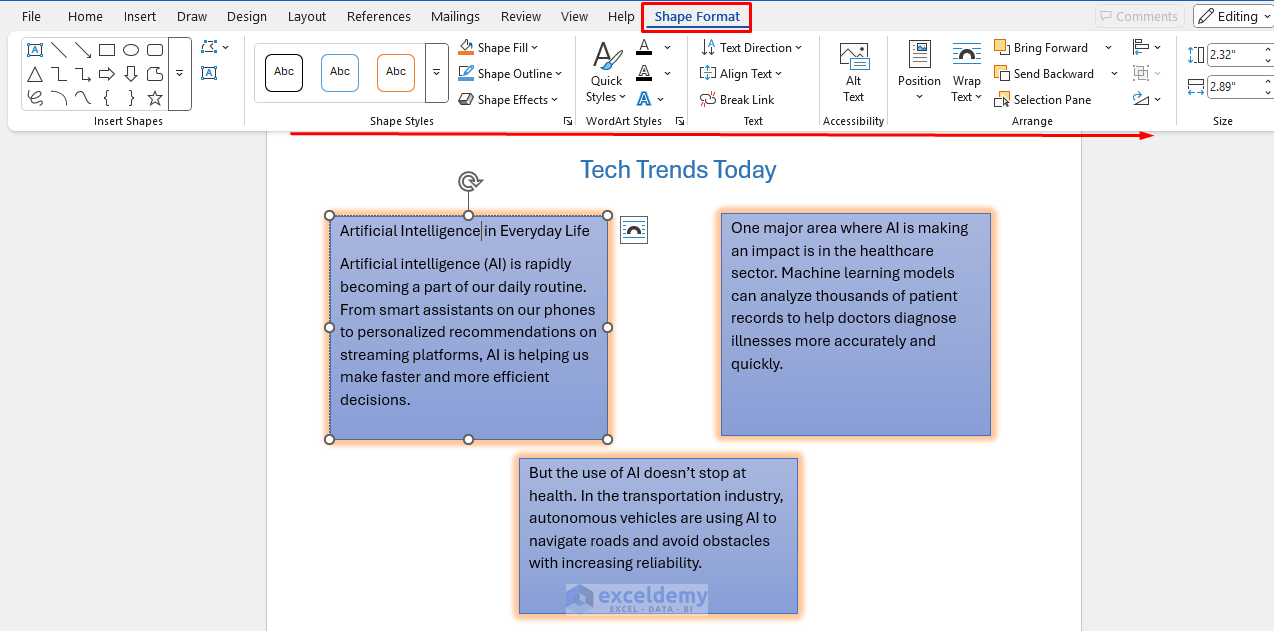
- Click the first text box to select it.
- Go to the Shape Format >> under Text group >> select Create Link.
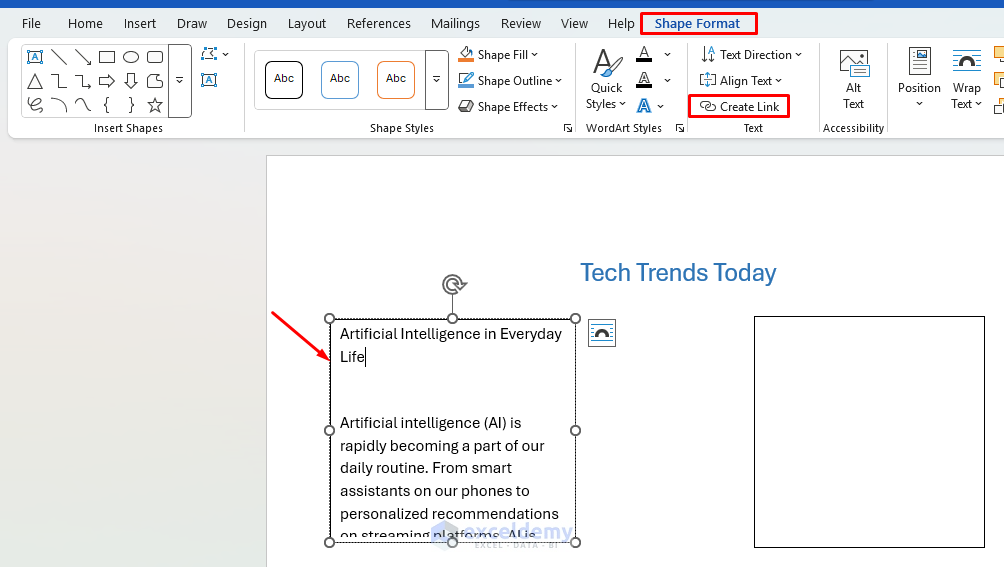
- Your mouse pointer will change to a small pouring pitcher icon.
- Click on the second text box to link them.

- Now, if the text in the first box is too long, it will automatically continue into the second box.
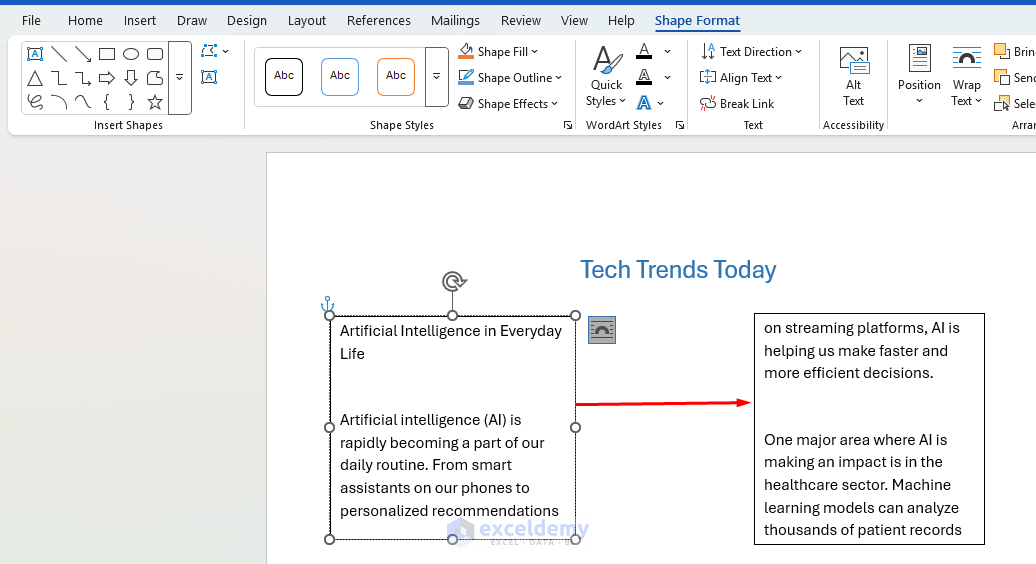
The paragraph is long, so part of the text will now overflow into the second text box automatically. If you resize the first text box smaller, more of the text will shift into the second box.
Link More Boxes
You can keep adding and linking more boxes in sequence. For each new text box:
- Draw a third text box.
- Go to the Insert tab >> click Text Box >> select Draw Text Box from the dropdown menu.

- Go to the Shape Format >> under Text group >> select Create Link.

- Text will continue flowing through all linked boxes in order.

Verify the Link:
- Text will now automatically flow from the first text box to the second.
- Overflow text will automatically move to the linked box.
Edit and Manage Linked Text Boxes
- To move a box: Click and drag it anywhere in the document.
- To resize: Drag the corner or side edges of the box.
- To break a link: Right-click the box and choose Break Forward Link.
- To check linking: When a box is linked, you’ll see an overflow indicator (a small box with three dots). This helps track where the text continues.
Format Linked Text Boxes
- Each box can have independent formatting.
- Adjust size, color, borders, and text properties individually.
- Text content will still flow seamlessly.
- Select all Text Box >> apply Theme Styles from Shape Styles.
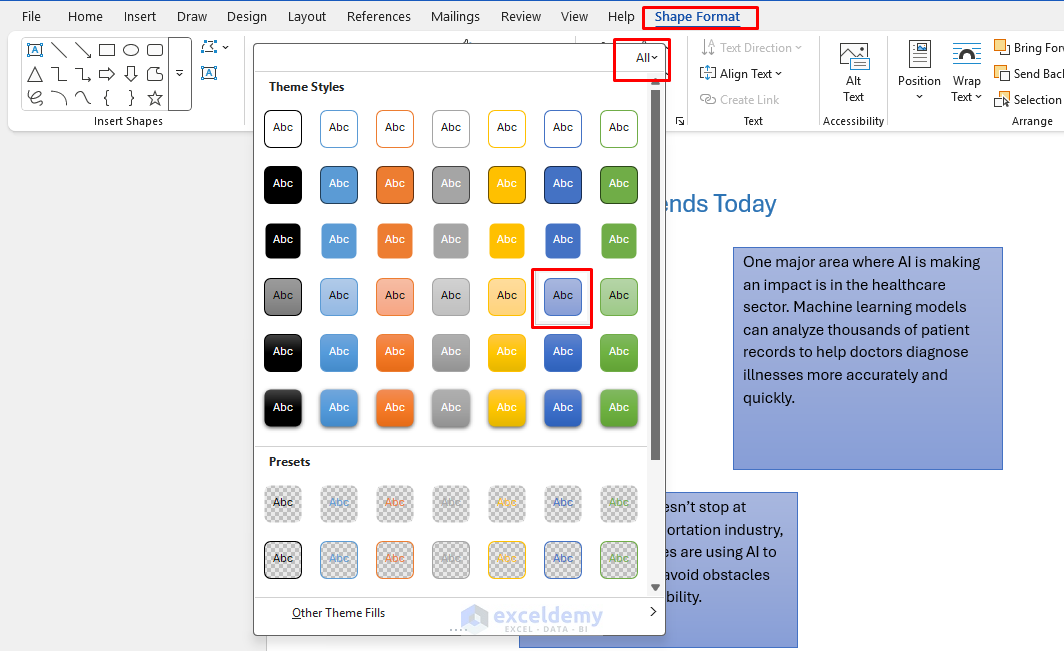
- Apply Shape Effects.
Output:
Common Troubleshooting
- If Create Link is greyed out, make sure you’ve selected a valid text box and not a shape.
- You cannot link backward. Linking only works in a forward chain.
- Make sure the target box is empty when you try to link to it.
- Linked text boxes must be visible and active. You cannot link to a hidden or locked box.
- If no text appears in subsequent boxes, ensure:
- The original text box is overfull.
- Boxes are correctly linked.
- No formatting issues block text flow.
Conclusion
By following the above steps, you can link text boxes for complex document flow in Microsoft Word. Linking text boxes transforms Word from a simple word processor to a powerful layout design tool. You can control exactly where text flows, which helps with layout design. Linked text boxes let long text continue in another area without copying and pasting manually. It helps to maintain consistent formatting across sections. You can design documents like newsletters and brochures professionally.
Get FREE Advanced Excel Exercises with Solutions!
