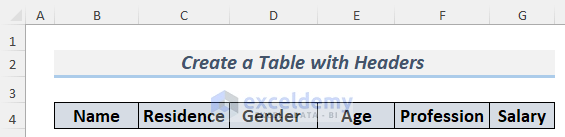
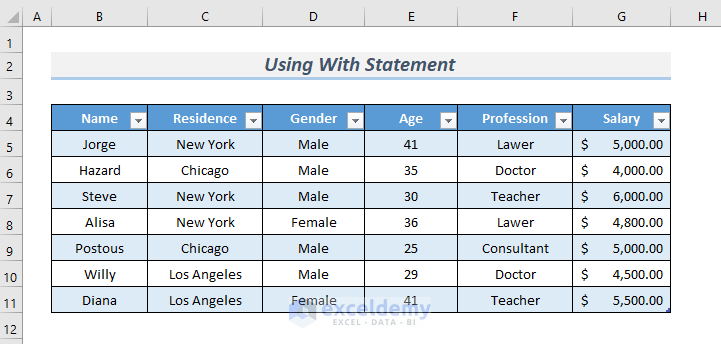
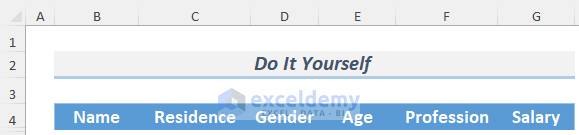
We made a survey and want to store some respondent information. We need the column headers like in the following picture.
Method 1 – Using ‘VBA With Property’ for Header Cells
Steps:
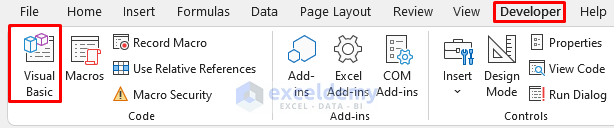
- Go to the Developer Tab and select Visual Basic.
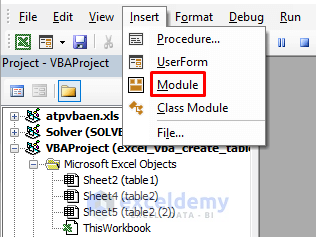
- The VBA editor will appear. Select Insert and Module to open a VBA Module.
- Use the following code in the VBA Module.
Option Explicit

Sub CreateTableHeader()
Dim Current_WS As Worksheet
Set Current_WS = ThisWorkbook.Worksheets(1)
Dim mn_TableHeader As ListObject
With Current_WS
.ListObjects.Add(xlSrcRange, .Range("B4:G10"), , xlNo).Name = "Survey_Data"
Set mn_TableHeader = .ListObjects(1)
mn_TableHeader.HeaderRowRange.Cells(1, 1) = "Name"
mn_TableHeader.HeaderRowRange.Cells(1, 2) = "Residence"
mn_TableHeader.HeaderRowRange.Cells(1, 3) = "Gender"
mn_TableHeader.HeaderRowRange.Cells(1, 4) = "Age"
mn_TableHeader.HeaderRowRange.Cells(1, 5) = "Profession"
mn_TableHeader.HeaderRowRange.Cells(1, 6) = "Salary"
End With
End Sub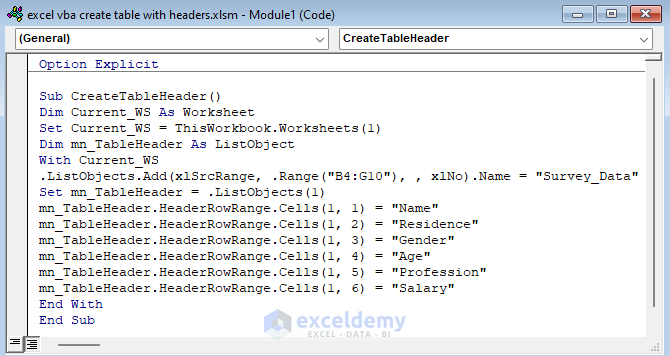
Code Explanation
- We declared Current_WS As Worksheet and set it as the number 1 worksheet.
- We declared another variable – mn_TableHeader As ListObject.
Dim Current_WS As Worksheet
Set Current_WS = ThisWorkbook.Worksheets(1)
Dim mn_TableHeader As ListObject- We used a With Statement to define the range of the table and its name.
- We set mn_TableHeader to .ListObjects(1) to define the name of the headers in the following parts of the code.
.ListObjects.Add(xlSrcRange, .Range("B4:G10"), , xlNo).Name = "Survey_Data"
Set mn_TableHeader = .ListObjects(1)- Go back to your sheet where you want to create the table and run the macro named CreateTableHeader.
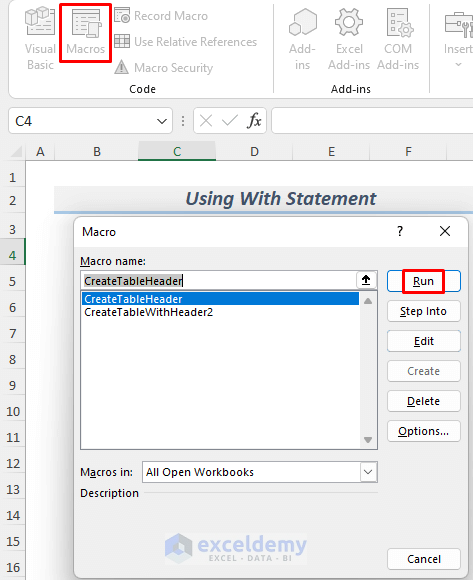
- You will see your desired table with headers.
Read More: Excel VBA to Create Table from Range
Method 2 – Creating a Table with Headers Using the VBA Value Property
Steps:
- Open a VBA Module.
- Use the following code in the Module.
Sub CreateTableWithHeader2()
Dim table_name As String
    Range("B4").Value = "Name"
    Range("C4").Value = "Residence"
    Range("D4").Value = "Gender"
    Range("E4").Value = "Age"
    Range("F4").Value = "Profession"
    Range("G4").Value = "Salary"
    Application.CutCopyMode = False
    table_name = "Survey_Data_2"
    ActiveSheet.ListObjects.Add(xlSrcRange, _
    Range("$B$4:$G$11"), , xlYes).Name = table_name
End Sub
Code Explanation
- We declared table_name As String.
- We used a Value property to define the headers of this table.
- We defined the name of the table and its range.
table_name = "Survey_Data_2"
ActiveSheet.ListObjects.Add(xlSrcRange, _
Range("$B$4:$G$11"), , xlYes).Name = table_name- Go back to your sheet and run the Macro named CreateTableWithHeader2.
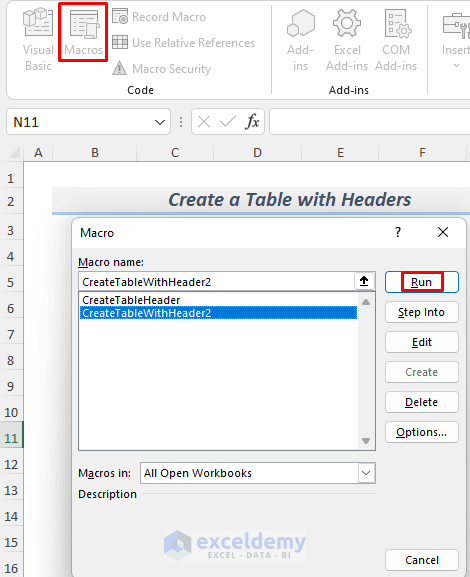
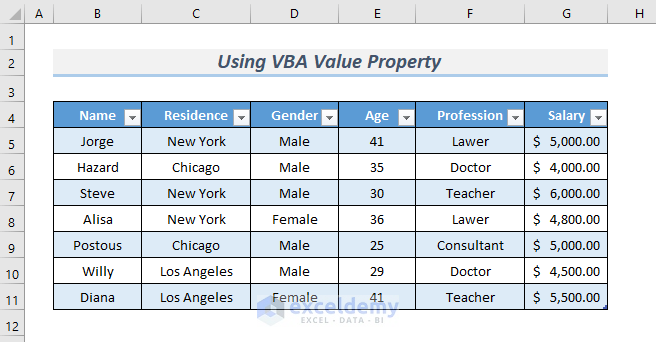
- You will get an Excel table with headers.
If you run this code again to create a new table in another sheet, it will show you an error although you will get your table with headers in the process. The reason for the error is the table name. You can’t create multiple tables with the same name in multiple sheets. Change the name of the table in the code before running it again.
Practice Section
Open a new Excel sheet and practice these methods on your own.
Download the Practice Workbook
Related Articles
- Excel VBA Code for Each Row in a Table
- Excel VBA: Insert Data into Table
- How to Use Table Reference with Excel VBA
- Reference Table Column by Name with VBA in Excel

