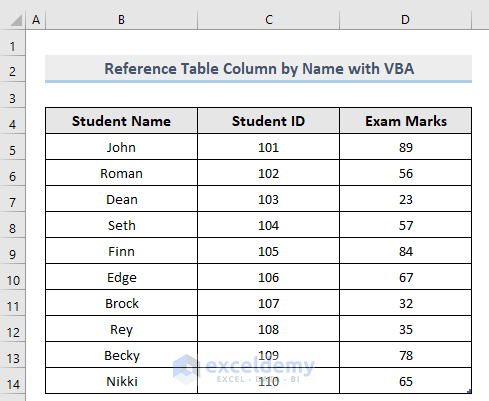
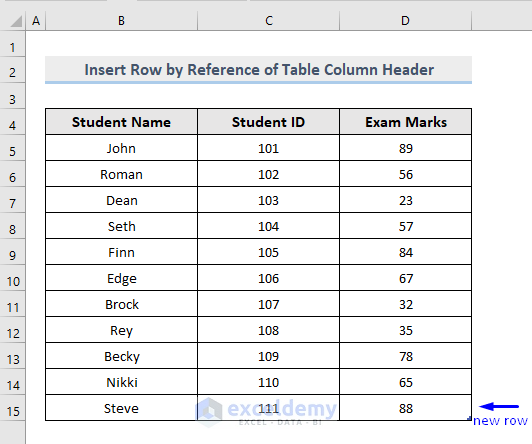
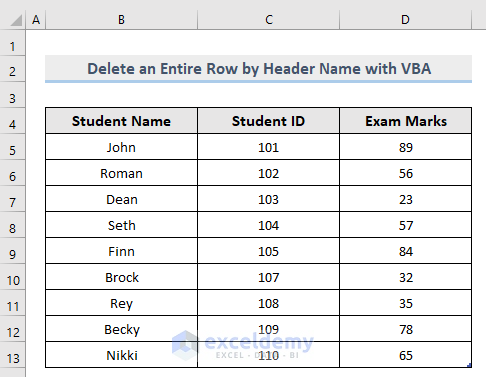
This is the sample dataset:
Method 1 – Reference a Table Column by Header in Excel VBA
Steps:
- Press Alt + F11 or go to the Developer tab-> Visual Basic to open Visual Basic Editor.
- Click Insert -> Module.

- Copy and paste the following code.
Sub ReferenceEntireColumn()
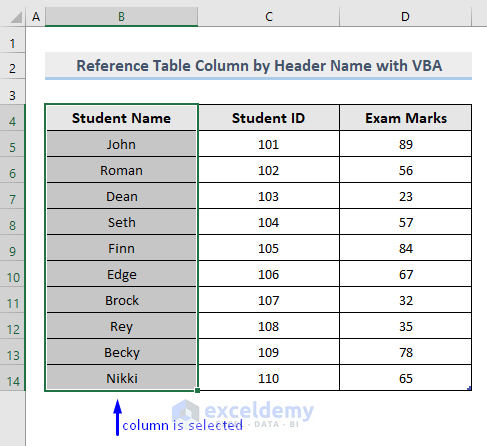
ActiveSheet.ListObjects("TblReference1").ListColumns("Student Name").Range.Select
End Sub
- Press F5 or select Run -> Run Sub/UserForm. You can also click the Play button to run the macro.
- Check the result.
VBA Code Breakdown
ActiveSheet.ListObjects("TblReference1").ListColumns("Student Name").Range.SelectSelects the table (“TblReference1” is the name of the table in our dataset), then the specified column by column header (“Student Name“).
Read More: How to Use Table Reference with Excel VBA
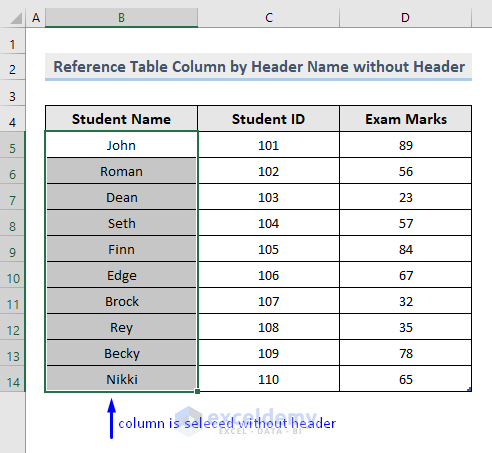
Method 2 – Embed VBA to Reference a Column without Header
Steps:
- Open Visual Basic Editor in the Developer tab and Insert a Module in the code window.
- Copy and paste the following code.
Sub ReferenceEntireColumnWithoutHeader()
ActiveSheet.ListObjects("TblReference2").ListColumns("Student Name").DataBodyRange.Select
End Sub
- Run the macro
- Check the result.
VBA Code Breakdown
ActiveSheet.ListObjects("TblReference2").ListColumns("Student Name").DataBodyRange.SelectSelects the table (“TblReference2” – name in dataset), then the specified column by the reference of the column header (“Student Name“). Skips the header because DataBodyRange was used. DataBodyRange returns the data range between the header and the insert row.
Read More: How to Create a Table with Headers Using Excel VBA
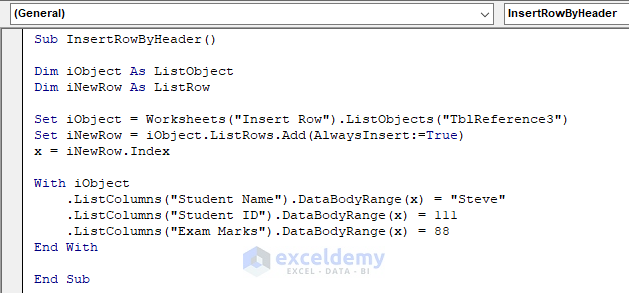
Method 3 – Inserting a New Row with a Column Header Reference in VBA
3.1. With the ListColumns Property
Steps:
- Open Visual Basic Editor in the Developer tab and Insert a Module in the code window.
- Copy and paste the following code.
Sub InsertRowByHeader()
Dim iObject As ListObject
Dim iNewRow As ListRow
Set iObject = Worksheets("Insert Row").ListObjects("TblReference3")
Set iNewRow = iObject.ListRows.Add(AlwaysInsert:=True)
x = iNewRow.Index
With iObject
    .ListColumns("Student Name").DataBodyRange(x) = "Steve"
    .ListColumns("Student ID").DataBodyRange(x) = 111
    .ListColumns("Exam Marks").DataBodyRange(x) = 88
End With
End Sub
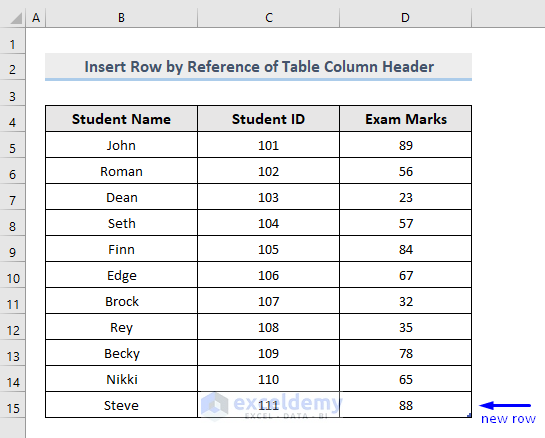
- Run the macro.
- Check the result.
VBA Code Breakdown
Dim iObject As ListObject
Dim iNewRow As ListRow
Defines variables.
Set iObject = Worksheets("Insert Row").ListObjects("TblReference3")Stores the sheet name (“Insert Row“) and the table name (“TblReference3“) in the variable.
Set iNewRow = iObject.ListRows.Add(AlwaysInsert:=True)
x = iNewRow.Index
Defines a new variable to store new values.
With iObject
    .ListColumns("Student Name").DataBodyRange(x) = "Steve"
    .ListColumns("Student ID").DataBodyRange(x) = 111
    .ListColumns("Exam Marks").DataBodyRange(x) = 88
End With
Stores “Steve” in the “Student Name” column; stores “111” in the “Student ID” column; stores “88” in the “Exam Marks” column.
3.2. Intersect Method
Steps:
- Open Visual Basic Editor in the Developer tab and Insert a Module in the code window.
- Copy and paste the following code.
Sub InsertRowByHeaderName()
Dim iObject As ListObject
Dim iNewRow As ListRow
Dim iRow As Range
Set iObject = Worksheets("Intersect").ListObjects("TblReference4")
Set iNewRow = iObject.ListRows.Add(AlwaysInsert:=True)
Set iRow = iNewRow.Range
With iObject
    Intersect(iRow, .ListColumns("Student Name").Range) = "Steve"
    Intersect(iRow, .ListColumns("Student ID").Range) = 111
    Intersect(iRow, .ListColumns("Exam Marks").Range) = 88
End With
End Sub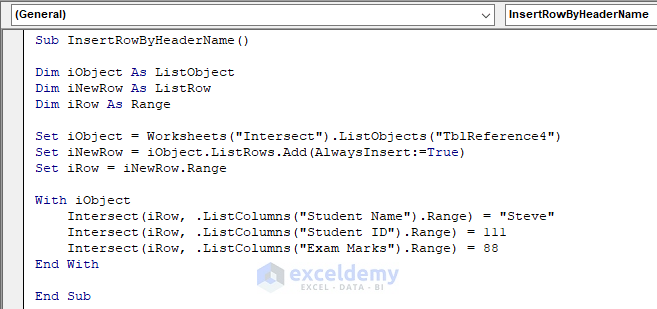
- Run the macro.
- Check the result.
VBA Code Breakdown
Dim iObject As ListObject
Dim iNewRow As ListRow
Dim iRow As Range
Defines variables.
Set iObject = Worksheets("Intersect").ListObjects("TblReference4")Stores the sheet name (“Intersect“) and the table name (“TblReference4“) in the variable.
Set iNewRow = iObject.ListRows.Add(AlwaysInsert:=True)
Set iRow = iNewRow.Range
Defines a new variable to store new values.
With iObject
    Intersect(iRow, .ListColumns("Student Name").Range) = "Steve"
    Intersect(iRow, .ListColumns("Student ID").Range) = 111
    Intersect(iRow, .ListColumns("Exam Marks").Range) = 88
End With
Stores “Steve” in the “Student Name” column; stores “111” in the “Student ID” column; stores “88” in the “Exam Marks” column.
Read More: Excel VBA: Insert Data into Table
Method 4 – Replace the Row Value with a Column Header Reference using a Macro in Excel
Steps:
- Open Visual Basic Editor in the Developer tab and Insert a Module in the code window.
- Copy and paste the following code.
Sub ReplaceRowValueByHeader()
Dim iObject As ListObject
Set iObject = Worksheets("Replace").ListObjects("TblReference5")
With iObject
    .ListColumns("Student Name").DataBodyRange(4) = "Rollins"
    .ListColumns("Student ID").DataBodyRange(4) = 112
    .ListColumns("Exam Marks").DataBodyRange(4) = 75
End With
End Sub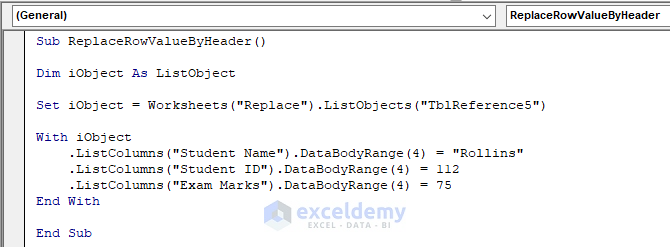
- Run the macro code.
- Check the result.

Values in row number 4 are replaced with new values.
VBA Code Breakdown
Dim iObject As ListObjectDefines the variable.
Set iObject = Worksheets("Replace").ListObjects("TblReference5")Stores the sheet name (“Replace“) and the table name (“TblReference5“) in the variables.
With iObject
    .ListColumns("Student Name").DataBodyRange(4) = "Rollins"
    .ListColumns("Student ID").DataBodyRange(4) = 112
    .ListColumns("Exam Marks").DataBodyRange(4) = 75
End With
Replaces values in row 4 with the new values provided. Stores “Rollins” in the “Student Name” column; stores “112” in the “Student ID” column; stores “75” in the “Exam Marks” column.
Read More: Excel VBA Code for Each Row in a Table
Method 5 – Embed VBA to Display a Value with a Column Header Reference
Steps:
- Open Visual Basic Editor in the Developer tab and Insert a Module in the code window.
- Copy and paste the following code.
Sub DisplayValueByHeader()
Dim iObject As ListObject
Dim iColumn As Range
Set iObject = Worksheets("Display").ListObjects("TblReference6")
Set iColumn = iObject.ListColumns("Student Name").DataBodyRange
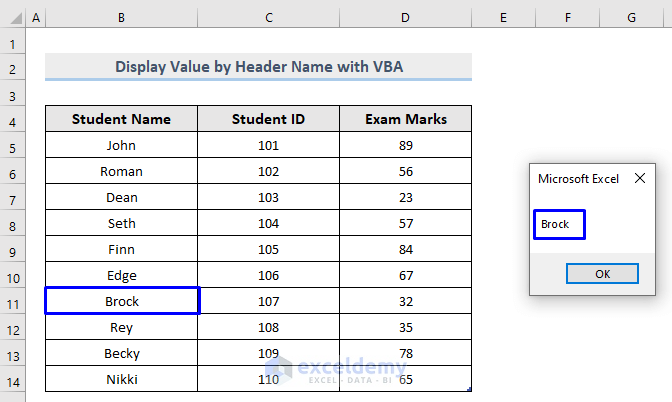
MsgBox iColumn(7).Value
End Sub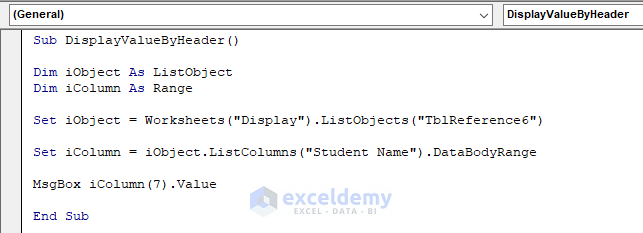
- Run the macro.
- Check the result.
VBA Code Breakdown
Dim iObject As ListObject
Dim iColumn As Range
Defines the variables.
Set iObject = Worksheets("Display").ListObjects("TblReference6")Stores the sheet name (“Display“) and the table name (“TblReference6“) in the variable.
Set iColumn = iObject.ListColumns("Student Name").DataBodyRangeStores the column header (“Student Name“) in the variable.
MsgBox iColumn(7).ValueReturns the 7th value from the specified column in the MsgBox (“Brock” is the 7th value of the column).
Method 6 – Delete an Entire Row Based on Cell Value with a Column Header Reference in VBA
Steps:
- Open Visual Basic Editor in the Developer tab and Insert a Module in the code window.
- Copy and paste the following code.
Sub DeleteRowByHeader()
Dim LastRow As Long
Dim iValue As Integer
Dim iData As Integer
With ThisWorkbook.Sheets("Delete")
    LastRow = .Cells(.Rows.Count, "B").End(xlUp).Row
    iValue = .Range("TblReference7[Student Name]").Column
    iData = .Range("TblReference7[Student ID]").Column
    For i = LastRow To 1 Step -1
        If .Cells(i, iValue) = "Edge" And .Cells(i, iData) <> "" Then
            .Cells(i, "B").EntireRow.Delete
        End If
    Next i
End With
End Sub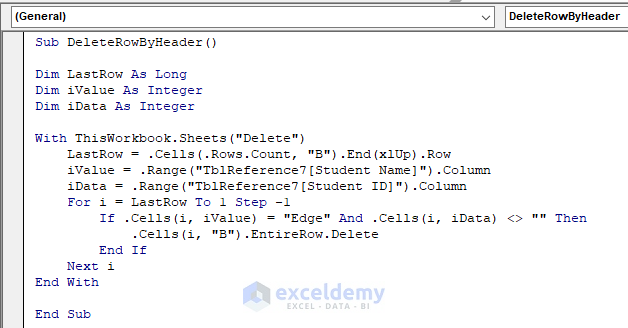
- Run the macro.
- Check the result.
VBA Code Breakdown
Dim LastRow As Long
Dim iValue As Integer
Dim iData As Integer
Defines the variables.
With ThisWorkbook.Sheets("Delete")Selects the sheet (“Delete“)
LastRow = .Cells(.Rows.Count, "B").End(xlUp).RowStores the last row count in the variable.
iValue = .Range("TblReference7[Student Name]").Column
iData = .Range("TblReference7[Student ID]").Column
Stores the table name (“TblReference7) and the column header names (“Student Name” and “Student ID”) in the variables.
    For i = LastRow To 1 Step -1
        If .Cells(i, iValue) = "Edge" And .Cells(i, iData) <> "" Then
            .Cells(i, "B").EntireRow.Delete
        End If
    Next i
End With
Loops through the last row upward to find the provided value ( “Edge”); deletes the entire row from column B and continues iterating the whole column until the condition is fulfilled.
If you have too many rows in your dataset, the following code will be more efficient.
Sub DeleteRowByHeaderName()
With ThisWorkbook.Sheets("Delete").ListObjects("TblReference7")
    .Range.AutoFilter
    .Range.AutoFilter Field:=.ListColumns("Student Name").Index, Criteria1:="=Edge"
    .Range.AutoFilter Field:=.ListColumns("Student ID").Index, Criteria1:="<>"
    .Range.Offset(1).EntireRow.Delete
    .Range.AutoFilter
End With
End Sub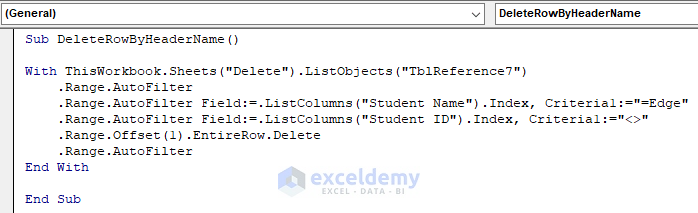
Download Workbook

