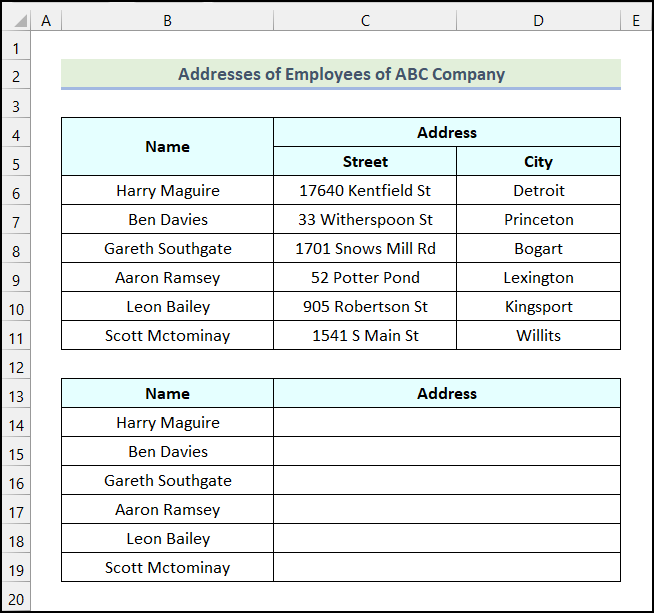
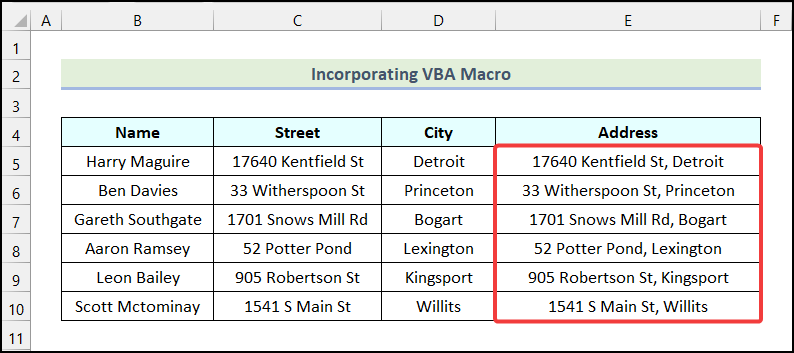
We have the Addresses of Employees of a Company as our dataset. We have information on the Street and the City for each employee. We will do a union of these two columns and display the full address in a single cell. We will use a comma and a space between the Street and the City.
Method 1 – Applying the CONCAT Function
Steps:
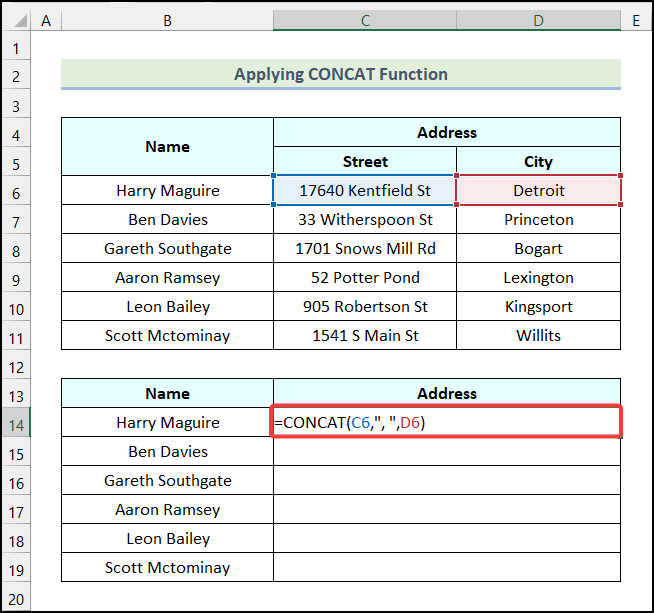
- Use the following formula in cell C14.
=CONCAT(C6,", ",D6)Cell C6 indicates the first cell of the Street column, and cell D6 refers to the first cell of the City column.
- Hit Enter.
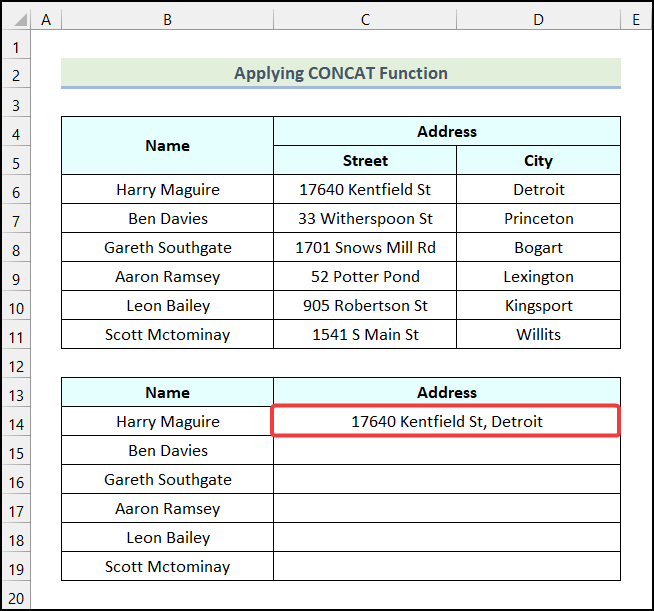
The union of cell C6 and cell D6, along with a space and a comma, will appear in cell C14.
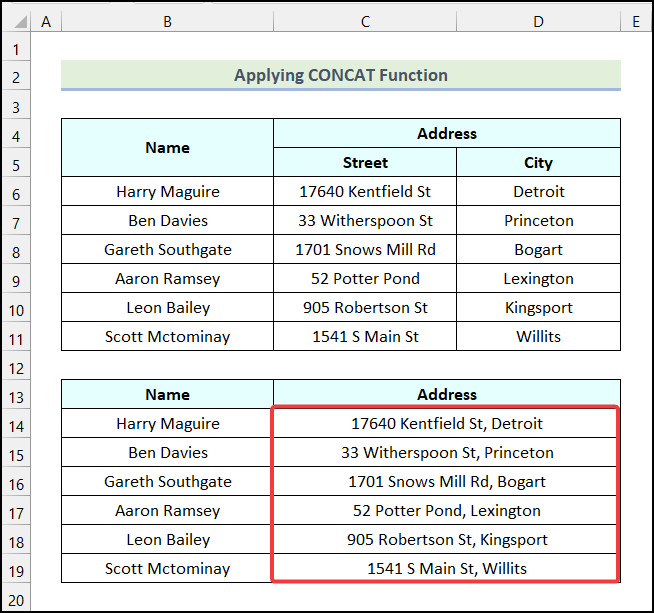
- Use Excel’s AutoFill feature to get the rest of the Addresses as demonstrated in the following image.
Method 2 – Utilizing the TEXTJOIN Function
Steps:
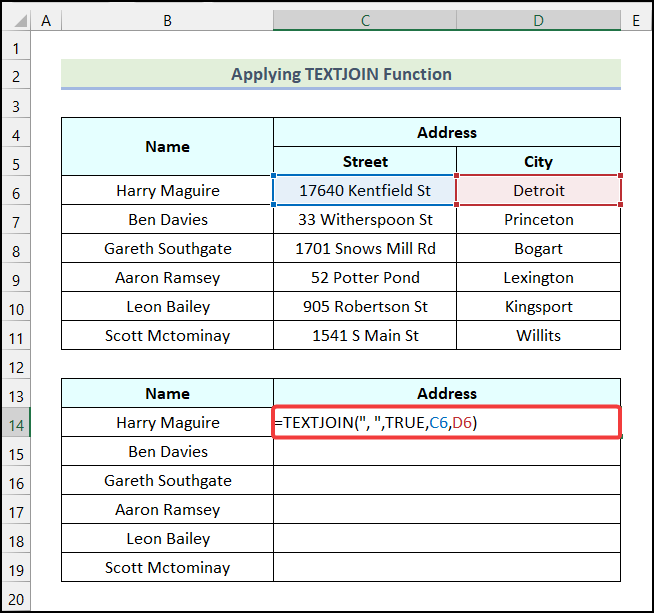
- Apply the formula given below in cell C14.
=TEXTJOIN(", ",TRUE,C6,D6)- Hit Enter from your keyboard.
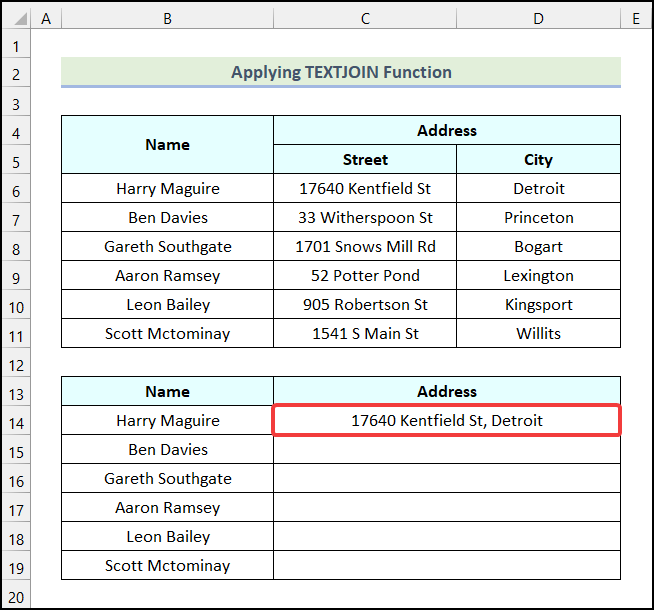
You will have the Address of Harry Maguire in cell C14 as shown in the image below.
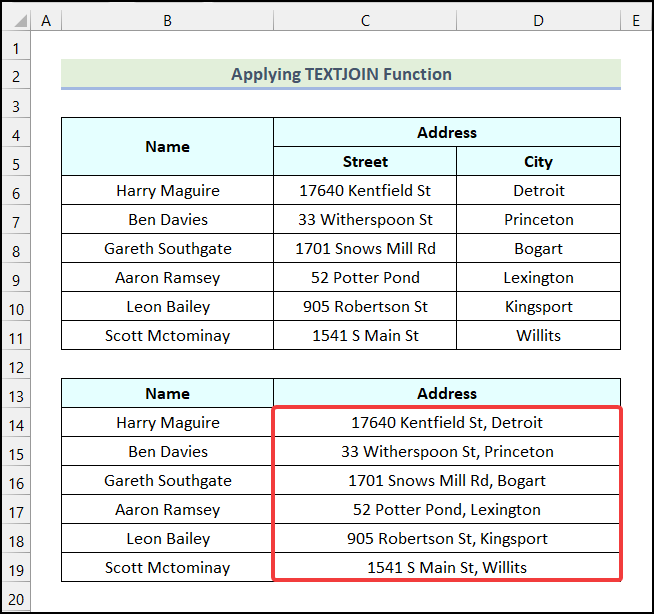
- Use Excel’s AutoFill feature to obtain the remaining outputs.
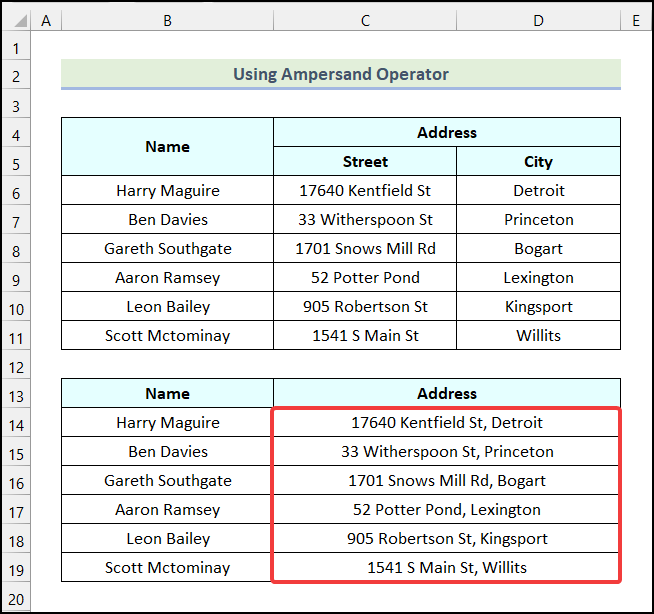
Method 3 – Using the Ampersand Operator
Steps:
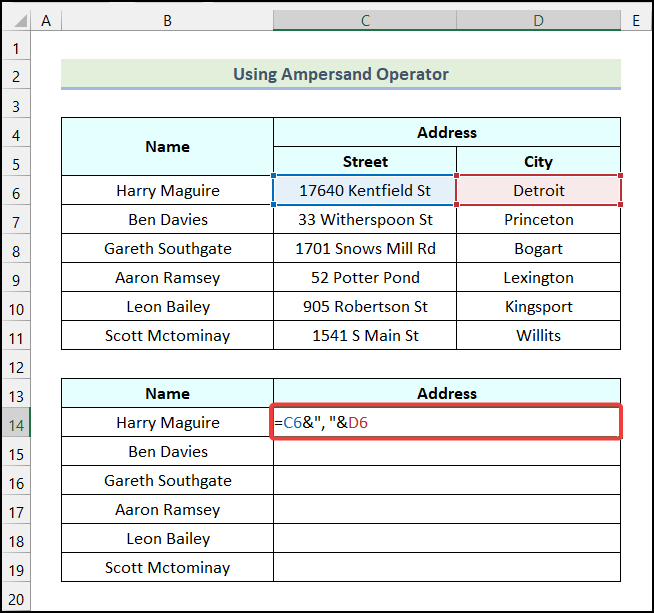
- Use the following formula in cell C14.
=C6&", "&D6- Press Enter.
You will have the Address of Harry Maguire in cell C14 as demonstrated in the following image.

- Apply Excel’s AutoFill option to get the Addresses for the rest of the employees.
Read More: How to Create Union of Two Tables in Excel
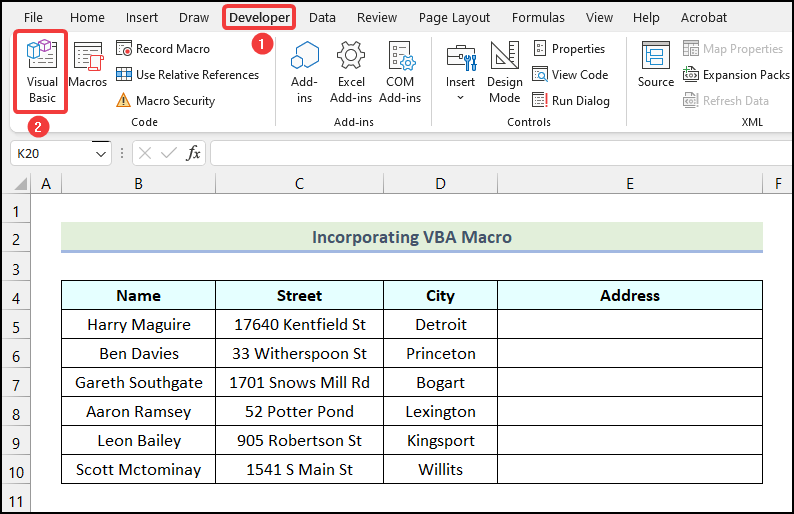
Method 4 – Incorporating VBA Macro
Steps:
- Go to the Developer tab from Ribbon.
- Click on the Visual Basic option from the Code group.
The Microsoft Visual Basic for Applications window will appear on your worksheet.

- Go to the Insert tab in the Microsoft Visual Basic for Applications window.
- Choose the Module option from the drop-down.

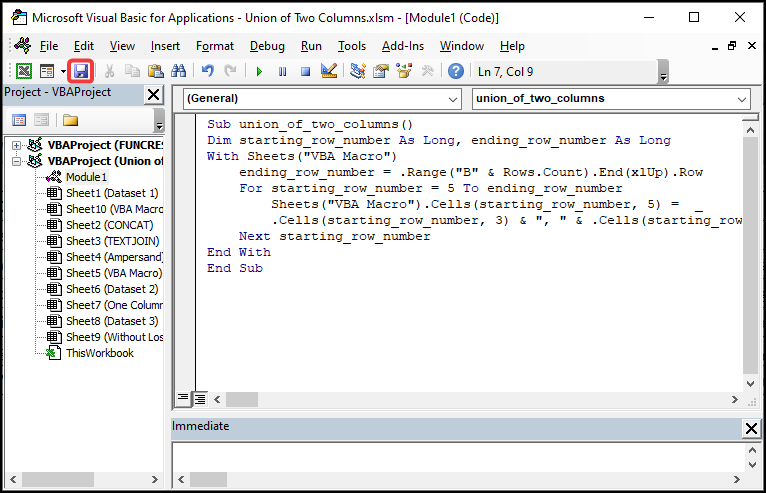
- Insert the following code in the newly created Module.
Sub union_of_two_columns()
Dim starting_row_number As Long, ending_row_number As Long
With Sheets("VBA Macro")
ending_row_number = .Range("B" & Rows.Count).End(xlUp).Row
For starting_row_number = 5 To ending_row_number
Sheets("VBA Macro").Cells(starting_row_number, 5) = _
.Cells(starting_row_number, 3) & ", " & .Cells(starting_row_number, 4)
Next starting_row_number
End With
End Sub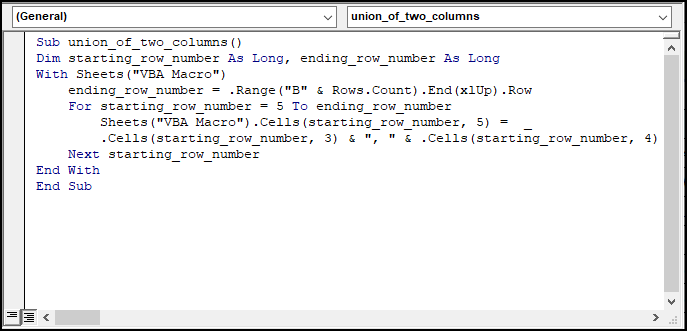
Code Breakdown
- We introduced a sub-procedure named union_of_two_columns.
- We declared two variables named starting_row_number, and ending_row_number and specified their data type as Long.
- We used the With statement to specify the worksheet where the macro will work.
- We assigned the value of the ending_row_number variable.
- We used a For Next loop to make a union of two columns along with a comma and a space.
- We used the Ampersand operator to join the two columns.
- We closed the For Next loop.
- We ended the With statement.
- Click on the Save icon.
- Use the keyboard shortcut Alt + F11 to return to the worksheet.
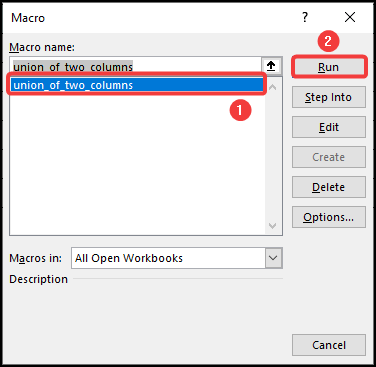
- Press the keyboard shortcut Alt + F8 to open the Macros dialog box as shown in the following picture.
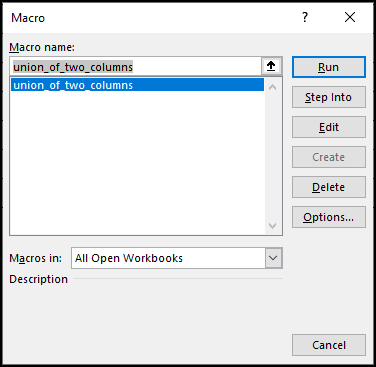
- Select the union_of_two_columns macro.
- Click on Run.
You will have the Addresses of all employees as demonstrated in the following image.
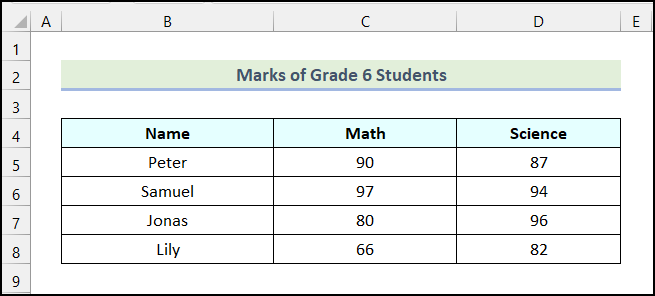
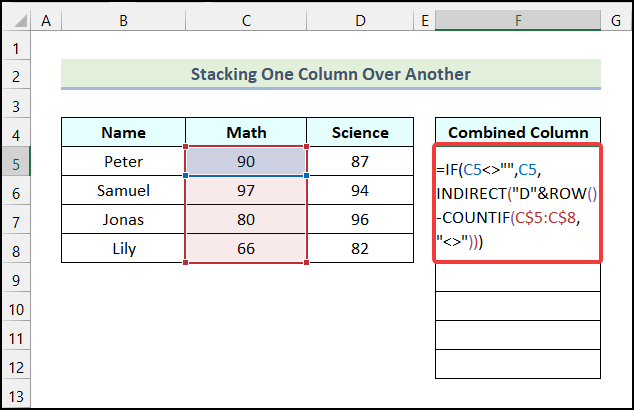
Method 5 – Stacking One Column Over Another
We have the Marks of Grade 6 Students as our dataset. We will stack the cells of the Math column over the Science column.
Steps:
- Apply the following formula in cell F5.
=IF(C5<>"",C5,INDIRECT("D"&ROW()-COUNTIF(C$5:C$8,"<>")))Cell C5 indicates the first cell of the Math column, and the range C$5:C$8 represent the cells of the Math column.
Formula Breakdown
- Here, in the COUNTIF function,
- C$5:C$8 → This indicates the range argument.
- “<>” → It refers to the criteria argument.
- Output → 4.
- Now, in the INDIRECT function,
- “D”&ROW()-4 → This represents the ref_text argument.
- Output → {0}.
- Subsequently, the formula becomes =IF(C5<>””,C5,INDIRECT(“D”&ROW()-COUNTIF(C$5:C$8,”<>”))) → =IF(C5<>””,C5,{0}).
- In the IF function,
- C5<>”” → This indicates the logical_test argument.
- C5 → This is the [value_if_true] argument.
- {0} → It refers to the [value_if_false] argument.
- Output → 90.
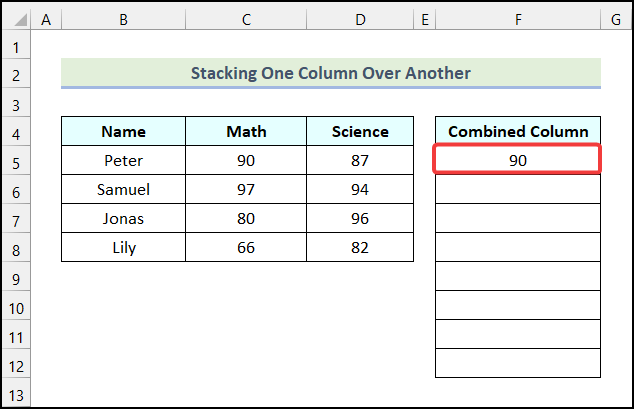
- Hit Enter.
You will have the following output on your worksheet.
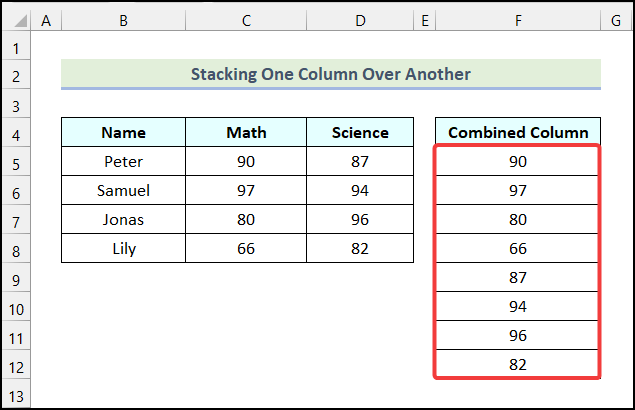
- Use Excel’s AutoFill feature to get the remaining outputs as shown in the picture below.
How to Merge Two Columns Without Losing Data in Excel
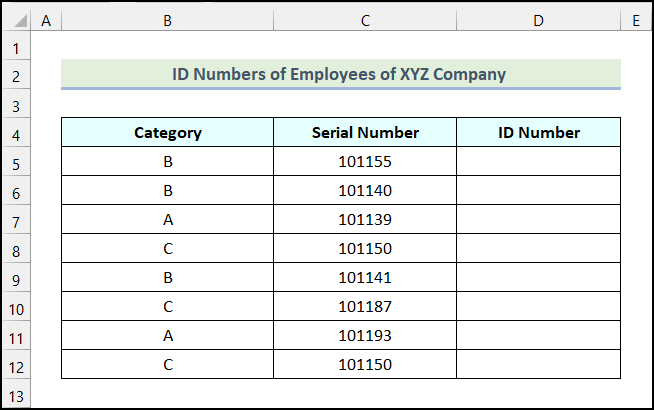
We have the ID Numbers of Employees of XYZ Company as our dataset. We’ll merge the Category column and the Serial Number column to get the ID Number.
Steps:
- Use the following formula in cell D5.
=CONCAT(B5,C5)- Press Enter.
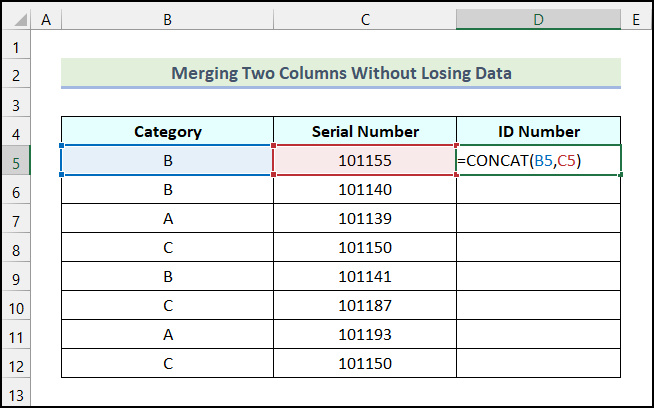
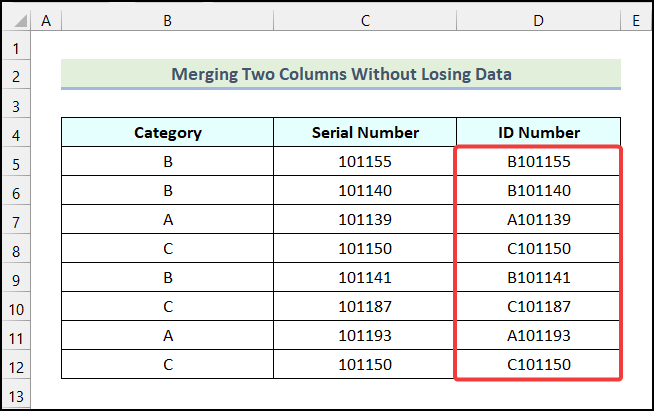
You will have the first ID Number as shown in the following image.

- Use Excel’s AutoFill feature to get the rest of the ID Numbers as demonstrated in the picture below.
Practice Section
In the Excel Workbook, we have provided a Practice Section on the right side of the worksheet.

Download the Practice Workbook
Related Articles
<< Go Back to Excel Union | Excel Operators | Excel Formulas | Learn Excel
Get FREE Advanced Excel Exercises with Solutions!
