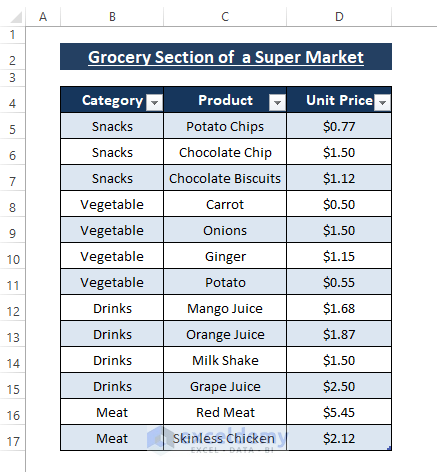
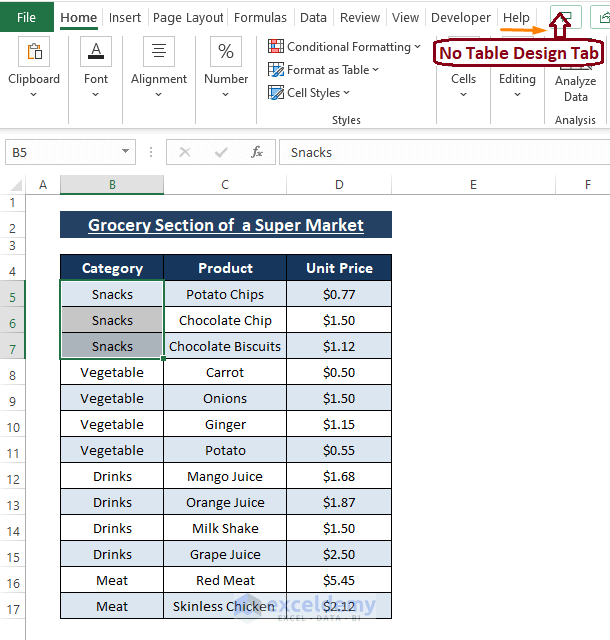
Reasons why Cells don’t Merge in an Excel Table
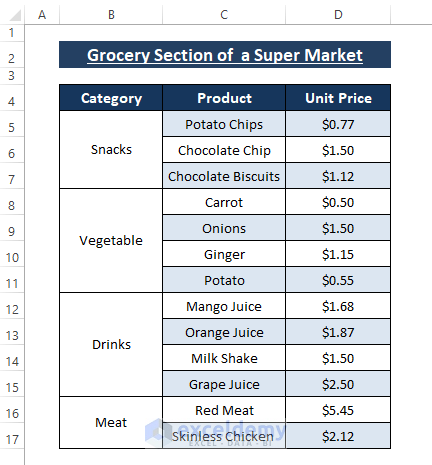
1- Cells are within the Excel Table:
To merge cells in a table, we need to convert it into a simple range.
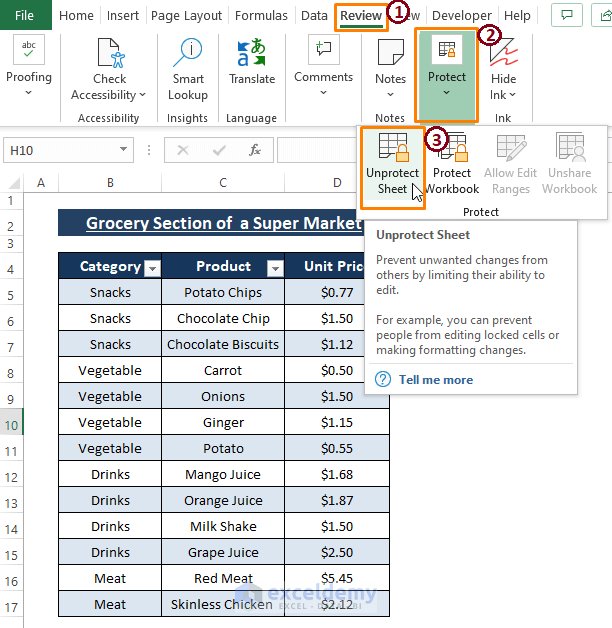
2- The Worksheet is Protected:
To unprotect the worksheet and merge cells, go to Review > Protect > Unprotect Sheet.
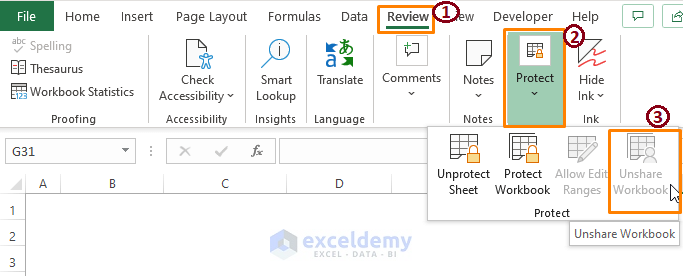
3- The Worksheet is Shared:
To Unshare the worksheet and merge cells, go to Review > Protect > Unshare Workbook. The workbook can also be unshared using the Review tab.
Unable to Merge Cells in a Table? – 3 Solutions
Solution 1 – Using the Convert to Range Feature to Enable Merging Cells in aTable
Step 1
- Select the entire dataset. Go to Table Design > Tools > Convert to Range

Step 2
- In the confirmation pop-up, click YES.
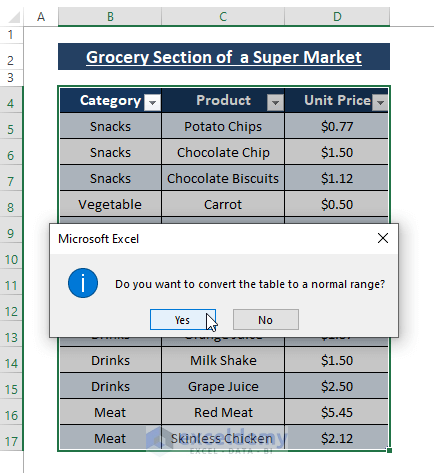
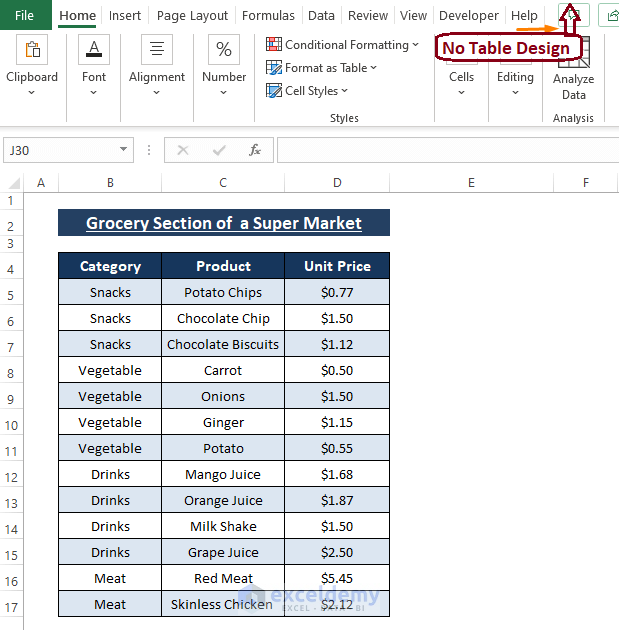
The Excel Table is transformed into a normal range.
- Highlight the cells you want to merge. The Table Design is not active as you are working with a range.
- Select the cells you want to merge.
- Go to Home > Alignment > Select Merge & Center.
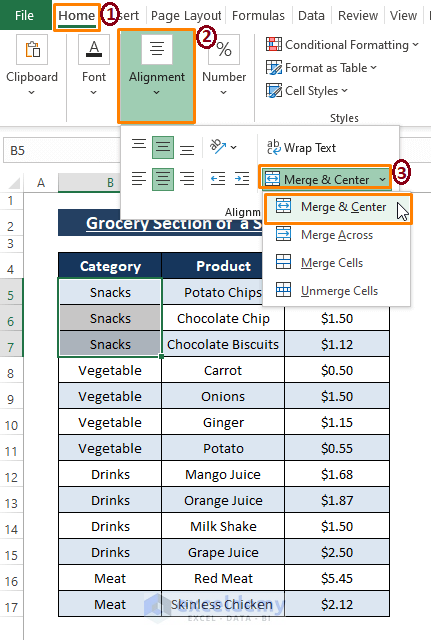
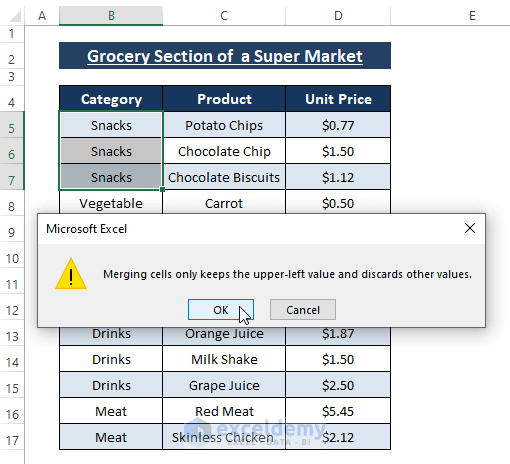
- In the displayed window, click OK.
- Merge & Center the other cells.
This is the output.

Solution 2 – Enabling Merge Cells in a Table Using the Context Menu
Step 1
- Select the entire Table or click any cell within the Table and Right-Click.
- In the Context Menu, choose Table >Convert to Range.
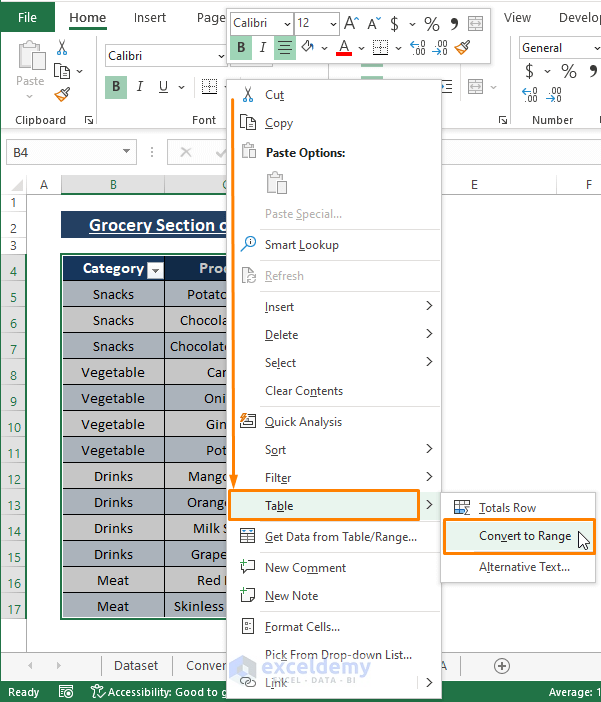
Step 2
- A confirmation window is displayed. Click YES.

Step 3
- Repeat Step 3 of Method 1 and cells will be merged.
Solution 3 – Using a VBA Macro to Merge Cells in a Table
Step 1
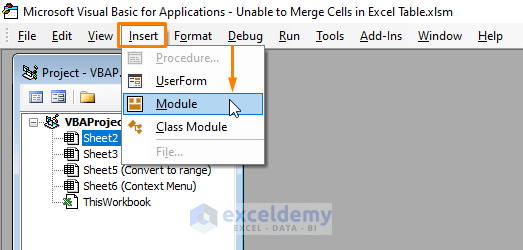
- Press ALT+F11 to open the Microsoft Visual Basic window.
- Go to the Insert tab > Select Module.
Step 3
- Enter the following code in the Module.
Sub TableToRange()
Dim wrkSheet As Worksheet
Dim wrkList As ListObject
Set wrkSheet = ActiveWorkbook.ActiveSheet
For Each wrkList In wrkSheet.ListObjects
wrkList.Unlist
Next
End Sub
In the macro:
ListObject is the wrkList variable; Table is considered in ListObject. Each ListObject is Unlisted using Worksheet.Unlist. VBA FOR runs the loop.
Step 3
- Press F5 to run the macro. The Table Design is not active as you are working with a range.
- Follow Step 3 of Method 1.
This is the output.

Download Excel Workbook
<< Go Back to Excel Merge Cells | Merge in Excel | Learn Excel
Get FREE Advanced Excel Exercises with Solutions!
