The Data Model is a special feature of Excel that allows users to gather data from various sources and create a relationship between them. Specifically, the model consists of one or more tables of data. Users can load to the memory of Excel using the data model. Combining this data model will create relationships between them. In this article, I will show you how to create data model relationships in Excel.
How to Create Data Model Relationships in Excel: 3 Ways
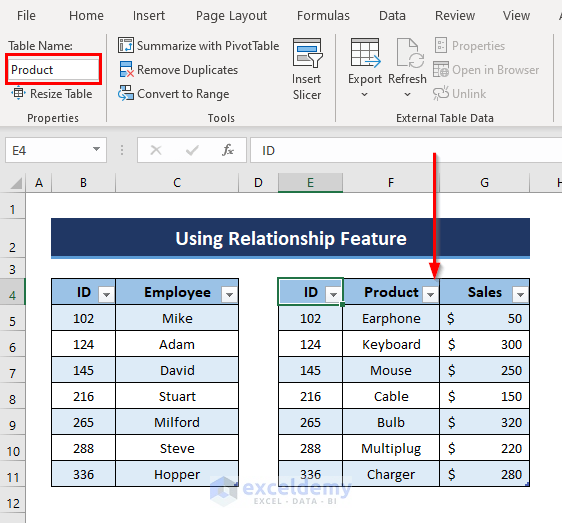
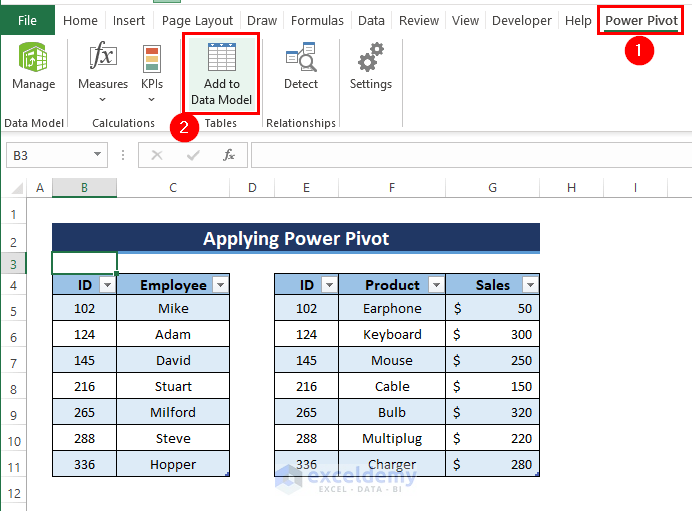
Let’s say, we got a dataset describing two individual tables. The first one gives us info about the employee ID and name of the employees of an organization. The second one contains the ID of the employees, sales product, and amount by the employees.
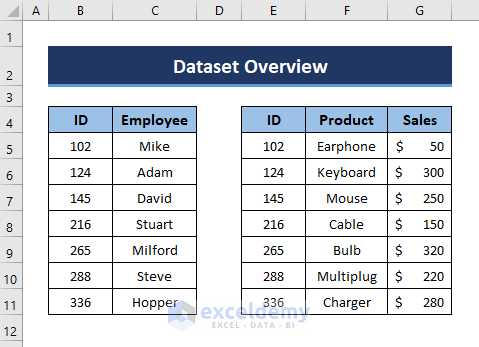
One thing that is noticeable here is that both tables contain one column in common: ID. From these tables, we want to create a relation between them using the common column existing in the two tables.
In this section, you will find 3 effective ways to create data model relationships in Excel. Let’s discuss them with proper illustration step by step.
1. Using Relationship Feature
Let’s create a relationship between the data with the Relationship feature of excel. For this, we first need to insert tables among these two datasets. Just follow the steps below for your consideration.
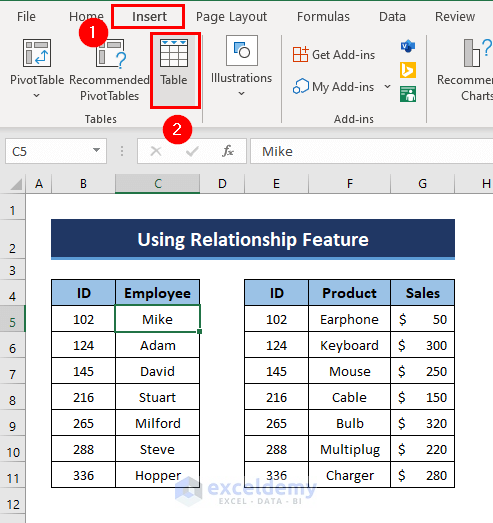
⏩ Step 1: Create Table
- First of all, select any cell in the first table> go to the Ribbon> click the Insert tab> select Table.
- Hence, a command box with the heading Create Table will appear in the Excel window. Check whether the data range is correct for creating table and keep the My table has headers option marked if your dataset got a header.
- Click OK.

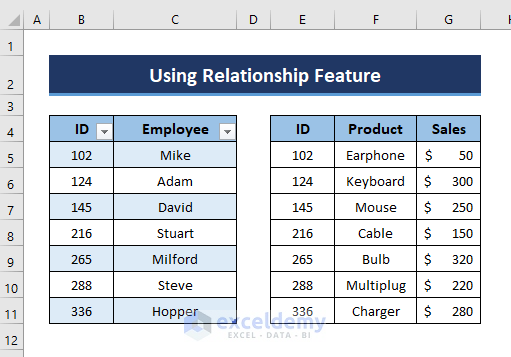
- As a result, the first range of selected data will form a table with a dropdown in the header row.
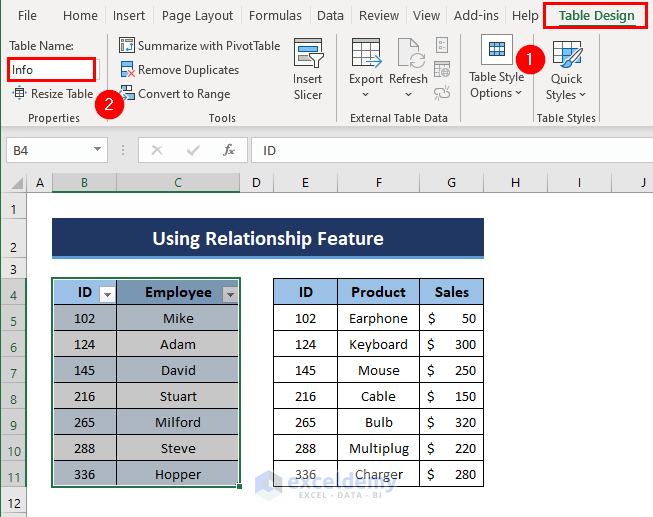
- Now, select the table you just created> go to the Table Design tab> double-click the Table Name field.
- Then, assign a name (i.e. Info) to your created table so that next time you can just call these datasets by the table name.
- Now, repeat the steps from the first to now for the second dataset also. Give another name to the second table (i.e. Product).
So we have created two individual tables for proceeding with the next steps. We have shown 3 procedures for creating relationships with the data model. For each case, we will need to create table with our data. So, you will need to follow the above steps for creating tables with data.
However, proceed with the current method.
⏩ Step 2: Create Relationships Between Tables
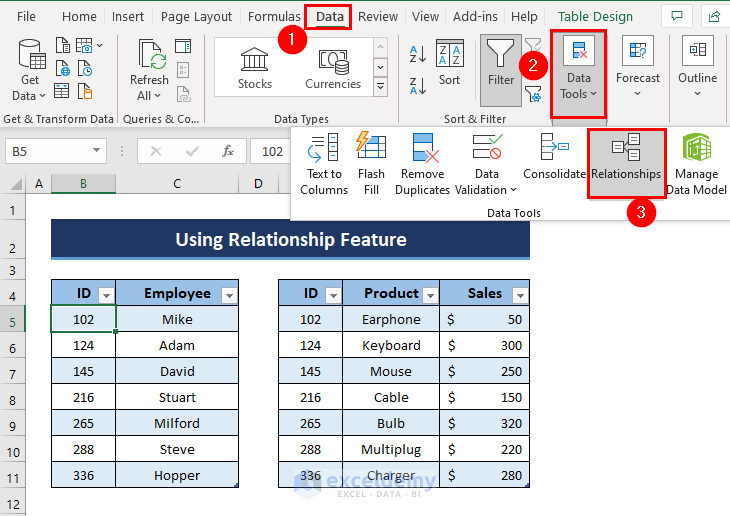
- Here, select a cell of the first table (i.e. Info)> go to the Data tab> select Relationships from the Data Tools group.
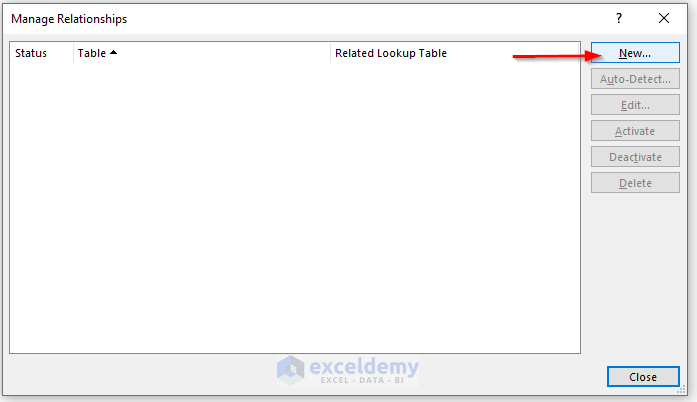
- Now, the Manage Relationships dialog box will show up. Click New here.
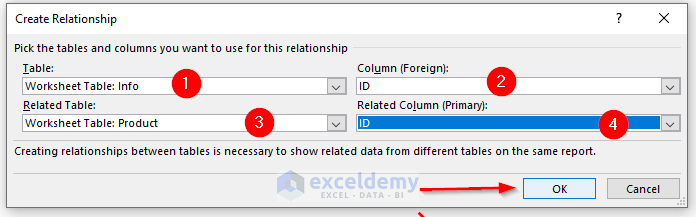
- Here, Create Relationship command box will appear. In this box, 4 fields you need to fill from the dropdown option with an arrow sign at the right of the relevant field. Fill up the fields like below:
- Table: First created table (i.e. Info)
- Column(Foreign): Common column between the tables (i.e. ID)
- Related table: Another created table (i.e. Product)
- Related Column (Primary): Common column between the tables (i.e. ID)
- Now, click OK.
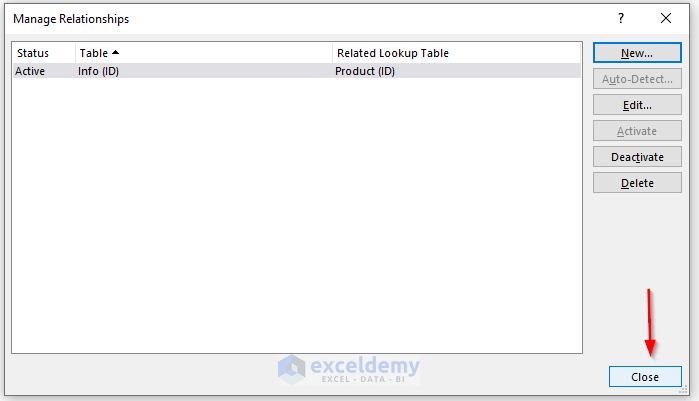
- This will take you back to the Manage Relationships window. Click Close to confirm the relationship.
- Here, in the Excel home window, go to the Insert tab> click Pivot Table> select From External Data Source.

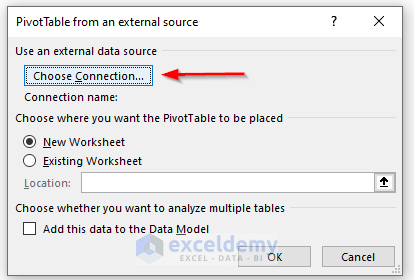
- In the PivotTable from an external source pop-up, click Choose Connection…
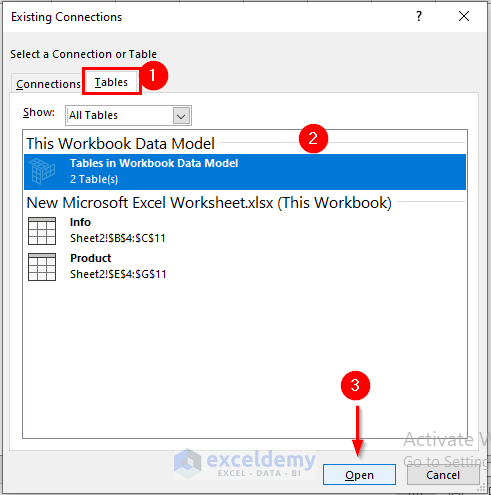
- A new prompt box named Existing Connections will now appear. From the Tables group, select Tables in Workbook Data Model > click Open.
- Now, click OK to close the PivotTable from an external data source box.

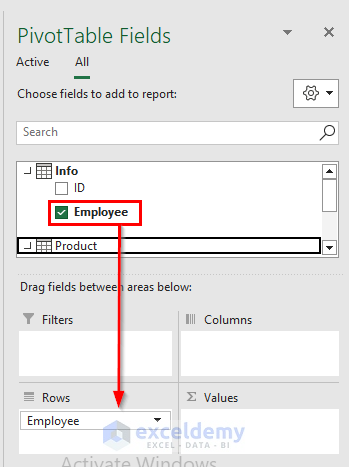
- Now, at the right corner of the Excel window, you will see Pivot Table Fields. Here, the two relevant tables will be shown. In our case, the Info table has two columns: ID, and Employee; and the Product table has 3 columns: ID, Product, and Sales. We want to create relationships by connecting Employee from Info first table and Sales from the Product tables.
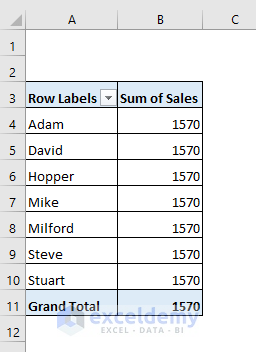
- So, drag Employee from the Info group and put it to the Rows field, and put the Sales to Values field.
- Now, click Auto-Detect for creating Relationships.
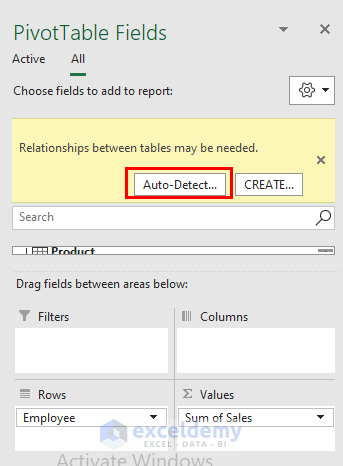
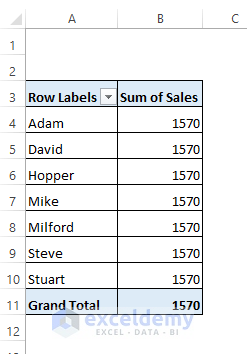
- Hence, a relationship between the two tables will be created and the two columns from the tables will be connected.
Read More: How to Create Table from Data Model in Excel
2. Application of Power Query
Power Query is a powerful tool of Microsoft Excel just like its name. It is available from version 2010 and later. This tool provides a lot more flexibility and features. Follow the steps below to apply this tool for creating relationships between data models.
⏩ Steps:
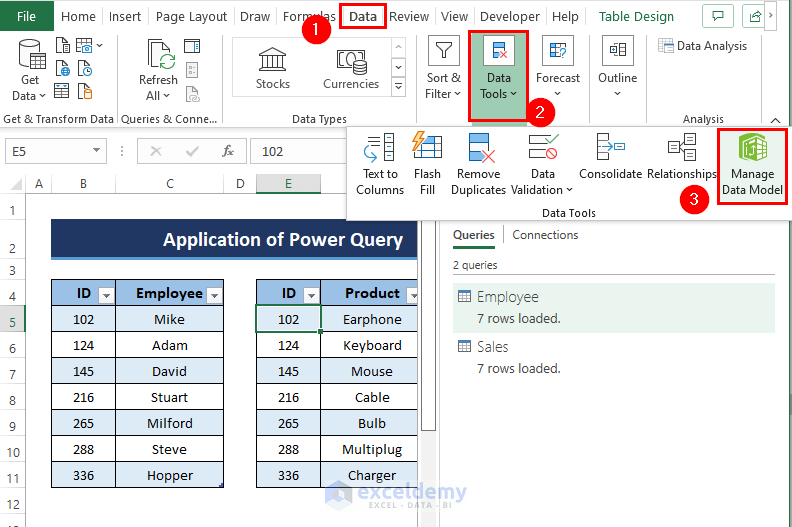
- Firstly, follow the Step 1: Create Table of Method 1 to create tables for the data set and assign names for them (i.e. Employee and Sales).
- After creating tables, select a cell of the first table> go to the Data tab> click From Table/Range.

- Now, the Power Query Editor window will appear.
- Here, from the Home tab> click dropdown arrow of Close & Load> select Close & Load To…

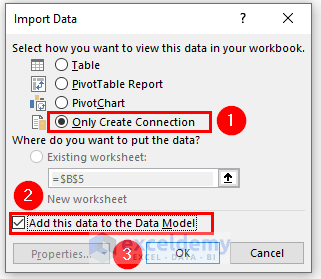
- After that, from the Import Data dialog box, select Only Create Connection> mark Add this to the Data Model> click OK.
- Now, go to the Data tab> select Manage Data Model from the Data Tools group.
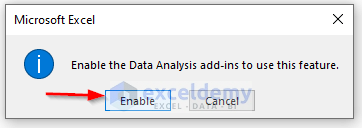
- Click Enable here.
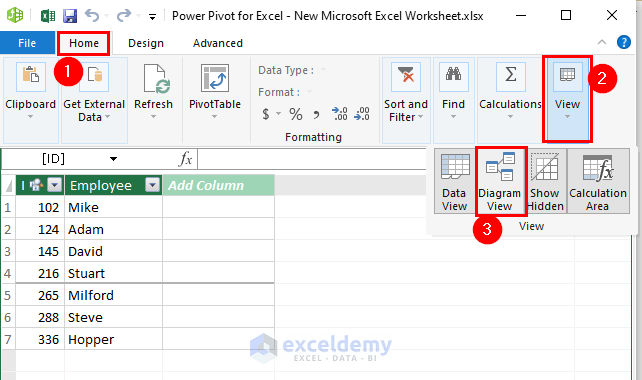
- A new window: Power Pivot for Excel will now appear. From the Home tab, select Diagram View from the View group.

- Now, switch back to the Excel window. From the Insert tab> click PivotTable> select From Data Model.

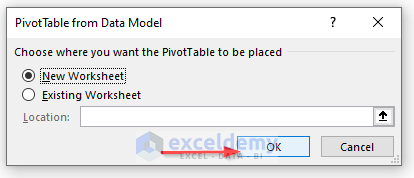
- Now, choose where you want to place the PivotTable (New/Existing Worlsheet)> click OK.
- Now create a relationship between the tables following these steps of Method 1.
Read More: Create Entity Relationship Diagram from Excel
3. Applying Power Pivot
The Power Pivot toolbar also allows you to connect to a table by creating a data model. In order to do so, just proceed with the steps below.
⏩ Steps:
- First of all, follow the Step 1: Create Table of Method 1 to create tables for the data set and assign names for them (i.e. Employee and Sales).
- Then, go to the Power Pivot tab> click Add to Data Model.
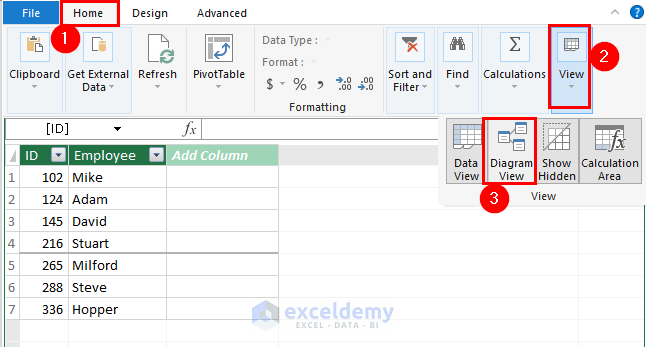
- Then, from the Home tab of the Power Pivot window> click View > select Diagram View.
- Now, repeat these steps of Method 2 to create relationships between the data model and your task will be fulfilled.
Read More: How to Create Relationship in Excel with Duplicate Values
Excel Many to Many Relationship
Creating relationships between data models adds more power to data analysis. However, the data model relationships can be of two types: One-to-One (relationship between one and another one)or One-to-Many(relationship of one with several ones).
But, the Many-to-Many relationship is not supported by the data model For example, you can think of an Employee and product where one employee sells different types of products, and a similar product could be sold to many sellers. This type of relationship can’t be supported in the data model.
How to Solve Issues Regarding Data Model Relationships in Excel
Sometimes the data model relationships may not work properly. There are several reasons behind them.
- Dragging data to the Values field in PivotTable may show the notification indicating a relationship is needed. Here, the relationship between the model depends on the foreign key with a similar name to the primary key column. If the name is not enough for Auto detecting the relationship, you should induce a manual relationship between tables in that case.
- Because of assigning unsupported data types, your relationship model may not work.
- If a valid relationship doesn’t exist, rather it got only a partial relationship, then Auto detection won’t get you a valid result. So make sure to assign a logical relationship while inserting the table.
- Ensure assigning data to the Values field in the PivotTable. Otherwise, Auto detection won’t work.
For more information, you can check our Data Model Relationship Problem article.
Practice Section
Here, I am providing you with relevant data so that you can practice yourself and create relationships with the data model.

Download Practice Workbook
You can download the practice book from the link below.
Conclusion
In this article, I have tried to gather the possible ways to create data model relationships in Excel. I hope this article has shed some light on your way to this. If you have better methods, questions, or feedback regarding this article, please don’t forget to share them in the comment box. Have a great day!
Related Articles
- How to Create a Relationship Between Tables in Excel
- How to Create Relationship in Excel with Duplicate Values
- How to Manage Relationships in Excel
- Create Entity Relationship Diagram from Excel
- How to Make One to Many Relationship in Excel
- How to Create Many to Many Relationship in Excel
- How to Create Table from Data Model in Excel
- [Fixed!] Excel Data Model Relationships Not Working
<< Go Back to Create Relationships in Excel | Data Model in Excel | Learn Excel
Get FREE Advanced Excel Exercises with Solutions!
