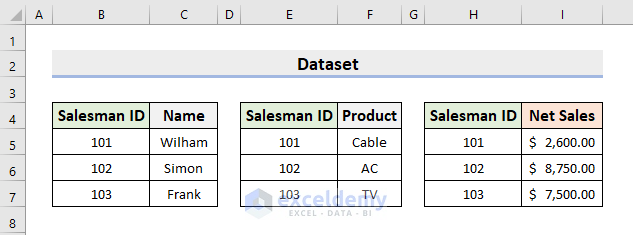
We’ll use the following data to create a table from a data model. We have 3 datasets, and their common column is Salesman ID.
Step 1 – Insert the Table
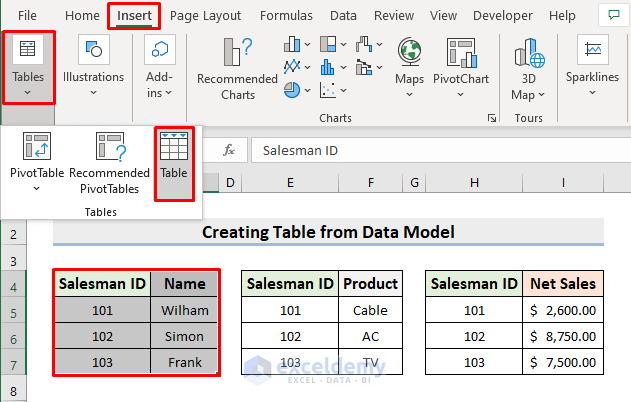
- Select the range B4:C7.
- Go to Insert, then to Tables, and select Table.
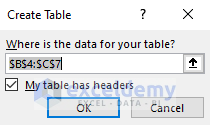
- A dialog box will pop out.
- Press OK.
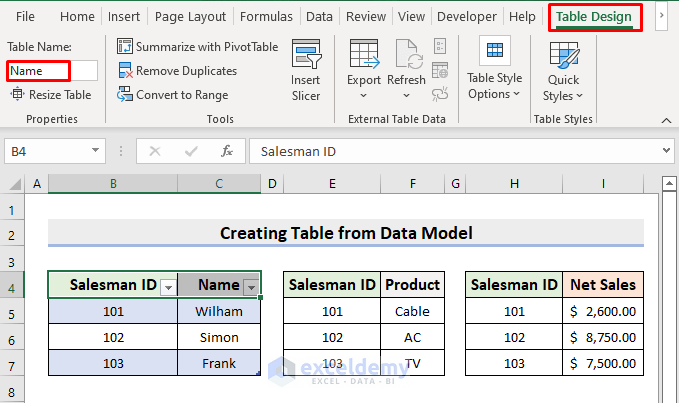
- You’ll get a table.
- Rename the table in the Table Design tab. We put Name as the Table Name.
- Create the other tables from the other sets.
- Give the tables names as Product and Sales.
- See the below picture for the result.

Read More: How to Manage Relationships in Excel
Step 2 – Create a Data Model
In this step, we’ll build the data model.
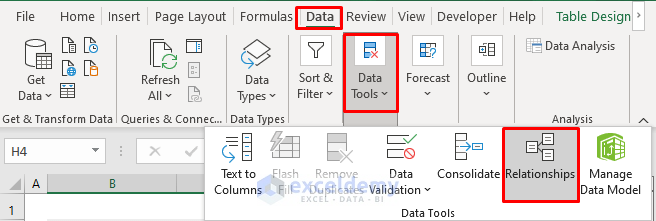
- Select Data, then go to Data Tools and choose Relationships.
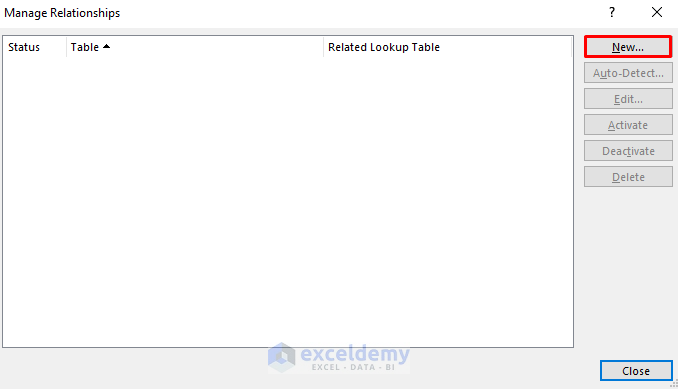
- A dialog box will appear.
- Click New.
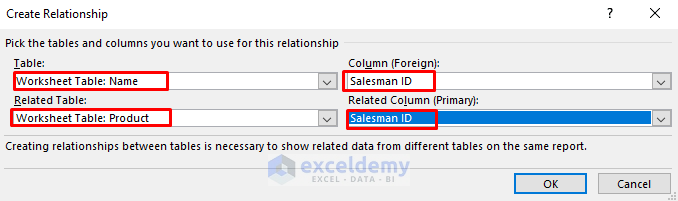
- Another dialog box will emerge.
- Choose the Name table from the Table drop-down.
- Choose the Product table in the Related Table.
- Select Salesman ID in both the Column and Related Column sections.
- Press OK.
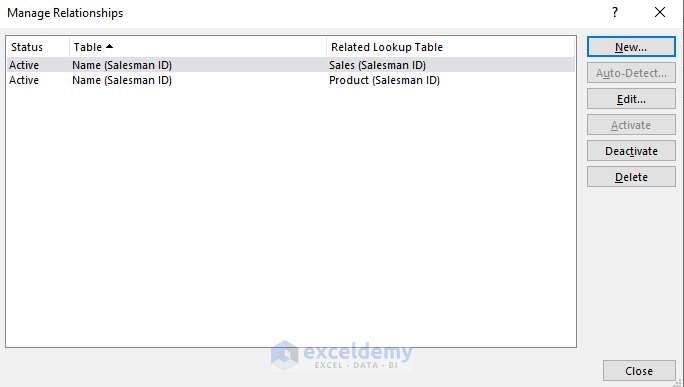
- Here’s an overview.
- Link the Name table and the Sales table in a similar way.
- You’ll return to the following dialog box after building the data model.
- Press Close.
Read More: How to Create Relationship in Excel with Duplicate Values
Step 3 – Create a Pivot Table from the Data Model
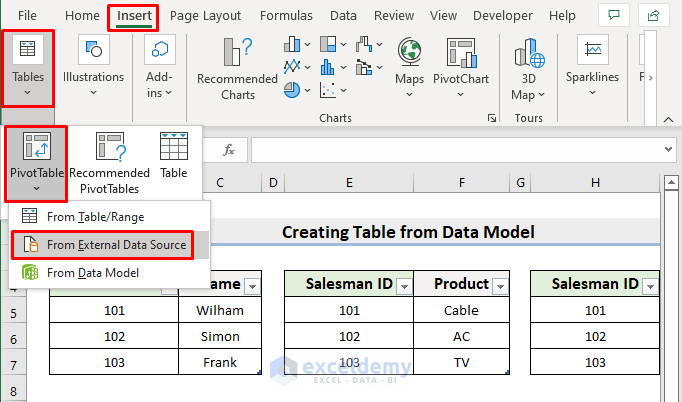
- Select Insert and pick Tables.
- Choose PivotTable and select From External Data Source.
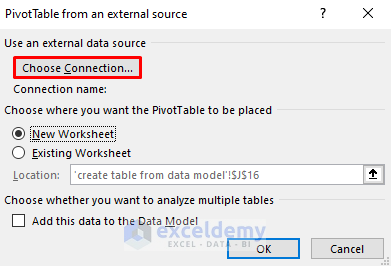
- A dialog box will emerge.
- Click Choose Connection.
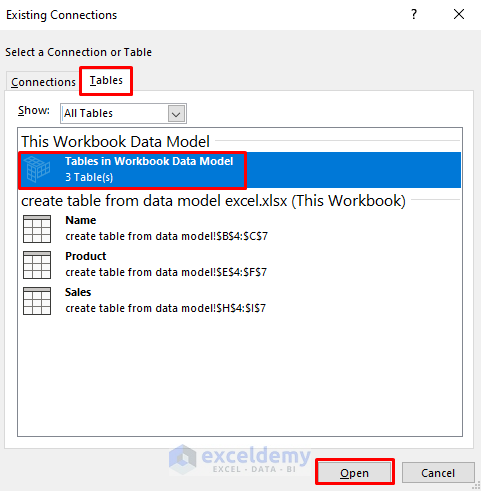
- Another dialog box will pop up.
- Go to the Tables tab.
- Press Workbook Data Model.
- Click Open.
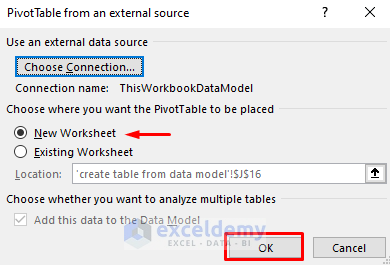
- Check New Worksheet.
- Press OK.
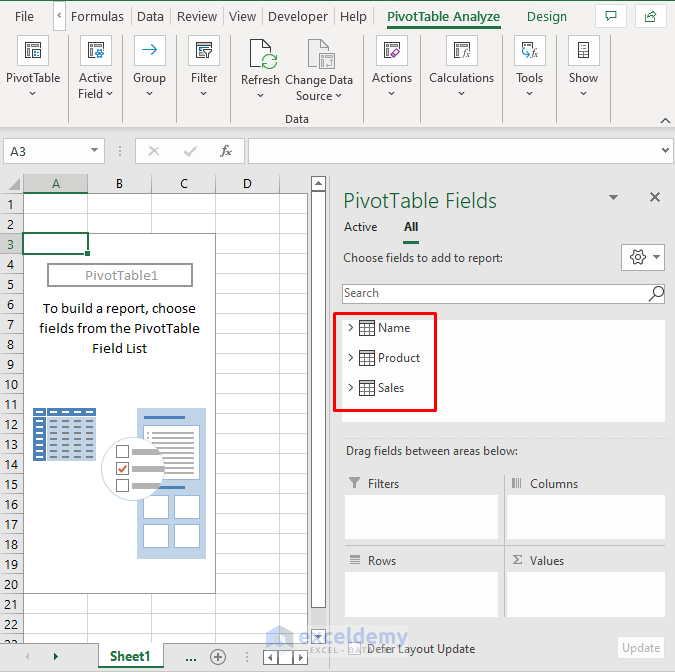
- This’ll return a new sheet where PivotTable Fields are present.
- You can perform numerous operations using the PivotTable tools.
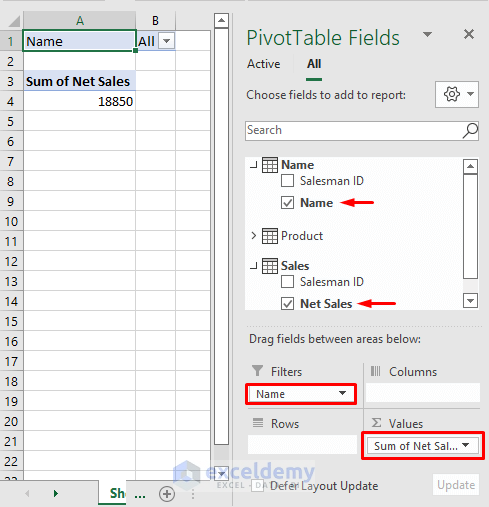
- Check the box for Names and drag it to place in the Filters.
- Check the Net Sales box and drag it to place in the Values field.
- You’ll see the total Net Sales.
Read More: [Fixed!] Excel Data Model Relationships Not Working
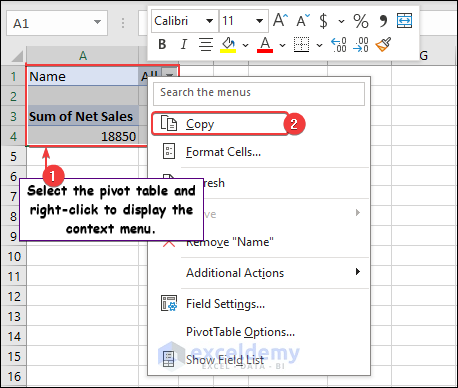
Step 4 – Convert the Pivot Table Data into a Typical Table
- Select the previously created pivot table.
- Right-click to display the context menu.
- Click on Copy.
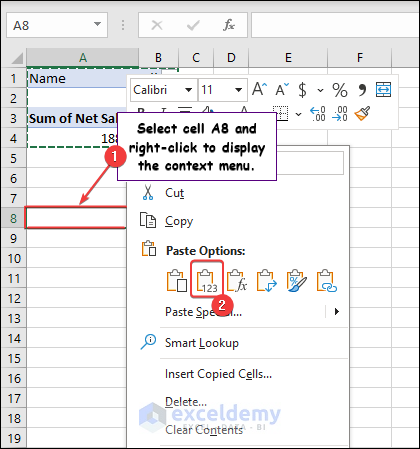
- Choose cell A8.
- Right-click to show the context menu.
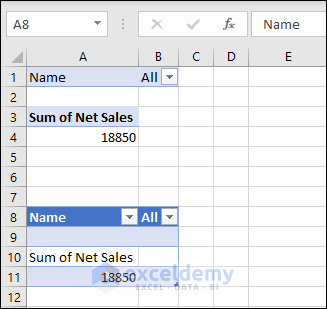
- Click onPaste as Values from the Paste Option.
- Select the range A8:B11 and press Ctrl + T.
- Check My table has headers.
- Hit OK.

- We have created a table from a data model.
Download the Practice Workbook
Related Articles
- Create Entity Relationship Diagram from Excel
- How to Make One to Many Relationship in Excel
- How to Create Many to Many Relationship in Excel
<< Go Back to Create Relationships in Excel | Data Model in Excel | Learn Excel
Get FREE Advanced Excel Exercises with Solutions!
