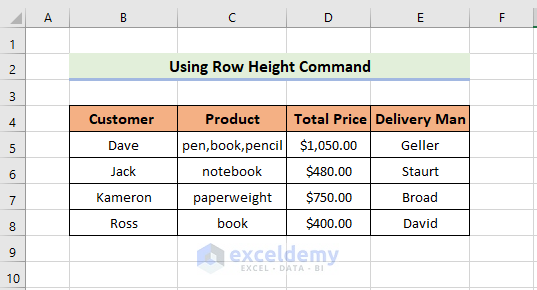
Method 1 – Using the Row Height Command
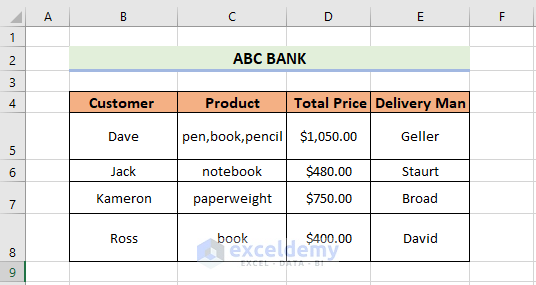
The dataset for this method contains the names of the Customer, the Product, the Price, and the Delivery Man for the ABC Bank. The main goal is to space the rows evenly. Columns A, B, C, and D, as well as the entire columns within the spreadsheet, can be accessed using this method.
Steps:
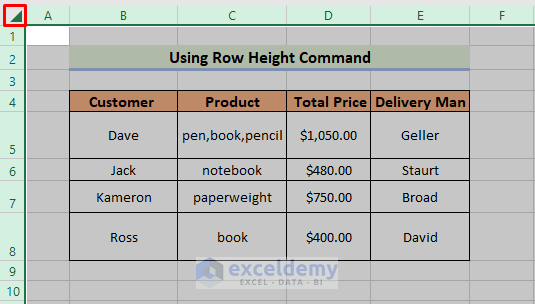
- Click on the “Select All” option to select every cell in the spreadsheet.
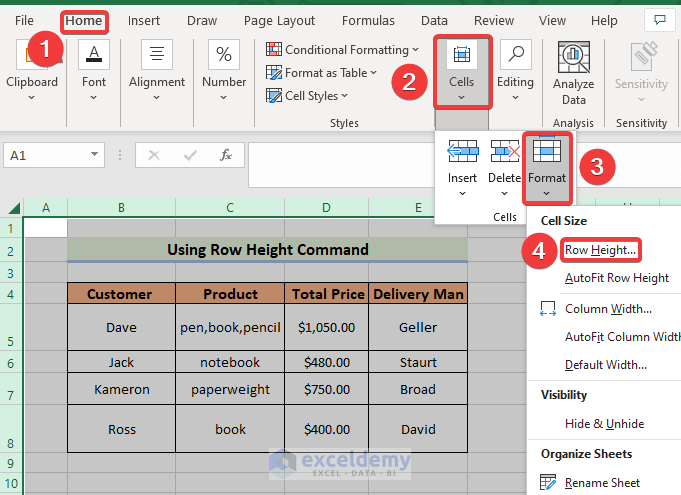
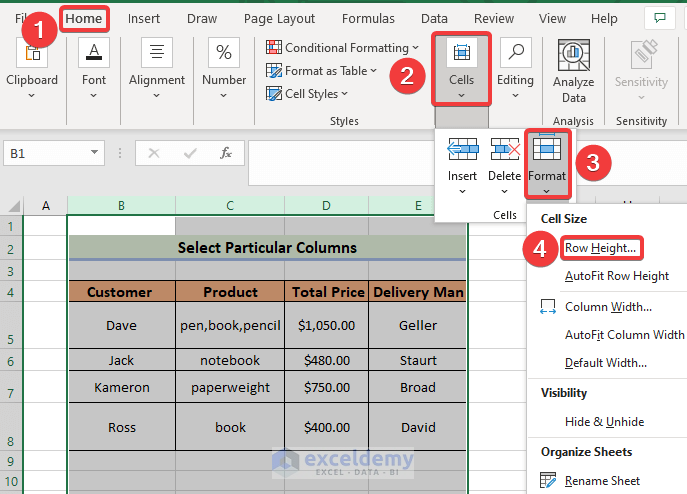
- Go to the Home tab and navigate to the Cells button.
- Select Format.
- Choose the Row Height command.
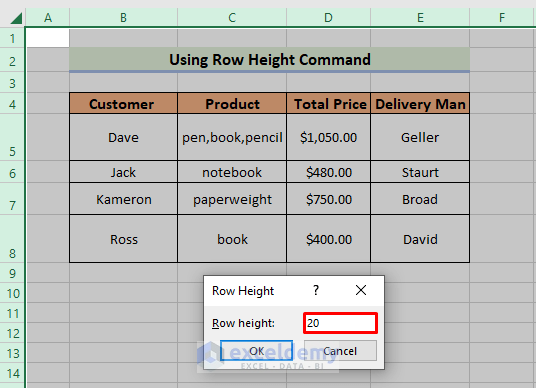
- Type the desired row height in the Row Height box
- Click OK.
- All rows will now have the same height, as pictured below.
You can also follow the procedures to space columns evenly.
Read More: How to Space out Cells in Excel
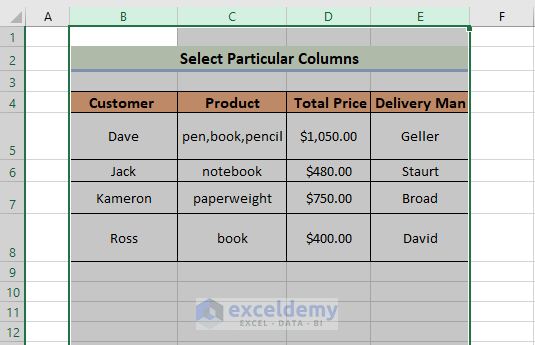
Method 2 – Select Particular Columns to Space Rows Evenly
This method works best when you have a limited number of rows.
Steps:
- Select Column B and press the Shift key.
- Tap on Columns C, D, and E.
- Go to the Home tab.
- Click on Cells and select Format.
- Tap the Row Height command.
- Type the desired row height in the Row Height box.
- Click OK.

- All rows will now have the same height, as pictured below.

You can also follow the procedures to space columns evenly.
Read More: How to Add Space between Numbers in Excel
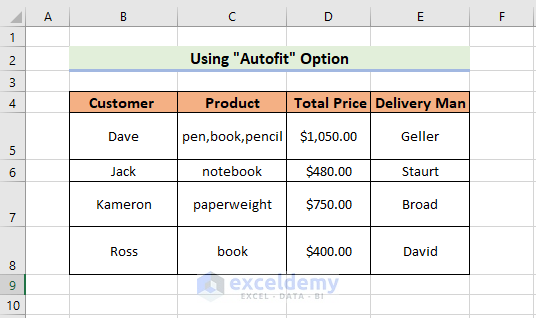
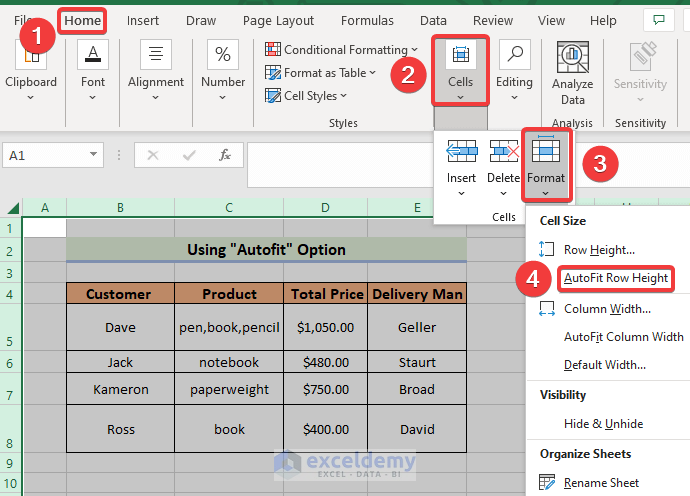
Method 3 – Utilizing the “AutoFit” Option in Excel
Steps:
- Click on the “Select All” option to select every cell in the spreadsheet.
- Go to the Home tab and press the Cells button.
- Select Format and click on the AutoFit Row Height command.
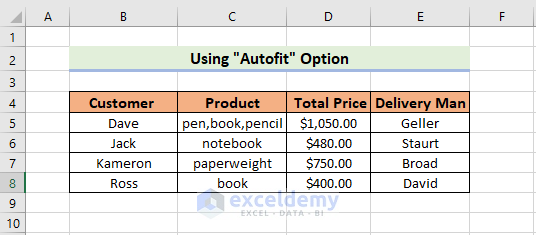
- All rows will now have the same height, as pictured below.
Read More: How to Add Space Between Text in Excel Cell
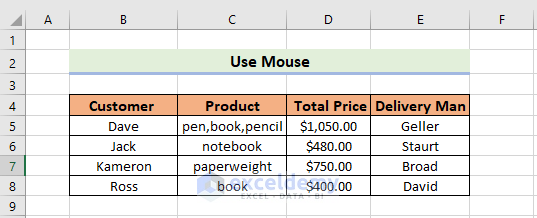
Method 4 – Double-Clicking the Row Heading
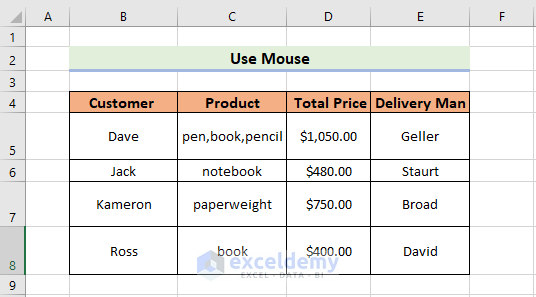
Steps:
- Point the mouse cursor to the row heading between Rows 7 and 8.
- Left–click on the sign two times.
- Follow the same steps for other rows.
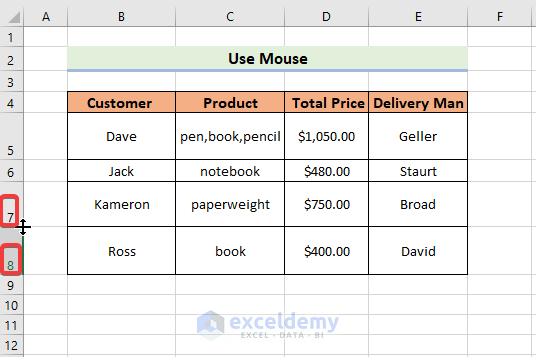
- All rows will now have the same height, as pictured below.
Method 5 – Embedding a VBA Code to Space Rows Evenly
Steps:
- Press ALT+F11 or go to the Developer tab.
- Select the Visual Basic button to launch the Visual Basic Editor.
- Click Insert and select Module.
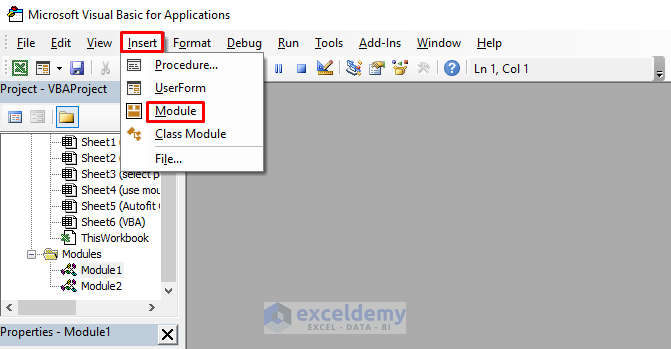
- Copy and paste the following code:
Sub space()
Selection.RowHeight = 20
End Sub- Close the Visual Basic window.
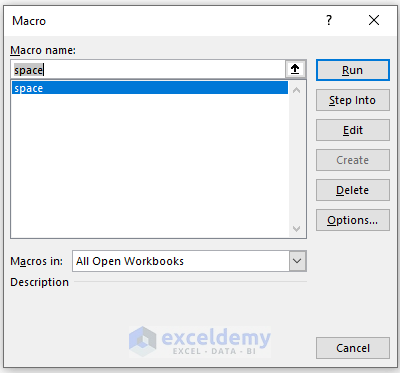
- Select the dataset and press ALT+F8.
- When the Macro dialogue box opens, select space under the Macro name section.
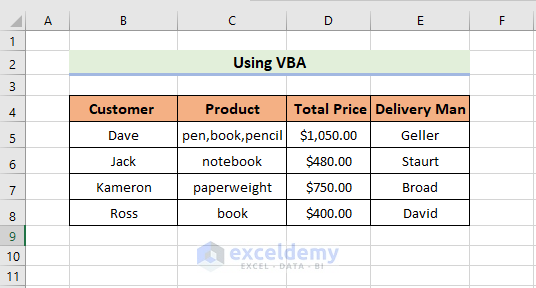
- Click on Run.
- All rows will now have the same height, as pictured below.
Download Practice Workbook
Download this workbook to practice while reading the article.
Related Articles
- Add Blank Space Using Excel Formula
- How to Add Space between Rows in Excel
- How to Insert Tab in Excel Cell
<< Go Back to Space in Excel | Text Formatting | Learn Excel
Get FREE Advanced Excel Exercises with Solutions!
