XML is a markup language mainly used for transferring data or records, or encoding particular documentation. This tutorial will demonstrate how to edit an XML file in Excel.
How to Edit an XML File in Excel: Step-by-Step Procedures
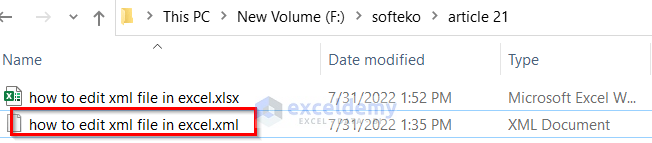
Step 1 – Selecting the XML File
Before we can edit the XML file, we’ll need to open it.
- Use the Windows Start button, the search bar, or other method to to find the XML file’s location.
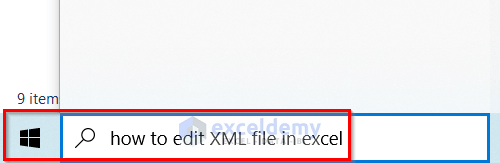
- Select the XML file.
Read More: How to Convert Large XML to Excel
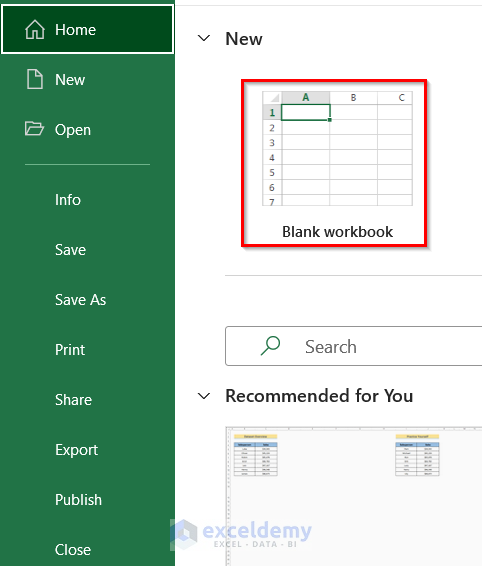
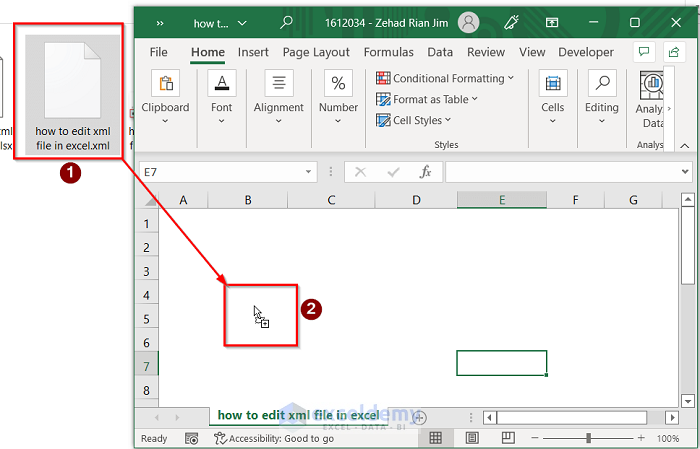
Step 2 – Displaying the XML Content in Excel
- Open a blank workbook in Excel.
- Click on the XML file and drag it into the blank workbook.
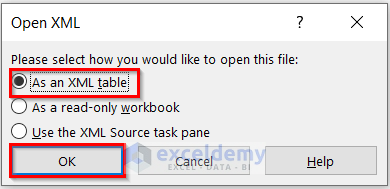
An Open XML dialog box opens.
- Select the option to open As an XML table and click OK.
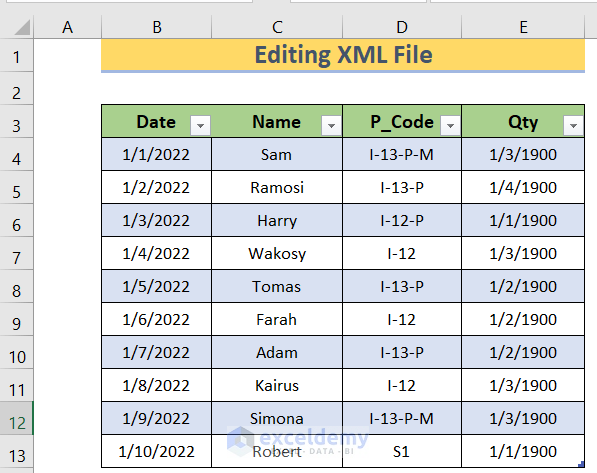
- The XML file is opened in the worksheet, and looks something like this:
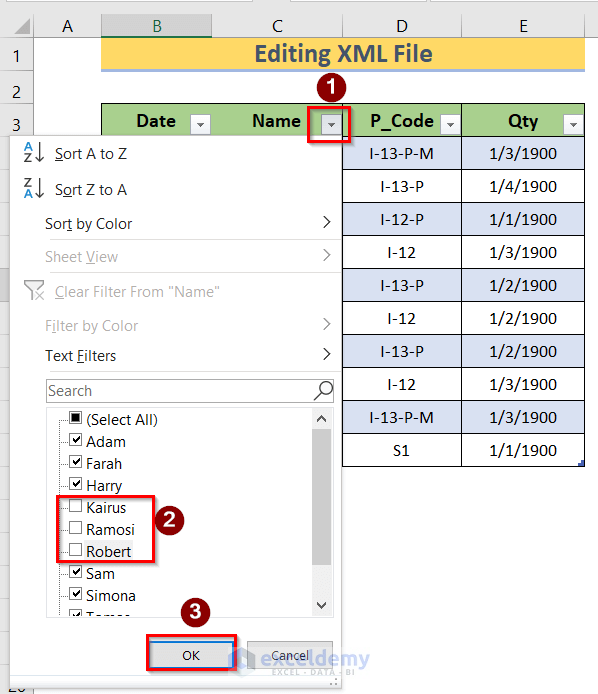
Step 3 – Editing the Excel Document
Our XML is ready for editing in Excel.
- Click on the Filter Text option and make desired changes to the Excel file.
- Click OK.
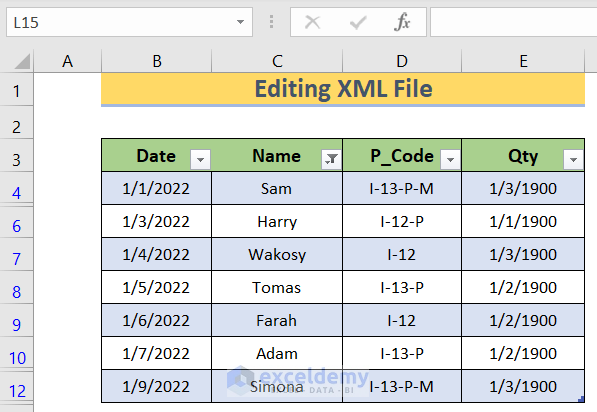
The result of our editing looks like this:
Read More: How to Convert XML to Excel Table
Step 4 – Saving the Edited File As an XML Document
Now we’ll save the edited data from Excel back into an XML document.
- Go to the File tab.
- Select Save As or press Shift+S to save the desired document.

- Select the XML Data option to save the Excel file as an XML file.
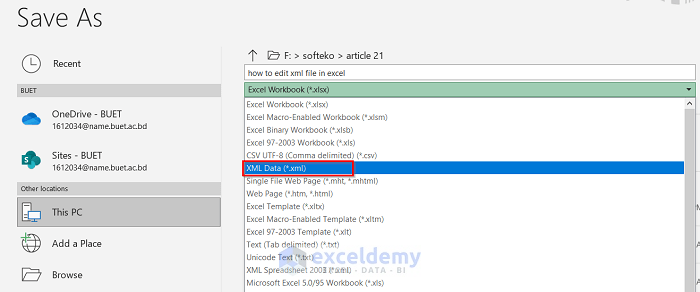
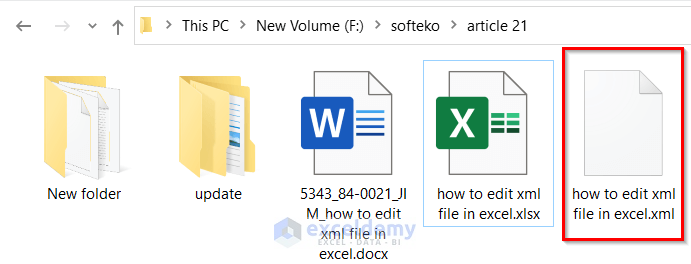
- The XML file is saved in the specified location.
Read More: VBA Code to Convert XML to Excel
Download Practice Workbook
Related Articles
- Difference Between XML and Excel Files
- [Solved]: XML File Not Opening in Excel
- How to Extract Data from XML File to Excel
- How to Convert XML to Columns In Excel
<< Go Back to Import XML to Excel | Importing Data in Excel | Learn Excel
Get FREE Advanced Excel Exercises with Solutions!
