Watch Video – Create New Sheets for Each Row in Excel
Suppose you have the following dataset:
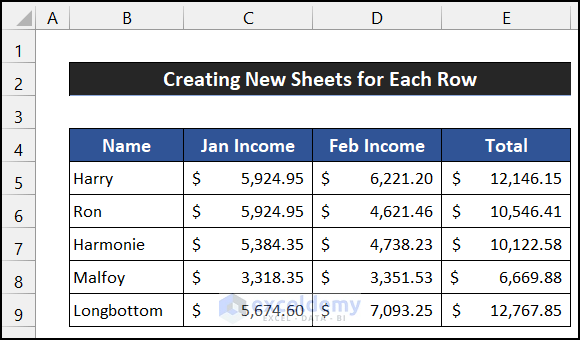
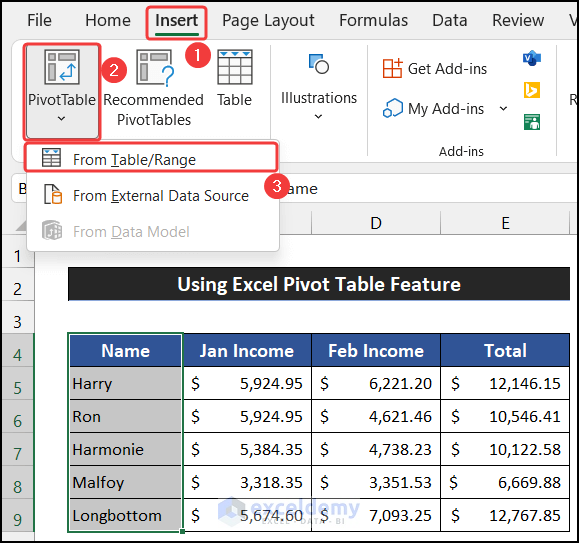
Method 1 – Using an Excel Pivot Table
Steps:
- Select the range of cells that contains the data you want new rows for.
- On the Insert menu, select the drop-down arrow of the PivotTable group and choose the From Table/ Range option.
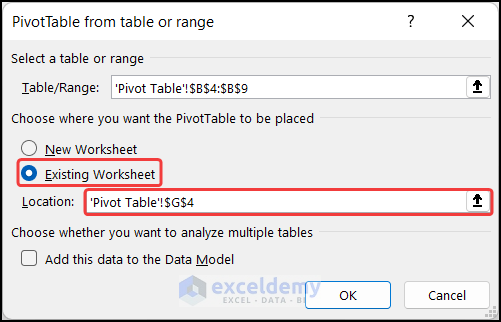
- A small dialog box called PivotTable from table or range will appear.
- Change the output display location of the PivotTable from New Worksheet to Existing Worksheet and select an empty cell in the Location field for the PivotTable.
- Click OK.
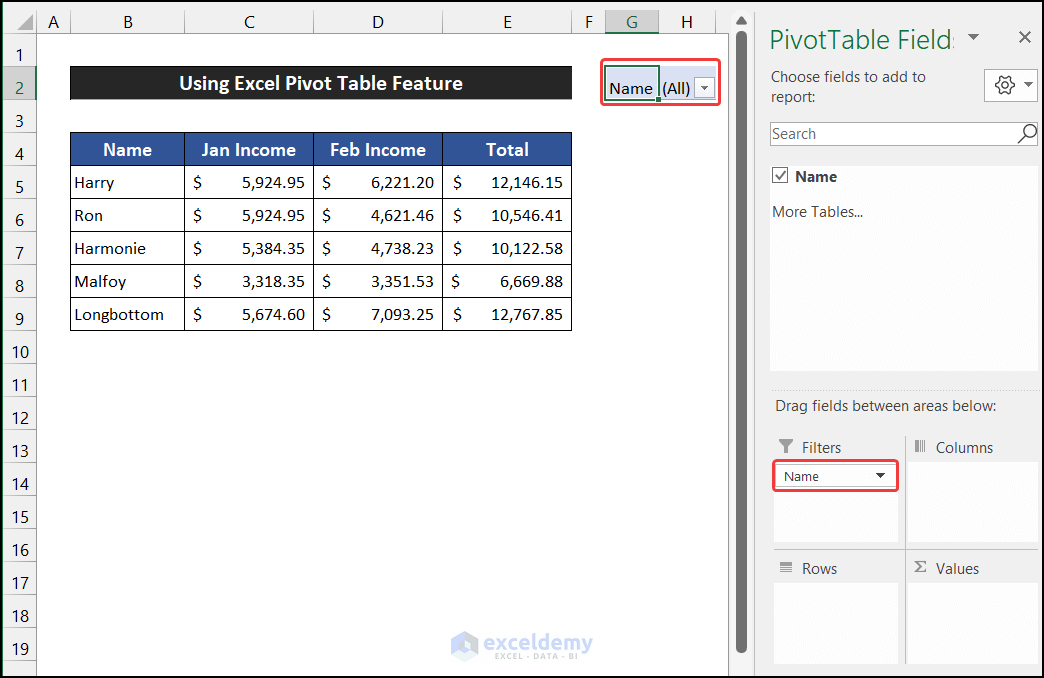
- A window called PivotTable Field will appear next to the PivotTable.
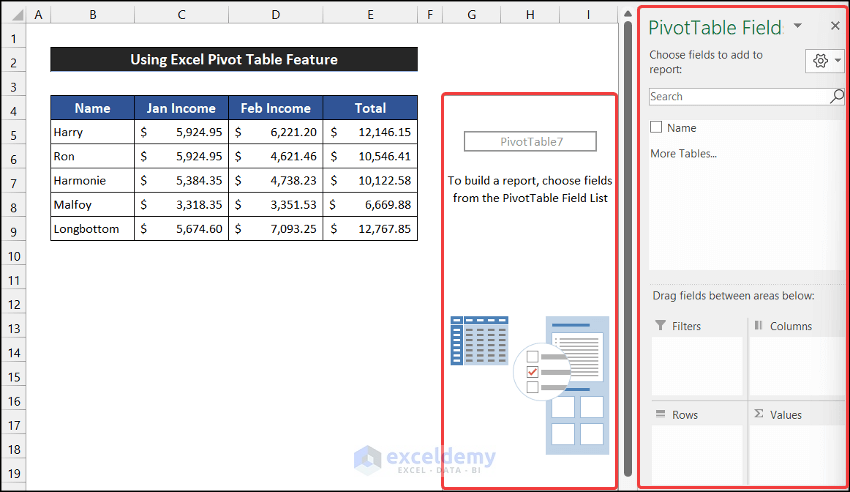
- Choose the appropriate header for your data and drag it inside the Filter field.
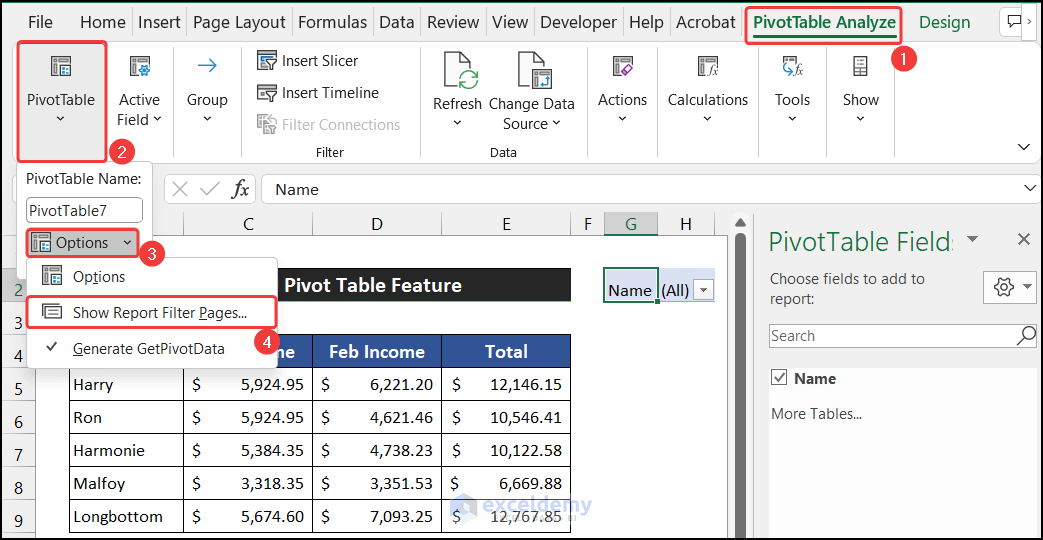
- In the PivotTable Analyze menu, click the Options drop-down arrow and select the Show Report Filter Pages option from the PivotTable group.
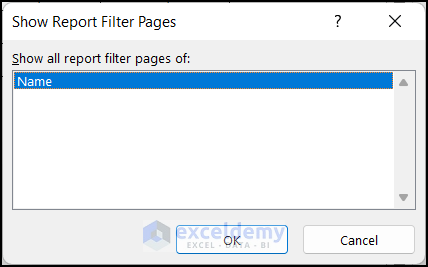
- Another small dialog box called Show Report Filter Pages will appear.
- Select the Name option and click OK.
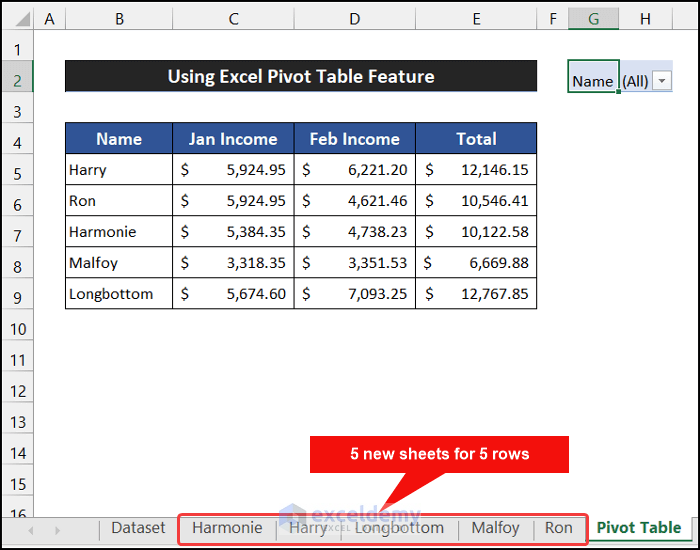
- You will see new sheets in the Sheet Name Bar, each with the name of a row.
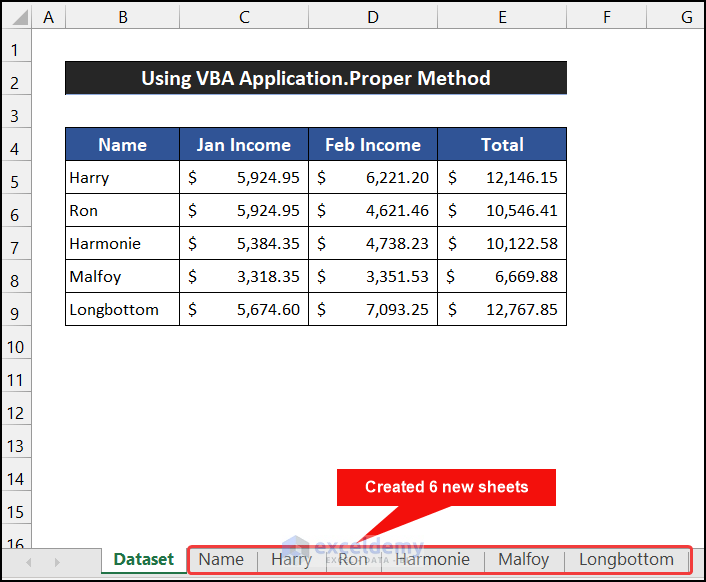
Method 2 – Using The VBA Application
Steps:
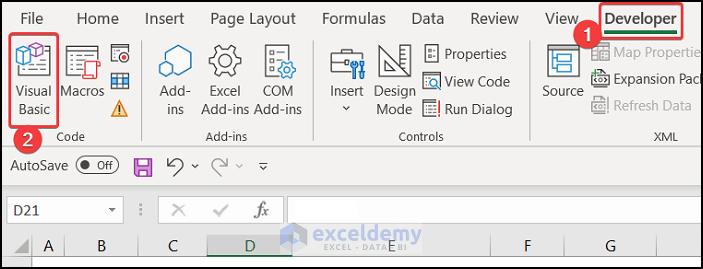
- Go to the Developer tab and click on Visual Basic. (If you don’t see it, enable the Developer tab, or press ‘Alt+F11’ to open the Visual Basic Editor).
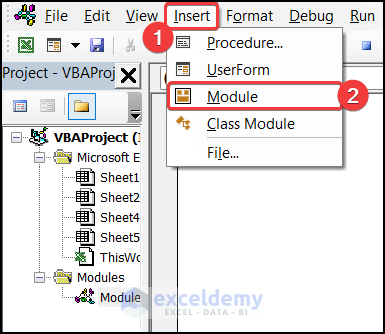
- A dialog box will appear.
- In the Insert tab on that box, click on Module.
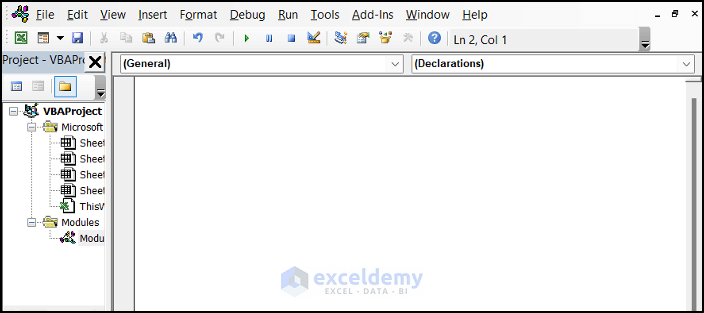
- Use the following visual code in that empty editor box.
Sub Rows_to_New_Sheet()
Dim A, W_S As Worksheet, LastRow
On Error Resume Next
LastRow = Cells.SpecialCells(xlCellTypeLastCell).Row
For Each A In Range("B4:B" & LastRow)
    If A.Value <> "" Then
        Set W_S = Worksheets(A.Value)
        If W_S Is Nothing Then
            Sheets.Add after:=Sheets(Sheets.Count)
            ActiveSheet.Name = Application.Proper(A.Value)
        End If
    End If
Next A
End Sub- Close the Editor tab.
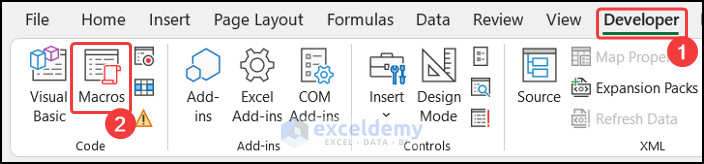
- In the Developer tab, select the Macros option from the Code group.
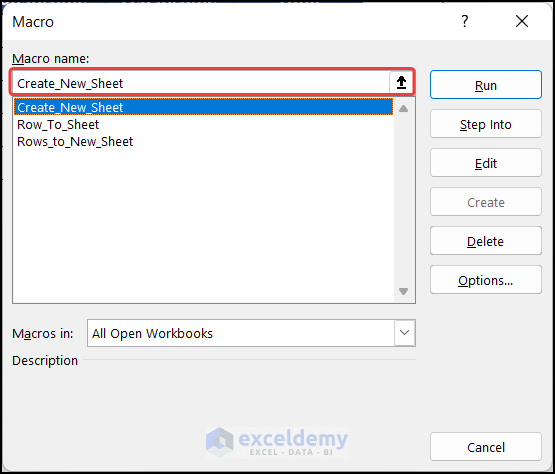
- A new dialog box called Macro will appear. Select Rows_to_New_Sheet.
- Click on the Run button to run this code.

- You will see new sheets in the Sheet Name Bar, each with the name of a row. (This code will also create a new sheet for the table heading row.)
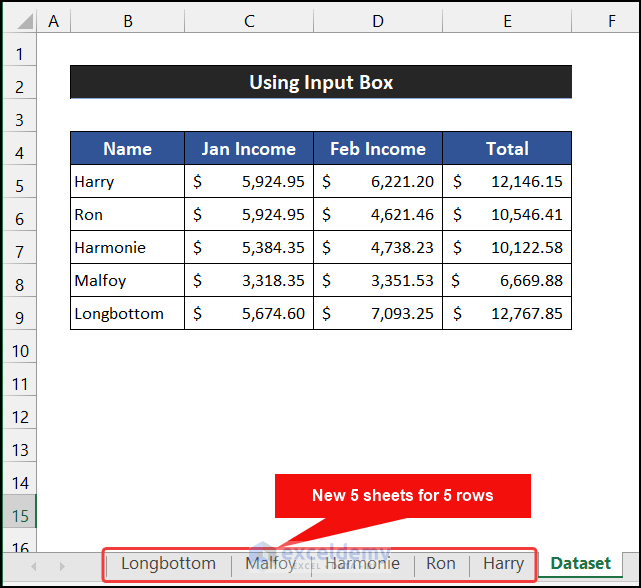
Method 3 – Using an Input Box
Steps:
- Go to the Developer tab and click on Visual Basic. (If you don’t see it, enable the Developer tab, or press ‘Alt+F11’ to open the Visual Basic Editor).
- A dialog box will appear.
- In the Insert tab on that box, click Module.
- Use the following visual code in that empty editor box.
Sub Create_New_Sheet()
Dim Range As Range
Dim Cell As Range
On Error GoTo Errorhandling
Set Range = Application.InputBox(Prompt:="Select Cell range:", _
Title:="Create sheets", _
Default:=Selection.Address, Type:=8)
For Each Cell In Range
    If Cell <> "" Then
        Sheets.Add.Name = Cell
    End If
Next Cell
Errorhandling:
End Sub- Close the Editor tab.
- In the Developer tab, select the Macros option from the Code group.
- A small dialog box called Macro will appear.
- Select Create_New_Sheet and click on the Run button to run this code.
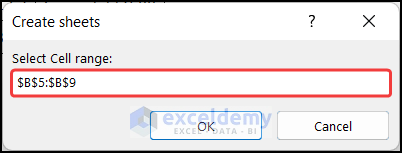
- A small input dialog box called Create Sheet will appear.
- Select the range of cells to convert to new sheets.
- Click OK.
- You will see new sheets in the Sheet Name Bar, each with the name of a row.
Read More: How to Insert Sheet from Another File in Excel
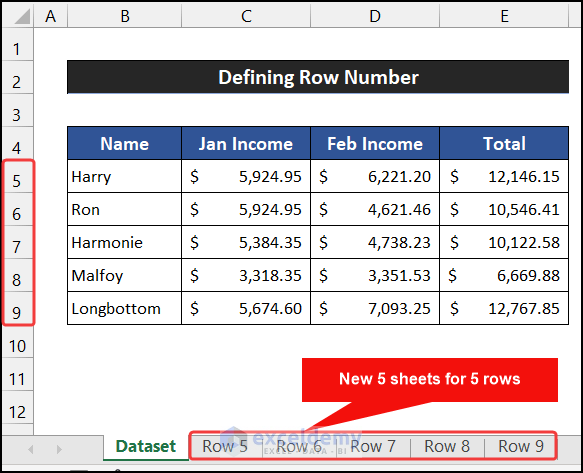
Method 4 – Defining The Row Number
Steps:
- Go to the Developer tab and click on Visual Basic. (If you don’t see it, enable the Developer tab, or press ‘Alt+F11’ to open the Visual Basic Editor).
- A dialog box will appear.
- In the Insert tab on that box, click on the Module option.
- Use the following visual code in that empty editor box.
Sub Row_To_Sheet()
    Dim X_Row As Long
    Dim A As Long
    With ActiveSheet
        X_Row = .Range("B5").End(xlDown).Row
        For A = 5 To X_Row
            Worksheets.Add(, Sheets(Sheets.Count)).Name = "Row " & A
        Next A
    End With
End Sub- Close the Editor tab.
- In the Developer tab, select the Macros option from the Code group.
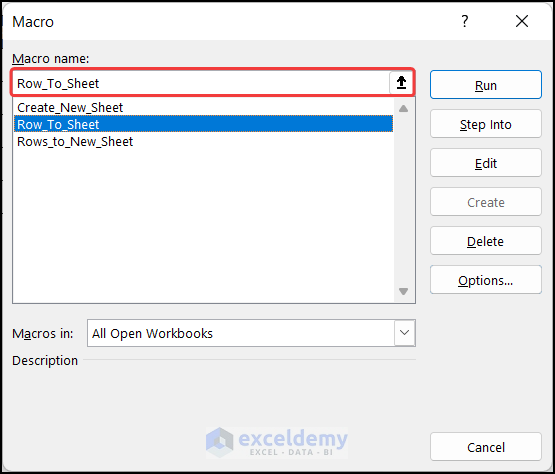
- A new dialog box called Macro will appear.
- Select Row_To_Sheet and click on the Run button.
- You will see new sheets in the Sheet Name Bar, each named for the row number.
Read More: How to Create Multiple Sheets in Excel with Different Names
Download Practice Workbook
Download this practice workbook for practice while you are reading this article.
Related Articles
- How to Create Multiple Sheets with Same Format in Excel
- Understanding Excel Spreadsheets
- How to Create Multiple Worksheets from a List of Cell Values
- How to Create Multiple Sheets in Excel at Once
<< Go Back to Insert Sheet | Worksheets | Learn Excel
Get FREE Advanced Excel Exercises with Solutions!
