Excel is the most widely used tool for dealing with massive datasets. We can perform myriads of tasks of multiple dimensions in Excel. Excel is useful to create a date hierarchy. We can use PivotTable to do that. In this article, I will show you how to create date hierarchy in Excel Pivot Table with easy steps.
How to Create Date Hierarchy in Excel Pivot Table: 7 Quick Steps
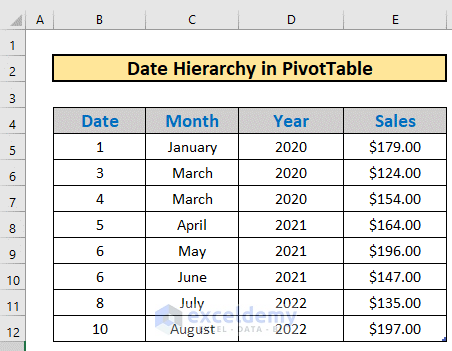
This is the dataset for today’s article. We have some dates and amount of sales on each day. I will use this dataset to illustrate how to create date hierarchy in Excel Pivot Table.
Step 1: Add Dataset to Data Model
The first task is to add dataset to the Data Model. To do so,
- Select the entire dataset B4:E12.
- Then, go to the Power Pivot
- After that, select Add to Data Model.
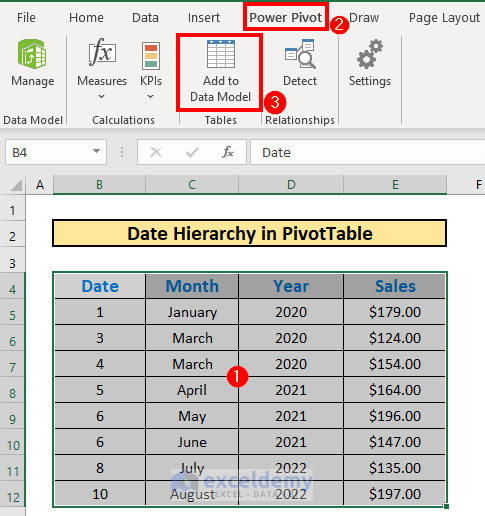
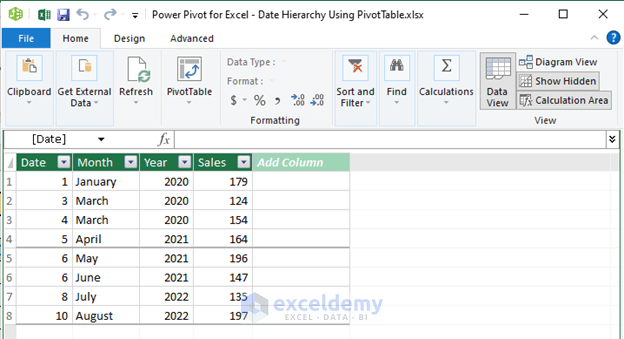
- Excel will add the dataset to the data model.
Step 2: Activate Diagram View
The next step is to activate Diagram View. To do so,
- Select Diagram View from the Data Model
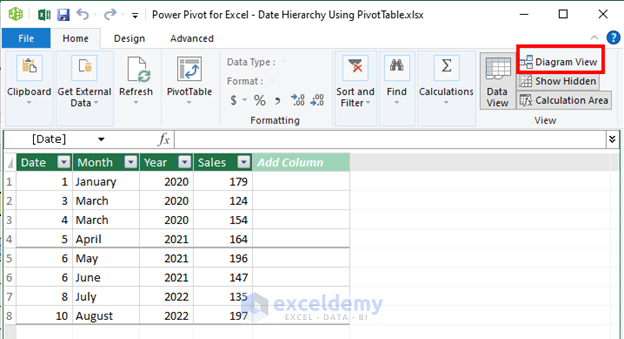
- Excel will activate the Diagram View.
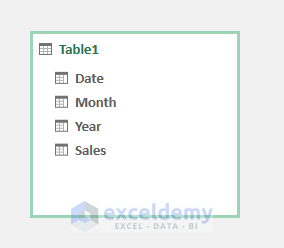
Step 3: Select Column to Create Hierarchy
Now, I will illustrate how to select a column and create a hierarchy. To do so,
- Select the column Year.
- Then, right-click your mouse.
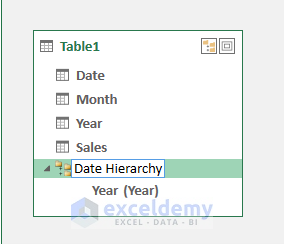
- After that, select Create Hierarchy.

- Excel will create a hierarchy.
- Rename as you wish. I am going to call it Date Hierarchy.
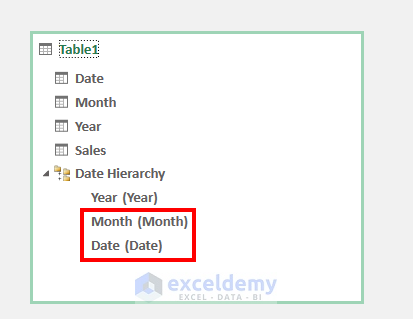
Step 4: Create Child Hierarchy Level
Now, we need to create a child hierarchy level. The Month and Date column will be the child levels in this case.
- Drag them one by one within the parent hierarchy level.
Read More: How to Create Multi Level Hierarchy in Excel
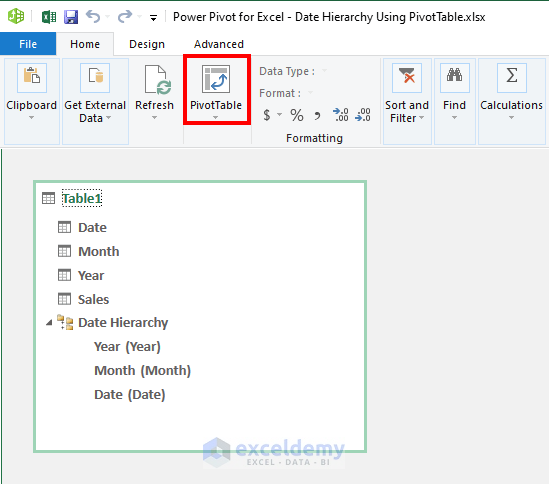
Step 5: Create PivotTable
The next step is to create a pivot table with the dataset. To do so,
- Select PivotTable.
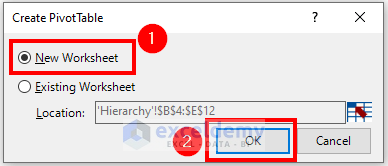
- Create PivotTable box will appear. Select New Worksheet.
- Then, press OK.
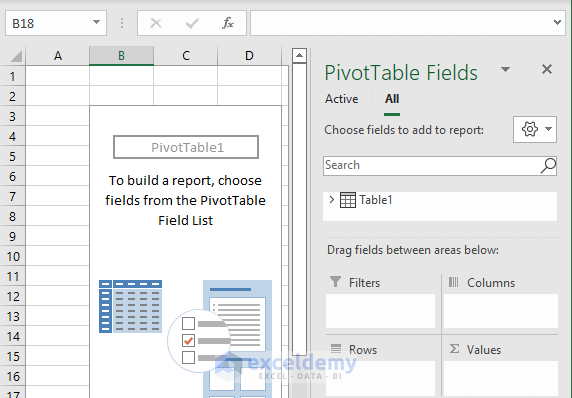
- Excel will create a PivotTable.
Step 6: Edit PivotTable Fields
Our final step is to edit the PivotTable Fields. I will show you how to do so.
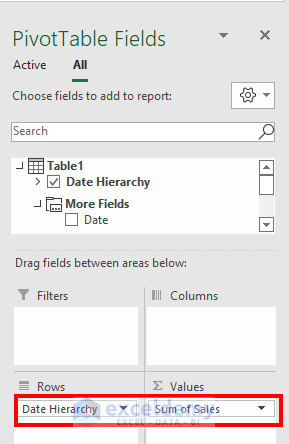
- Drag Date Hierarchy to Rows level and Sales to Values. You will find the Sales column in the More Fields
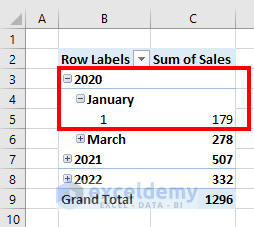
- This will be the output. To see the hierarchy, click the + icon.
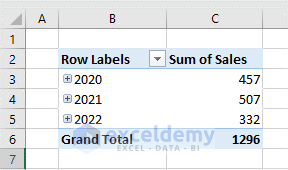
- Excel will show you the hierarchy.
Read More: How to Add Row Hierarchy in Excel
Step 7: Format PivotTable
Finally, format the PivotTable the way you want. I am going to format it this way.

Read More: How to Create Hierarchy in Excel Pivot Table
Things to Remember
- You must activate the Power Pivot add-in for this task.
- You can change the positions of the columns in the hierarchy.
Download this dataset and practice while going through this article.
Conclusion
In this article, I have explained how to create date hierarchy in Excel Pivot Table. I hope it helps everyone. If you have any suggestions, ideas, or feedback, please feel free to comment below.
Related Articles
- How to Make Hierarchy Chart in Excel
- How to Use SmartArt Hierarchy in Excel
- How to Create a Hierarchy of the State City and Zip Code in Excel
<< Go Back to Hierarchy in Excel | SmartArt in Excel | Learn Excel
Get FREE Advanced Excel Exercises with Solutions!
