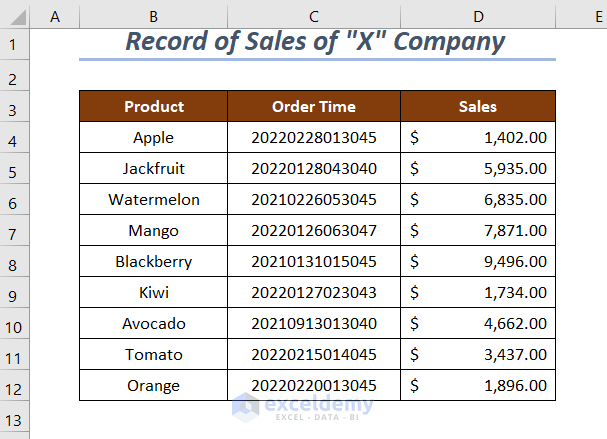
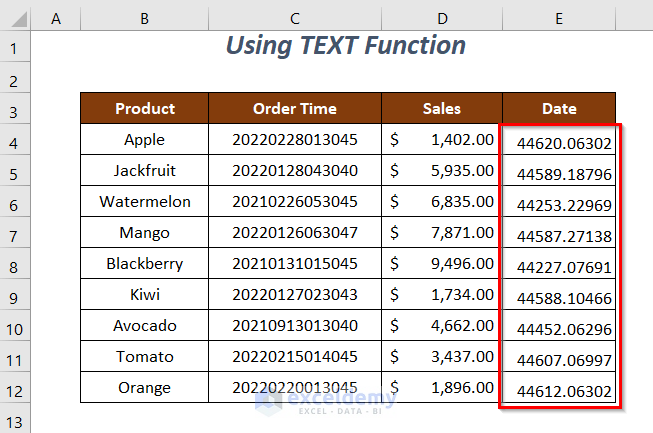
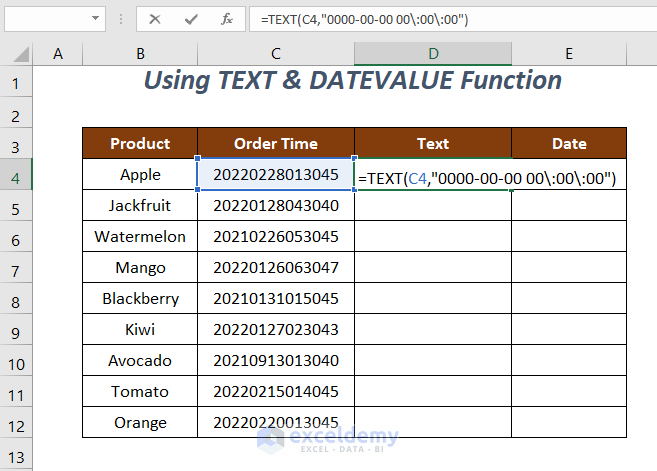
The following table containing the sales records of a company. It has some SAP Timestamps in the Order Time column. We will convert them into dates.
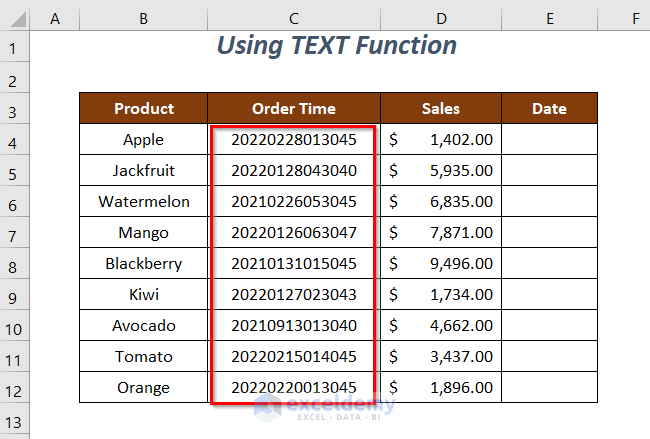
Method 1 – Using the TEXT Function to Convert a SAP Timestamp to a Date
We’ll use the sample dataset.
Steps:
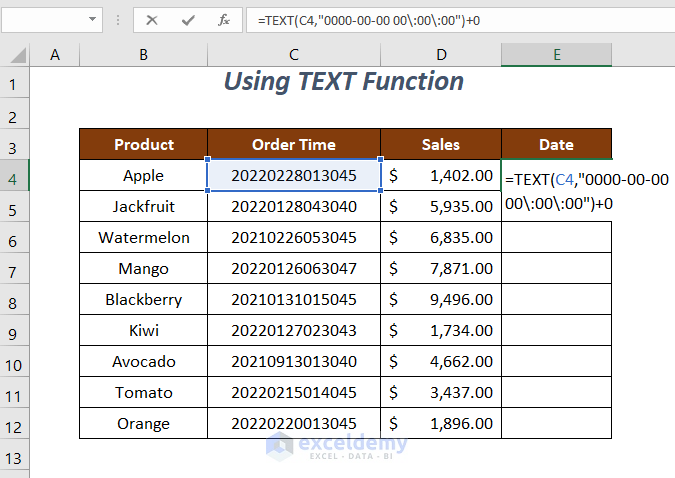
- Use the following formula in cell E4.
=TEXT(C4,"0000-00-00 00\:00\:00")+0TEXT will convert the value in cell C4 into a text in the given format and then we have added 0 with it to convert the text again into value.
- Press Enter and drag down the Fill Handle tool.
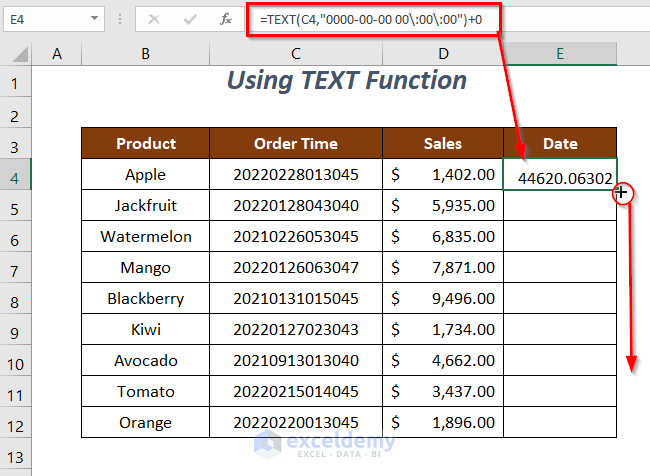
Then you will get the values of the corresponding dates and so now you have to change the General format into Date.
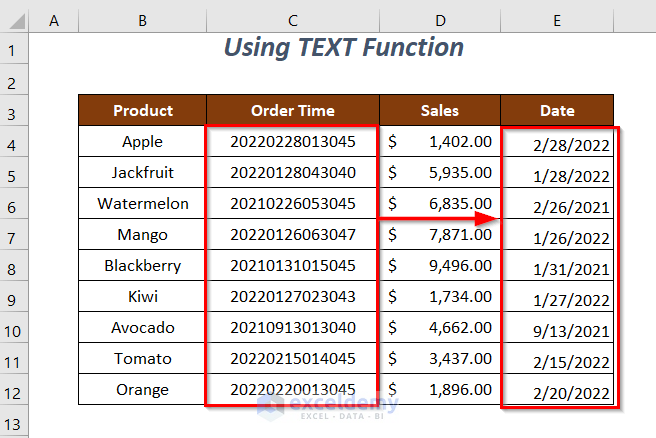
- Select the range of the Date column and go to the Home tab.
- Select the Short Date format from the Number Format dropdown box.
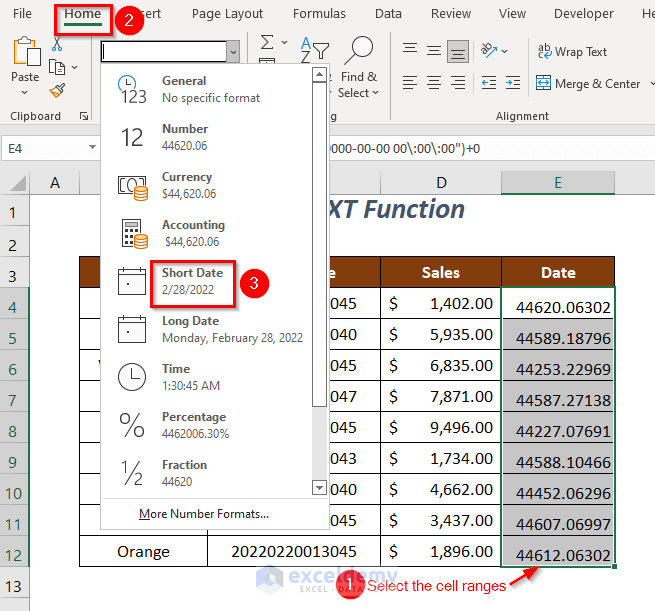
You will get the dates from a SAP Timestamp in the Date column.
Read More: How to Convert Timestamp to Date in Excel
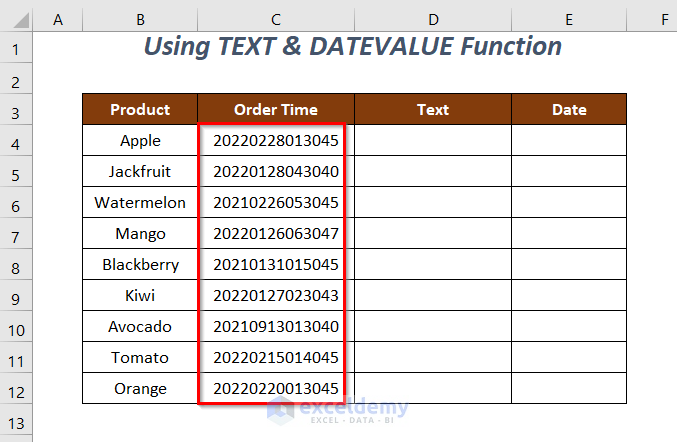
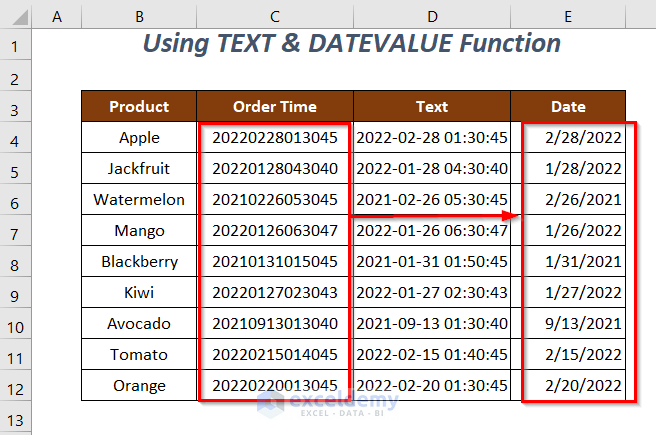
Method 2 – Using the DATEVALUE Function with TEXT
We’ll use the starting dataset.
Steps:
- Insert the following formula in cell D4.
=TEXT(C4,"0000-00-00 00\:00\:00")TEXT will convert the value in cell C4 into text in the given format.
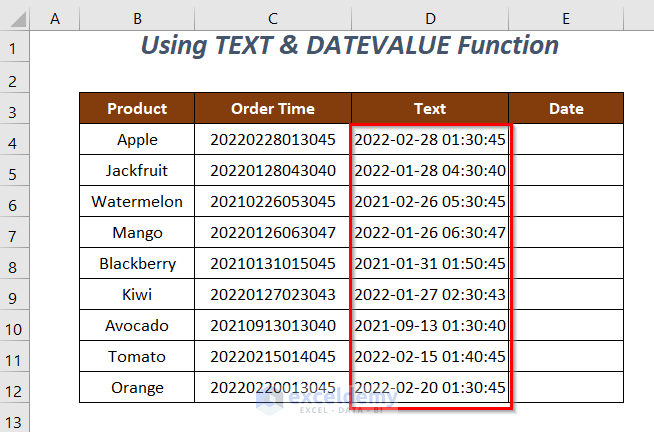
- Press Enter and drag down the Fill Handle tool.
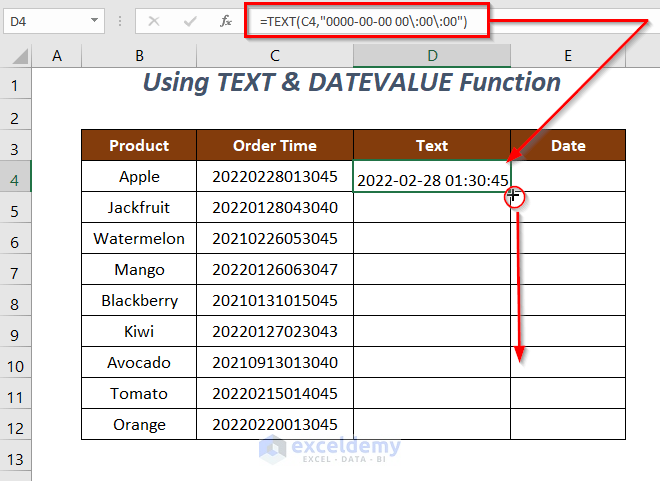
We have converted the Timestamps of the Order Time column into text strings in the format YYYY-MM-DD hh: mm: ss.
- Use the following formula in cell E4.
=DATEVALUE(D4)Here, DATEVALUE will convert the text string of D4 into a date.
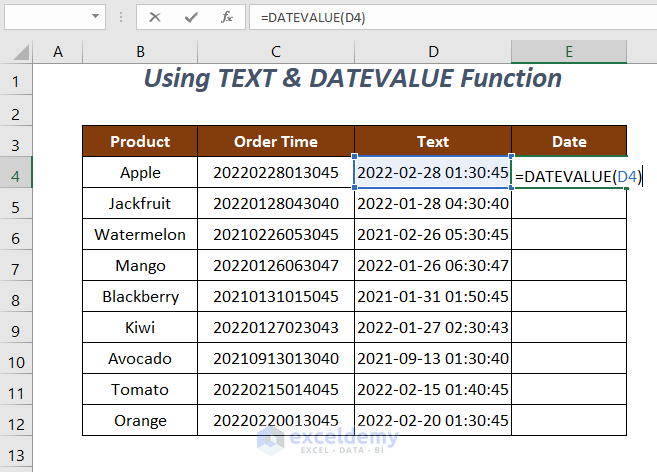
- Press Enter and drag down the Fill Handle tool.

Here’s the result.
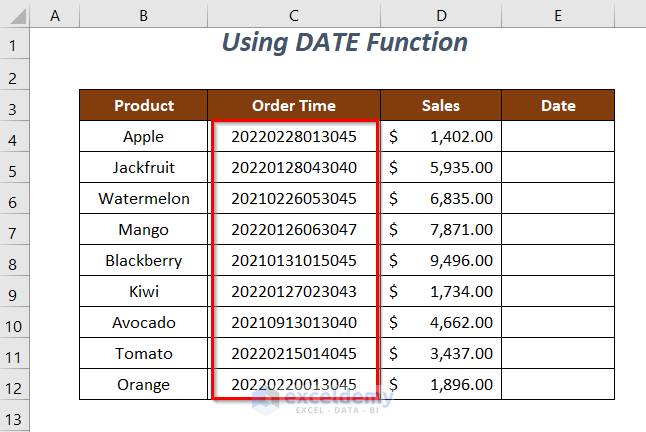
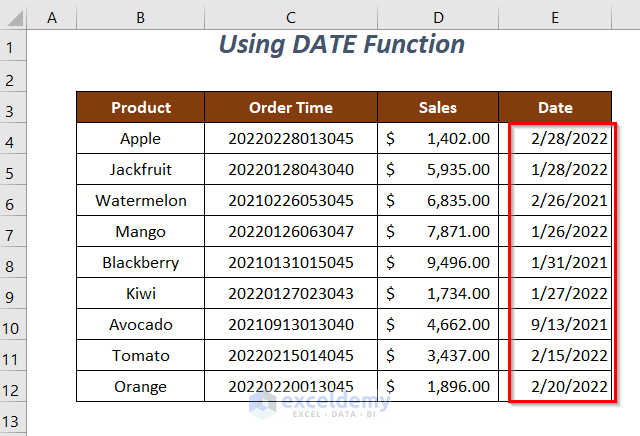
Method 3 – Using DATE, LEFT, and MID Functions
We’ll use the starting dataset.
Steps:
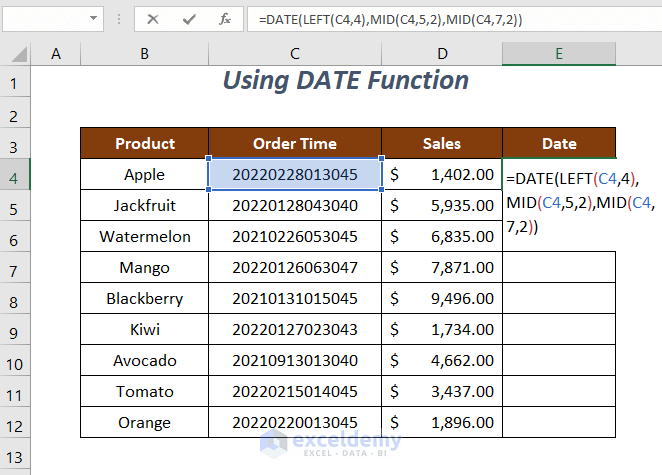
- Insert the following formula in cell E4.
=DATE(LEFT(C4,4),MID(C4,5,2),MID(C4,7,2))Here, C4 is the SAP Timestamp value.
- LEFT(C4,4) → 2022
- MID(C4,5,2) → 02
- MID(C4,7,2) → 28
- DATE(LEFT(C4,4),MID(C4,5,2),MID(C4,7,2)) becomes
DATE(2022,02,28)
- Output → 2/28/2022
- Press Enter and drag down the Fill Handle tool.
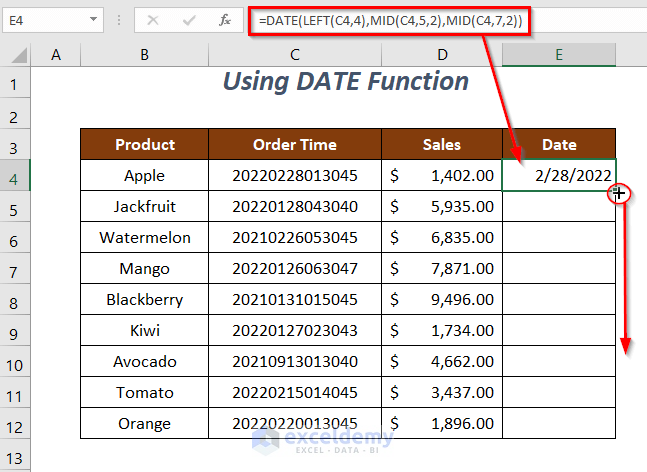
Here are the results.
Read More: How to Convert 13 Digit Timestamp to Date Time in Excel
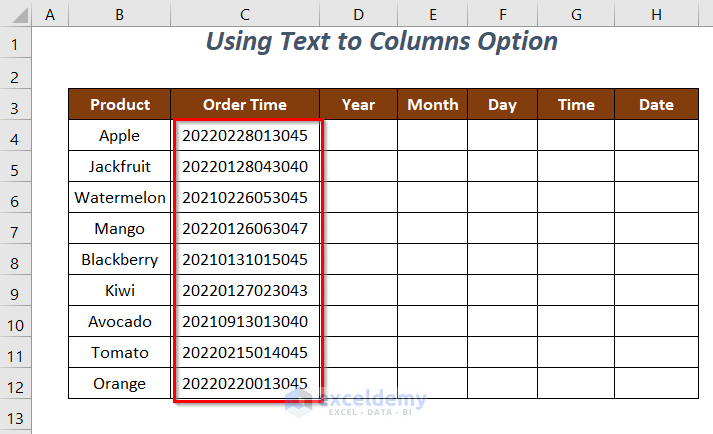
Method 4 – Using Text to Columns
We’ll use the starting dataset and add four helper columns before the result.
Steps:
- Select the range of the Order Time column, go to the Data tab, and select Text to Columns.
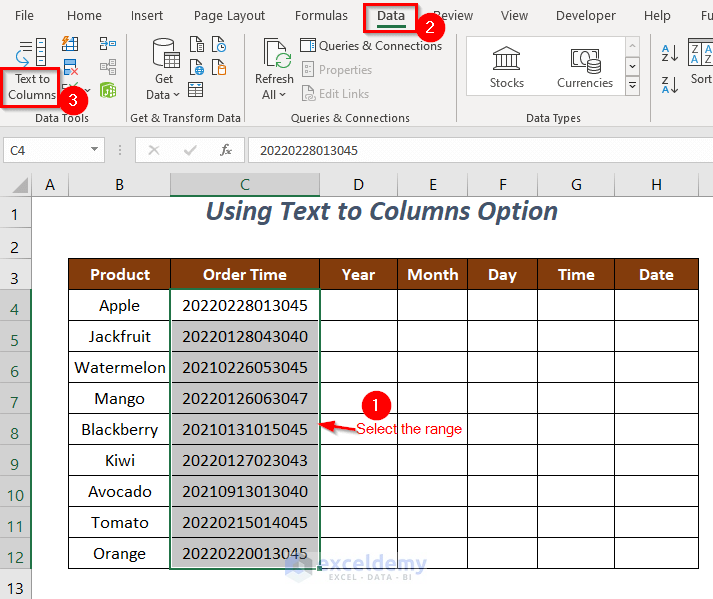
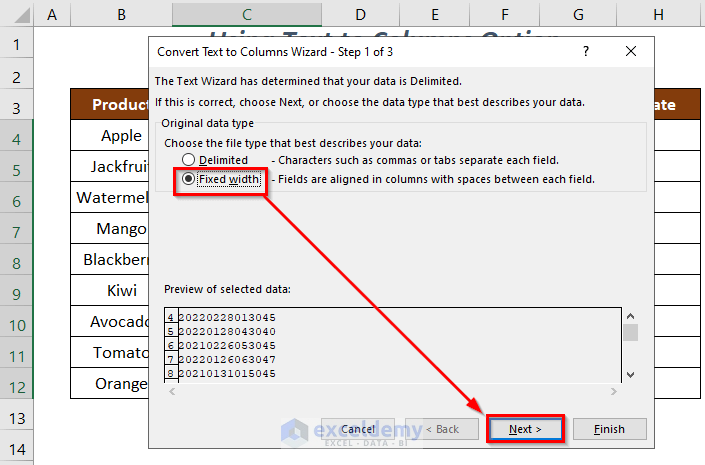
The Convert Text to Column Wizard will pop up.
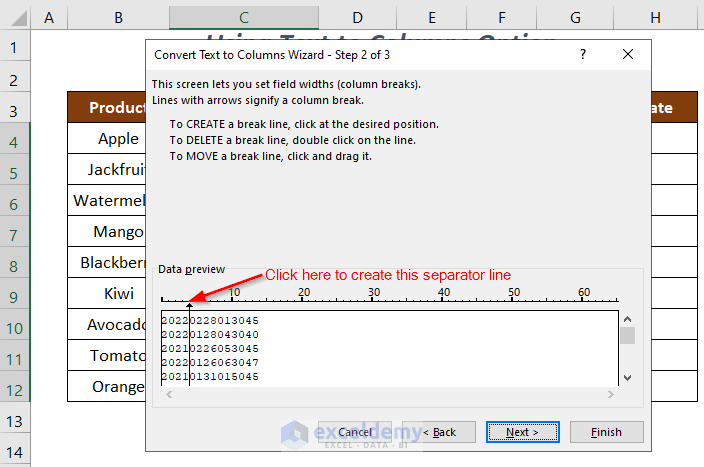
- Select the Fixed width option and click Next.
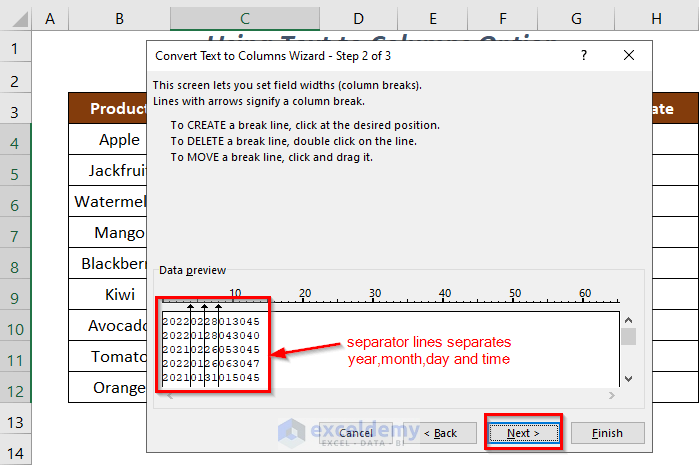
- Click at your desired position to create a break line according to which the values will be split into different columns. We have clicked after the first 4 digits to separate the year.
- Create the break lines for separating the month and day, then select the Next option to go to the final stage.
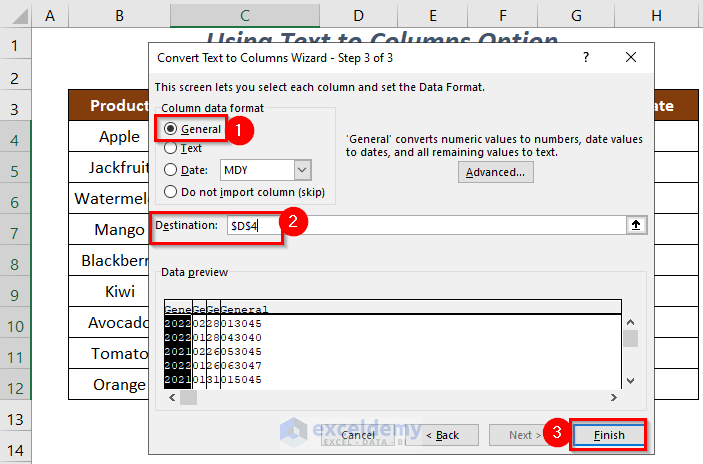
- Select General as the Column data format option, type the name of the cell $D$4 for the Destination option, and click Finish.
We have separate years, months, days, and times in the helper columns.
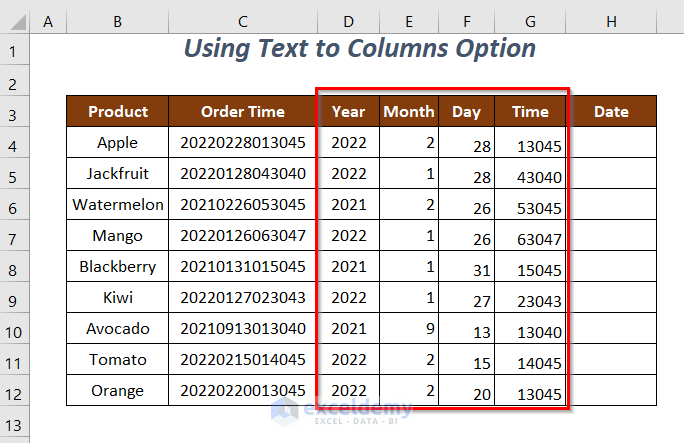
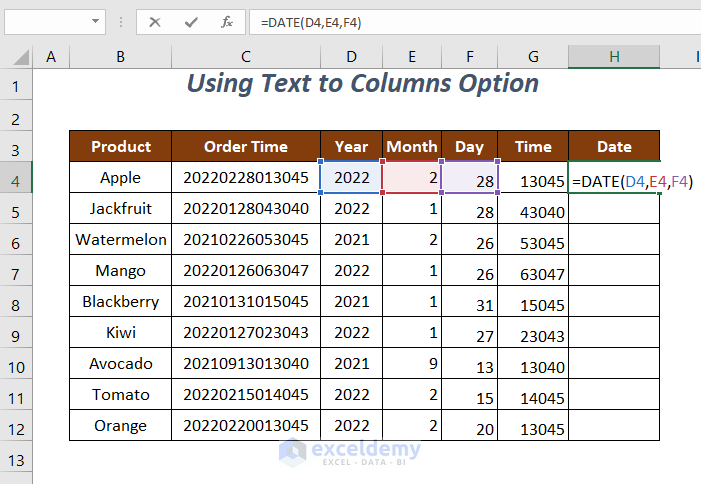
- Use the following formula in cell H4.
=DATE(D4,E4,F4)Here, D4 is the year, E4 is the month and F4 is the day.
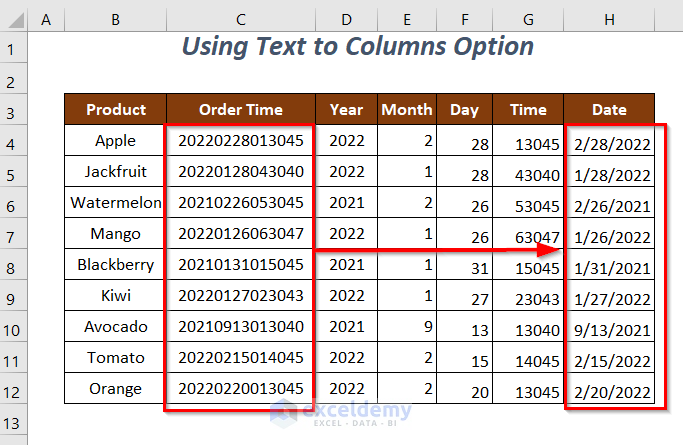
- Press Enter and drag down the Fill Handle tool.
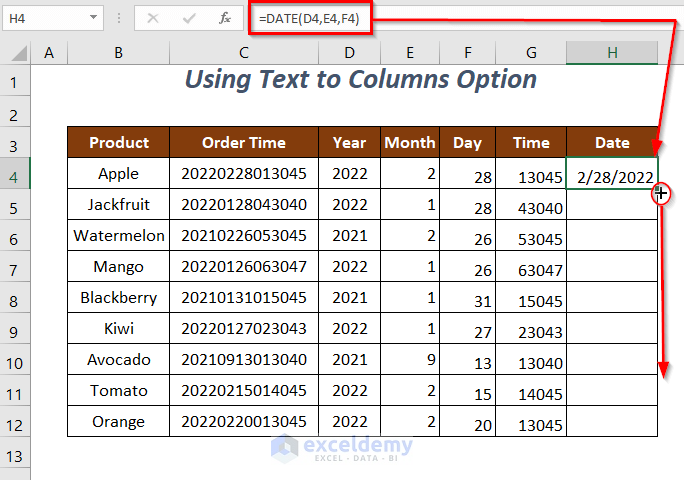
We will get the dates in the Date column.
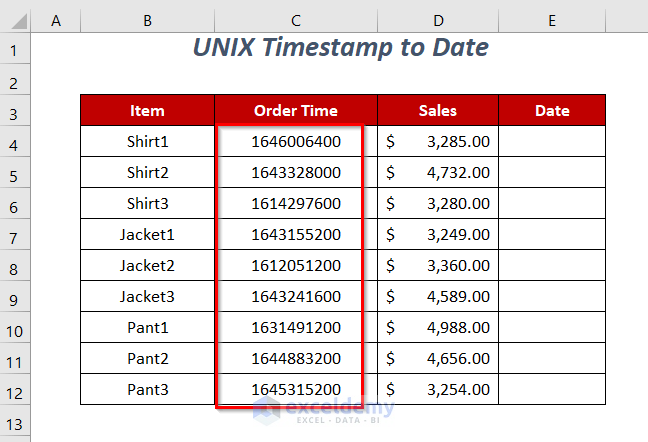
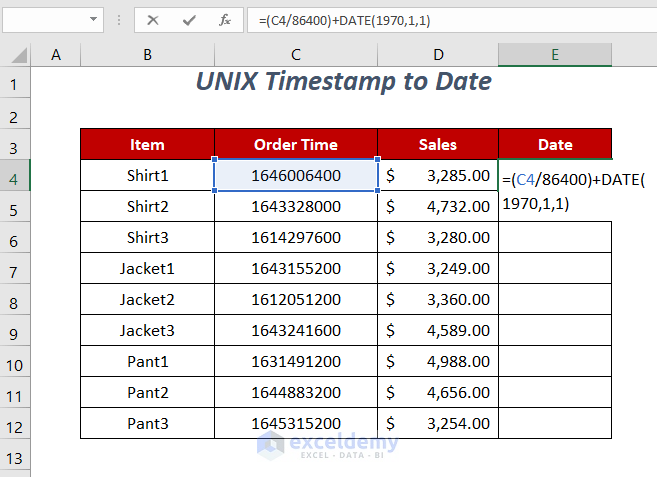
Converting a UNIX Timestamp to a Date in Excel
UNIX Timestamp tracks time in the form of seconds and this counting starts from the “UNIX Epoch” on 1/1/1970 to the current time or your given time.
Steps:
- Use the following formula in cell E4.
=(C4/86400)+DATE(1970,1,1)C4 is the UNIX Timestamp value. After dividing by 86400, we are converting the seconds to days (as 1 day = 86400 seconds) and then adding it with the date 1/1/1970 to convert a UNIX Timestamp into a date.
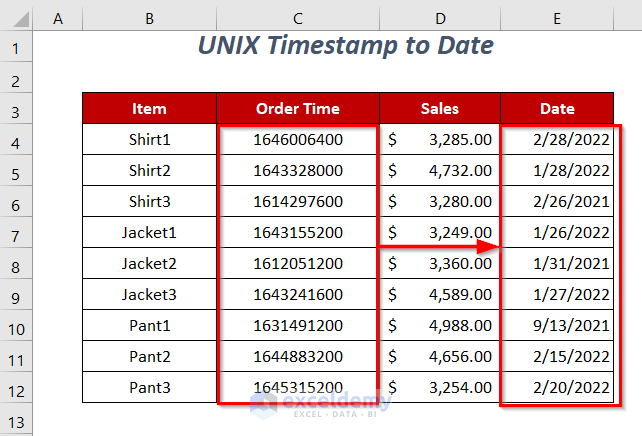
- Press Enter and drag down the Fill Handle tool.
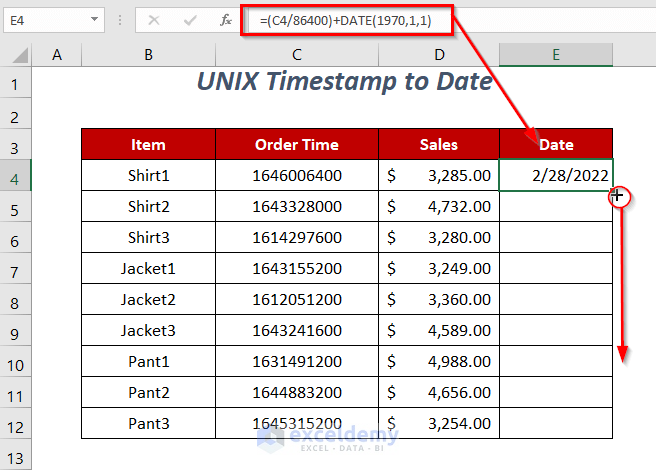
We have the corresponding dates for the UNIX Timestamp values.
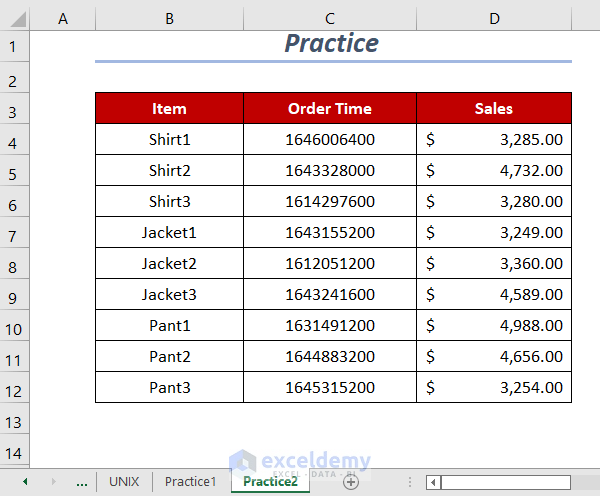
Practice Section
We have provided the following Practice sections in the sheets named Practice1 and Practice2.
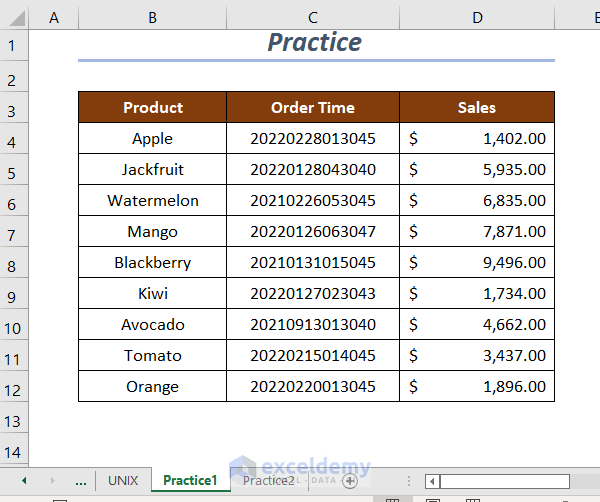
Practice1 can be used for converting the SAP Timestamp, and Practice2 for the UNIX Timestamp.
Download the Practice Workbook
Related Articles
- How to Convert Week Number to Date in Excel
- How to Convert Active Directory Timestamp to Date in Excel
<< Go Back to Convert to Date | Date-Time in Excel | Learn Excel
Get FREE Advanced Excel Exercises with Solutions!
