Step 1 – Downloading a Suitable Code 39 Barcode Font
- Close all of your office applications.
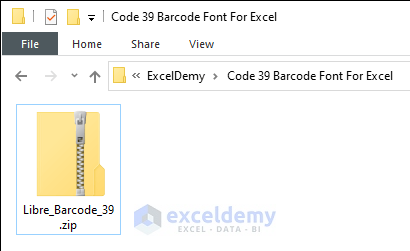
- Download the code 39 barcode font using the download link.
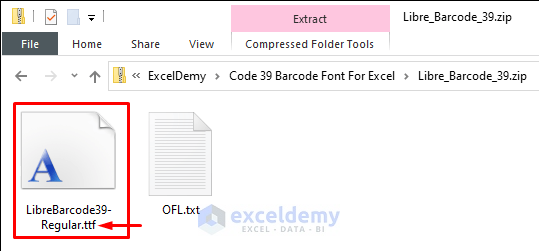
- Open the downloaded zip file.
Read More: How to Create Barcode in Excel
Step 2 – Installing the Code 39 Barcode Font
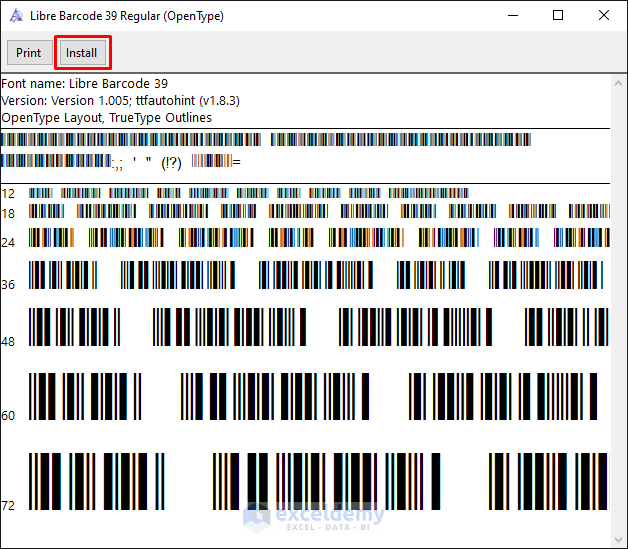
- Open the file with the .ttf extension.
- Click on Install to install the font.
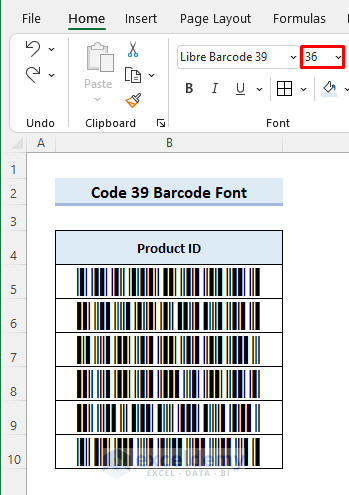
Step 3 – Applying the Code 39 Barcode Font in Excel
- Open Excel and select the cell or range from which you want to create the barcode.
- Type Libre Barcode 39 as the font type. Alternatively, you can scroll down and select that.
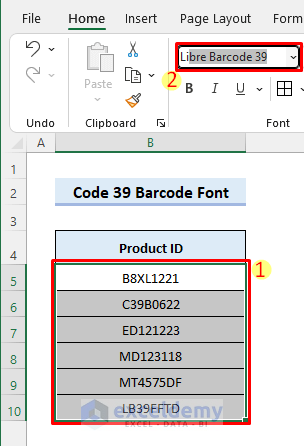
- The barcode will be generated.
- Change the font size and adjust the row and column heights. But, you won’t be able to read these barcodes using a barcode reader/scanner because the barcode reader won’t be able to detect the starting and ending points.
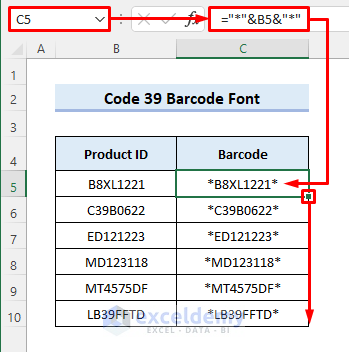
Step 4 – Formatting Dataset for Scannable Barcode
- Enter the following formula in cell C5 to fix this issue, then drag the fill handle icon to copy the formula to the cells below.
="*"&B5&"*"- The asterisks (*) define the starting and ending points for the barcode reader to read the code.
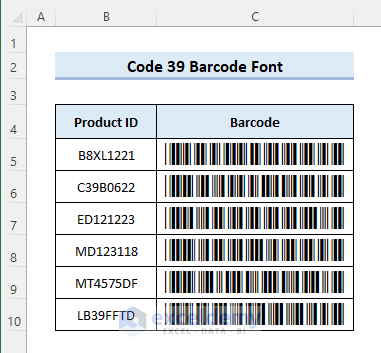
Step 5 – Generating Machine-Readable Barcodes in Excel
- Select the range C5:C10 instead and apply the Libre Barcode 39 font. After that, you can read the barcodes using a barcode scanner.
Read More: How to Generate Code 128 Barcode Font for Excel
Things to Remember
- Don’t forget to use asterisks (*) before and after the text/number from which you want to generate the barcode. Otherwise, you won’t be able to read the barcode using a reader.
- You can download and install any other code 39 barcode font (ID Automation Code 39 Barcode Font) with premium features for a better experience. In that case, you need to apply that particular font type instead.
- You can print the sheet to check if the barcodes work.
Download Practice Workbook
Related Articles
- How to Generate Barcode Numbers in Excel
- How to Convert Numbers to Barcode in Excel
- How to Generate 2D Barcode in Excel
- How to Create Barcode Without Font in Excel
- How to Use EAN 13 Barcode Generator in Excel
- How to Create Barcode Using 3 of 9 Font in Excel
- How to Calculate Barcode Check Digit with Excel Formula
- How to Add Barcode Font in Excel
<< Go Back to Barcode in Excel | Learn Excel
Get FREE Advanced Excel Exercises with Solutions!
