Excel is the most widely used tool for dealing with massive datasets. We can perform myriads of tasks of multiple dimensions in Excel. Sometimes, while working in Excel, we impose some character limits on a cell. We can check the limit easily. In this article, I am going to show how to check character limits in Excel. Additionally, I will describe how to set character limits and count the number of characters in a cell.
Check Character Limit in Excel: 3 Steps
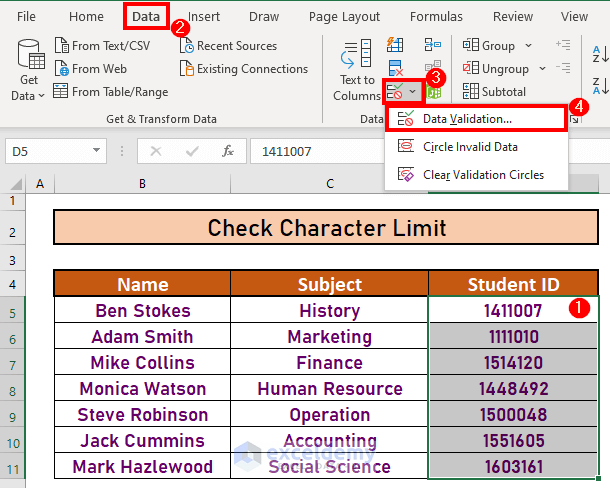
Suppose, you have got this dataset from your colleague. There are some students along with their Subjects and Student IDs. The ID is in such a way that the 1st 2 digits denote their batch. For example, Ben Stokes is from Batch 14.

Now, for your convenience, you want to put a hyphen (–) to separate the batch, i.e, you want to write 14-11007 instead of 1411007.
But, when you try to write it, you will see that Excel is showing a message box.

This problem occurs because your colleague has set a character limit for these cells. Let’s solve the problem step by step.
Step-1: Open Data Validation Box
First of all, you have to check the character limit from the Data Validation Box. To do so,
- First of all, select D4:D11.
- Then, go to the Data tab.
- After that, select the Data Validation drop-down box.
- Finally, select Data Validation.
Step-2: Check Validation Criteria
This is the Data Validation box. Notice the validation criteria. The text length is set to be 7 characters.

That’s why you cannot write 14-11007 as it has 8 characters.
Step-3: Change Validation Criteria
Now, you have to change the validation criteria.
- First of all, select the drop-down box.
- Then, select Any value.
- After that, click OK.

- This time, you can write the Student IDs the way you wish.

Set Character Limit in Excel
In this section, I will describe how you can set character limits in Excel using Data Validation.
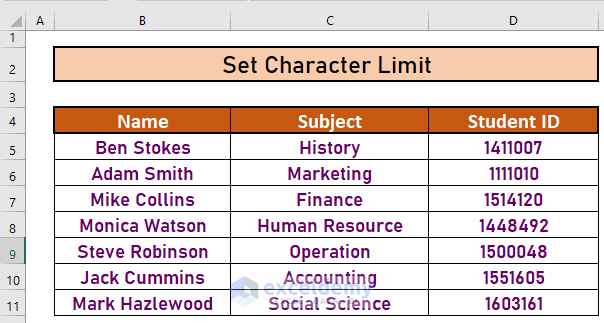
Suppose, this is your dataset now.

You have to insert the Student IDs. These IDs have 7 digits. So you have to set the character limit to 7 for D5:D11.
Steps:
- First of all, select D5:D11.
- Then, go to the Data tab.
- After that, select the Data Validation drop-down box.
- Finally, select Data Validation.

- The Data Validation box will appear. Now, go to Settings.
- Then, select the drop-down box.
- After that, select Text length.
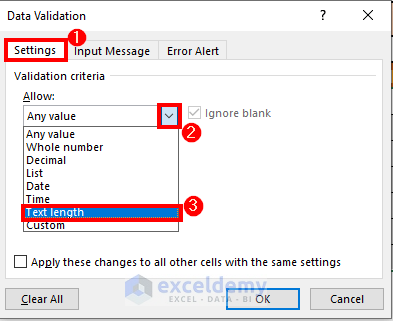
- Then, set the text length to be equal to 7.

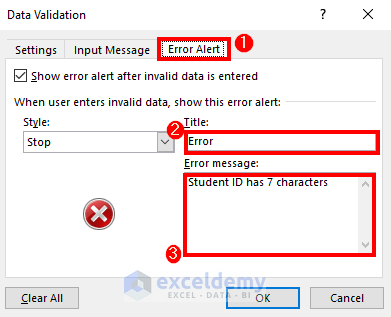
Now, you can create a customized message for someone who will use this dataset later. For this,
- Go to the Error Alert
- Then, set the Title.
- After that, write down the message that you want to show.
- Finally, click OK.
- Now, when the inputs in these cells are not equal to 7 characters, Excel will show the message box.

- Now, since the character limit is set, complete the column accordingly. Your final output will be like this,
Count Character in a Cell
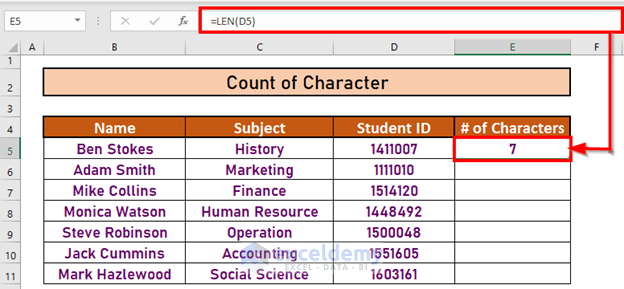
In this section, I will discuss how you can count characters in a cell using the LEN function. LEN function returns the number of characters in a cell. The syntax is LEN(text) where text is required.
Steps:
- Go to E5. Write down the following formula.
=LEN(D5)
- Press ENTER. Excel will return the output.
- Now, use the Fill Handle to AutoFill up to E11.

Things to Remember
Try to formulate error alerts when setting character limits.
Download Practice Workbook
Download this workbook and practice while going through the article.
Conclusion
In this article, I have explained how to check the character limit in Excel. Moreover, I have illustrated how to set limits and count characters in a cell. I hope it helps everyone. If you have any suggestions, ideas, or feedback, please feel free to comment below.
<< Go Back to Characters | Learn Excel
Get FREE Advanced Excel Exercises with Solutions!
