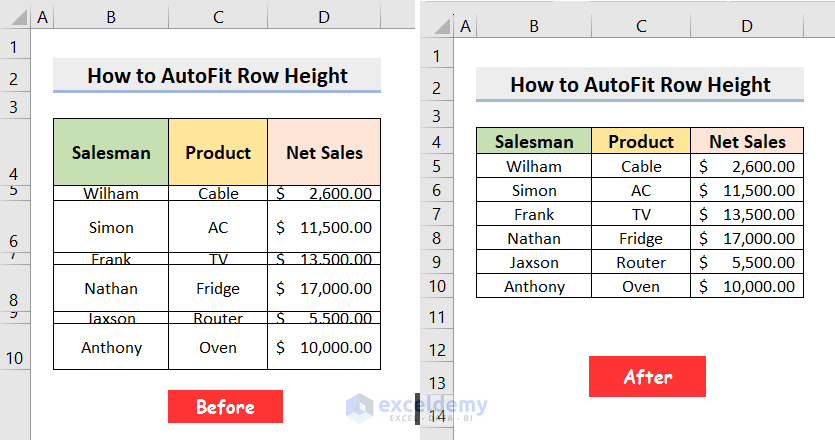
Consider a dataset where some rows have excessively large row heights, while others have very small ones, such as the image below. It looks disorganized and you might not be able to see vital information at a glance. To address this issue, you can adjust the row heights so cells appear more uniform. In this Excel tutorial, you’ll learn how to adjust row height automatically in Excel using Excel features, keyboard shortcuts, and VBA code.
What Is Row Height in Excel?
Row height in Excel defines the vertical measurement of a row in a spreadsheet. You can check the height of a specific row by clicking on the boundary below the row bar and holding the mouse button. This will display the row height in points and pixels.
In Excel, the default row height is set at 12.75 points with the Calibri 11 font, which is equivalent to approximately 1/6 inch or 0.4 cm. However, versions like Excel 2019, 2016, and Excel 2013 may show variations in row height due to display scaling (DPI), ranging from 15 points at 100% DPI to 14.3 points at 200% DPI.
Due to display scaling, font type, and length of cell content, you will typically need to adjust the row height to accommodate bulkier content within cells to ensure that all information in the row is visible. Users can manually set row heights between 0 to 409 points, with each point approximately equal to 1/72 inch or 0.035 cm. Notably, a hidden row has a height of zero (0) points.
5 Ways to Auto Adjust Row Height in Excel
If you want to reduce or increase Excel row heights, there are several ways to adjust them. Here are five of the most common ways to do so.
Method 1 – Using Excel AutoFit Row Height Feature
The AutoFit Row Height feature in Excel automatically adjusts the row height to accommodate the tallest content within the row.
To adjust row height automatically using the AutoFit Row Height feature, follow the steps below:
- Select the row or rows whose height you want to change.
- Go to the Home tab > Cells group > Format drop-down > AutoFit Row Height.
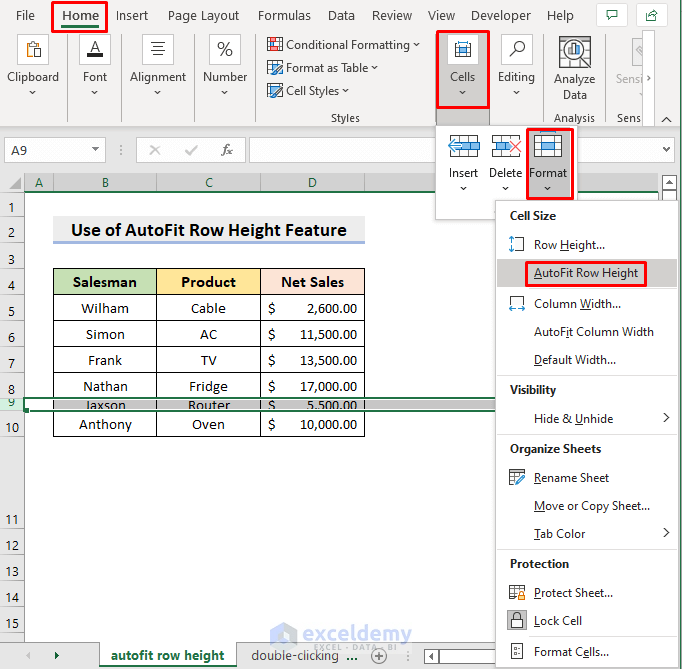
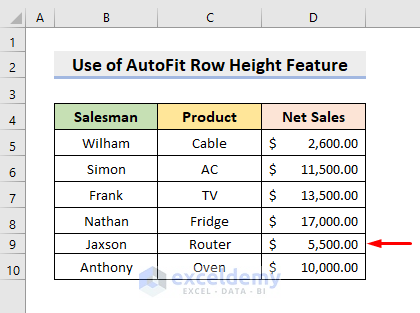
As a result, the height of the selected rows will automatically adjust.
Method 2 – Applying Keyboard Shortcut
Did you know that you can access a majority of the Excel’s topbar menu through keyboard shortcuts? Here’s how to auto-scale row height via shortcut keys:
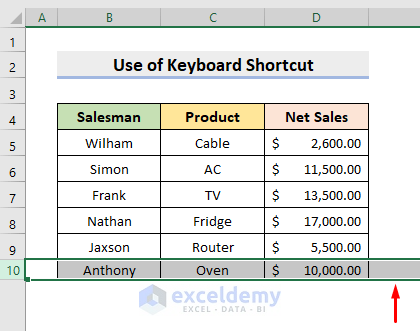
- Select the row or rows whose height you want to change.

- Next, press the keys ‘Alt’, ‘H’, ‘O’ and ‘A’ one after another.
Consequently, the height of the selected rows will adjust automatically.
Method 1 –
Method 1 –
Method 3 – Double-Clicking With Mouse
Autofitting row height with a mouse in Excel is the quickest and simplest method. A quick double-click on the row bar adjusts the height automatically to fit the content.
Follow the steps below to auto fit row height in Excel using the mouse:
- Select the row or rows whose height you want to change.
- Hover the mouse pointer over the lower boundary of the row heading.
- Double-click on the border.
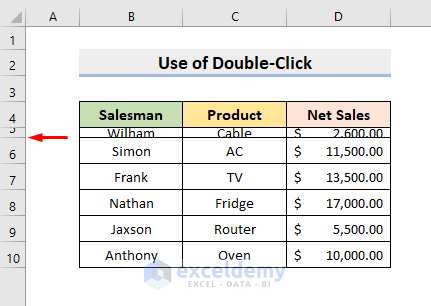
This will adjust the height of the selected rows based on the size of the cell content.
Read More: How to Adjust Row Height to Fit Text in Excel
Method 4 – Applying Excel Wrap Text Feature
The Wrap Text feature in Excel splits text into multiple lines within a cell. It automatically adjusts the row height to fit the content within the column width.
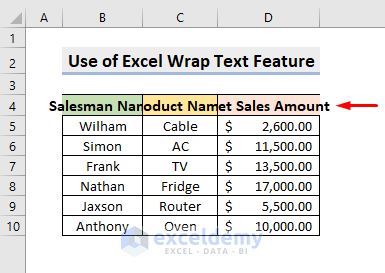
Follow the steps below to auto fit row height in Excel using the Wrap Text feature:
- Select the cells that you want to wrap.
- Go to Home tab > Alignment group > Wrap Text.

This will wrap the text of the selected cells and adjust the row height of the selected cells automatically.
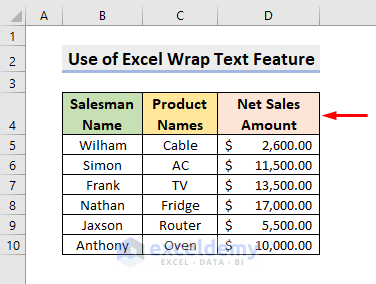
If none of the cells in the row use text wrapping, Excel will revert the row height to the default value.
Read More: How to Change Row Height in Excel
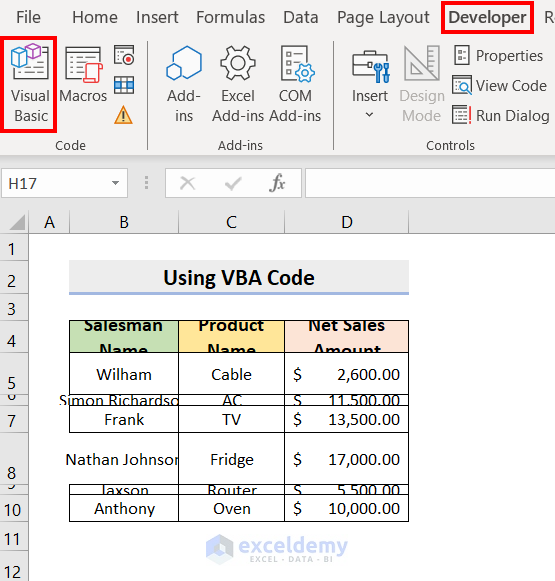
Method 5 – Using Excel VBA Code
Using VBA code for Excel is particularly advantageous when dealing with bulk operations, dynamic content changes, or the need for custom logic.
To autofit row height using Excel VBA code, follow the steps below:
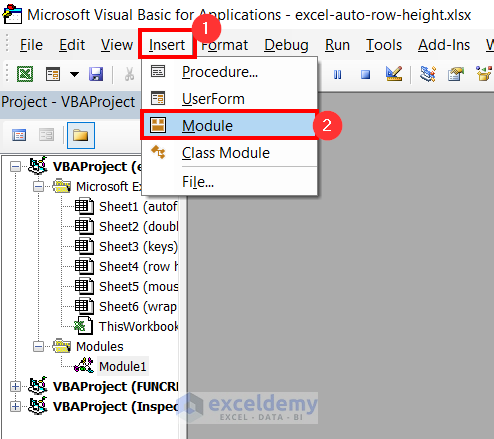
- Go to the Developer tab > Code group > Visual Basic. Or, press the Alt+F11 keys.
 The VBA window should appear.
 - Click on the Insert tab and choose the Module option to insert a module.
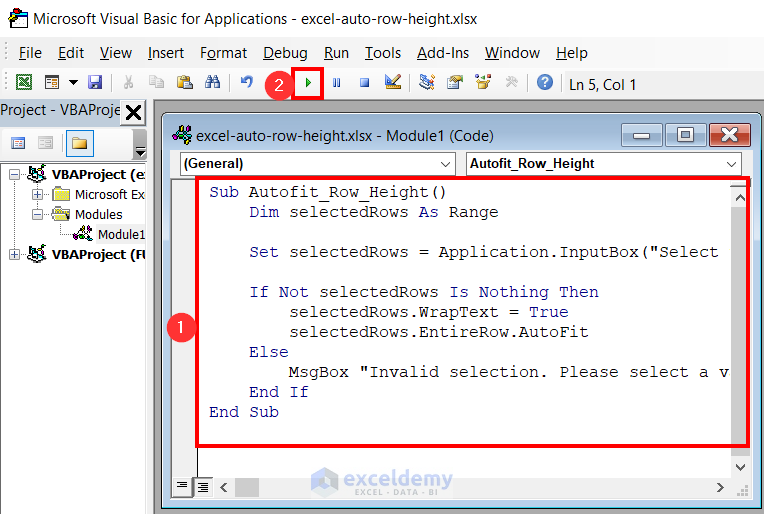
- Paste the following code in a module:
Sub Autofit_Row_Height() Dim selectedRows As Range Set selectedRows = Application.InputBox("Select the range of rows to autofit:", Type:=8) If Not selectedRows Is Nothing Then selectedRows.WrapText = True selectedRows.EntireRow.AutoFit Else MsgBox "Invalid selection. Please select a valid range of rows." End If End Sub - Click the Run button.
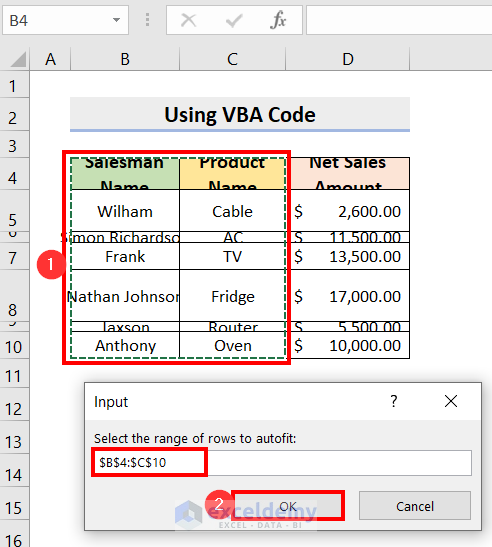
 An input box will appear and ask you to select the range of rows that you want to autofit.
 - Select the range that you want to autofit and click OK.
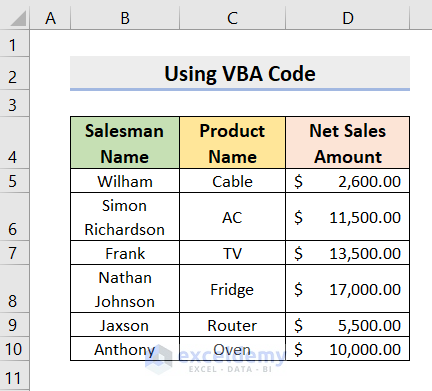
As a result, the rows in the selected range will autofit.
How to Set a Constant Row Height in Excel
The Row Height feature in Excel allows users to set a consistent and predetermined height for rows. This ensures uniformity and facilitates a more organized presentation of data.
Follow the steps below to set a constant row height:
- Select the rows for which you want to set the constant row height.
- Go to Home tab > Cells > Format > Row Height.
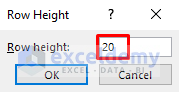
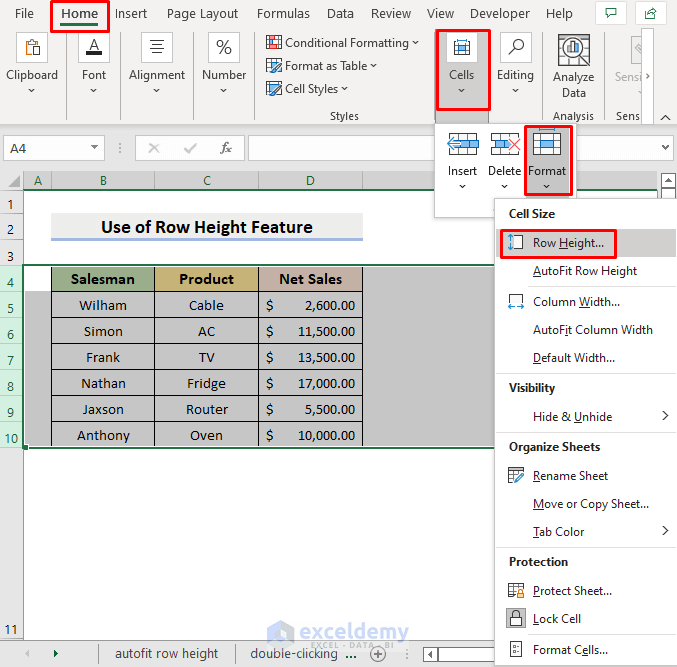 As a result, the Row Height dialogue box will pop out.
 - Enter the desired row height in pixels and click OK.
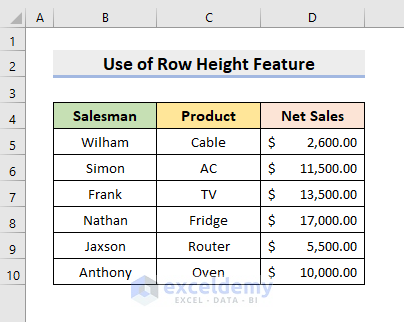
As a result, all the selected rows will be in their newly adjusted height.
Read More: How to Change & Restore Default Row Height in Excel
Why Excel AutoFit Is Not Functioning?
The possible reasons for Excel AutoFit feature is not working are:
- If you have merged cells, the AutoFit feature won’t work. You have to manually set the row height for those.
- The AutoFit feature also won’t work if you have applied the Wrap Text feature in your cells. The text wrap will overwrite values that would make the cell’s contents not fit the new size.
Download Practice Workbook
Download the following workbook to practice by yourself.
Conclusion
With the autofit feature, you can ensure that your data looks uniform and readable at a glance. Similar concepts can be applied to the column width. If you have any additional queries about Excel, browse Exceldemy for up-to-date guides and tips, or leave a comment in the section below.
Frequently Asked Questions
How do I autofit row height in Excel for Mac?
- Select the rows for resizing.
- Press Command+A to select the entire sheet or hold Command and select the rows you need to adjust.
- Press Fn+Control+F2 to quickly autofit the selected rows.
How to autofit row height for the entire sheet?
Press Ctrl+A (Windows) or Command+A (Mac) or click the Select All button. Next, either double-click the boundary between any two-row headings or navigate to Home > Cells > Format > AutoFit Row Height on the ribbon.
How do you autofit text in columns?
Double-click on the right boundary of the column heading or go to Home > Cells > Format > AutoFit Column Width to adjust the column width based on the contents.
Related Articles
<< Go Back to Row Height | Rows in Excel | Learn Excel
Get FREE Advanced Excel Exercises with Solutions!
