Method 1 – Using Orientation to Write Vertically in Excel
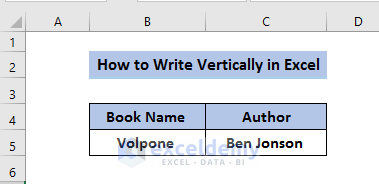
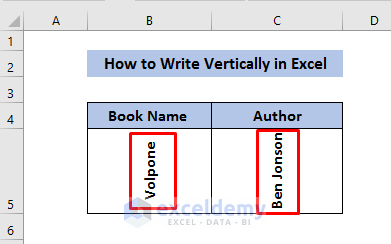
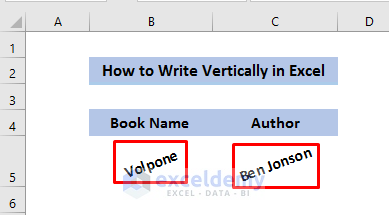
We have a dataset that contains the book name and author of that book. We need to write the book name and author vertically in Excel. Follow the following steps carefully, and you’ll get the desired result.
1.1 Vertical Text Orientation
Steps
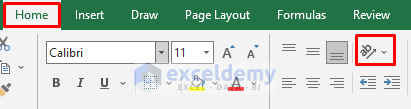
- Select the cell and the text you want to write vertically. Go to the ‘Home’ in the ribbon. In the ‘Home’ section you’ll get an alignment section where you’ll find an Orientation option such as ‘Orientation’, click on it.
- After clicking the Orientation option, you’ll get several options to select. From those options, select ‘Vertical Text’.
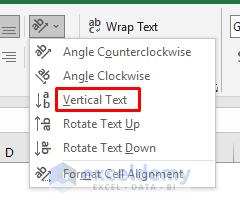
- When you click the ‘Vertical Text’, you’ll see the text which was selected to make vertical from horizontal has become vertical.

1.2 Rotate Text Up Orientation
Steps
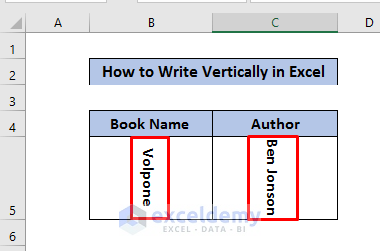
- Select the text you want to rotate up.
- Like the previous orientation, you need to go to the ‘Home’ tab in the ribbon and find the ‘Orientation’ option. Select the Rotate Text Up option.
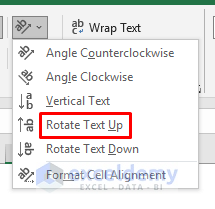
- Get the desired result when you select the ‘Rotate Text Up’ option.
1.3 Rotate Text Down Orientation
Steps
- Select the text just like we select cell B5 and cell C5 in the Excel worksheet
- As we previously stated, first, select the ‘Home’ tab in the ribbon and find the Orientation option. From this option, select the ‘Rotate Text Down’ option.

- After clicking this, you’ll get the desired result, just like we get the rotated text-down orientation of the cells.
1.4 Angle Clockwise Orientation
Steps
- To make a clockwise orientation, select the cell and the text.
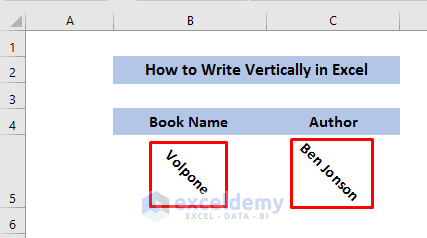
- Go to the ‘Home’ tab in the ribbon click on Orientation, and select the ‘Angle Clockwise’ option.
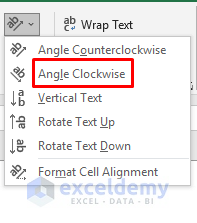
- Selecting this option will give you the expected result on your assigned text.
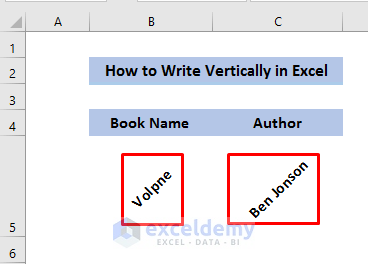
1.5 Angle Counterclockwise Orientation
Steps
- As we mentioned previously, you need to select the preferred cell and the text that you want to be oriented counterclockwise.
- Click the ‘Home’ tab and find out the Orientation in which you’ll get the ‘Angle Counterclockwise’ option. Click on it.
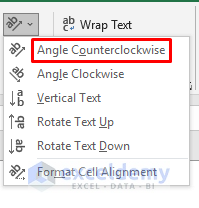
- After selecting the ‘Angle Counterclockwise’ option, you’ll get the counterclockwise oriented text.
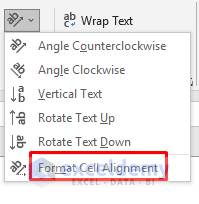
1.6 Rotate Text for a Given Angle
Steps
- Start by selecting the cell and the text.
- Go to the ‘Home’ tab in the ribbon and search. In this section, you’ll get an option named ‘Format Cell Alignment. Click on it.
- By clicking the ‘Format Cell Alignment’ option, you’ll find the ‘Format Cell’ In this ‘Format Cell’. Select the ‘Alignment’ tab. In this tab, you’ll get the degree of orientation.
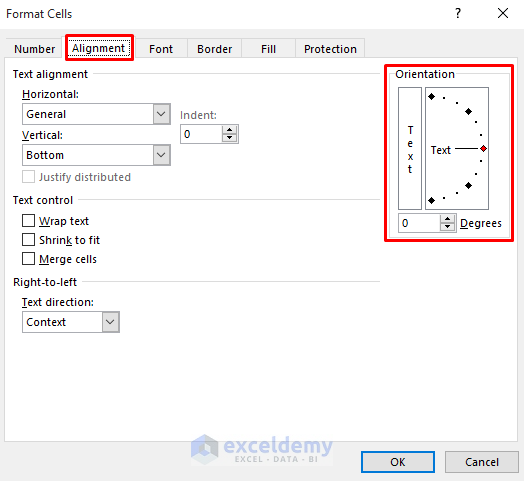
- We can control our degree of rotation by changing degrees. We take 20 degrees of rotation for our selected text.
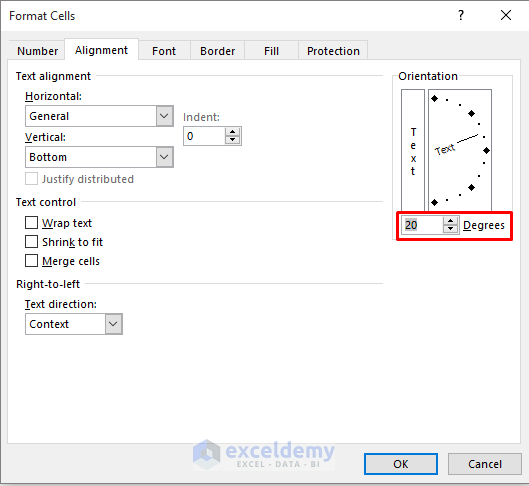
- Apply this orientation, we get a new type of orientation. We can easily set our preferred angle and get the desired result.
Method 2 – Using WordArt in Excel to Write Vertically
- First, select the ‘Insert’ tab in the ribbon. In this tab, you’ll get the ‘Text’ option.

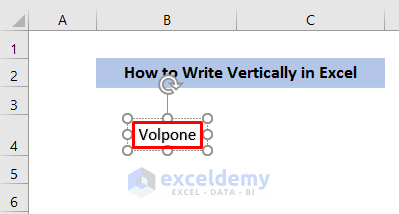
- In the ‘Text’ option, there is a ‘WordArt’ option to select and select the Text style.

- A ‘Type the Text’ box will appear in which you must type the name.
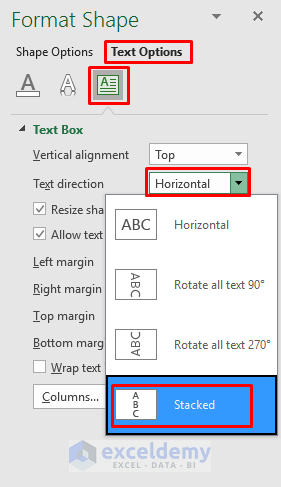
- To change the orientation, right-click on the text, and the ‘Format Shape’ option will appear.
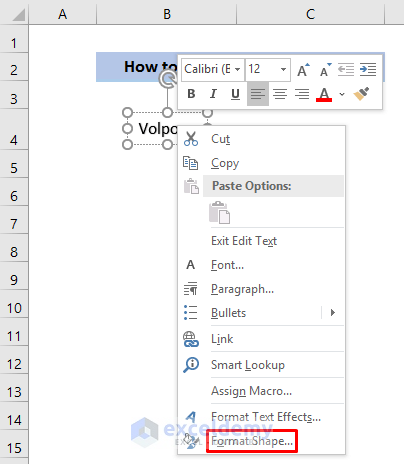
- After entering the ‘Format Shape’ option, select ‘Text Option’ and ‘Text Box’. In the ‘Text Box’ window, change the ‘Text direction’ from horizontal to stacked.
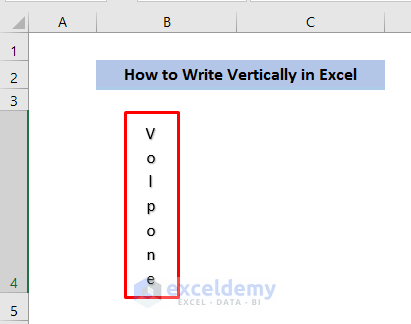
- When you finish all the steps, you’ll get the vertical orientation of your text.
Download Practice Workbook
Related Articles
- How to Mirror Text in Excel
- How to Rotate Text by 180 Degrees in Excel
- How to Change Orientation of Text to 22 Degrees in Excel
<< Go Back to Text Formatting | Learn Excel
Get FREE Advanced Excel Exercises with Solutions!
