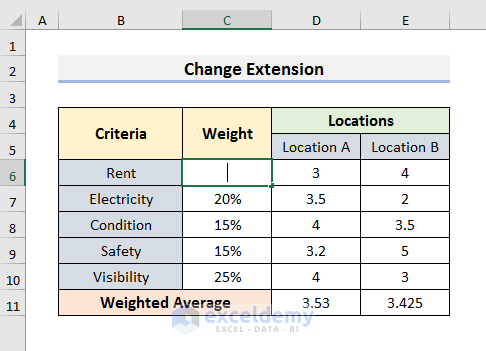
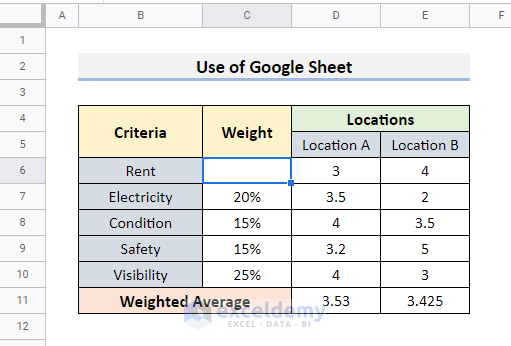
We will use a dataset that contains a weighted scoring model in a protected sheet.
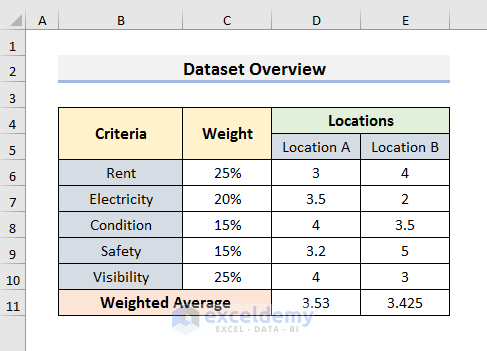
If we try to make any change in the sheet, a message box appears. It says the sheet is protected.

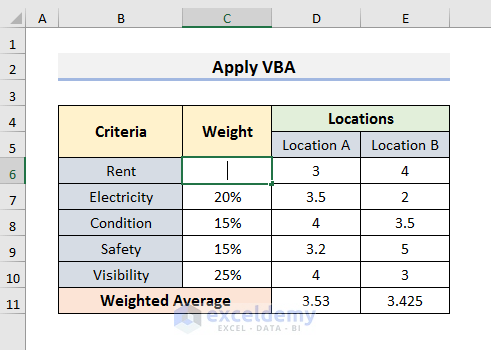
Method 1 – Applying VBA to Unprotect an Excel Sheet Without Password
Steps:
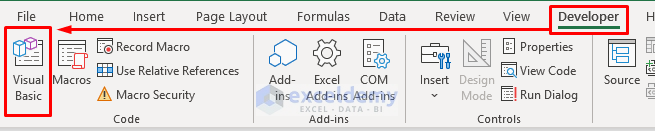
- Go to the Developer tab and select Visual Basic. It will open the Visual Basic window.
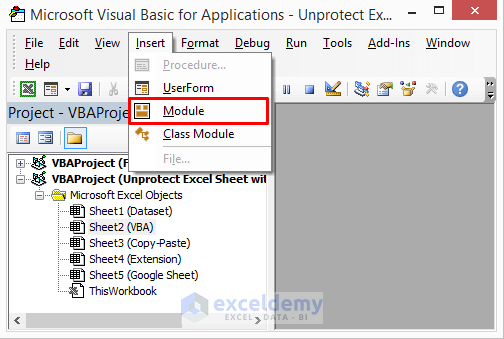
- Select Insert and select Module to open a new module.
- Insert the following code in the module window:
Sub Unprotect_Sheet_without_Password()
Dim x As Integer, y As Integer, z As Integer
Dim a As Integer, b As Integer, c As Integer
Dim x1 As Integer, x2 As Integer, x3 As Integer
Dim x4 As Integer, x5 As Integer, x6 As Integer
On Error Resume Next
For x = 65 To 66: For y = 65 To 66: For z = 65 To 66
For a = 65 To 66: For b = 65 To 66: For x1 = 65 To 66
For x2 = 65 To 66: For x3 = 65 To 66: For x4 = 65 To 66
For x5 = 65 To 66: For x6 = 65 To 66: For c = 32 To 126
ActiveSheet.Unprotect Chr(x) & Chr(y) & Chr(z) & _
Chr(a) & Chr(b) & Chr(x1) & Chr(x2) & Chr(x3) & _
Chr(x4) & Chr(x5) & Chr(x6) & Chr(c)
If ActiveSheet.ProtectContents = False Then
MsgBox "Password is " & Chr(x) & Chr(y) & _
Chr(z) & Chr(a) & Chr(b) & Chr(x1) & Chr(x2) & _
Chr(x3) & Chr(x4) & Chr(x5) & Chr(x6) & Chr(c)
Exit Sub
End If
Next: Next: Next: Next: Next: Next
Next: Next: Next: Next: Next: Next
End Sub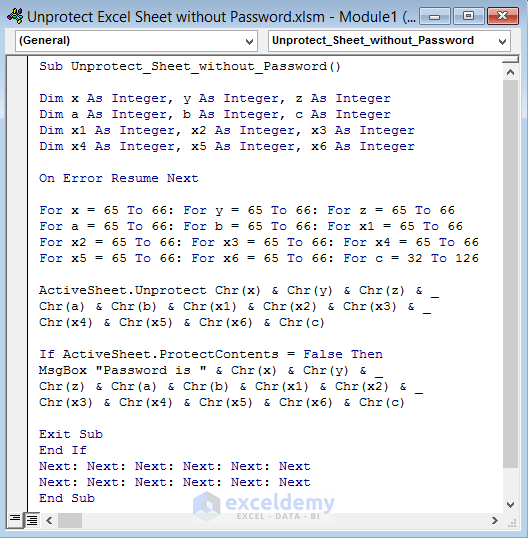
- Press the Ctrl + S key to save the code and close the Visual Basic window.
Note: If you are using Excel 2010 or earlier versions, you just need to save the code. And then run it by pressing the F5 key on the keyboard. Then, you will get a message box. You just need to press OK to unprotect the Excel sheet without a password. In that case, you don’t need to follow the next steps.
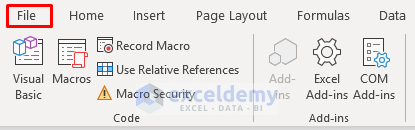
- Click on the File tab.
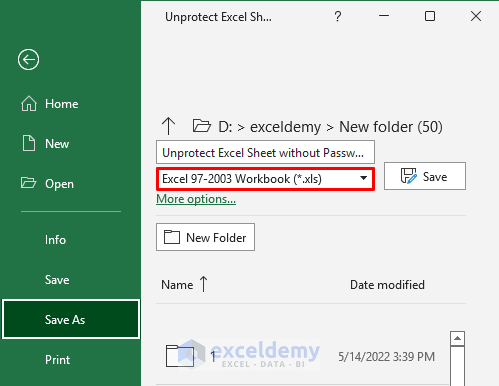
- Go to the Save As section and save the file as Excel 97-2003 Workbook (*.xls).
- Open the file that you saved in the previous step.
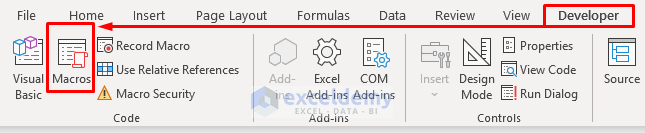
- Go to the Developer tab and select Macros.
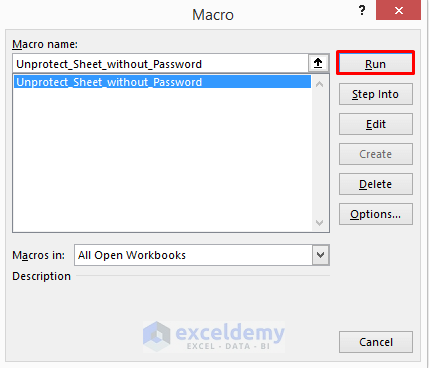
- The Macro window will appear.
- Select the created code and run it.
- A message box with a fake password will appear. Press OK to proceed.
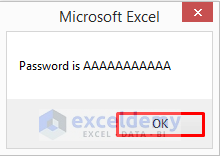
- The Excel sheet will be unprotected, and you will be able to edit any cell.
Note: If you have multiple protected sheets in a workbook, run the VBA code for each sheet individually.
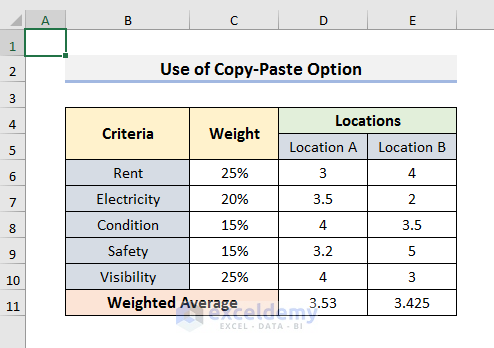
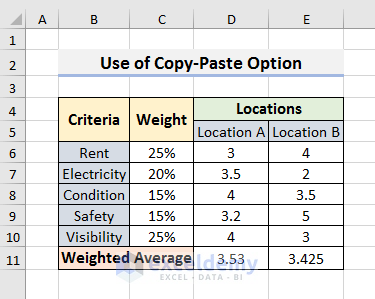
Method 2 – Unlocking an Excel Sheet Without a Password with the Copy-Paste Option
Steps:
- Open the password-protected sheet and select cell A1.
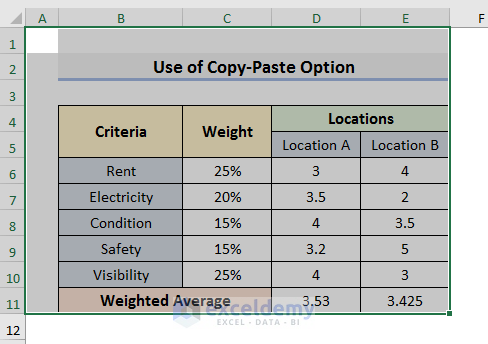
- Press Shift + Ctrl + End to select all used cells.
- Press Ctrl + C to copy the cells.
- Open a new sheet and select cell A1.
- Press Ctrl + V to paste the selected cells.
Note: You can use this method if the Select locked cells and Select unlocked cells actions are granted in the protected sheet.
Method 3 – Changing the Extension to Unprotect an Excel Sheet Without a Password
Steps:
- Create a copy of the original Excel file.

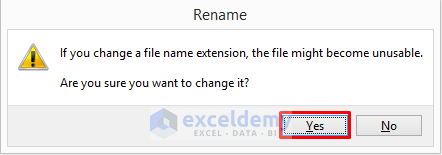
- Change the extension of the copied file to .zip using the rename option.

- A warning message will pop up. Select Yes to proceed.
- Open the zip file.
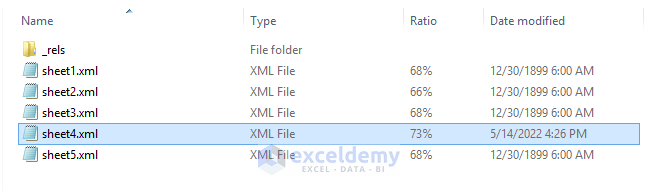
- Open the folder named ‘xl‘.

- Open the folder named worksheets.

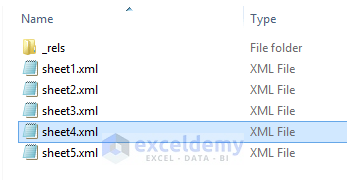
- You will find the sheets of the Excel file in .xml format.
- Open the password-protected sheet with a text editor like Notepad. In our case, sheet4 is the password-protected sheet.
- Select Format and select Word Wrap.

- Press the Ctrl + F key to open the Find window.
- Type protection in the Find what field and click Find Next.
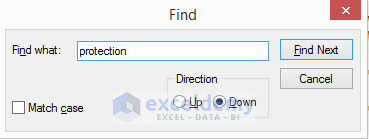
- This will highlight the word Protection.
- Remove the whole line that contains the word Protection inside the <> symbols. The line in the sample file is given below:
- Remove the line with the Backspace or Delete keys.

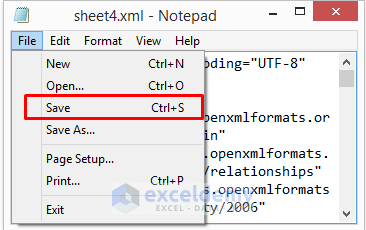
- Save the file in the same folder that contains the zip file.
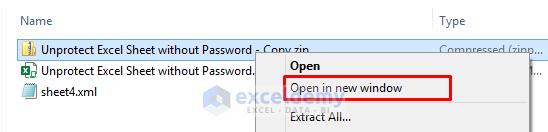
- Right-click on the zip file and open it in a new window.
- Go to xl and select worksheets.
- Delete the old sheet4.xml file and copy the new sheet4.xml file here in the ‘worksheets’ folder.
- Change the extension of the file from .zip to .xlsx.

- Open the file and make any changes you want.
Method 4 – Using Google Sheets to Unlock Excel Sheets Without Passwords
Steps:
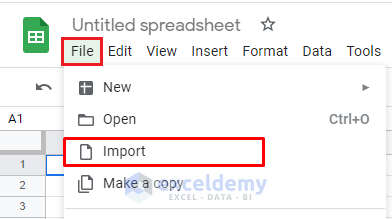
- Open Google Sheets.
- Select File and choose Import.
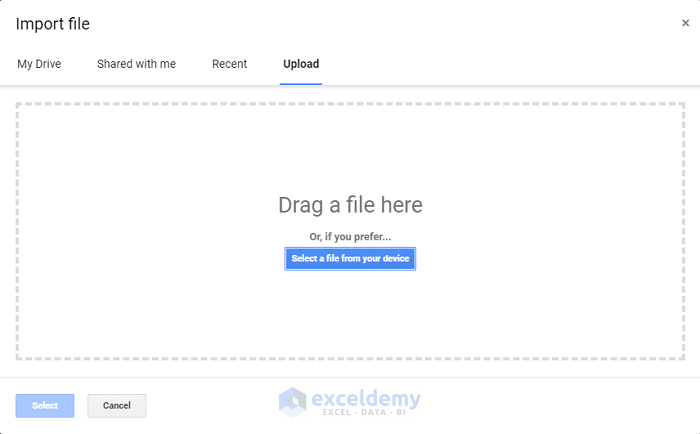
- Go to Upload and drag the Excel file into the box.
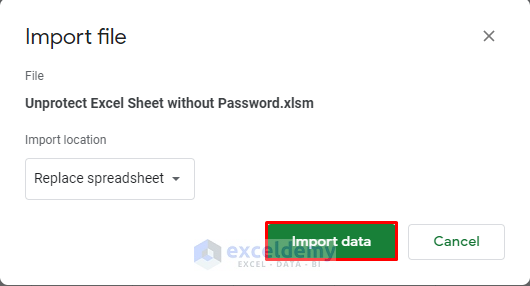
- A message box will appear. Select Import Data.
- You can go to the protected sheet and make changes in the Google Sheets.
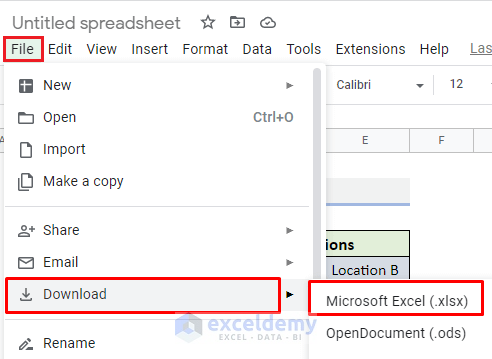
- Go to File and select Download.
- Select Microsoft Excel (.xlsx) to download the file in .xlsx.
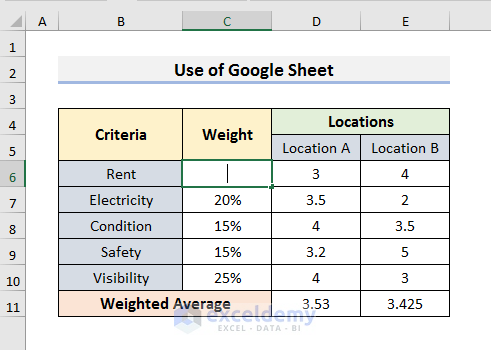
- Open the downloaded file and make sure you can edit it without any password.
Things to Remember
- To unprotect multiple sheets, use the methods individually for each sheet.
- These methods don’t work if the file itself is password-protected.
- Make a copy of the original file because you may lose data after using the methods.
Download the Practice Book
Related Articles
- How to Unprotect Excel Sheet with Password
- How to Unprotect Excel Sheet If Forgot Password
- How to Unlock Excel Sheet for Editing
- How to Unlock Grayed out Menus in Excel
<< Go Back to Unprotect excel sheet | How to Unprotect in Excel | Learn Excel
Get FREE Advanced Excel Exercises with Solutions!

Your title refers to 4 easy ways. Unbelievable! I was going to print it and realized it would require 22 pages.
Maybe these are 4 easy ways if you are a developer or an electrical or an electronics engineer and doing research on Microsoft Excel.
But I’m doing office work and I use Excel as only a tool to help me do a job. And, in this case, I’m using my computer at home, alone, with no-one else using my computer to justify the need for “protection”. So why, all of a sudden, did my worksheet get “protected”? Could I have done something inadvertently that caused it to be “protected”?
So I have 3 questions:
(1). How do I find my password
(2). Why haven’t I needed it for the past 4-6 many years?
(3). How can I get a sheet “unprotected”, or actually turn off all protection completely, if I can’t find my password?
Since you are truly knowledgeable with Excel, do you have the ability to talk down to my level, in terms a common, lay person can understand? Please?
Thank you
Hello Tom,
I am replying to you on behalf of ExcelDemy. It is very unfortunate to know that, you are facing such difficulties. I have gone through your queries and thought of giving the following solutions.
1. First of all, please check this link in case you unintentionally protected your excel file through any of the methods described.
https://www.exceldemy.com/protect-excel-sheet-from-copy-paste/
2. When any worksheet or workbook is password protected, you cannot see them in actual letters, rather than some dots. Therefore, if you cannot unprotect the sheet with the help of this article, I am referring you to another one with some easy VBA codes to unprotect your file permanently without knowing the password.
https://www.exceldemy.com/unprotect-all-sheets-in-excel-vba/
3. You also mentioned that you are having trouble printing the worksheet. In this case, check this solution to solve this issue.
https://www.exceldemy.com/excel-margins-not-printing-correctly/
I hope the solutions will help you. Let us know your feedback.
Thank you!