We will use the sample list below and try to send emails to these email ids with the help of Excel, Outlook, Word, and Power Automate using 3 different methods.
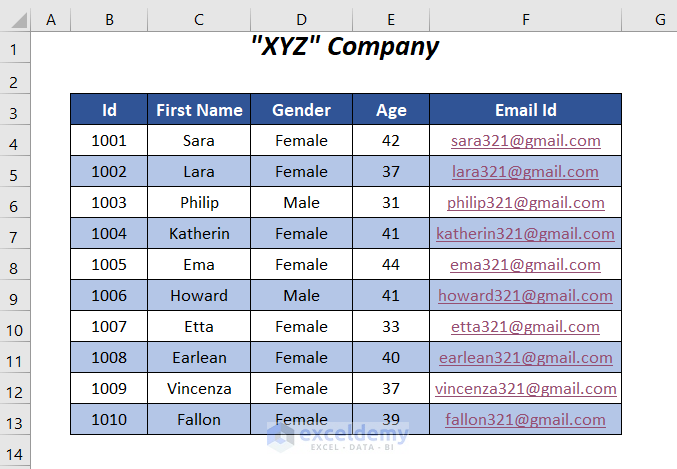
We have used Microsoft Office 365 version here, you can use any other version that works best for you.
Method 1 – Sending Bulk Email with File Attachment Using Excel and Outlook

Steps:
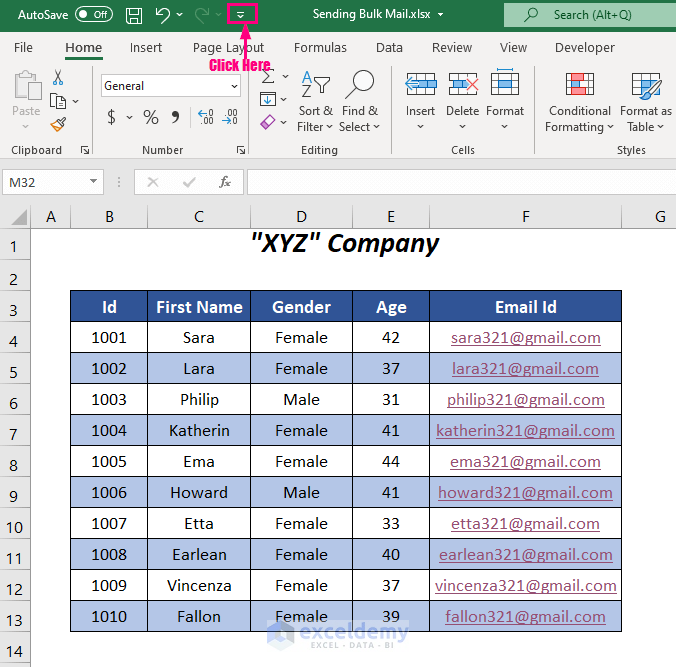
➤ Click on the dropdown symbol in the top right corner of the Excel file.
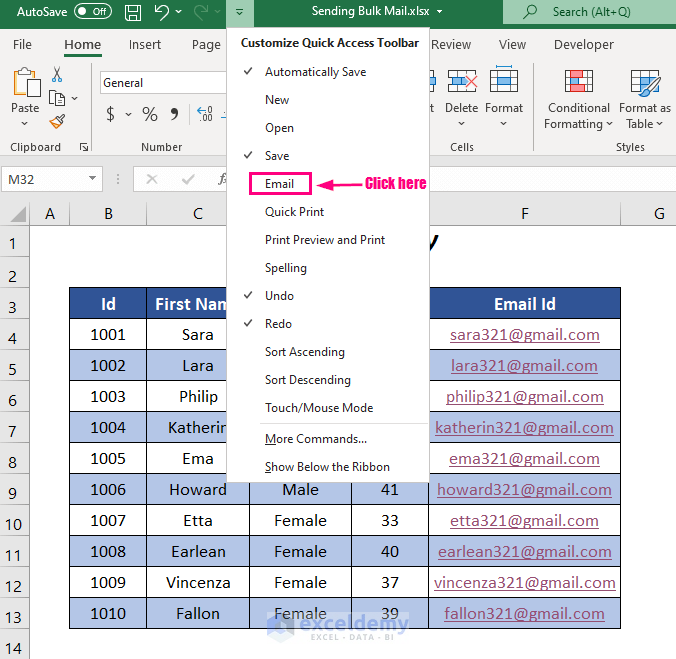
➤ Check the Email option. This will put the Email icon in the quick access bar.
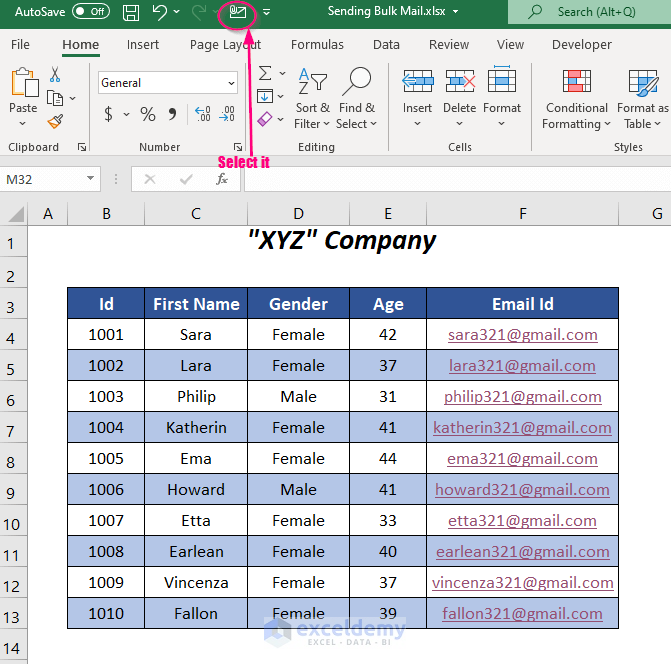
➤ Click on the Email icon.
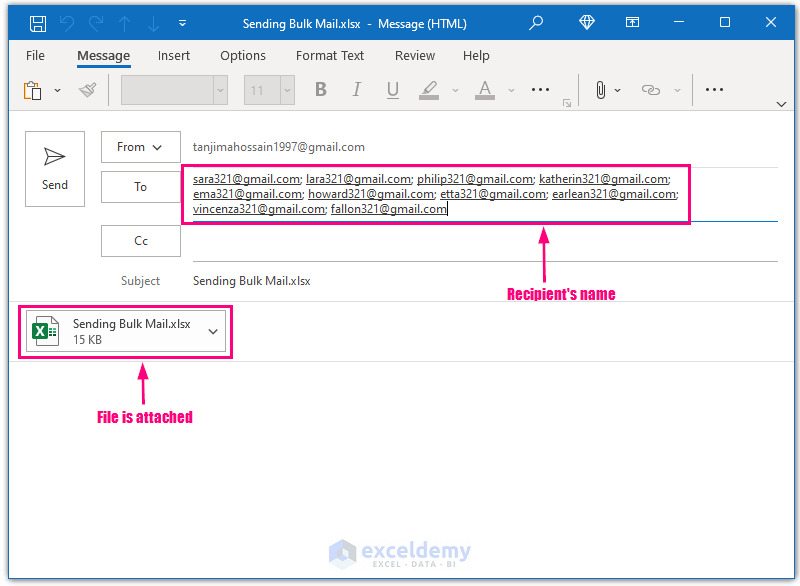
➤ The Outlook window will open up with the Excel file automatically attached to the email.
➤ Type in the recipients’ email IDs separated by semicolons (;) in the To box.
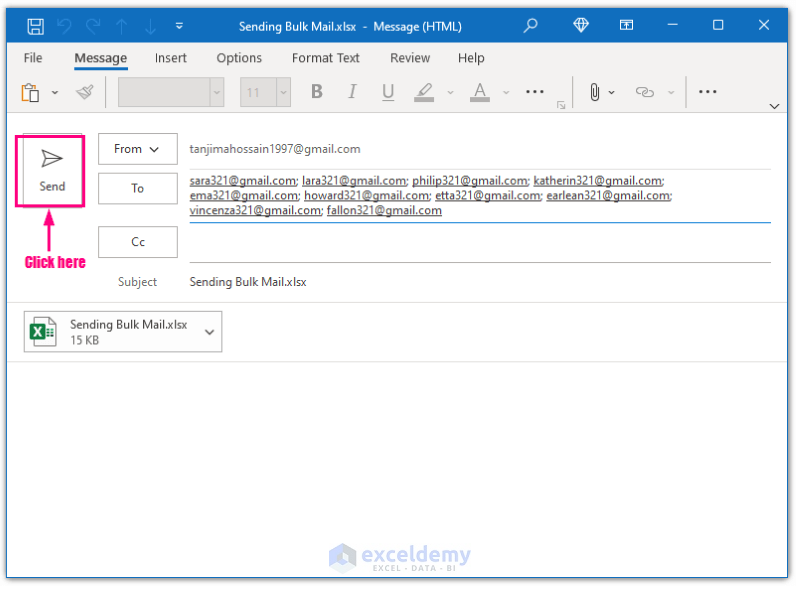
➤ Click on Send and then the file attachment will be sent to each recipient.
Read More: How to Send Excel File to Email Automatically
Method 2 – Using Excel and Word to Send Bulk Email from Outlook
Here’s how to send an email to multiple recipients without manually entering their email IDs. For this method requires Microsoft Word, Excel, and Outlook.
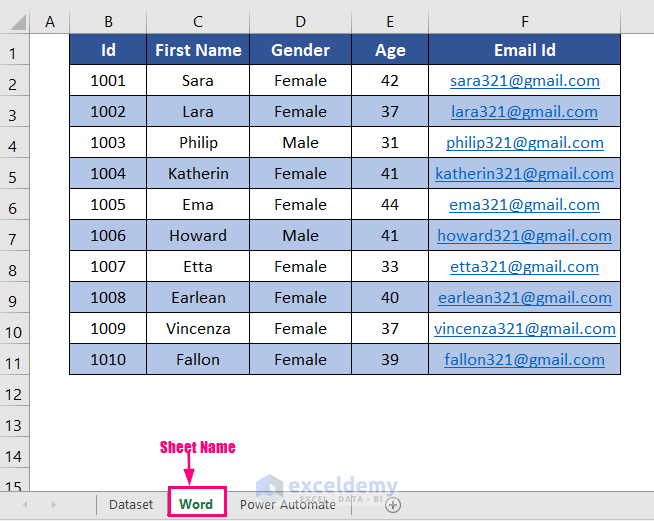
In the example below, we have inserted the column header names in the first row, and the sheet name is Word.
Step 1: Creating Recipient List from Excel File
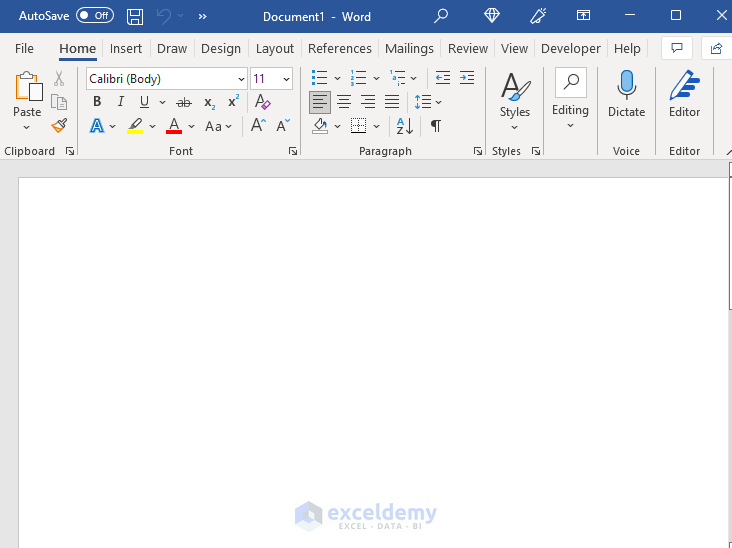
➤ Open a blank Word document.
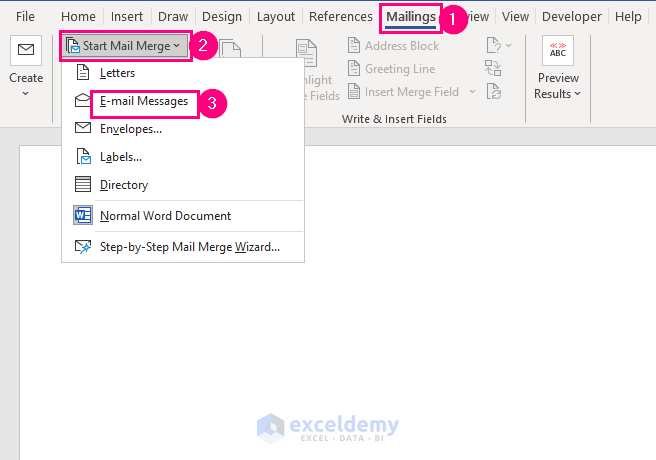
➤ Go to the Mailings Tab >> Start Mail Merge Dropdown >> E-mail Messages Option.
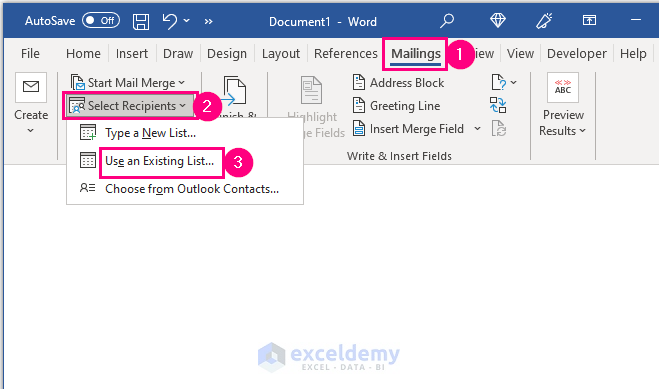
➤ Go to the Mailings Tab >> Select Recipients Dropdown >> Use an Existing List Option.
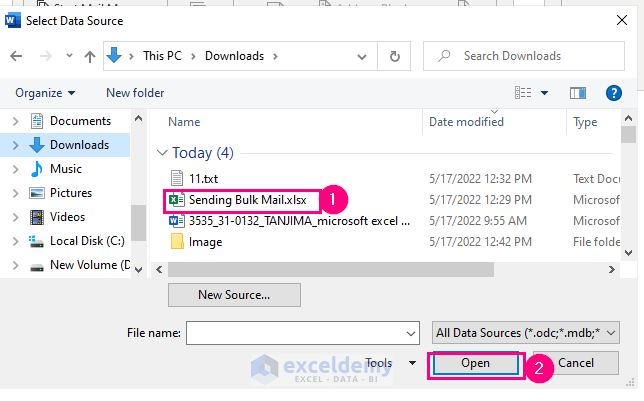
➤ Select the specific Excel file (in this example, Sending Bulk Mail.xlsx) in the File Explorer window and click Open.
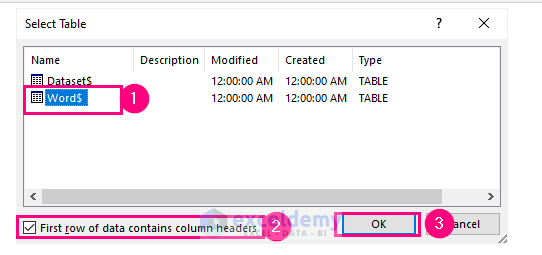
➤ The Select Table wizard will open up.
➤ Select the sheet name in which you have the list of email ids.
➤ Check the option First row of data contains column headers and click OK.
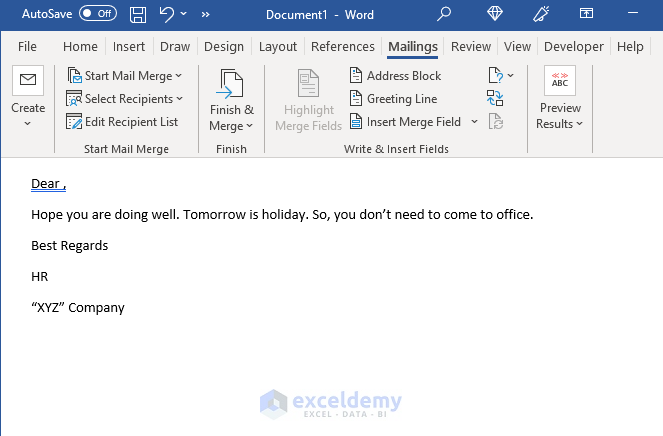
Step 2: Creating Structure of Email
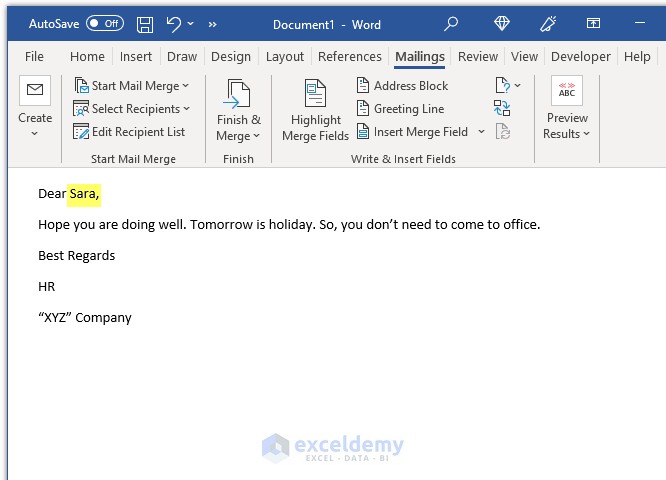
➤ Type in the email content.
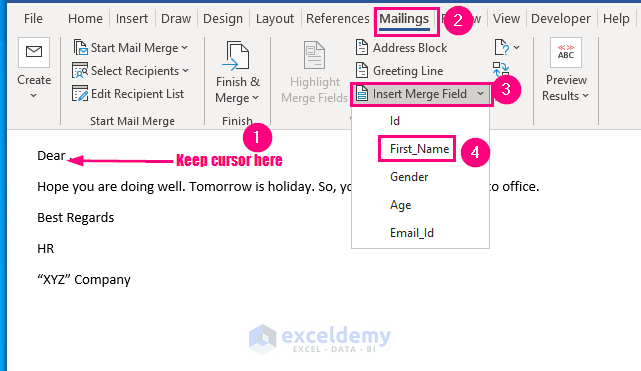
➤ Keep your cursor after Dear where you want the name, then go to the Mailings Tab >> Insert Merge Field Dropdown >> First_Name (Field name containing the first names of the recipients).
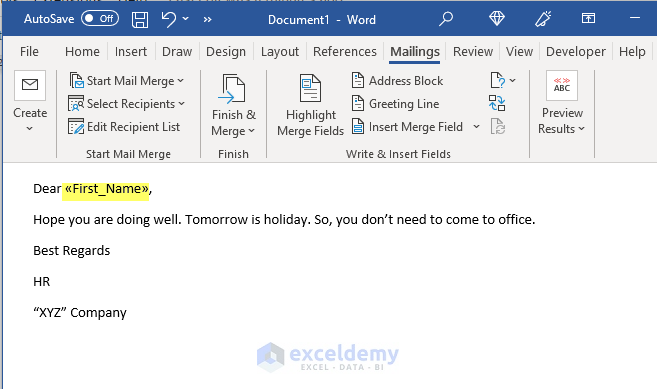
The selected field name will appear after Dear.
➤ To see the result of this inserted field, go to the Mailings Tab >> Preview Results Group >> Preview Results Option.
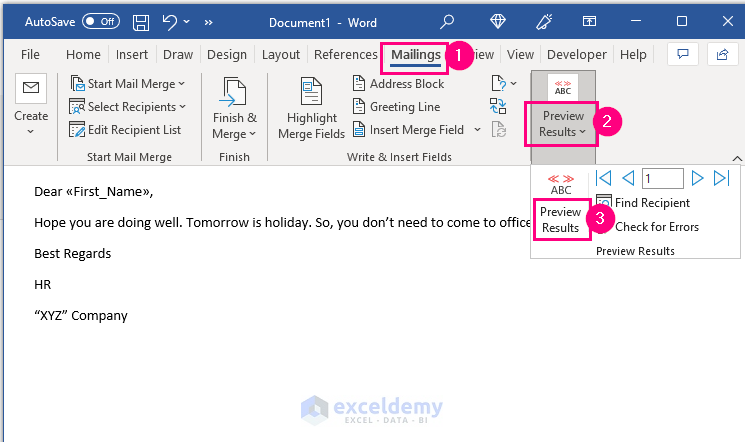
You will see the first name (for example, Sara) from the list appear after Dear.
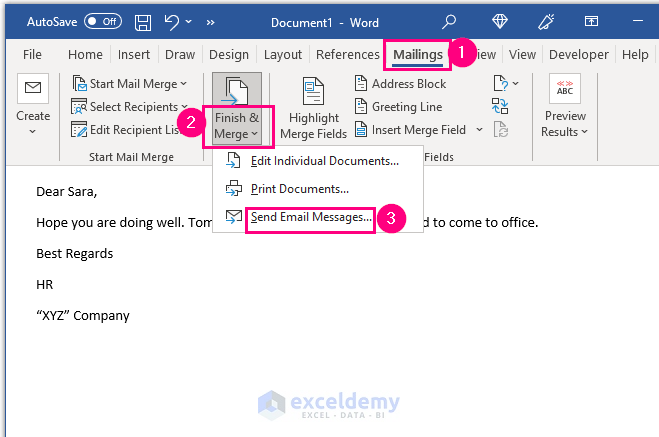
➤ For sending this email go to the Mailings Tab >> Finish & Merge Group >> Send Email Messages Option.
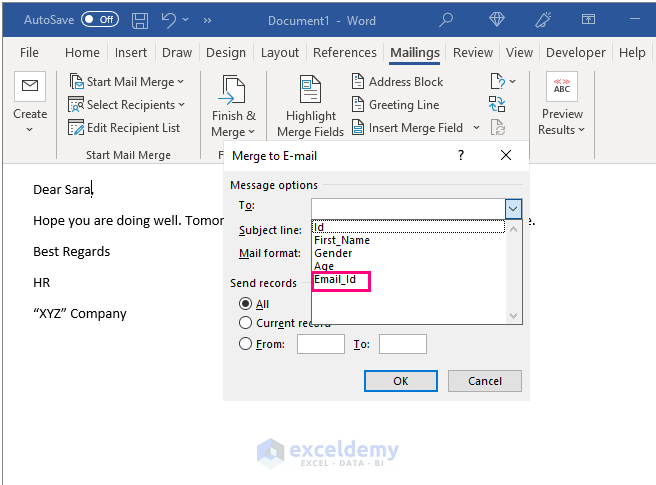
➤ The Merge to E-mail wizard will pop up.
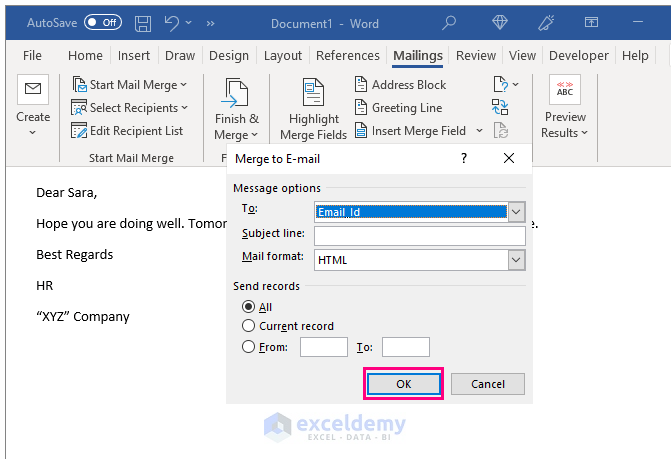
➤ Click on the dropdown symbol in the To box you will get various fields for different columns of your worksheet. Select the Email_Id field containing the email ids of the recipients.
➤ Click OK.
Read More: Automatically Send Emails from Excel Based on Cell Content
Method 3 – Sending Bulk Email from Outlook Using Excel and Power Automate
For this method, you will need Excel, OneDrive, Outlook, and Power .
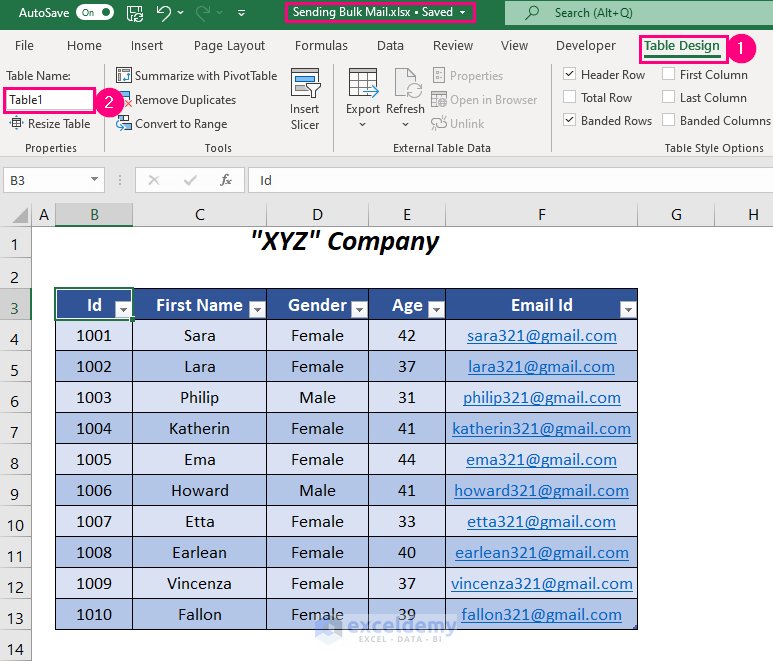
In our sample file, we have converted the data range into a table. Go to the Table Design tab to see the name of the table, which is Table1. You will need to name (example, Sending Bulk Mail.xlsx ) and save the Excel file to OneDrive.
Step 1: Creating a Flow
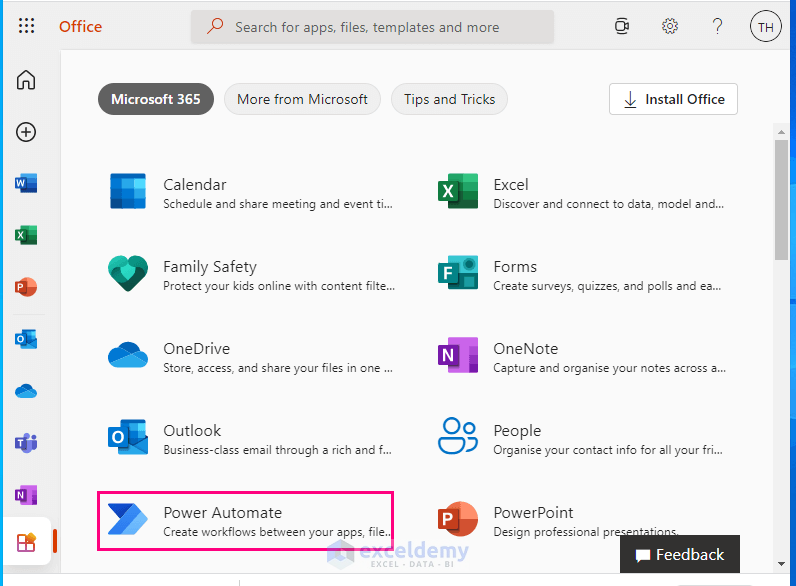
➤ Go to your Microsoft Office 365 account and from various applications select Power Automate.
➤ Select the Create option from the left side and then the Instant cloud flow option from the right side.
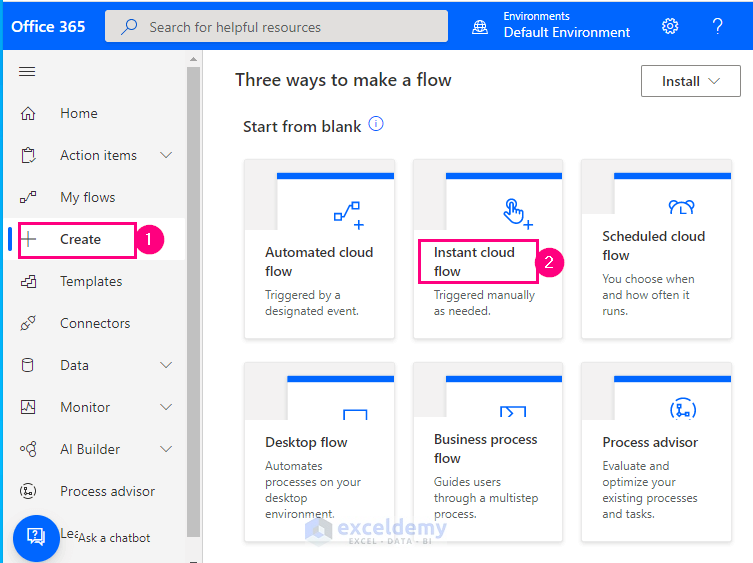
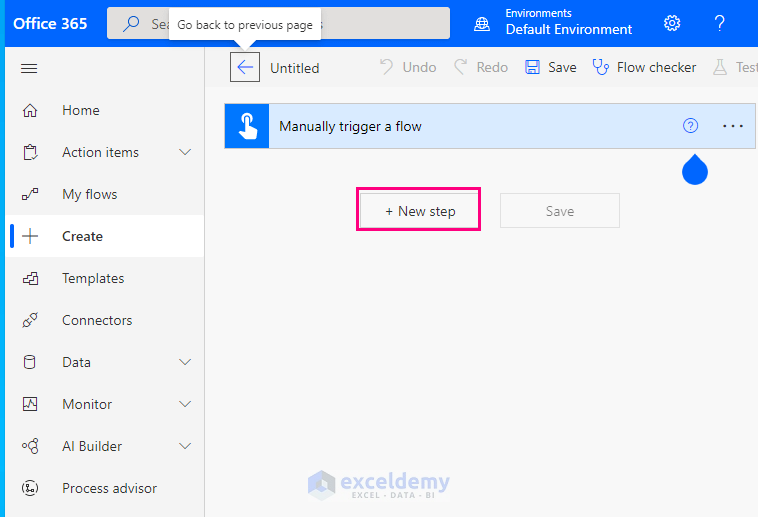
➤ Select the Manually trigger a flow option and then press Create.

Step 2: Adding First Step for Excel File
➤ Click on +New step.
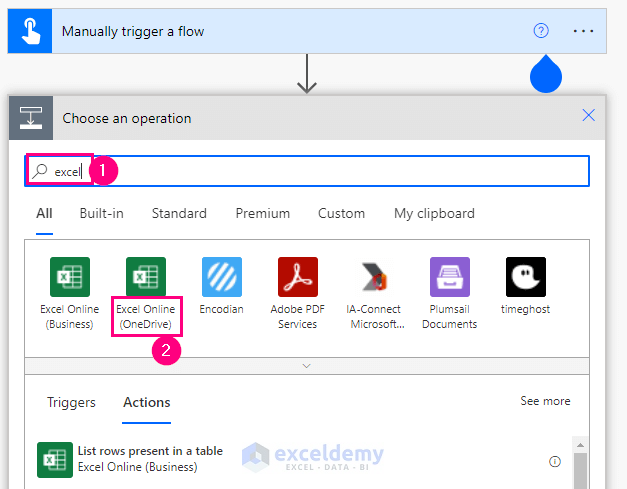
➤ Search for Excel in the search bar.
➤ Select the location where you have saved your file (in this example, Excel Online (Onedrive) option).
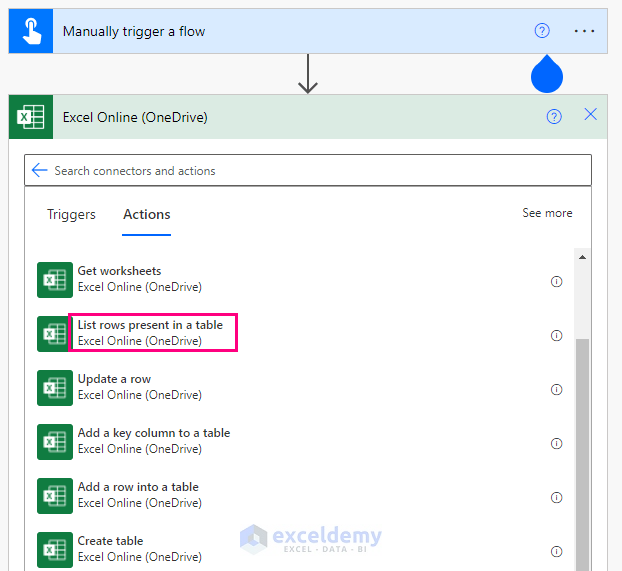
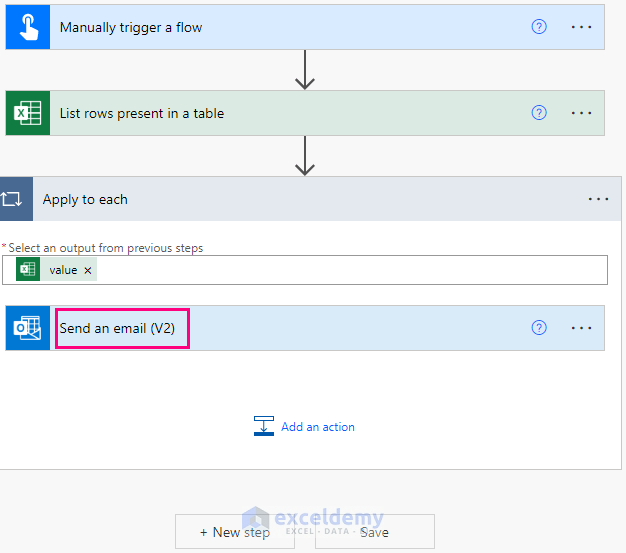
➤ Select the List rows present in a table option.
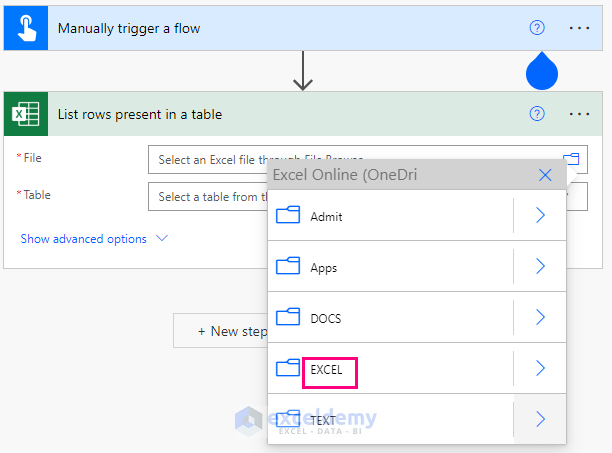
➤ Click on the Folder symbol beside the File box.
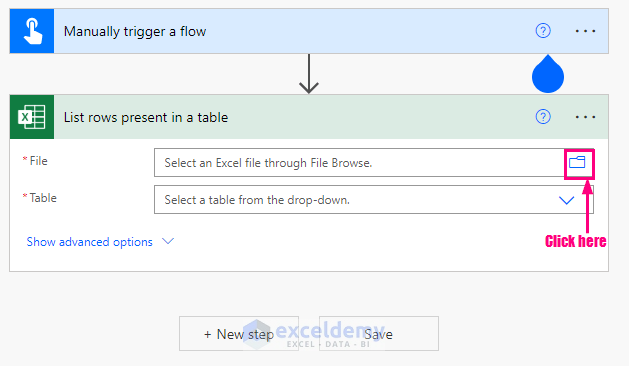
➤ Select the folder name which contains the required Excel file (here, we are selecting the EXCEL folder).
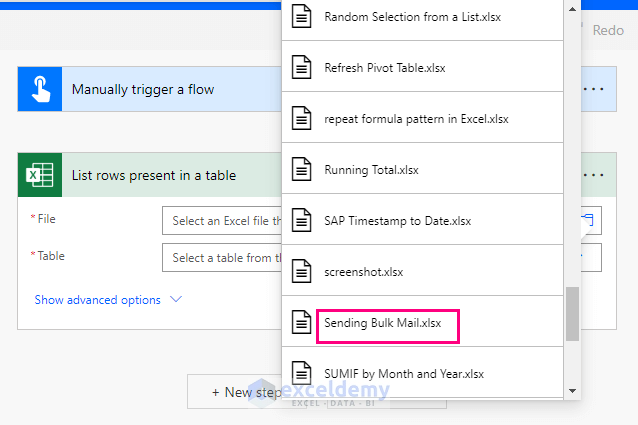
➤ Select the required file (example, Sending Bulk Mail.xlsx)
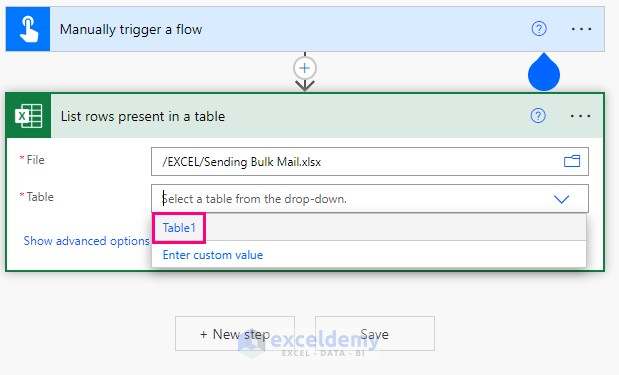
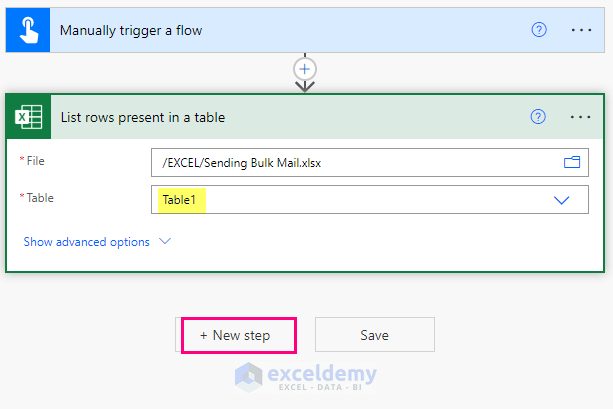
➤ In the Table box, select the table name (Table1) of the file which contains the email addresses.
Step 3: Adding Second Step for Outlook
➤ Click on +New step to add a step to send the emails through Outlook.
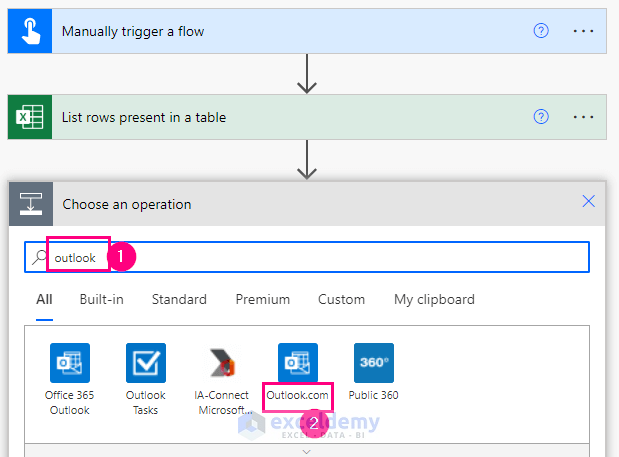
➤ Search for Outlook in the search bar.
➤ Select the Outlook.com option.
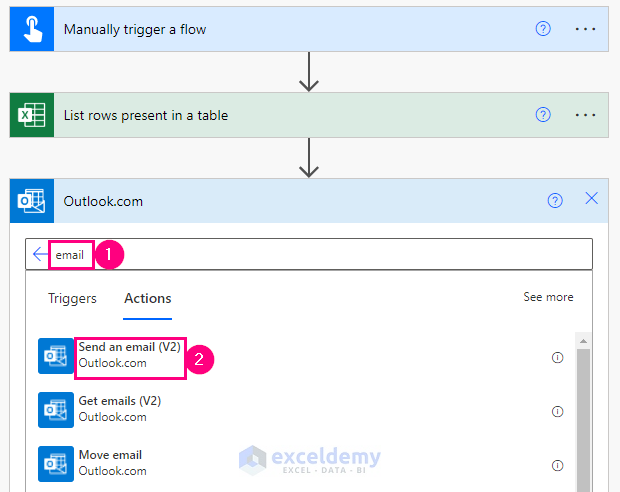
➤ Search for email and select the Send an email (V2) option.
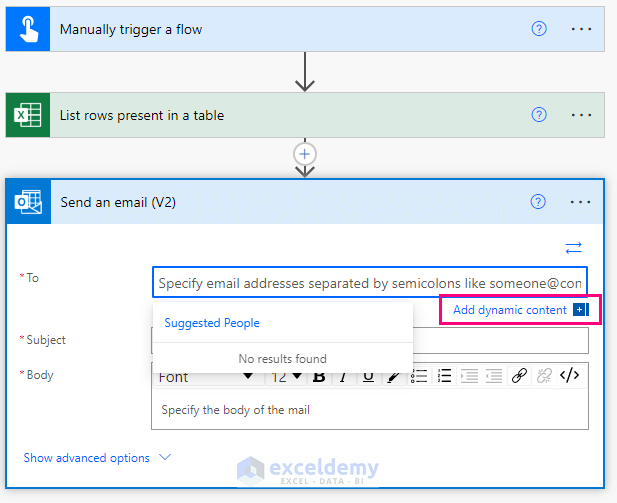
➤ To select the email addresses, click on the Add dynamic content option below the To box.
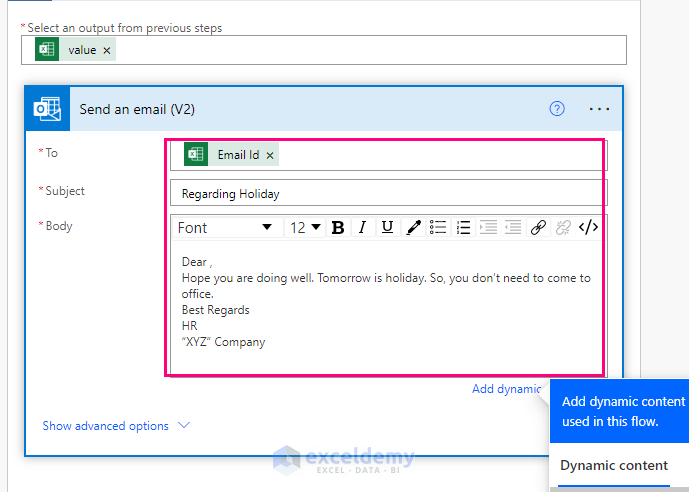
➤ Select Email Id (the name of the column containing email ids) under the List rows present in a table flow.
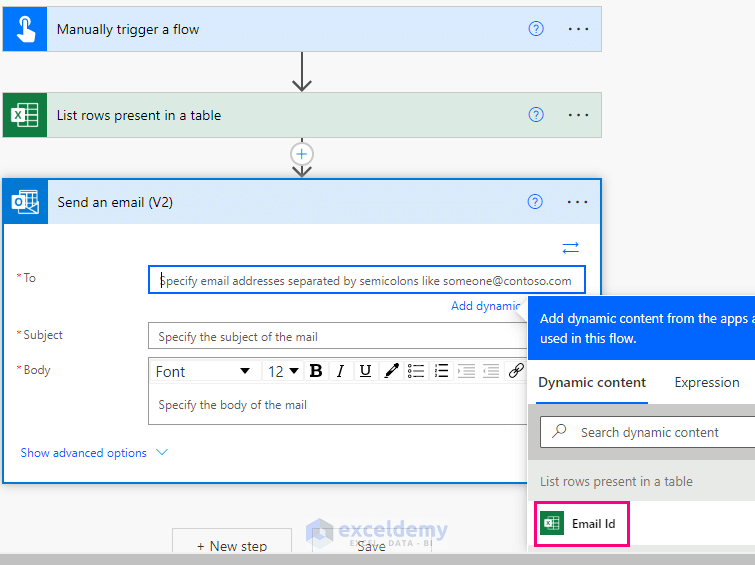
➤ The word value will appear in a box, which means that this output has been selected from the previous step.
➤ Select the Send an email (V2) flow to see the details of this flow.
➤ Write the email content.
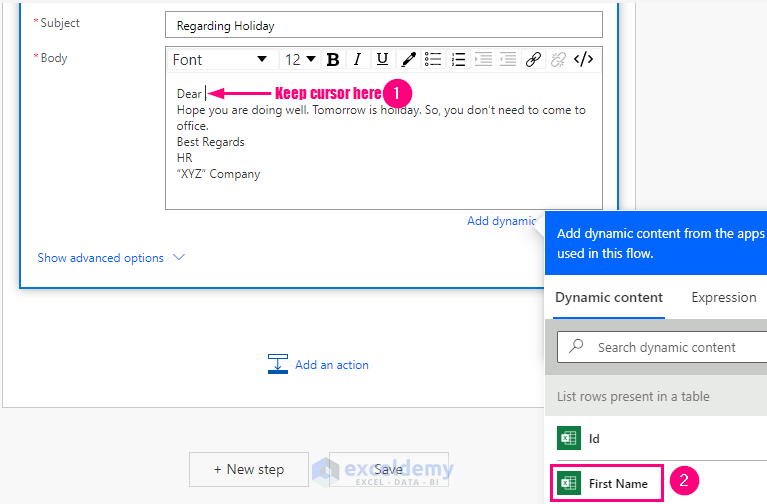
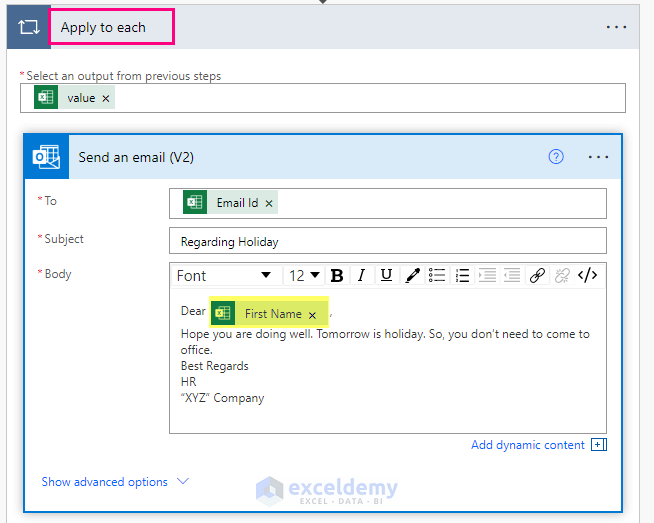
➤ To address each recipient of the email, select the First Name (the column name containing the first names) option from the dynamic content keeping the cursor after Dear.
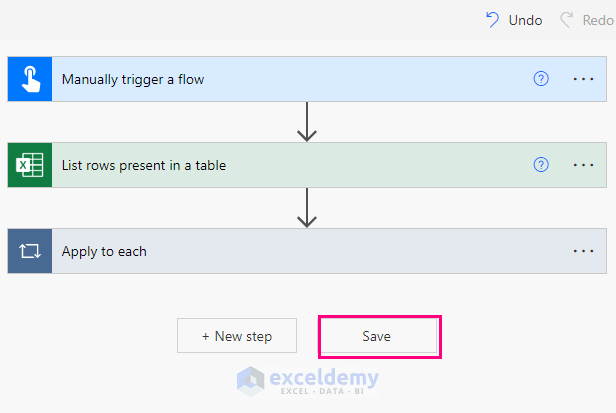
➤ Select Apply to each to apply this step to all of the email IDs.
➤ Click on Save.
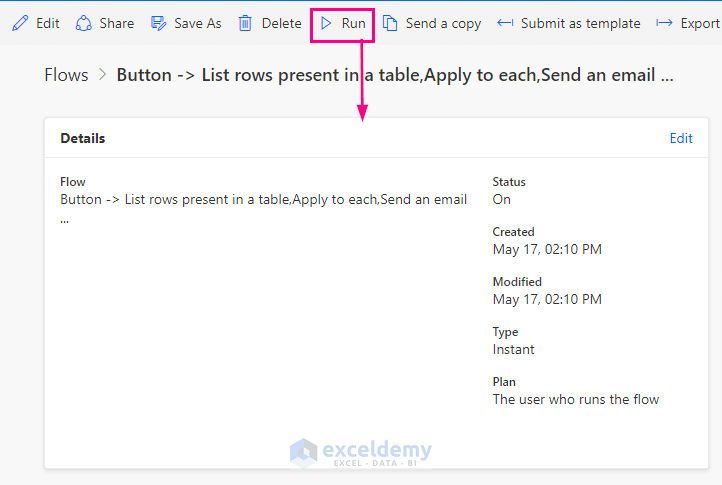
➤ Click on the Run option to send the email to all the recipients.
Read More: How to Send Multiple Emails from Excel Spreadsheet
Download Workbook
Related Articles
- How to Send an Editable Excel Spreadsheet by Email
- How to Send Automatic Email from Excel to Outlook
- How to Send Email Automatically When Condition Met in Excel
- How to Send Email If Conditions Met in Excel
- How to Automatically Send Email from Excel Based on Date
<< Go Back To Send Email from Excel | Learn Excel
Get FREE Advanced Excel Exercises with Solutions!

Didn’t include how to attach a file via PowerAutomate
Hello FrustartedUser,
You’re right! The article explains how to send bulk emails but doesn’t cover file attachments.
To attach a file in Power Automate, you need to use the ‘Get file content using path‘ action from OneDrive or SharePoint and then map it to the ‘Attachments‘ field in the ‘Send an email (V2)‘ action. This allows each email to include its corresponding attachment from the Excel sheet.
Step 1: Prepare Your Excel File
Create an Excel sheet with columns:
1. Email Address: The recipient’s email.
2. Subject: The subject of the email.
3. Body: The email content.
4. File Path: (Optional) If you have multiple attachments, store the file path or file name in a column.
Step 2: Upload Files to OneDrive or SharePoint
OneDrive Method:
1. Upload all the files you need to attach to OneDrive.
2. Copy the file path or file name to the Excel sheet.
SharePoint Method:
1. Store attachments in a SharePoint Document Library.
2. Make sure the filenames match those listed in Excel.
Step 3: Create a Power Automate Flow
1. Go to Power Automate.
2. Click Create → Automated cloud flow.
3. Select “When a row is added, modified, or deleted” (Excel connector).
4. Connect your Excel file stored in OneDrive or SharePoint.
Step 4: Add a “Get File Content” Action
1. Click “+ New Step” → Choose “Get File Content”.
2. If using OneDrive, select “Get file content using path”:
3. Set File Path to the value from your Excel sheet.
4. If using SharePoint, select “Get file content”:
5. Use the file identifier from the Document Library.
Step 5: Add the “Send an Email” Action
1. Click “+ New Step” and select “Send an email (V2)” (Outlook 365).
2. Fill in:
To → Select the email address column from Excel.
Subject → Select the subject column.
Body → Select the body column.
Attachments → Click “Add attachment”.
File Name → Use the file name from Excel.
File Content → Use the output from “Get file content”.
Step 6: Save and Test the Flow
1. Click Save and Test the flow.
2. Add a new row to your Excel sheet and see if the email is sent with the attachment.
Regards
ExcelDemy