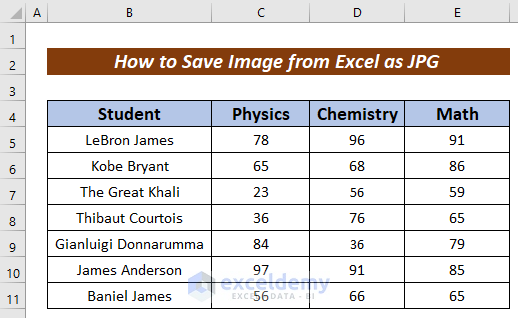
Dataset Overview
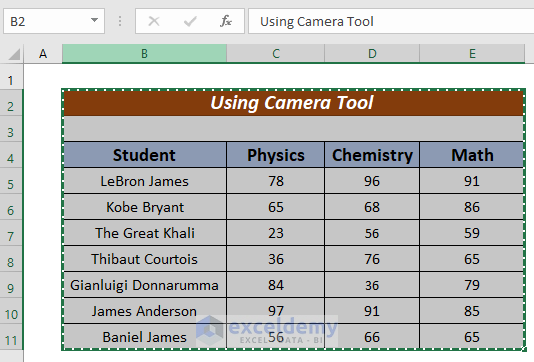
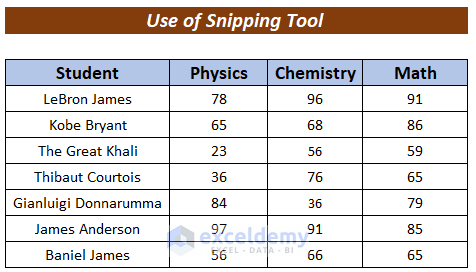
Let’s use a dataset containing annual exam results for a school, with columns corresponding to Student, Physics, Chemistry, and Mathematics.
Method 1 – Using the “Copy as Picture” Command to Save an Image as JPG
To save an image as a JPG file, you can also employ the Copy as Picture command. Follow these steps:
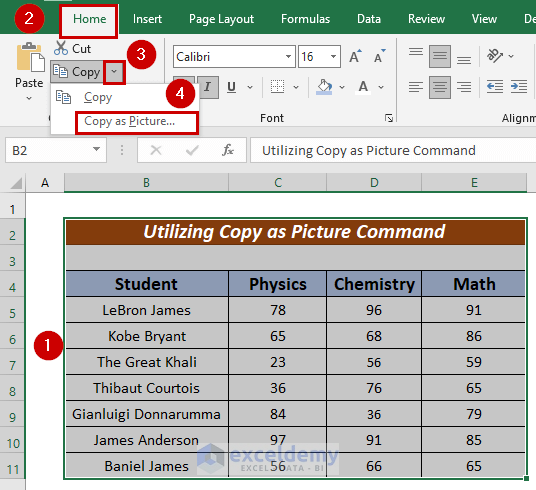
- Select the cells containing the content you want to save as a JPG image.
- Click on the Home tab in your spreadsheet software.
- Under the Copy option, click the button to reveal extended copy options.
- Choose Copy as Picture from the available options.
- The Copy Picture Wizard will appear.
- Select As shown on screen from the Appearance section.
- Choose Picture from the Format section.
- Click OK to generate the image.

- Press CTRL + C to copy the image to your clipboard.
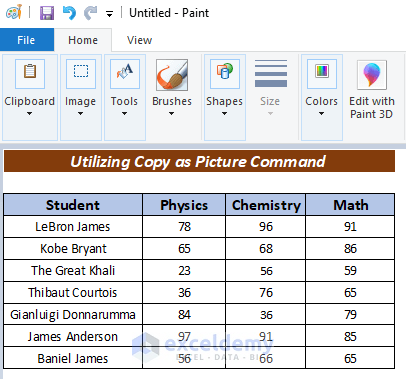
- Open another software application (such as Paint or MS Word).
- Paste the image there (I’ve demonstrated this using Paint).
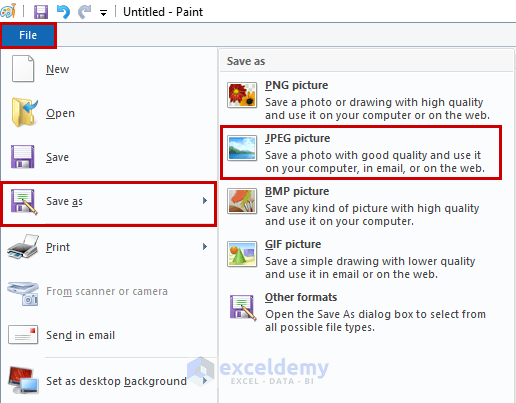
- In the new software, go to the File tab.
- Select Save as and choose the JPEG picture option.
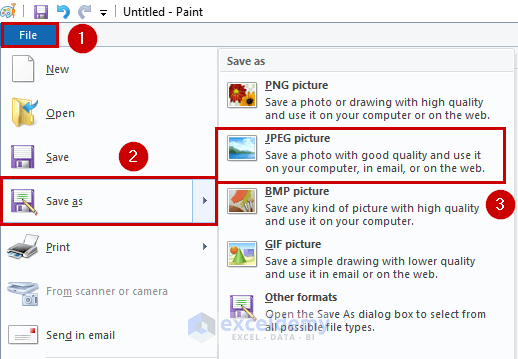
- Specify the download location.
- In the Save as type option, select JPG.
- Click Save to save the image in JPG format.

You can verify the saved image by opening it; it should be in JPG format.

Method 2 – Using Excel’s Camera Tool to Save an Image as JPG
You can also utilize Excel’s Camera tool to save images in JPG format.
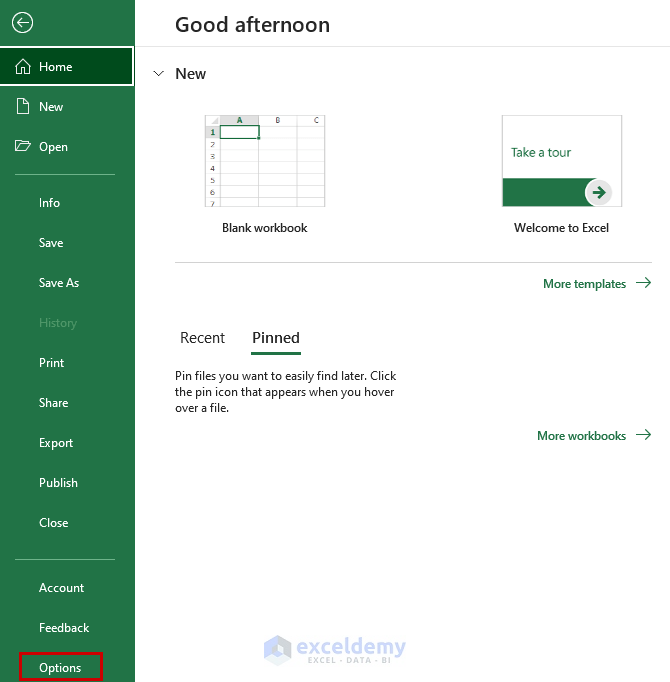
- Go to the File tab.
- Choose Options.
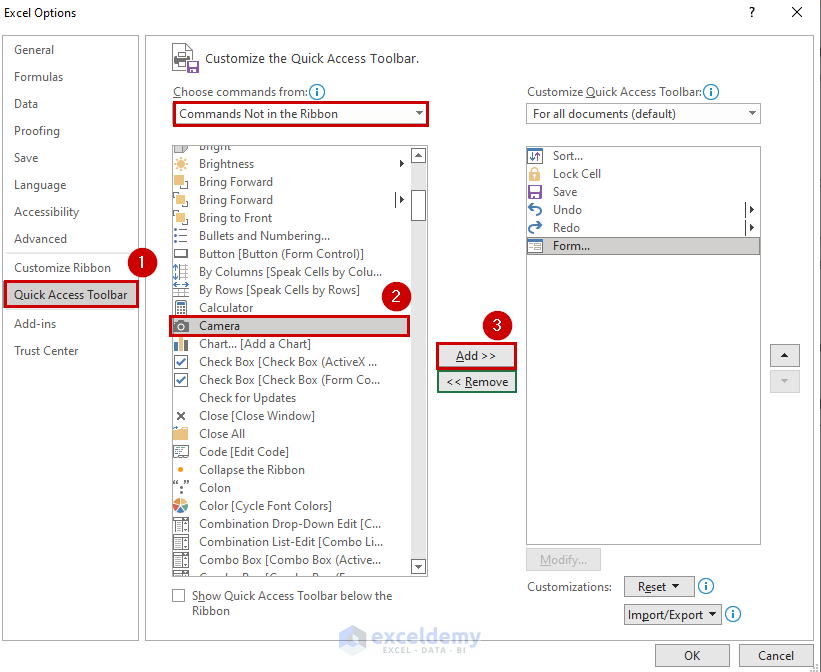
- Select the Quick Access Toolbar option from the Excel options.
- Ensure that the Choose commands from box is set to Commands Not in the Ribbon mode.
- Pick the Camera option.
- Click Add to add this option to the Quick Access Toolbar.
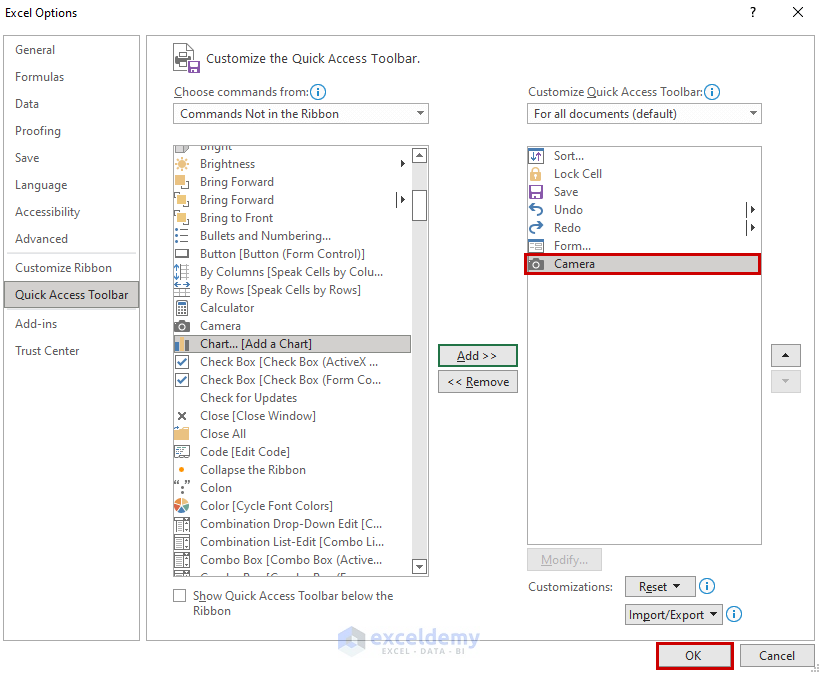
- You’ll see the addition on the Quick Access Toolbar under Customize Quick Access Toolbar.
- Press OK to complete the addition process.
- You’ll find the Camera icon on the Quick Access Toolbar.

- Select the cell from which you want to capture the image.
- Click on the Camera icon.
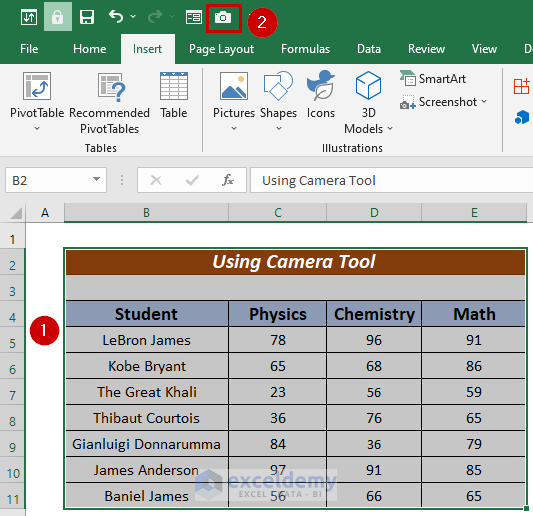
- The image area will be highlighted.
- Press CTRL + C to copy the image to your clipboard.
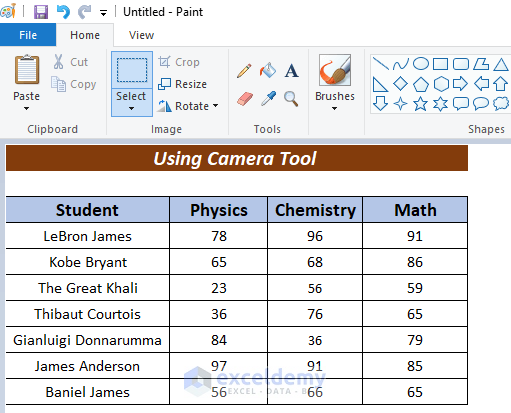
- Paste it into your preferred software (e.g., Paint, Word, etc.) to insert the picture.
- Go to the File tab.
- Choose “Save as” and select the JPEG picture option.
- Specify your preferred location for saving the image in JPG format.
Read More: Save Picture from Excel to Folder
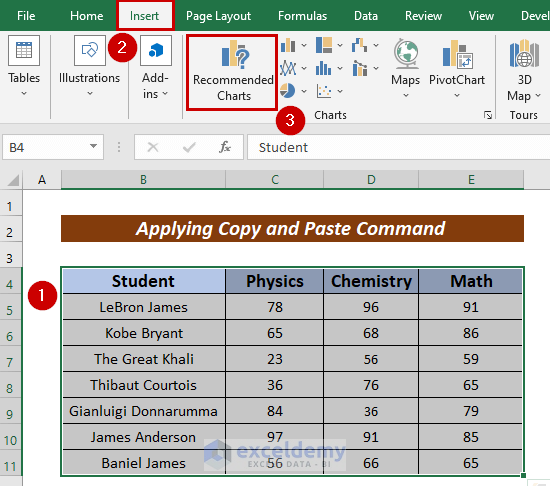
Method 3 – Using Copy and Paste Command to Save an Image as JPG
You can employ the traditional Copy and Paste method to save an image as a JPG file. Follow these steps:
- Select the cells that you want to include in the image.
- Go to the Insert tab.
- From the ribbon, choose Recommended Charts.
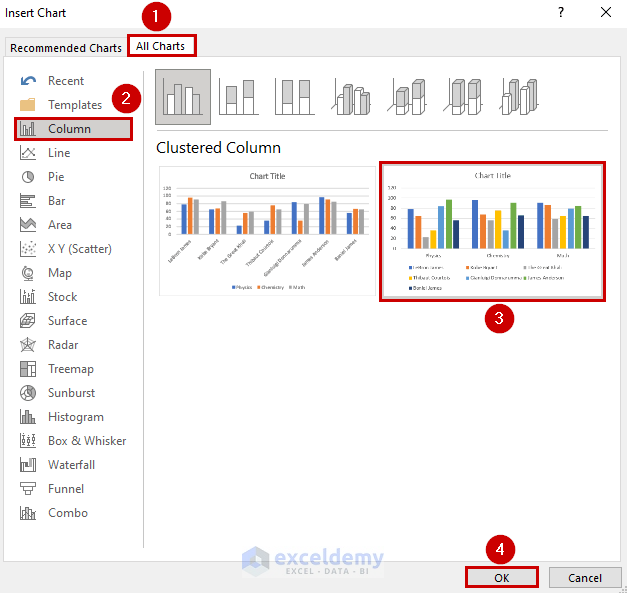
- The Insert Chart wizard will appear.
- Click on the All Charts tab.
- Select Column.
- Choose your desired chart pattern from the available options.
- Press OK to create the chart.
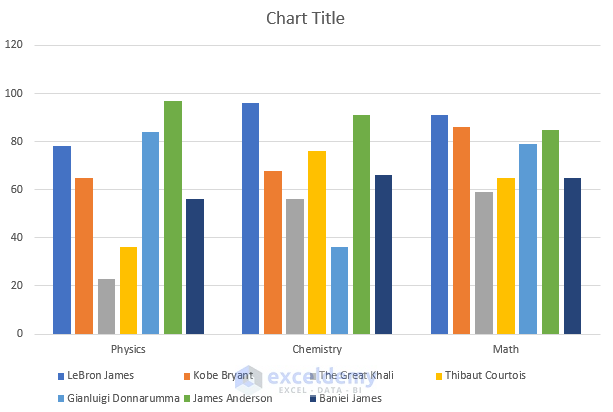
- You’ll have your chart.
- Press CTRL + C to copy the image.
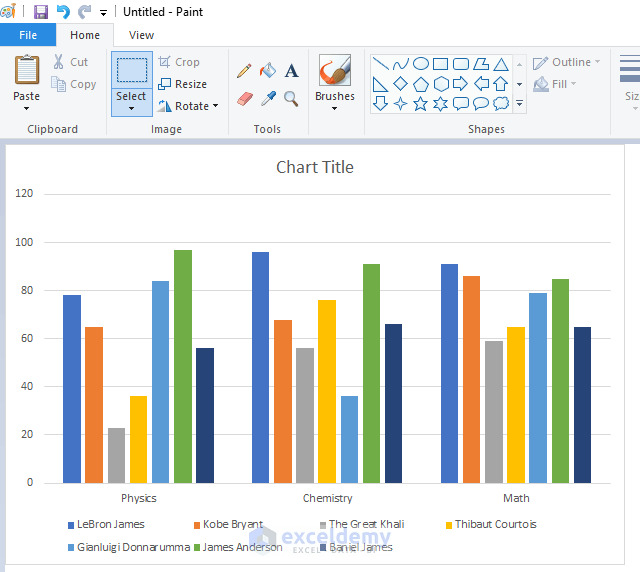
- Open another software application (such as Paint or MS Word).
- Paste the image there (I’ve demonstrated this using Paint).
- Go to the File tab.
- Choose “Save as” and select the JPEG picture option.
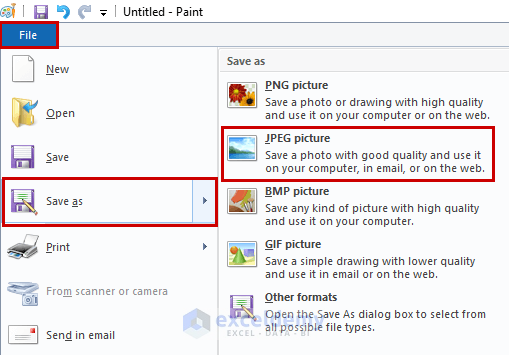
- Specify your preferred location for saving the image in JPG format.
Method 4 – Using Snipping Tool to Save an Image from Excel as JPG
The Snipping Tool is an excellent feature for capturing and converting images according to the user’s needs. It’s commonly available if you’re using the Microsoft Windows operating system. Let’s see how we can use the Snipping Tool to save an image as a JPG:
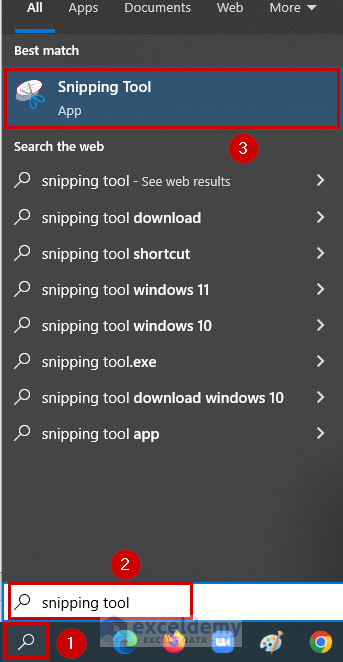
- Go to the Search option.
- Type “Snipping Tool” in the search bar.
- Click on the Snipping Tool command.
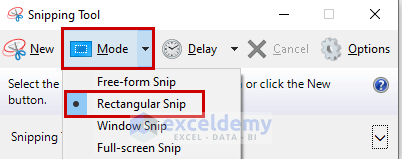
- The Snipping Tool window will appear on your screen.
- Go to the Mode dropdown menu.
- Select Rectangular Snip from the options.
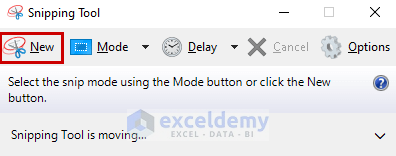
- Click New to capture the image.
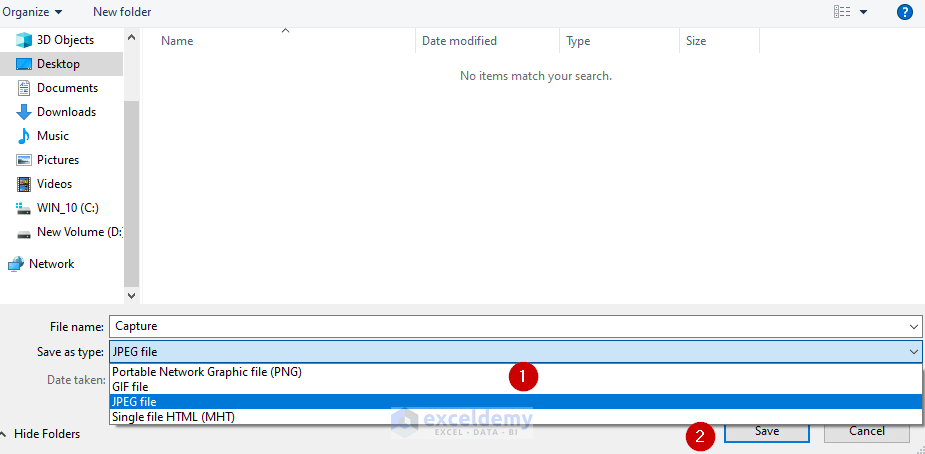
- After taking the screenshot, click on the File menu.
- Choose Save As.

- Select the location on your PC where you want to save the image.
- In the Save as type dropdown, choose the JPEG file option.
- Click Save to complete the process.
- You’ve now successfully saved the image as a JPG.
Download Practice Workbook
You can download the practice workbook from here:
Related Articles
<< Go Back to Save Excel as Image | Export Data from Excel | Learn Excel
Get FREE Advanced Excel Exercises with Solutions!
