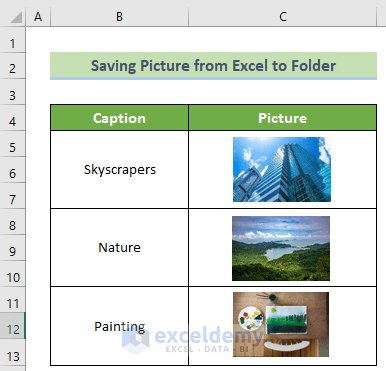
This is the sample dataset.
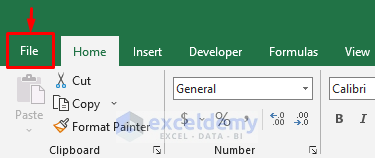
Method 1 – Format the Excel File as a Web Page to Save Pictures to a Folder
Steps:
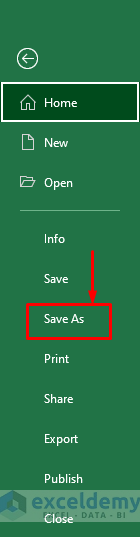
- Go to the File tab on the ribbon.
- Click Save As.
- Choose Browse.
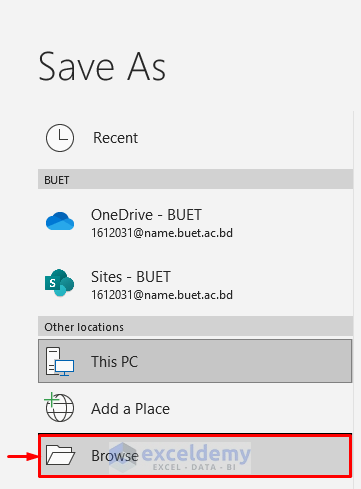
- In the Save As dialog box, enter your file name in File name: and Save as type:.
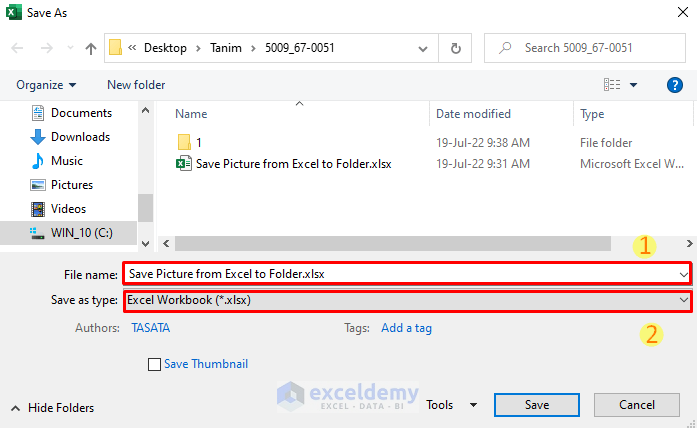
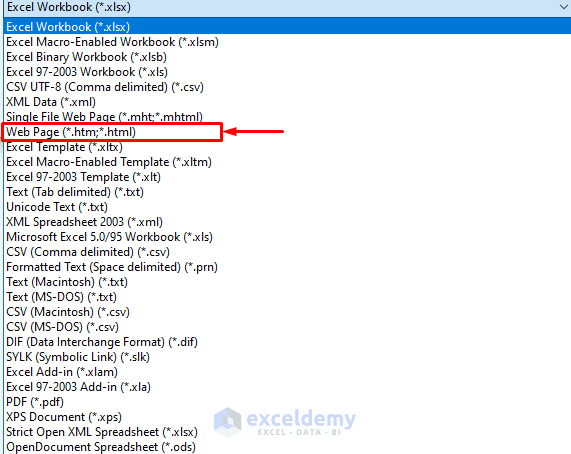
- Choose Web Page (*.htm;*.html)
- In the Save As dialog box, click Save.

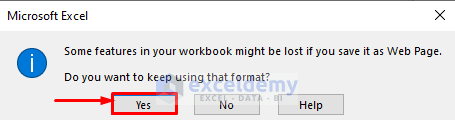
- In the Microsoft Excel dialog box, click Yes.
A new folder was created.
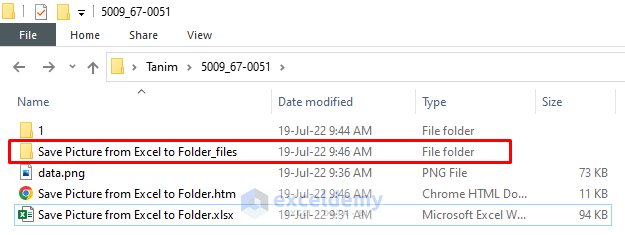
- Double-click the new folder to see the images.

Read More: How to Save Image from Excel as JPG
Method 2 – Use the .zip File Extension
Steps:
- Right-click your Excel file.

- Choose Rename.
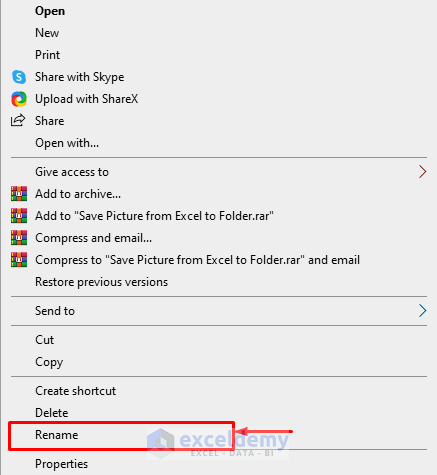
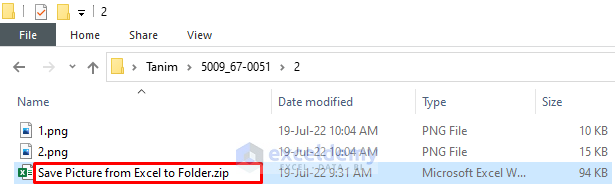
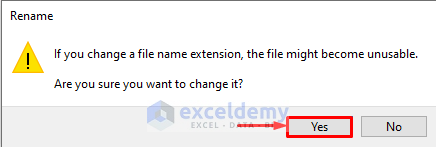
- Remove the .xlsx extension and add the .zip extension to the file name. Press Enter.
- In the Rename dialog box, click Yes.
- The Excel file is converted into a zip file.
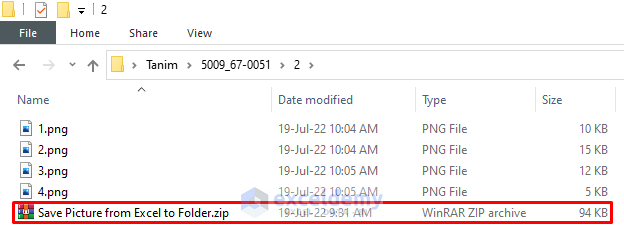
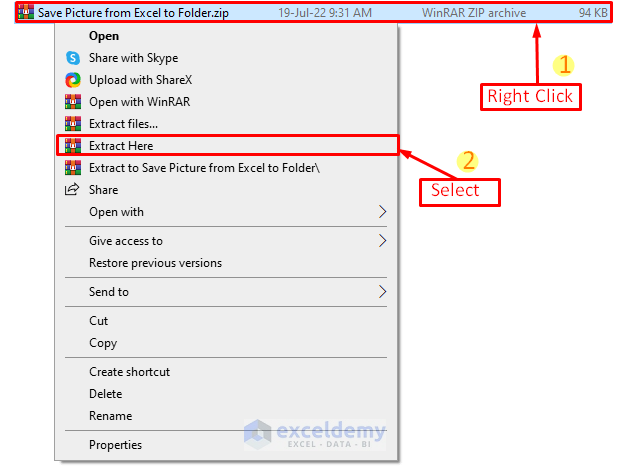
- Right-click the Excel file and choose Extract Here.
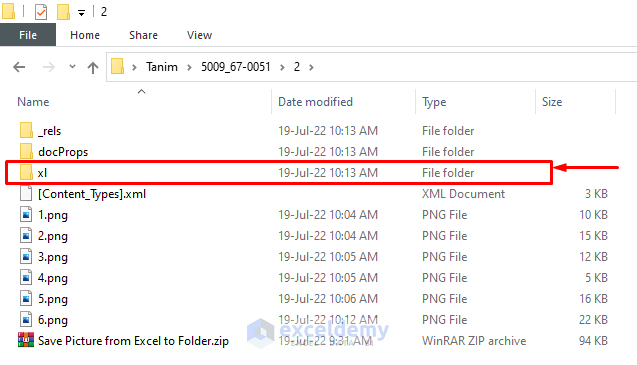
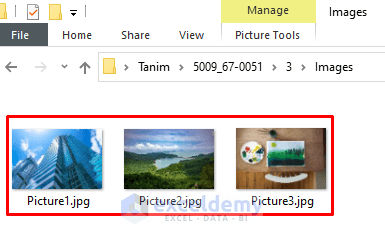
- Images are saved in the folders. To find the directory, double-click the xl folder.
- Double-click the media folder.
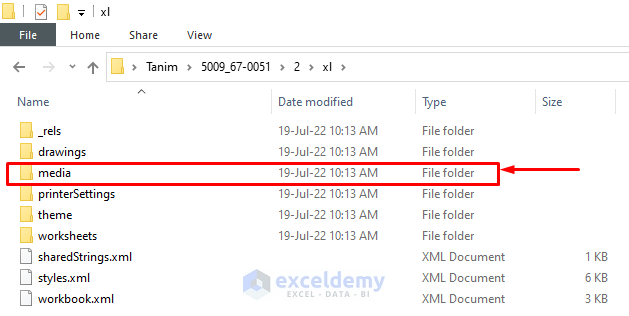
Images are saved in the media folder.

Note:
- Copy your Excel file before converting it into a zip file.
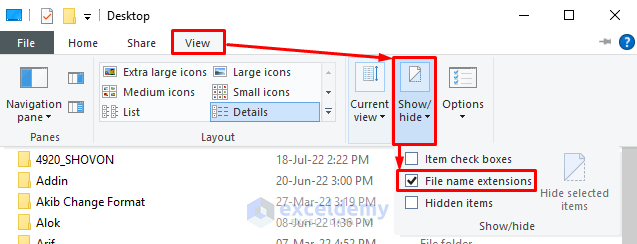
- To find the extension in the file name, go to File Explorer >> View option >> Show/hide group >> tick File name extensions.
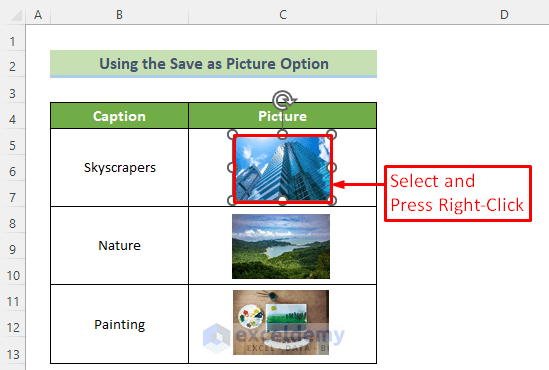
Method 3 – Using the ‘Save as Picture’ Option
Steps:
- Select the image you want to save and right- click it.
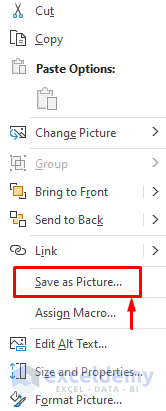
- Choose Save as Picture….
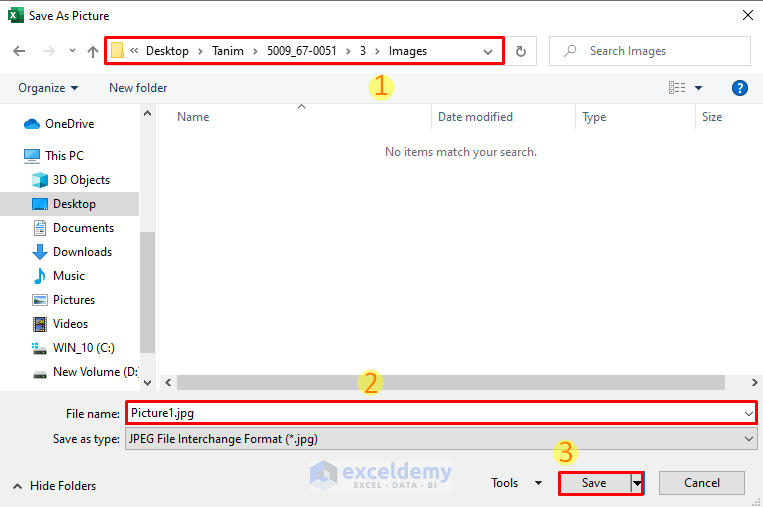
- In Save As Picture, browse the directory where you want to save the picture >> write the File name: >> click Save .
The image is saved in the chosen directory.
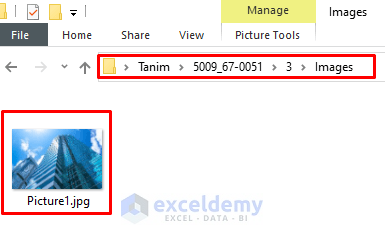
Save all images in a single folder.
Download Practice Workbook
You can download the workbook and practice.
Related Articles
<< Go Back to Save Excel as Image | Export Data from Excel | Learn Excel
Get FREE Advanced Excel Exercises with Solutions!
