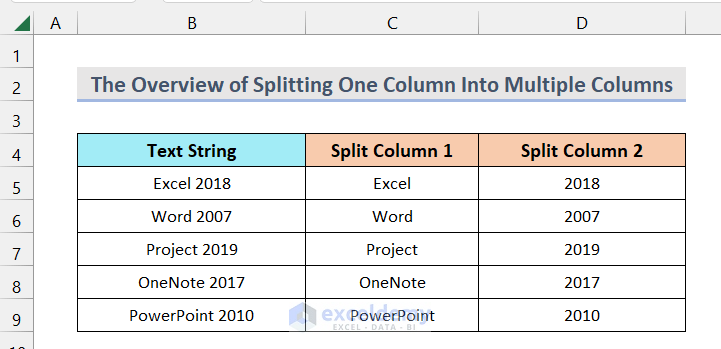
Here’s an overview image of splitting a column into multiple ones.
Method 1 – Using Text to Columns to Split One Column into Multiple Columns in Excel
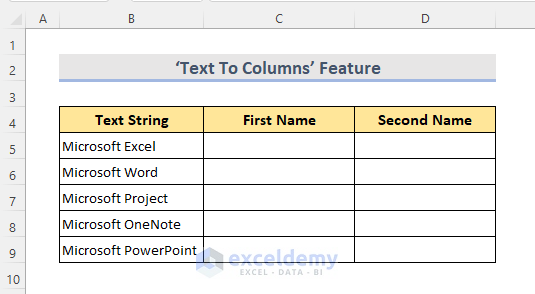
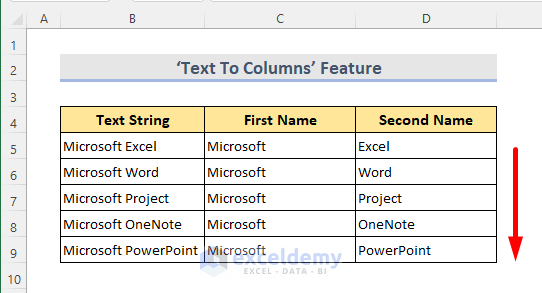
We have a dataset (B4:D9) of Microsoft products. We are going to split one column’s information (B5:B9) into multiple columns.
STEPS:
- Select the column range (B5:B9) to split.
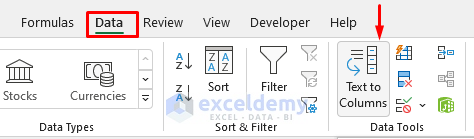
- Go to the Data tab.
- Click on ‘Text to Columns’ from the Data Tools option.

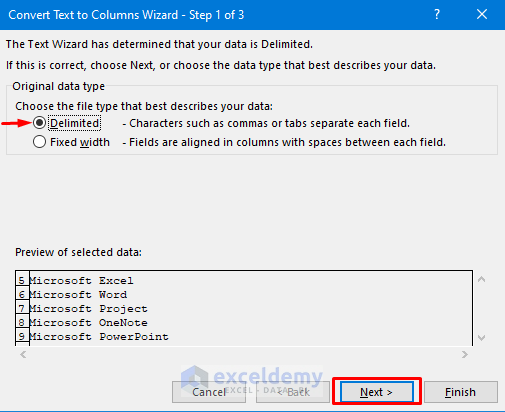
- A Wizard Step 1 window pops up.
- Select the ‘Delimited’ option and click Next.
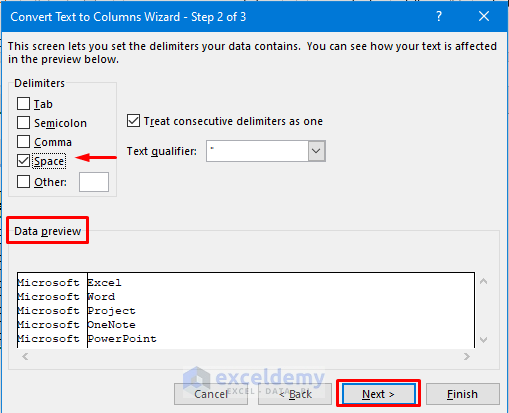
- You’ll see the Wizard Step 2 window. Check on the ‘Space’ box.
- You can see what the result looks like in the Data preview box.
- Click Next.
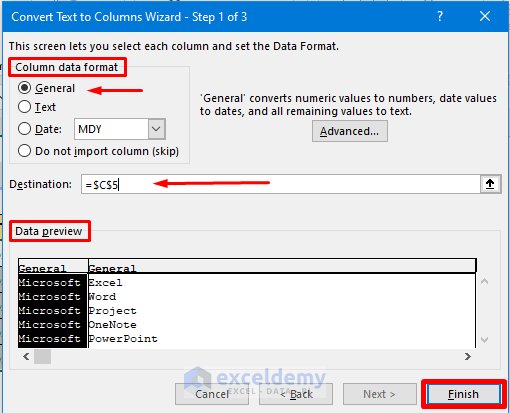
- The Wizard Step 3 window is open. Select ‘General’ from the ‘Column data format’ option.
- Select the place where you want to see the result in the Destination box.
- Check if the result is showing right from the Data preview box.
- Click on Finish.
- The data of one column is split into multiple columns.
Method 2 – Splitting One Column into Multiple Columns Based on Comma Delimiter
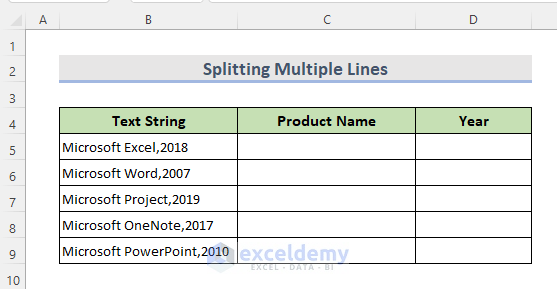
We have a dataset (B4:D9) of Microsoft products with years in one column. We are going to split them.
STEPS:
- Select the column range (B5:B9) to split.
- Go to the Data tab , go to the Data Tools group, and select Text to Columns.
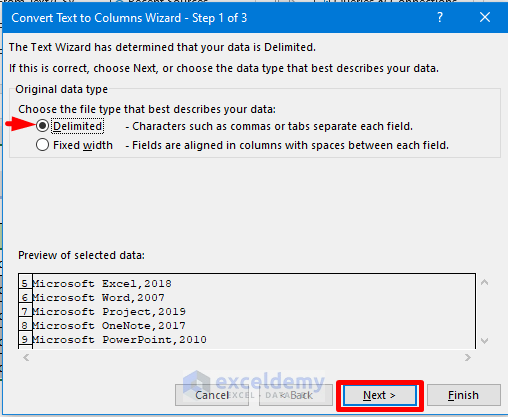
- The Wizard Step 1 window pops up.
- Select the ‘Delimited’ term and click Next.
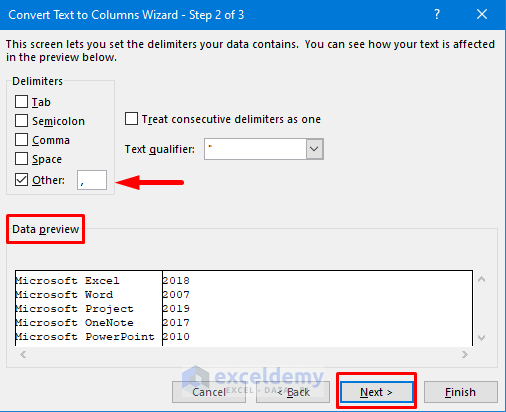
- From the Wizard Step 2 window, check on the ‘Other’ box and type “,” on that. Alternatively, check the Comma option.
- See how the result looks like in the Data preview box.
- Click Next.
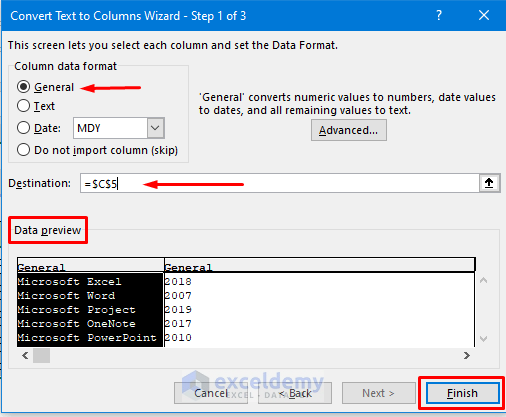
- From the Wizard Step 3 window, select ‘General’ from the Column data format option.
- Select the place where we want to see the result in the Destination box.
- Check if the result is showing right in the Data preview box.
- Click on Finish.
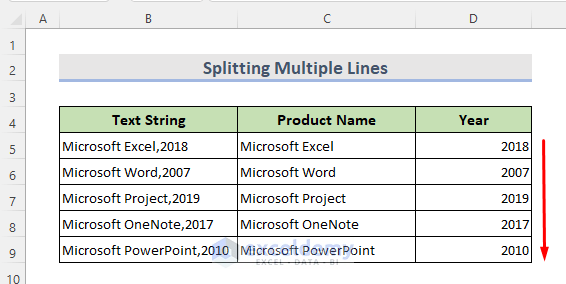
- A confirmation box pops up. Select OK.

- Here’s the result.
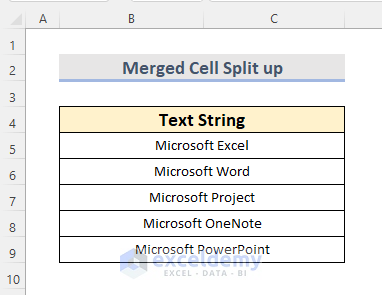
Method 3 – Splitting up Merged Cells into Multiple Columns in Excel
We can see a column with merged cells. We are going to split the cells and convert them into multiple columns.
STEPS:
- Select all the merged cells of one column.
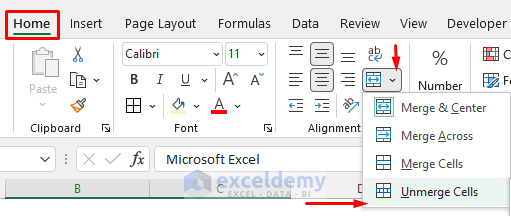
- Go to the Home tab.
- Click on the Merge & Center drop-down from the Alignment section.
- Select Unmerge Cells.
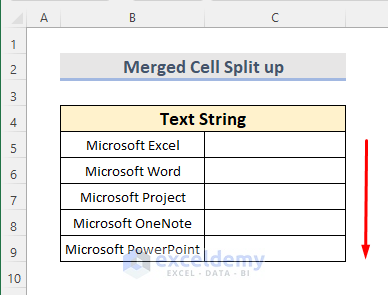
- We can see the cells are unmerged and split into different columns.
Read More: How to Split Column in Excel Power Query
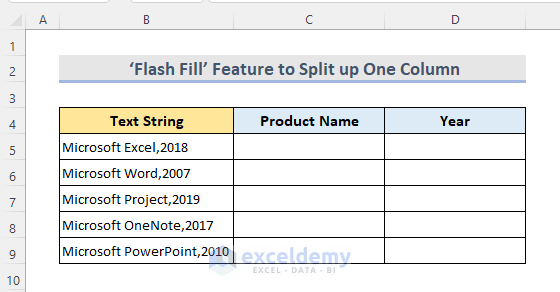
Method 4 – Using Flash Fill to Split up One Column into Multiple Columns in Excel
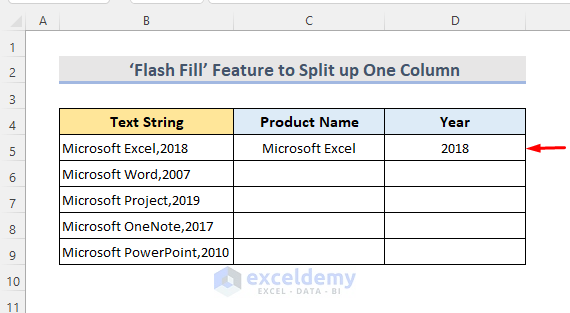
We have a dataset of Microsoft products with years. We are going to split this one column’s data (B4:B9) into multiple columns.
STEPS:
- Select Cell C5 and write down the product name “Microsoft Excel” in it.
- Select Cell D5 and write down the year “2018”.
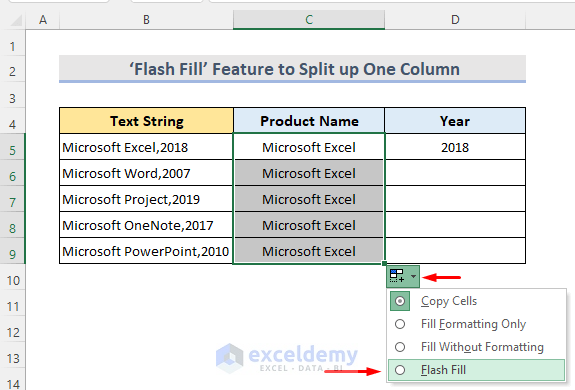
- Select Cell C5 and use the Fill Handle tool to autofill the empty cells.
- From the ‘Autofill options’ panel (in the bottom-corner) click on the ‘Flash Fill’.
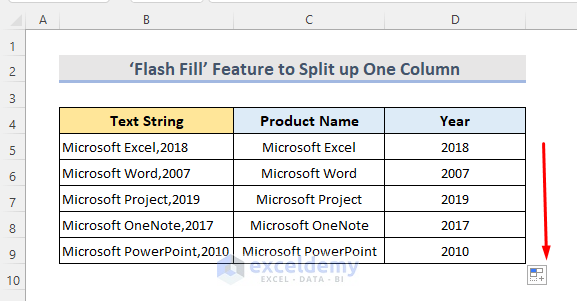
- Repeat for the next column.
Method 5 – Splitting One Column into Multiple Columns with Excel VBA
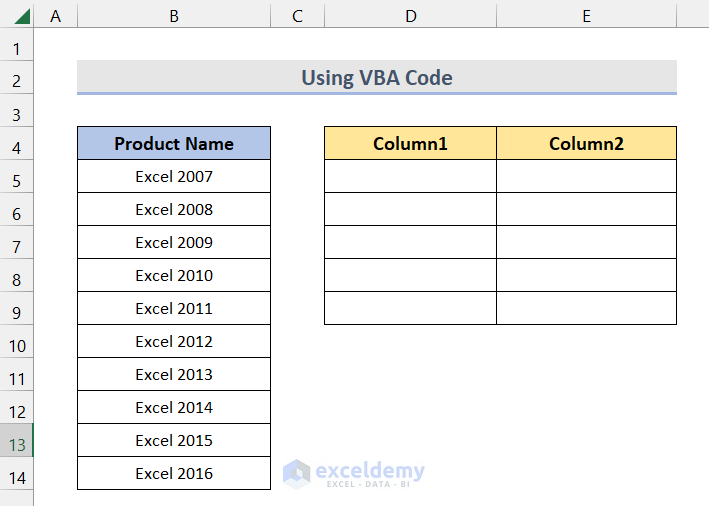
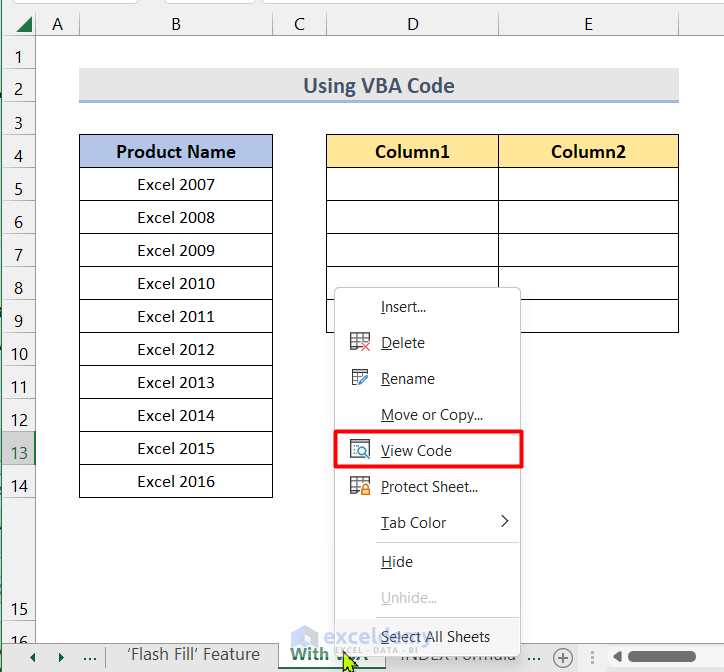
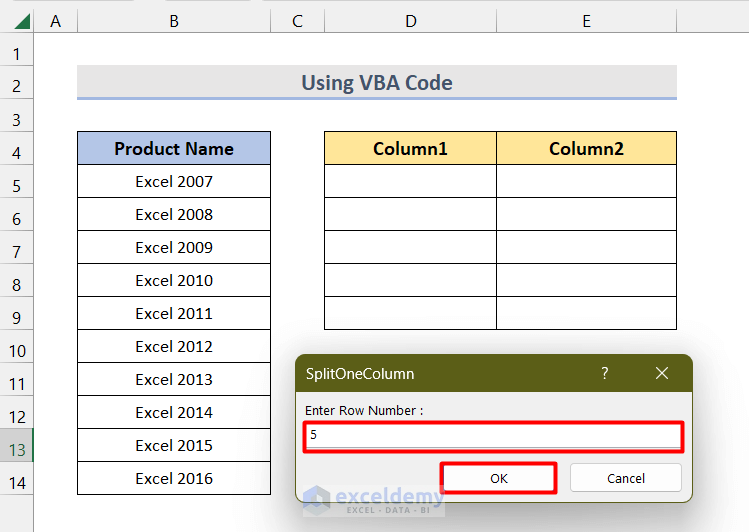
We have a dataset (B4:B14) of Microsoft Excel products across years. We are going to split this column into two columns, D4 and E4.
STEPS:
- Select all the values from the column.
- Go to the worksheet name from the sheet tab and right-click on it.
- Select ‘View Code’.
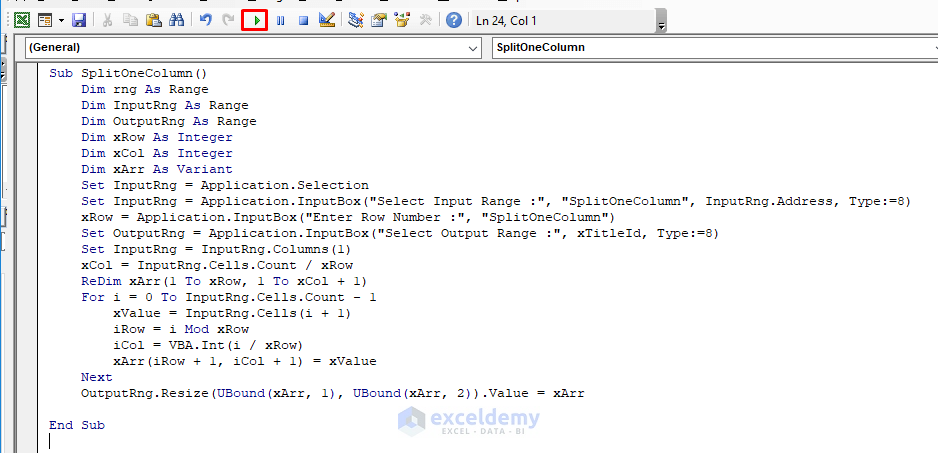
- A VBA Module window pops up.
- Insert this code:
Sub SplitOneColumn()
Dim rng As Range
Dim InputRng As Range
Dim OutputRng As Range
Dim xRow As Integer
Dim xCol As Integer
Dim xArr As Variant
Set InputRng = Application.Selection
Set InputRng = Application.InputBox("Select Input Range :", "SplitOneColumn", InputRng.Address, Type:=8)
xRow = Application.InputBox("Enter Row Number :", "SplitOneColumn")
Set OutputRng = Application.InputBox("Select Output Range :", xTitleId, Type:=8)
Set InputRng = InputRng.Columns(1)
xCol = InputRng.Cells.Count / xRow
ReDim xArr(1 To xRow, 1 To xCol + 1)
For i = 0 To InputRng.Cells.Count - 1
xValue = InputRng.Cells(i + 1)
iRow = i Mod xRow
iCol = VBA.Int(i / xRow)
xArr(iRow + 1, iCol + 1) = xValue
Next
OutputRng.Resize(UBound(xArr, 1), UBound(xArr, 2)).Value = xArr
End Sub- Click on the Run option.
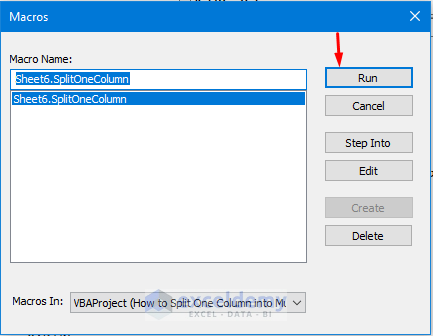
- From the confirmation box, select Run.
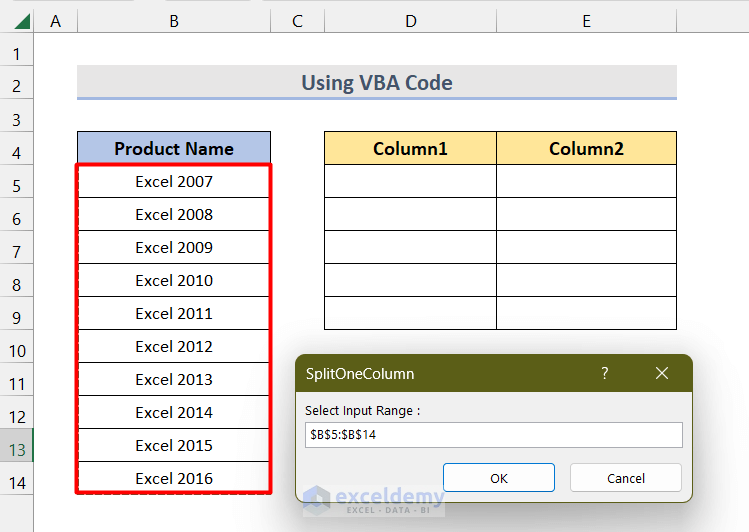
- Select the input range and click on OK.
- Write down the number of how many rows we want to see in the new column and select OK.
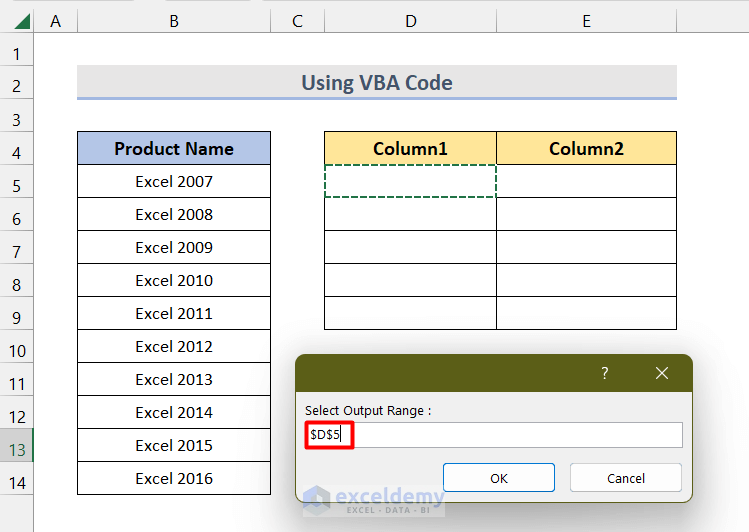
- Select the first cell of the new column and click OK.
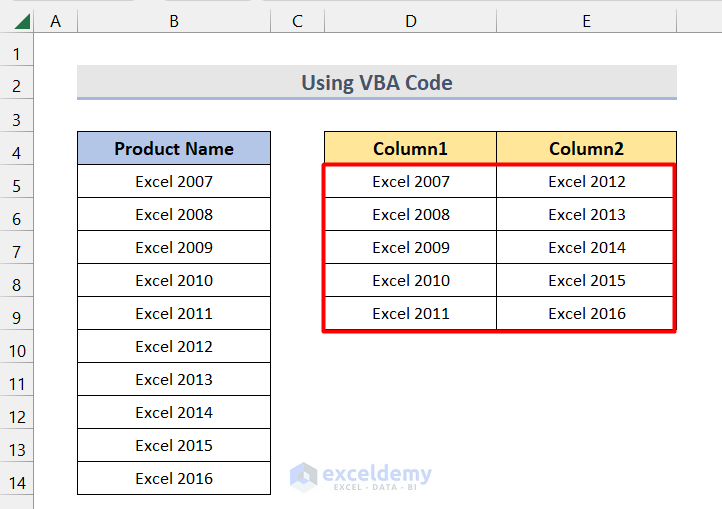
- We can see the result that all the values of one column are split into two.
Method 6 – Combining Excel INDEX and ROW Functions to Split up One Column into Multiple Columns
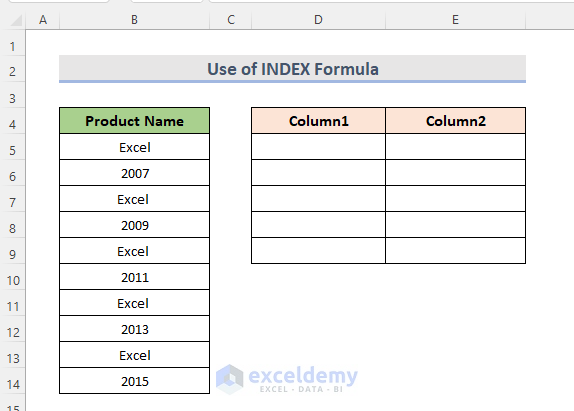
We have a dataset (B4:B14) where values are sequentially positioned in rows. We are going to split these values of the dataset into two columns (Column1 and Column2).
STEPS:
- Select Cell D5.
- Use the following formula and hit Enter.
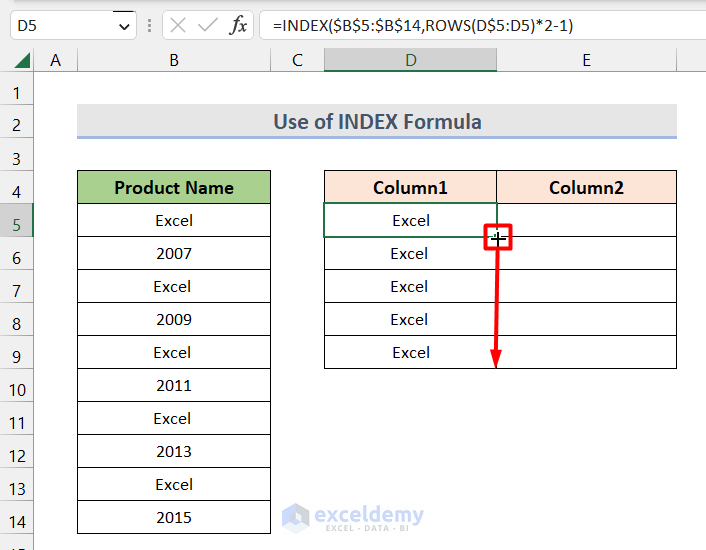
=INDEX($B$5:$B$14,ROWS(D$5:D5)*2-1)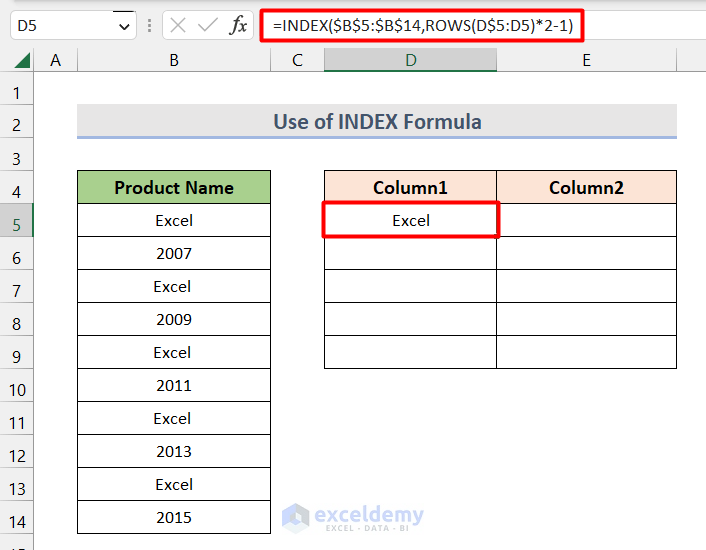
- Use the Fill Handle to autofill the cells below.
- Select Cell E5.
- Insert this formula and press Enter.
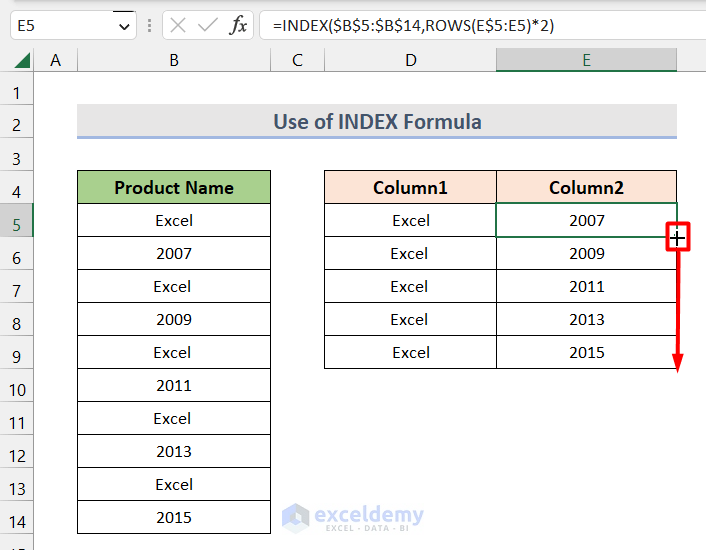
=INDEX($B$5:$B$14,ROWS(E$5:E5)*2)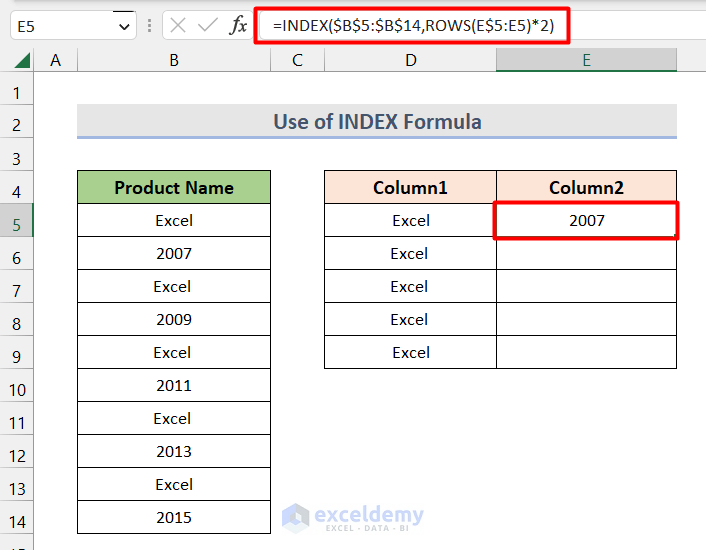
- Use the Fill Handle to see the results.
Method 7 – Applying LEFT and RIGHT Functions to Split One Column into Multiple Columns in Excel
We are going to use text functions to split up the values from one column.

STEPS:
- Select Cell C5.
- Insert the following formula and hit Enter.
=LEFT(B5,SEARCH(" ",B5)-1)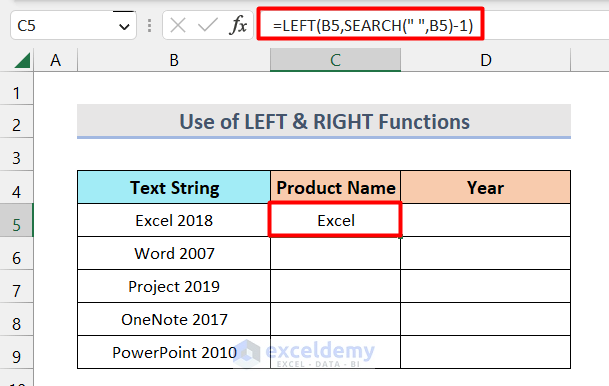
➥ Formula Breakdown
➤ SEARCH(” “,B5)
The SEARCH function will return the position of the space.
➤ LEFT(B5,SEARCH(” “,B5)-1)
This will return the value.
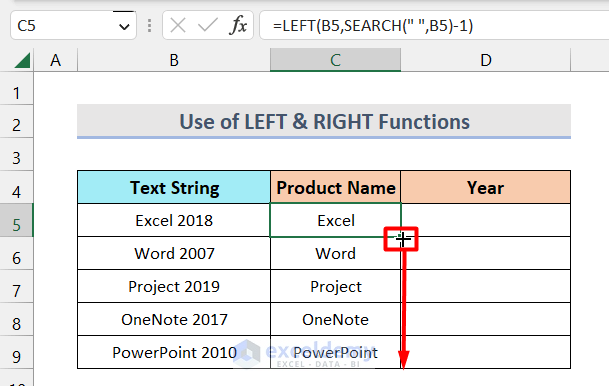
- Hit Enter and use the Fill Handle tool to autofill the cells.
- Select Cell D5.
- Insert the following formula and hit Enter.
=RIGHT(B5,LEN(B5)-SEARCH(" ",B5))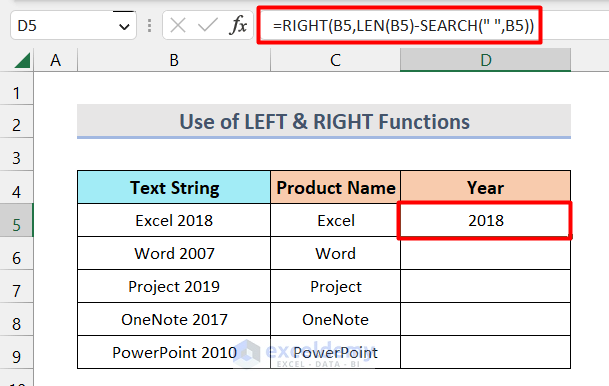
- Use the Fill Handle to see the result.
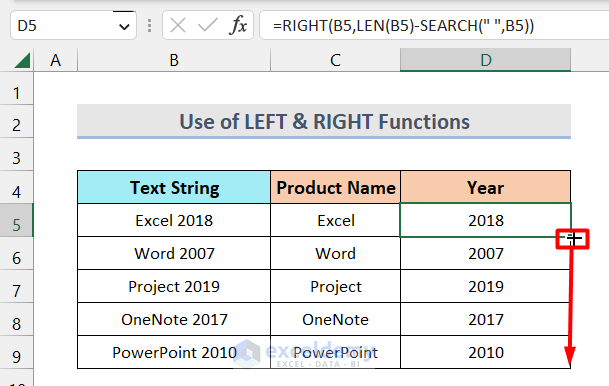
➥ Formula Breakdown
➤ SEARCH(” “,B5)
The SEARCH function will return the position of the space.
➤ LEN(B5)
The LEN function will return the total number of characters.
➤ RIGHT(B5,LEN(B5)-SEARCH(” “,B5))
This will return the value.
Download the Practice Workbook
Related Articles
- Split Column in Excel by Word
- How to Split Column by First Space in Excel
- How to Split Column in Excel by Comma
- Split Date and Time Column in Excel

