There are two ways to make Excel files read-only, either with a password or without.
Method 1 – Make an Excel File Read Only without Password
Steps:
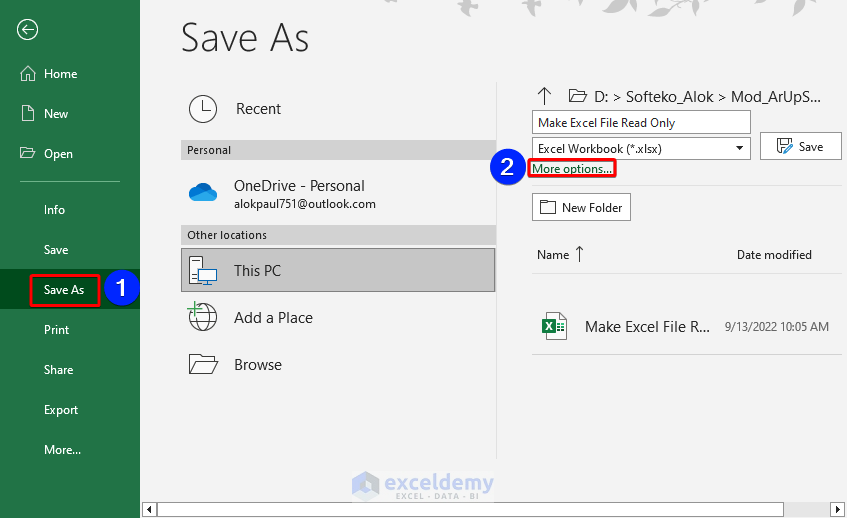
- Click on the File tab.
- Choose the Save As option from the left side.
- Click on More options.
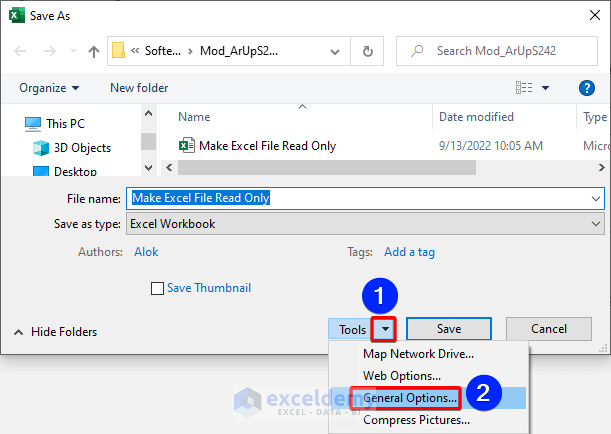
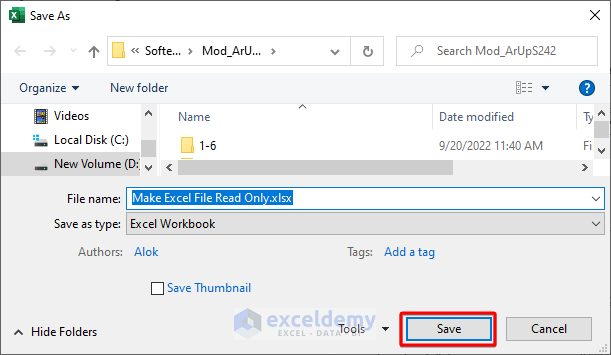
A Save As dialog box opens, displaying the location of the existing file.
- Click the Tools option at the bottom right corner of the dialog box.
- Select General Options from the drop-down.
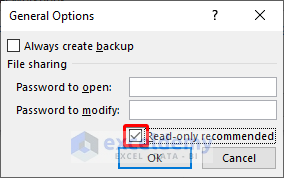
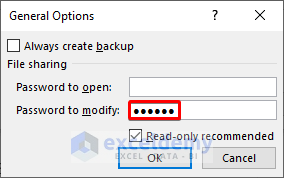
The General Options dialog box will appear.
- Click on the Read-only recommended check box.
- Click OK.
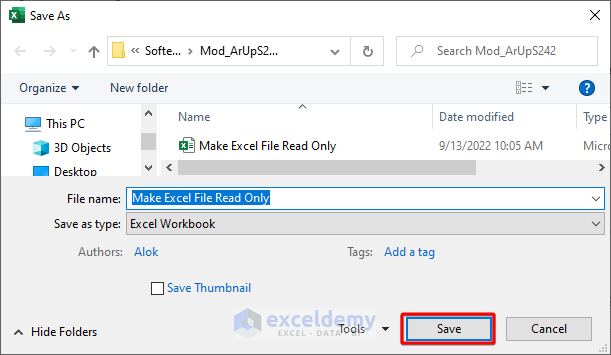
The Save As dialog box will appear again.
- Click Save to save the file.
Our file is saved as Read-Only.
- Open the saved file again.
A Microsoft Excel dialog box will pop up with a message.

If you do not want to open the file as read-only, click the No button and you will be able to edit or update the file. If you want to open the file as read-only, press the Yes button.
If we select Yes, the file opens in Read-only mode.
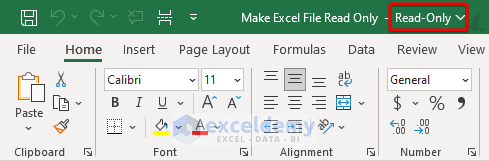
The file is in read-only mode without a password.
Read More: [Solved]: All Excel Files Opening as Read Only
Method 2 – Make a Password Protected Read Only Excel File
The previous method allows the read-only file to be opened in editable mode at any user’s discretion. We can make it editable only with a password.
Follow the process in Method 1 above to open the General Options dialog box.
There are two password fields in the dialog box.
- Password to open: This one is to restrict opening the file.
- Password to modify: This one is to restrict modification of the file.
We don’t want to restrict our users from opening our files, so we leave the Password to open field blank.
We do want to restrict our users from modifying the file, so we apply a password in the Password to modify section.
Steps:
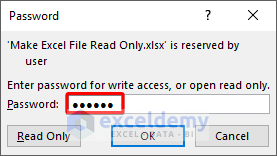
- Input a password in the Password to modify box of the General Options dialog box.
- Click OK.
A Confirm Password dialog box appears.
- Confirm your password again and click OK.

- Save the file from the Save As dialog box.
- Re-open the Excel file.
The Password dialog box will appear.
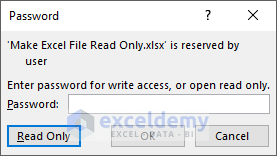
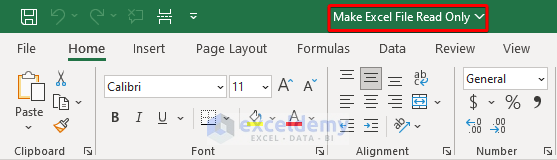
Our file is successfully converted into password-protected read-only mode.
Read More: How to Make Excel Workbook Read Only with Password
How to Open a Read Only Excel File
Our file is now read-only using a password. Without the password, we can open it but not edit it.
Steps:
- Double-click on the file to open it.
The Password dialog box will pop up.
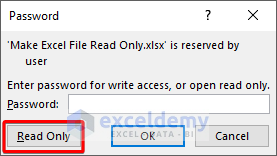
- If you want to edit the file you have to enter the password. If you don’t have the password, you can open the file as Read Only.
- Click OK.
When we open the file as read-only, we will not be able to edit or update the file.
How to Disable Read Only Mode in Excel
Case 1 – When Read Only File Is Not Protected with Password
Steps:
- Double-click on the file to open it.
The Microsoft Excel dialog box appears.
- Select the No option.

The workbook opens.
The Read Only status is gone.
Case 2 – When Read Only File Is Password-Protected
We cannot directly disable the read-only option from an Excel file if the file is password protected.
So, when you click on a read-only Excel file (password protected) to open it, the Password dialog box will appear. As we don’t have the password, we’ll have to apply a workaround if we want to edit it and save our changes.
Steps:
- Open the Excel file.
The Password dialog box appears.
- Click on the Read Only button to open the file as read-only.

Now if you make any change in the read-only workbook, you will not be able to save the workbook. If you want to save the workbook, you need to save the workbook with a new name or in a different location.
- So, go to the Save As option from the File tab.
- Save the file with a different name in the same folder.
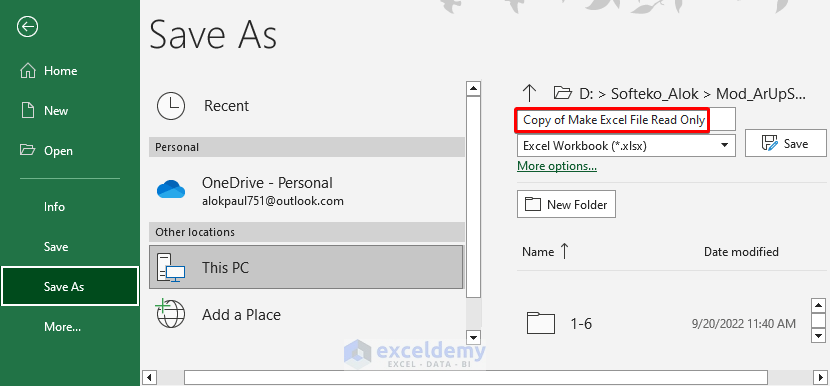
We can also save the file with the same name in another folder.
- Open the newly created workbook.

Read-only mode no longer exists.
Download Practice Workbook
The password for this workbook is 123456.
Related Articles
- [Fixed!] This Excel Workbook Was Opened in Read-Only Mode
- [Fixed!] Excel Files Open as Read Only from Network
- How to Make a Cell Read-Only in Excel
<< Go Back to Excel Read Only | Protect Workbook in Excel | Excel Protect | Learn Excel
Get FREE Advanced Excel Exercises with Solutions!
