In this article, we will describe a step-by-step procedure to make a picture catalog in Excel. As an example, we’ll make a picture catalog to provide a full overview of a parent company and its subprojects.
Step 1 – Set up the Catalog Outline
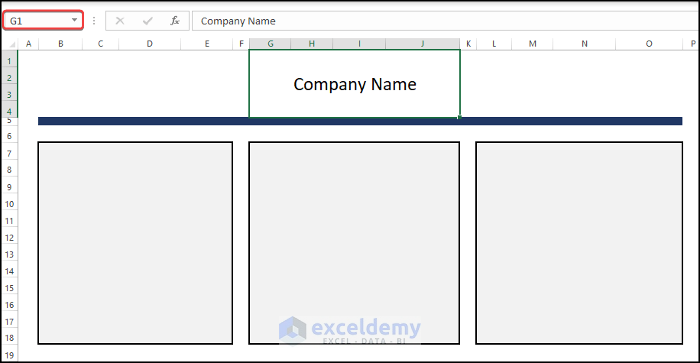
Before we make a catalog in Excel, we need to set up and place its outline.
- Place the Company Name in cell I1 and the products/sub-company names in cells B8, H8, and N8.
- Expand and enlarge the information tiles by merging them with neighboring cells. Since we are going to insert the details of three sub-projects, we create three tiles, one for each.
- In place of the company name, we’ll place the logo of the parent company.
The outline should look something like this:
Step 2 – Insert the Company/Organization Logo
We’ll now insert our parent company SOFTEKO‘s logo in the sheet.
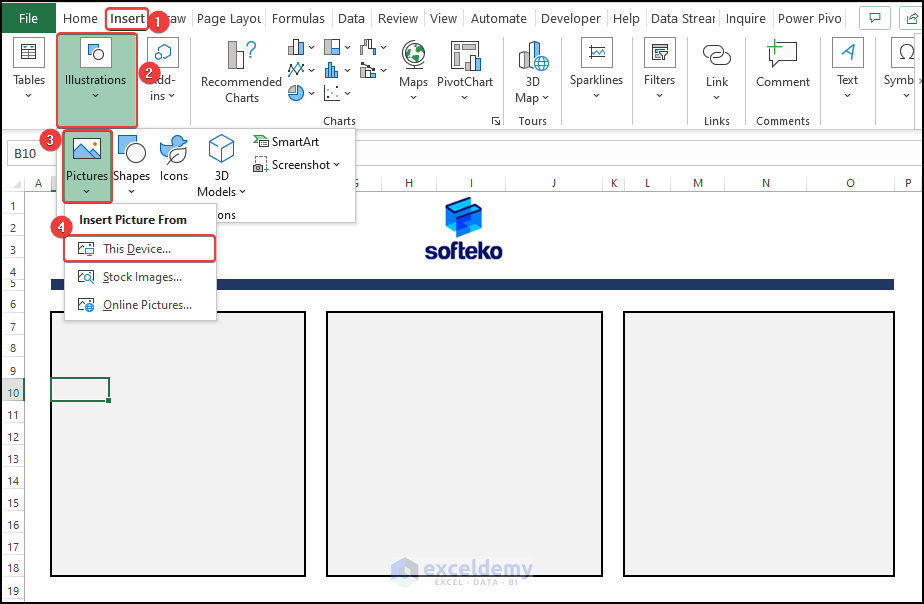
- Go to Insert > Illustrations > Pictures > This Device.
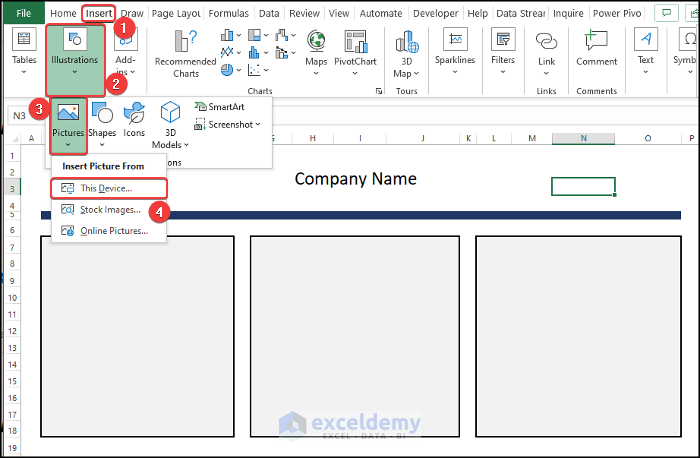
- From the file explorer, select the logo file and press Insert.
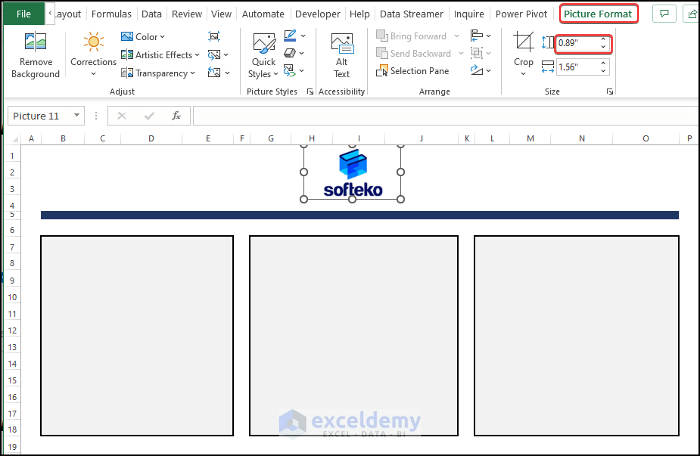
- After the image is inserted, resize it to fit properly in the space by tweaking the length and width via the Picture Format tab.
Step 3 – Input the Project Symbols
Now we’ll enter the logo or images of the sub-projects serially.
- Select cell B10 and go to Insert > Illustrations > Pictures > This Device.
- Select the image for the first sub-project from the File Explorer.
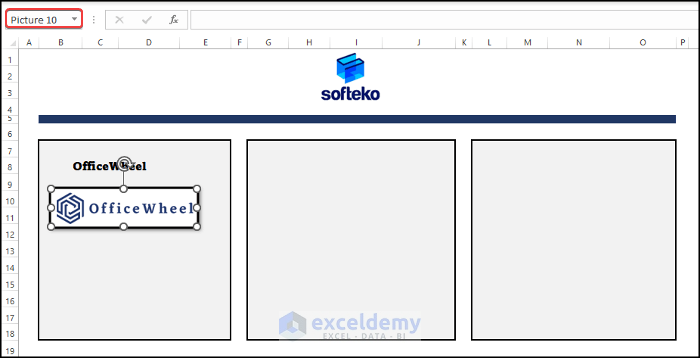
After pressing Insert, the image is now inserted inside the catalog.
- Further modify the image size from the Picture Format tab.
- Input the project title (OfficeWheel) in cell B8.
- Repeat the same process for the rest of the images of the sub-projects, and to enter each project’s name.
- Resize and reshape each image as needed using the Picture Format tab.

We now have the logos and names in the catalog; time to add some details.
Step 4 – Fill the Picture Catalog with Relevant Info
Now we input relevant information for each project to complete the catalog .
- Select the range B14:B17 and enter the following information template, containing the project’s Establishment date, number of employees and Project Manager’s name, along with the Direct Website Link.
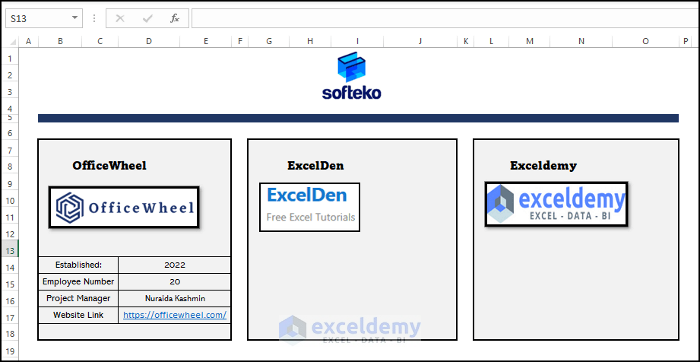
- Repeat the process for the rest of the sub-projects.
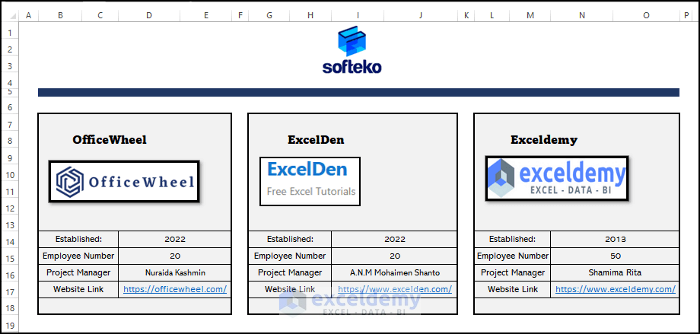
We have a complete picture catalog in Excel.
Download Practice Workbook
Related Articles
- How to Catalog Books in Excel
- How to Create Product Catalogue in Excel
- How to Create a Networking Catalogue in Excel
<< Go Back To Catalogue in Excel | Hyperlink in Excel | Linking in Excel | Learn Excel
Get FREE Advanced Excel Exercises with Solutions!
