Step 1: Giving a Suitable Title to the Catalogue
- Open an Excel file and give a suitable title to the workbook.
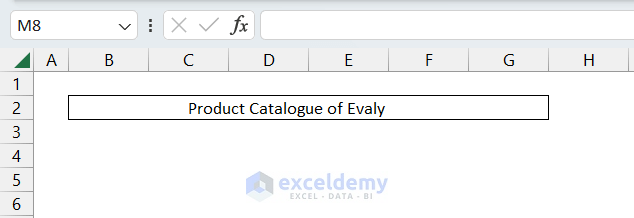
- On the 2nd row of the workbook, click on some cells (I took B2: G2), merge them, and give them a suitable title. i.e., “Product Catalogue of Evaly”. (see the figure below)
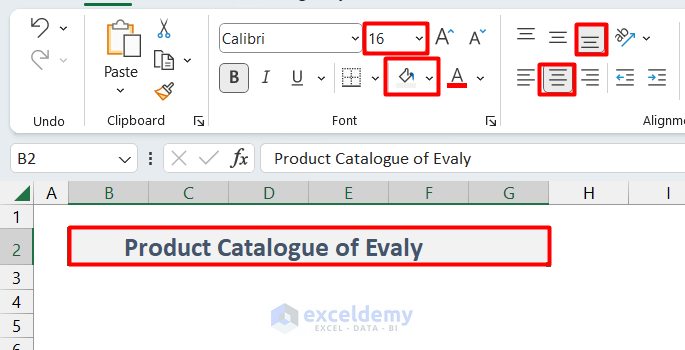
- Modify the formatting of the title so that it looks better. Here, I have changed the cell color, made the font larger, and set the middle alignment.
Step 2: Entering a Column Header of the Catalogue
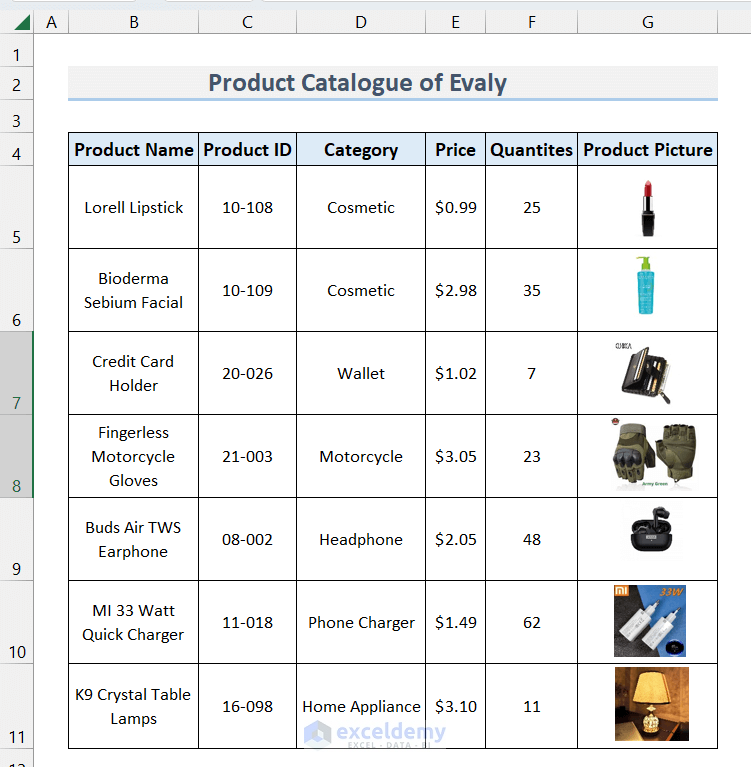
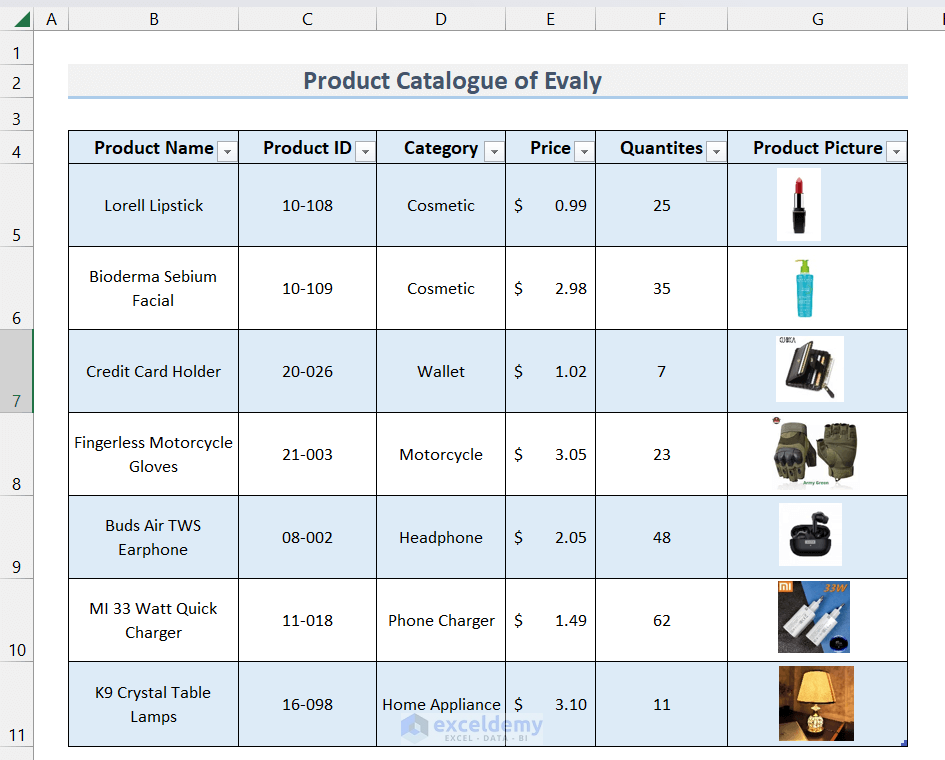
- We will insert the column headers appropriate to our example company’s requirements. I have chosen an e-commerce company that sells a wide range of products, from cosmetics and beauty products to lifestyle, electronics, and health gadgets. The fields that I need to insert to specify the products properly are taken, as shown in the picture below.
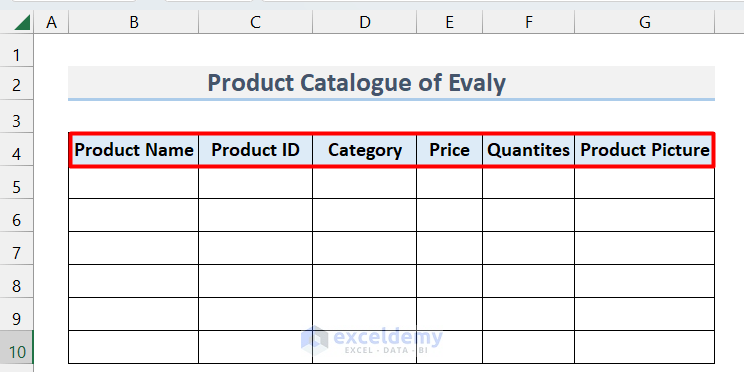
- Here, you must ensure that you have included all the necessary fields to identify and arrange all your business’s products.
Step 3: Entering the Product Information
- We must enter the required info on all the products related to the column headers.
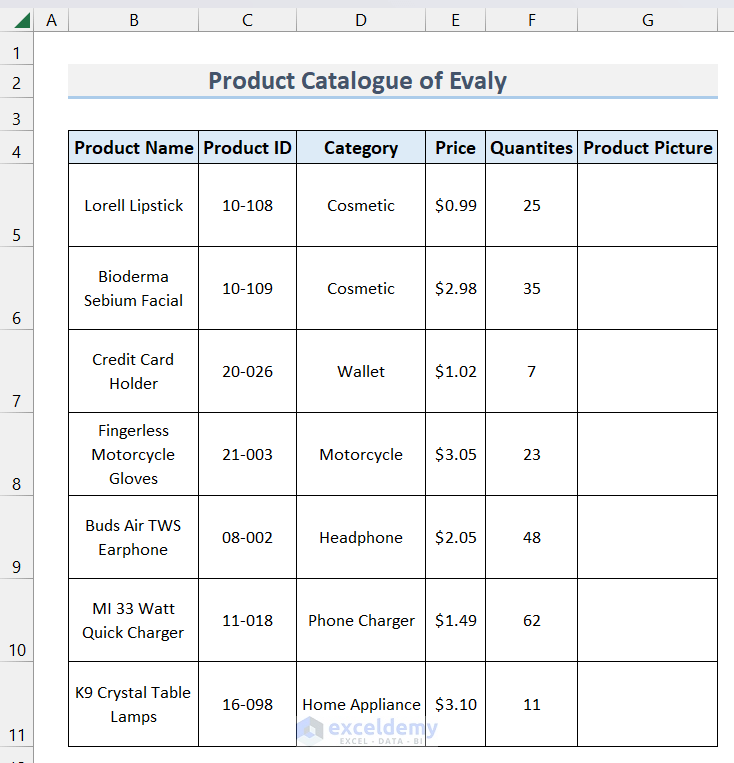
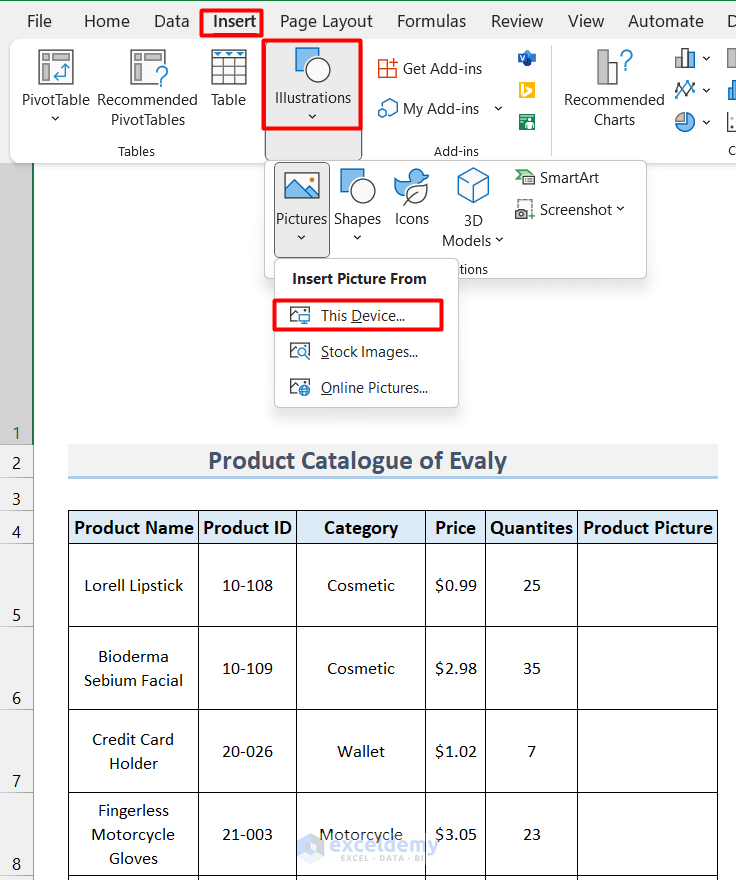
- If you also want to add a product picture, you need to make the row height larger (I have taken 50) and insert a picture by going to the Insert tab and then Illustrations >> Pictures >> This Device.
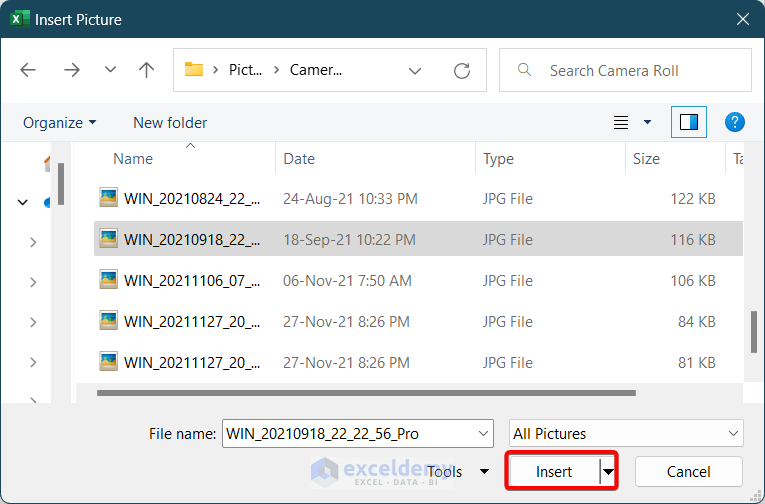
- Select the image File and click on Insert.
- After inserting the image, you have to adjust the size of the picture to fit into the cell under the picture column.
Read More: How to Make a Picture Catalog in Excel
Step 4: Creating a Table
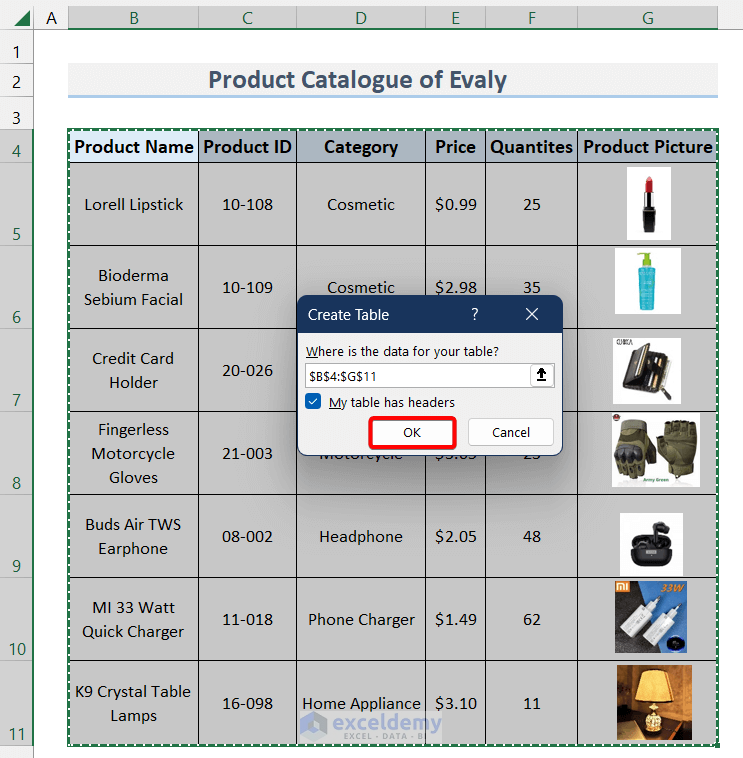
- Select the whole dataset and press Ctrl+L.
- A dialogue box named “Create Table ” will appear.
- Click on My table has headers. Select OK.
- An Excel table will be created with the Sort & Filter feature.
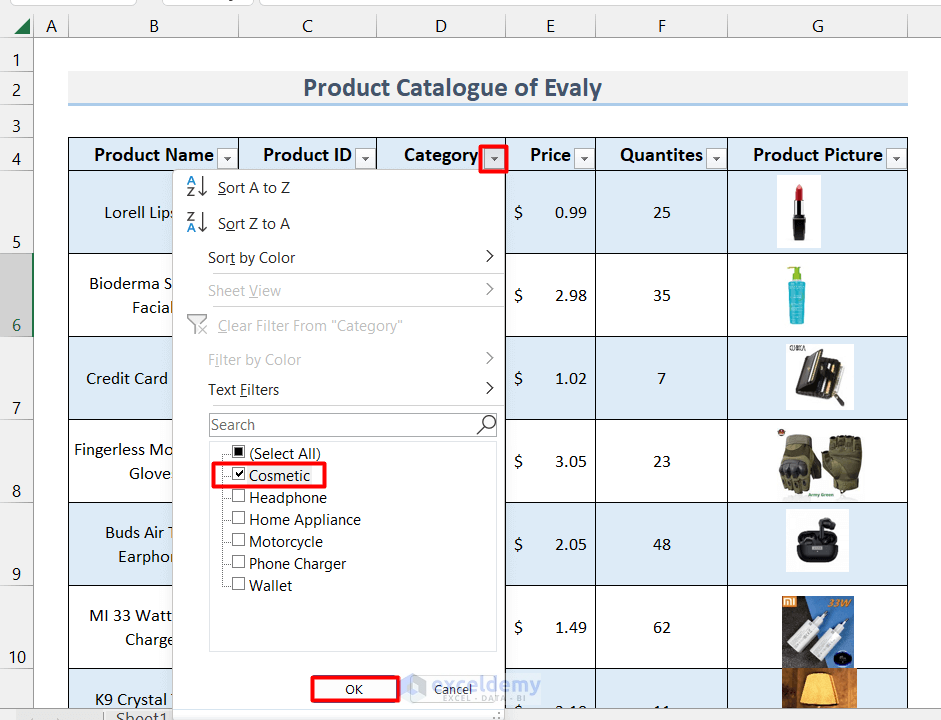
- You can use the filter feature to show only one product category. Here, I am only showing Cosmetic items.
- Click on the drop-down icon under the Category and select Cosmetic.
- Click OK.
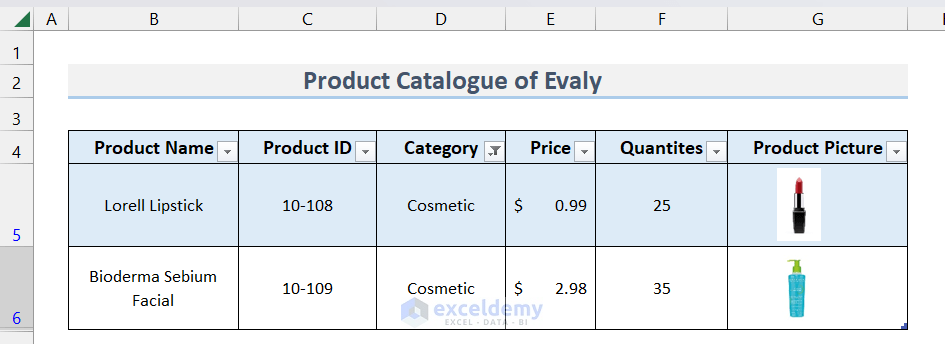
- You will only see the Cosmetic category products.
Things to Remember
- If necessary, add extra columns (Brand name, tag, etc.) to make it more appropriate for your company.
Download the Practice Workbook
Download this workbook to practice.
Related Articles
<< Go Back To Catalogue in Excel | Hyperlink in Excel | Linking in Excel | Learn Excel
Get FREE Advanced Excel Exercises with Solutions!

How can I prevent pictures from bunching up at the top of the column when I sort by category. All the pictures from the unselected category got to the top cell in the row.
Hello ALEXANDER WILCOX
Thanks for visiting our blog and sharing your problem. When sorting categories, you get all the pictures from the unselected category in the top cell of the row.
To overcome your situation, you can insert images using the Place in Cell feature, like the following GIF.
I am delighted to inform you that I have developed an automated solution for you using the Excel VBA Event procedure and Sub-procedure. Please, follow these steps:
As a result, you will no longer see pictures from the unselected categories in the top row cell when filtering or sorting categories, like the following GIF.
I am attaching the solution workbook for better understanding; good luck.
DOWNLOAD SOLUTION WORKBOOK
Regards
Lutfor Rahman Shimanto
Excel & VBA Developer
ExcelDemy