Method 1 – Make the Dataset Ready
- Collect the information about the mobiles stored in the shop.
- Collect the images of the mobiles that are available.
- Save the pictures in a specific folder.
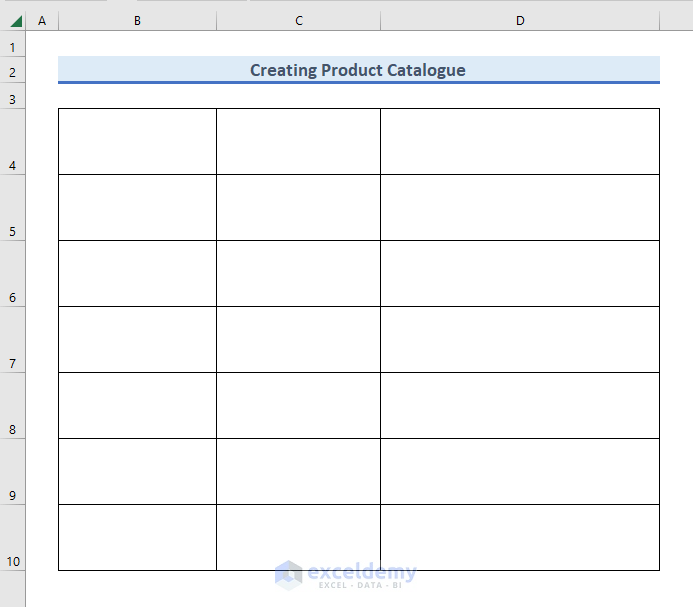
- Open the Excel Worksheet and make the following format for the catalog.
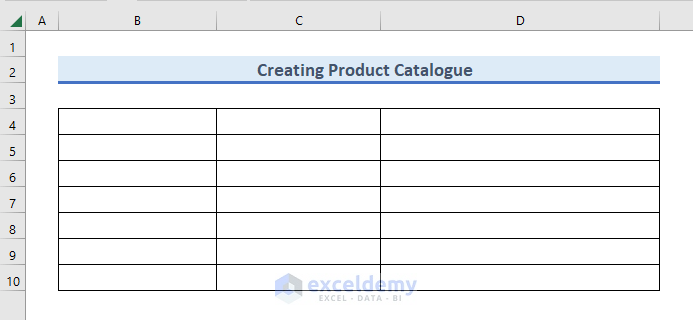
- After making the format, make some changes.
- Select the 4 to 10 rows where the information will be kept.
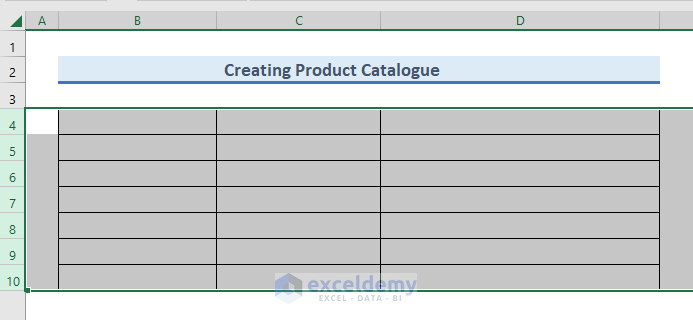
- Right-click on the mouse.
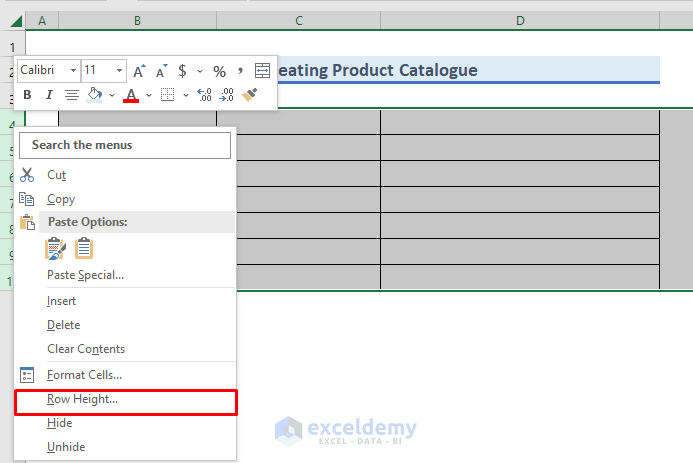
- A menu bar will open up.
- Select Row Height as we want to change the height of the selected rows.
- A dialog box named Row Height will come up.
- In the Row height field, set the height as 50.
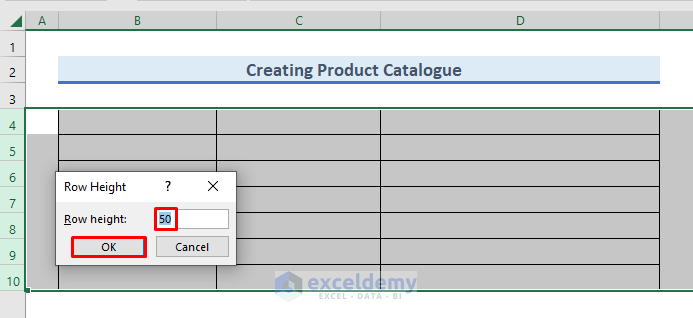
- The height of the rows has increased.
- We increased the height because the figure will need enough space.
- The catalog format is ready.
Method 2 – Open Visual Basic Editor
- Open the module where you can write the VBA code.
- Click on the Developer tab and select Visual Basic.
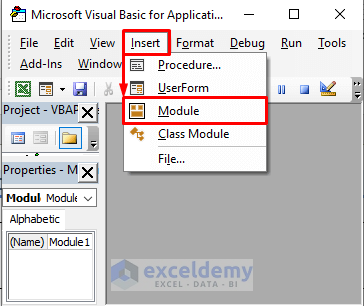
- The Microsoft Visual Basic for Application window will open up.
- Select Insert >> Module to open the module.
- Write our VBA code.
Method 3 – Insert VBA Code
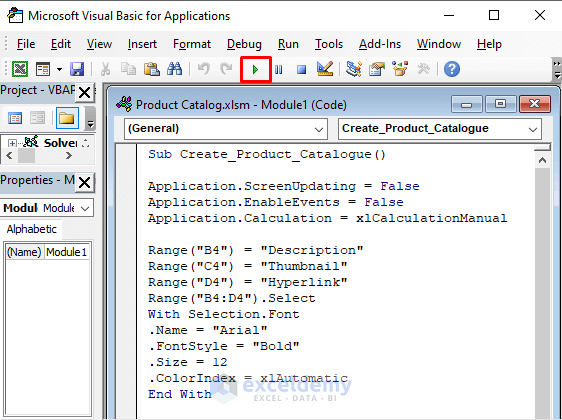
- Write the following code in the Module:
Sub Create_Product_Catalogue()
Application.ScreenUpdating = False
Application.EnableEvents = False
Application.Calculation = xlCalculationManual
Range("B4") = "Description"
Range("C4") = "Thumbnail"
Range("D4") = "Hyperlink"
Range("B4:D4").Select
With Selection.Font
.Name = "Arial"
.FontStyle = "Bold"
.Size = 12
.ColorIndex = xlAutomatic
End With
Set File_Selection_Catalogue = Application.FileDialog(msoFileDialogFolderPicker)
File_Selection_Catalogue.AllowMultiSelect = False
File_Selection_Catalogue.Title = "Select the Folder with the Images"
If File_Selection_Catalogue.Show <> -1 Then
    Exit Sub
End If
File_Path = File_Selection_Catalogue.SelectedItems(1) & "\"
File_Name = Dir(File_Path & "*.jpg*")
Count = 1
Do While File_Name <> ""
    Full_Path = File_Path + File_Name
    Range("B5").Cells(Count, 1) = Left(File_Name, Len(File_Name) - 4)
    Set photo = ActiveSheet.Pictures.Insert(Full_Path)
    With photo
        .Left = ActiveSheet.Range("B5").Cells(Count, 2).Left
        .Top = ActiveSheet.Range("B5").Cells(Count, 2).Top
        .Width = ActiveSheet.Range("B5").Cells(Count, 2).Width
        .Height = ActiveSheet.Range("B5").Cells(Count, 2).Height
        .Placement = 1
    End With
    Range("B5").Cells(Count, 3) = "=HYPERLINK(""" + Full_Path + """)"
    Count = Count + 1
    File_Name = Dir()
Loop
End Sub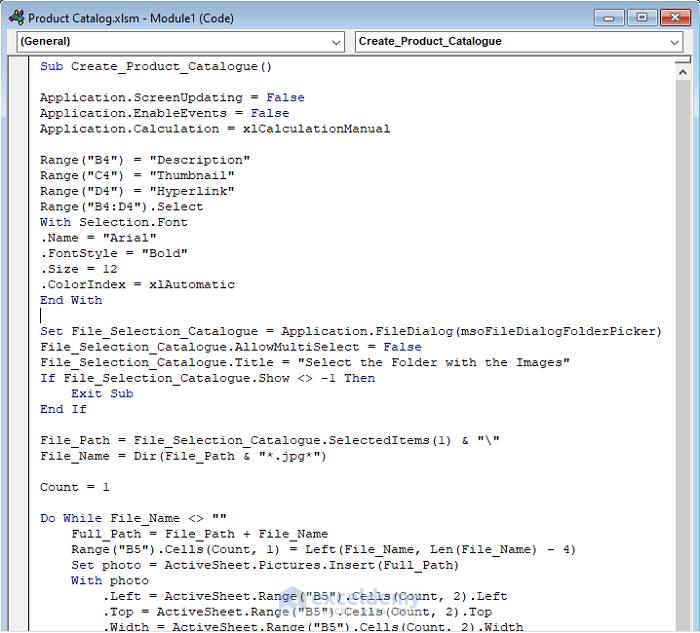
VBA Code Explanation
Range("B4") = "Description"
Range("C4") = "Thumbnail"
Range("D4") = "Hyperlink"
Range("B4:D4").Select
With Selection.Font
.Name = "Arial"
.FontStyle = "Bold"
.Size = 12
.ColorIndex = xlAutomatic
This section declares the header of the catalog. We made 3 headers for our task. 1st column will show a short description of the product. 2nd column will show the Thumbnail or figure of the product ,and 3rd column will show us a hyperlink. We declared the size and color of the header.
Set File_Selection_Catalogue = Application.FileDialog(msoFileDialogFolderPicker)
File_Selection_Catalogue.AllowMultiSelect = False
File_Selection_Catalogue.Title = "Select the Folder with the Images"
If File_Selection_Catalogue.Show <> -1 Then
    Exit Sub
We kept the selection option. You can select the folder where you have stored the catalog information, like figures and descriptions.
File_Path = File_Selection_Catalogue.SelectedItems(1) & "\"
File_Name = Dir(File_Path & "*.jpg*")
We saved the path directory of the folder and the items it contains.
Do While File_Name <> ""
Full_Path = File_Path + File_Name
Range("B5").Cells(Count, 1) = Left(File_Name, Len(File_Name) - 4)
Set photo = ActiveSheet.Pictures.Insert(Full_Path)
With photo
.Left = ActiveSheet.Range("B5").Cells(Count, 2).Left
.Top = ActiveSheet.Range("B5").Cells(Count, 2).Top
.Width = ActiveSheet.Range("B5").Cells(Count, 2).Width
.Height = ActiveSheet.Range("B5").Cells(Count, 2).Height
.Placement = 1
End With
Range("B5").Cells(Count, 3) = "=HYPERLINK(""" + Full_Path + """)"
Count = Count + 1
File_Name = Dir()
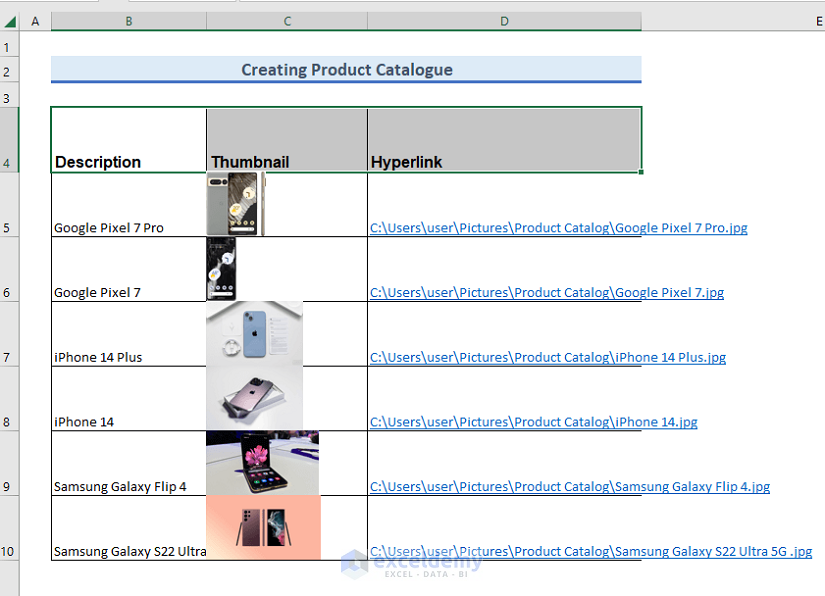
LoopPut the figures and information in the Excel file. The description column is taken from the figure name. The Thumbnail contains the figure of the products, and the Hyperlink contains the file directory of the figure.
- After writing the code, run the code.
- Click on the following icon to run the code.
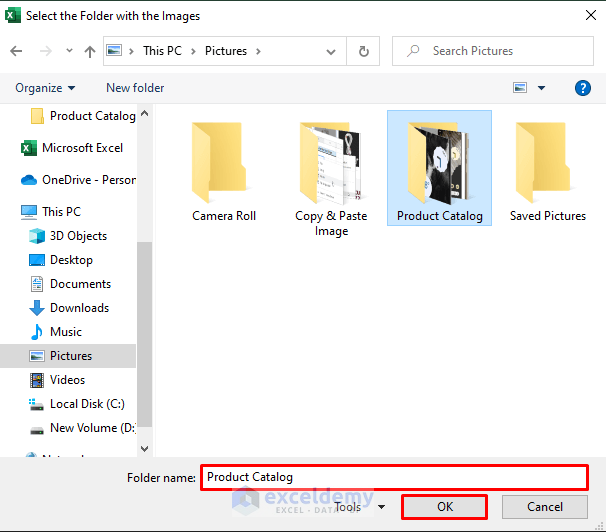
- A window asks you to Select the Folder with the Images.
- Select your folder accordingly.

- Keep the images in the Product Catalog subfolder of the Pictures folder.
- Select accordingly and pressed OK.
- The catalog is not looking impressive.
- Modify the catalog.
Method 4 – Modify the Design of the Catalog
- Modify the catalog.
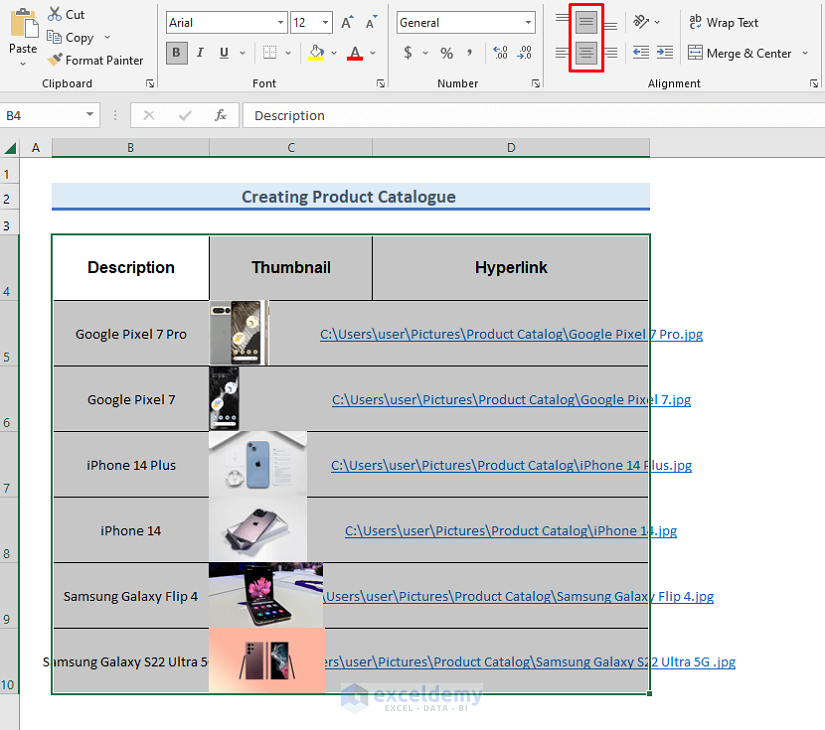
- Put the information in the middle alignment.
- Select the B4:D10 range and go to the Alignment group of the Home tab.
- Select the following icons from the Middle Align and Center to modify the data in the cells.
- The column width needs to increase to fit the data fully.
- To increase the column width of the B column, double-click in the middle of the B and C column.
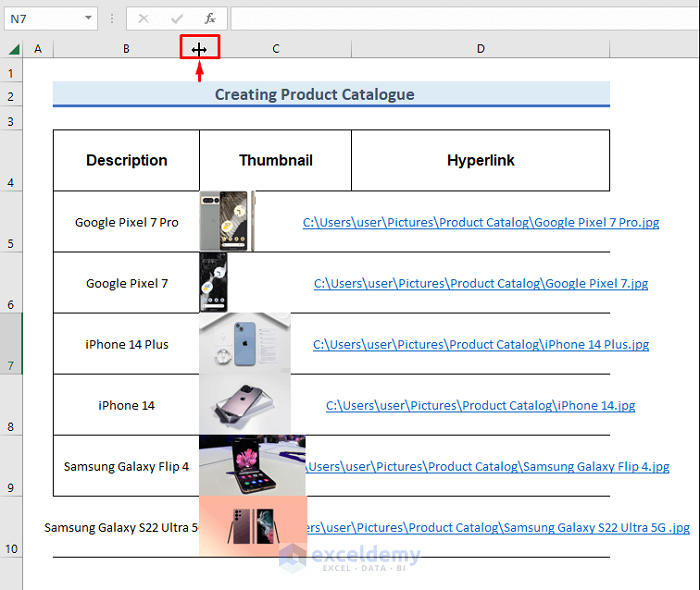
- The data is fitted in the Description column.
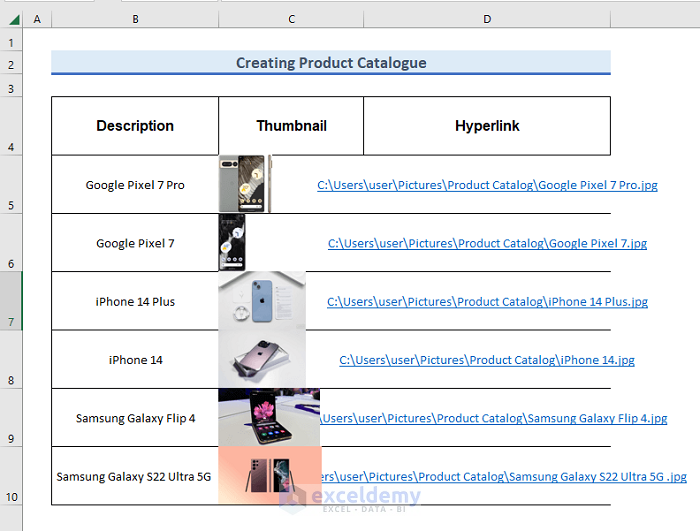
- Increase the width of the Hyperlink column.
- Double-click in the middle of the D and E columns.
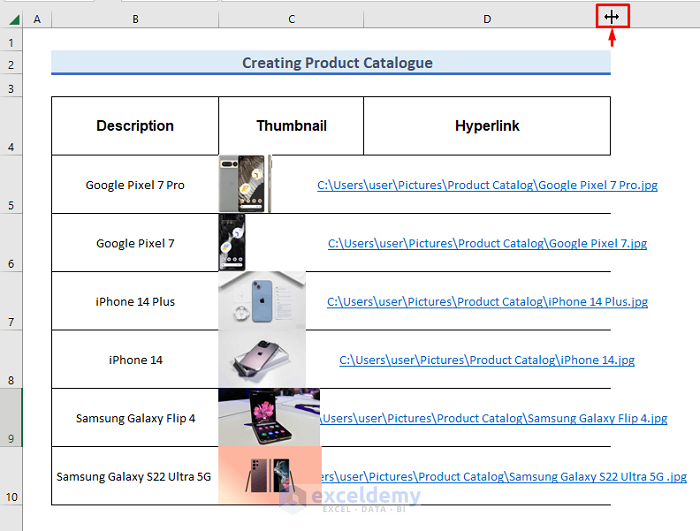
- The data is fitted in the Hyperlink column.
- Modify the header.
- Make the row height 20.
- Select the headers and click the Fill Color option in the Font group.
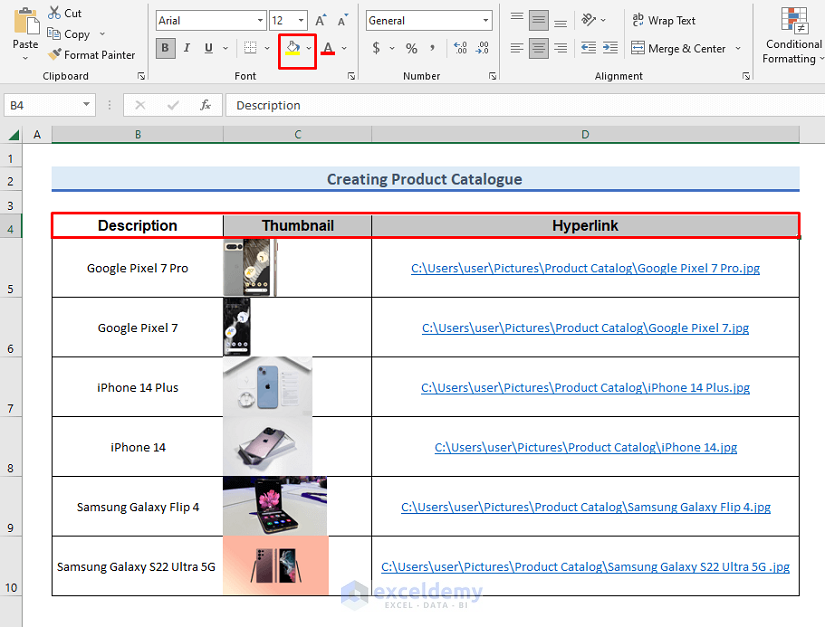
- Select the color you want to show in the cell of the header.
- We selected green color.

- The header cells are showing green.
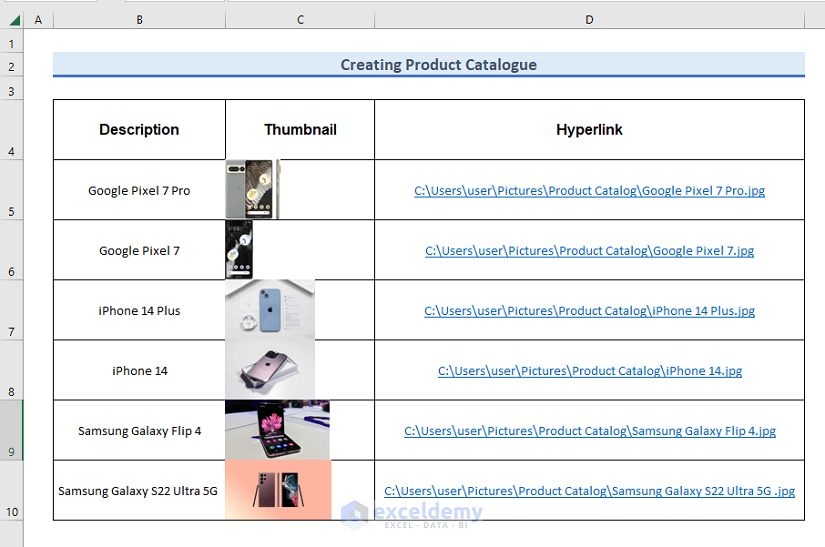
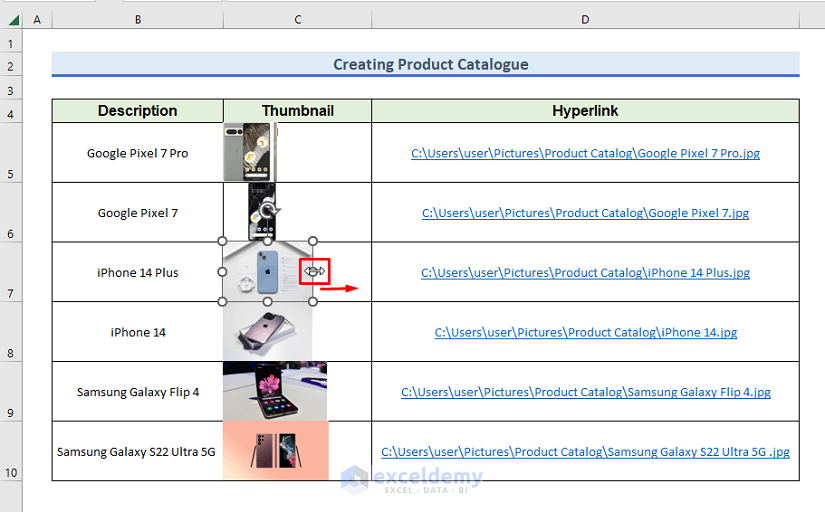
- Adjust our Thumbnail images.
- Click on the image you want to adjust.
- The following radio icons can be seen on the borders of the image.
- Adjust the figure by dragging these radio icons.
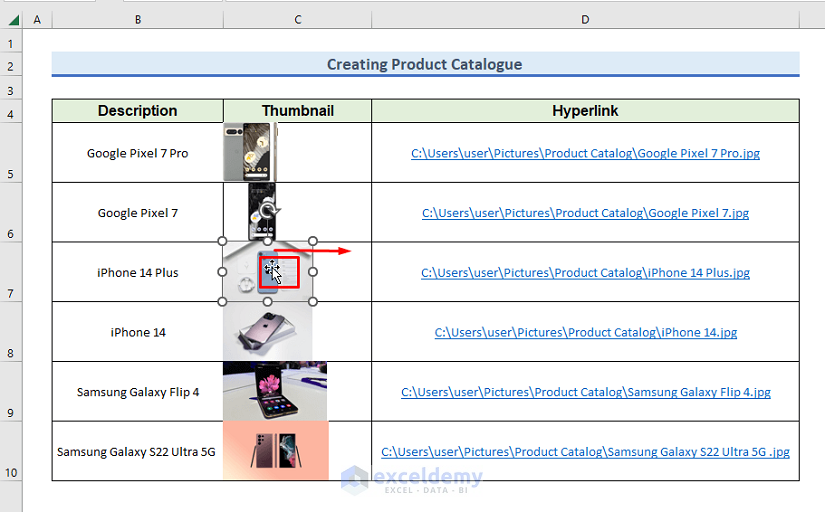
- Move the picture in the cells.
- Click the picture.
- After clicking, radio buttons can be seen.
- Hold the left-click button and move your cursor.
- Moving the cursor will also move your figure.
- Hold off the left-click button after placing the figure in your desired place.
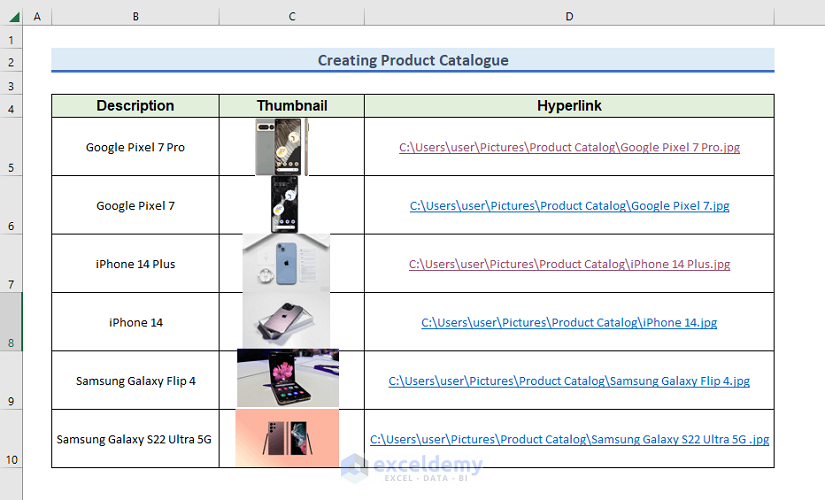
Method 5 – Final Output
- You created our product catalog.
- Press any link.
- The mobile phone model figure will be shown.
Download Practice Workbook
To practice by yourself, download the following workbook.
Related Articles
<< Go Back To Catalogue in Excel | Hyperlink in Excel | Linking in Excel | Learn Excel
Get FREE Advanced Excel Exercises with Solutions!
