How to Take a Screenshot of an Excel Sheet on a Laptop
Using a Keyboard Shortcut:
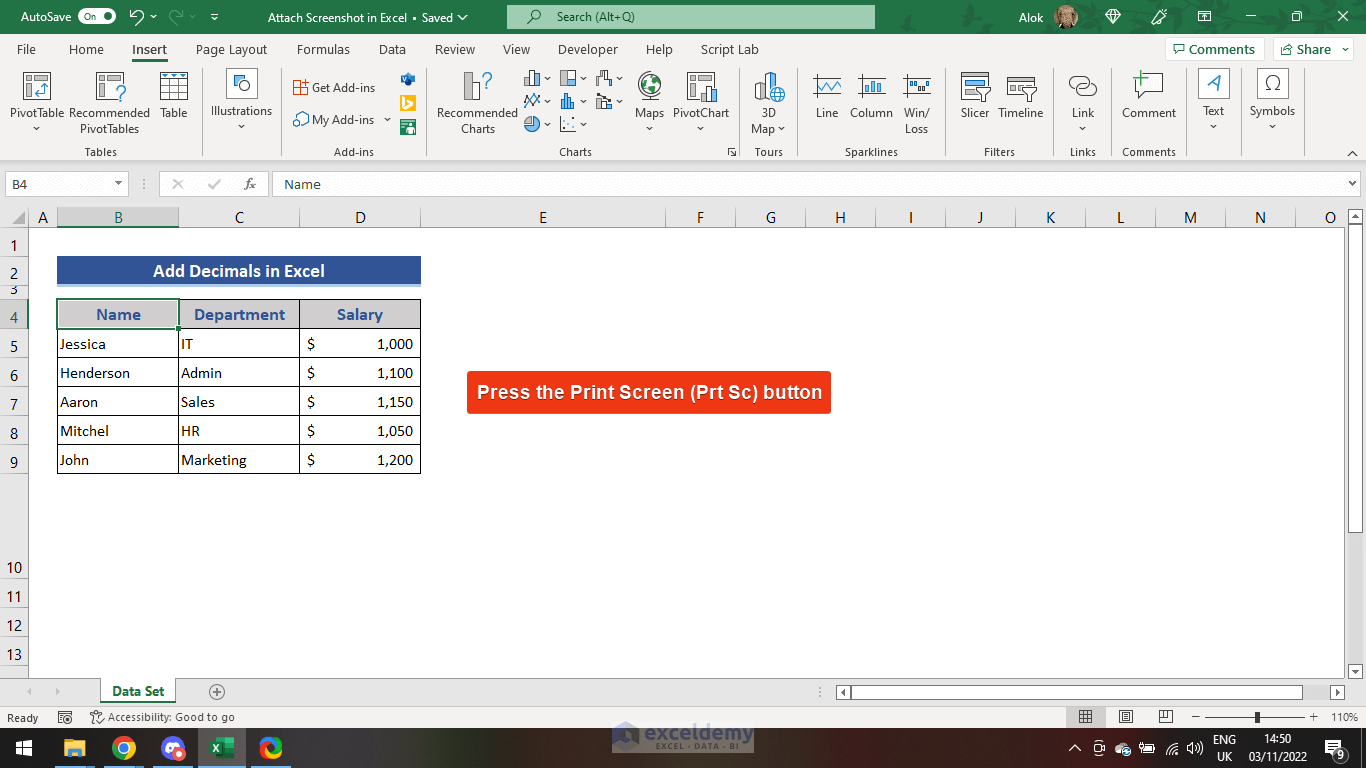
- Open the Excel worksheet. Press the Prt Scr.
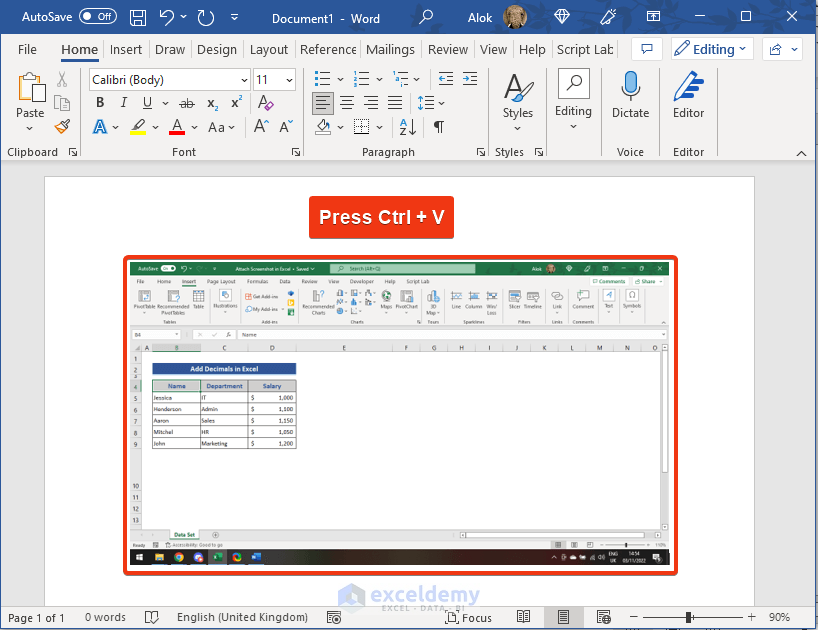
- Open a Microsoft Word file and press Ctrl + V.
Use the Spin & Sketch Application:
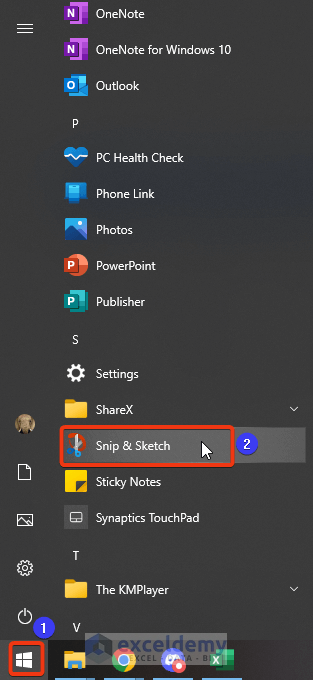
- Click the Start button.
- Select Snip & Sketch.
- Click New.
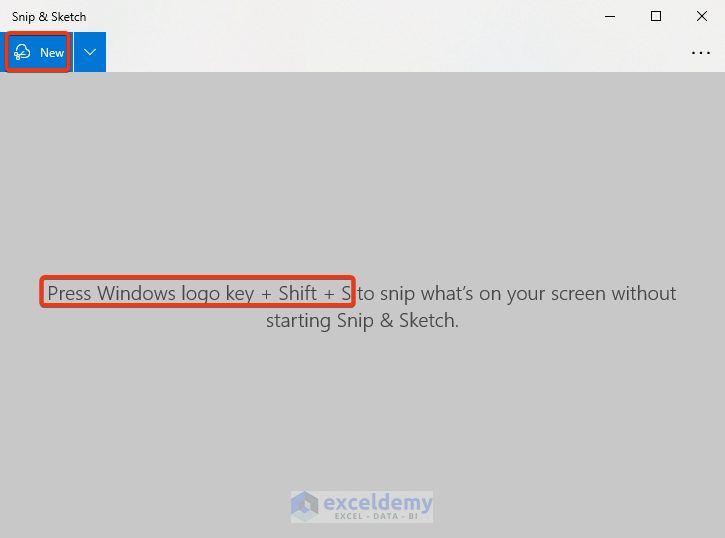
You can also press Window + Shift + S to enable this feature.
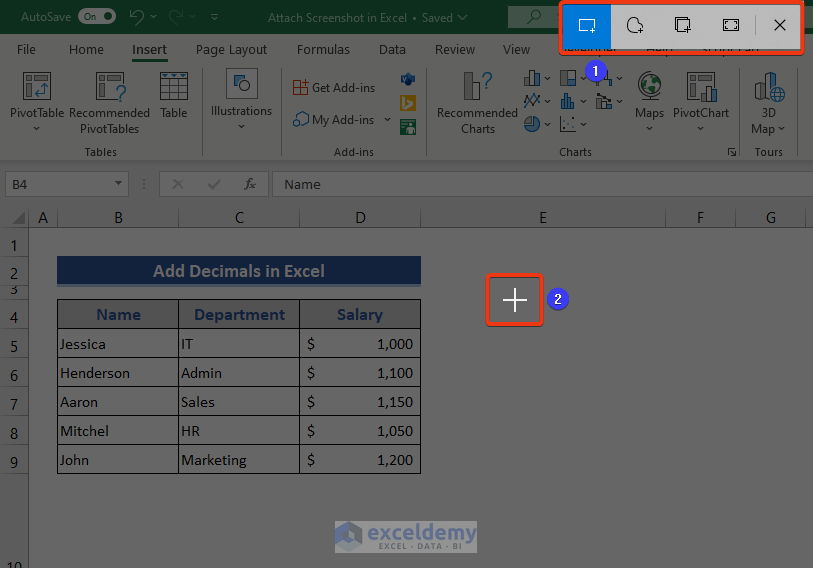
- A Plus symbol (+) is showing on the screen.
- Choose the shape of the screenshot as shown in 1.
- Scrolling this symbol will select part of the screen.
- Click and hold the mouse. Select part of the screen using the cursor.
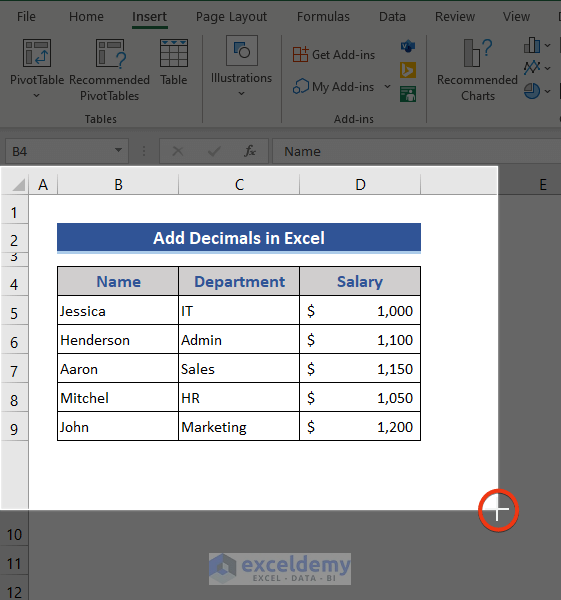
- Release the mouse button. The screenshot is displayed.
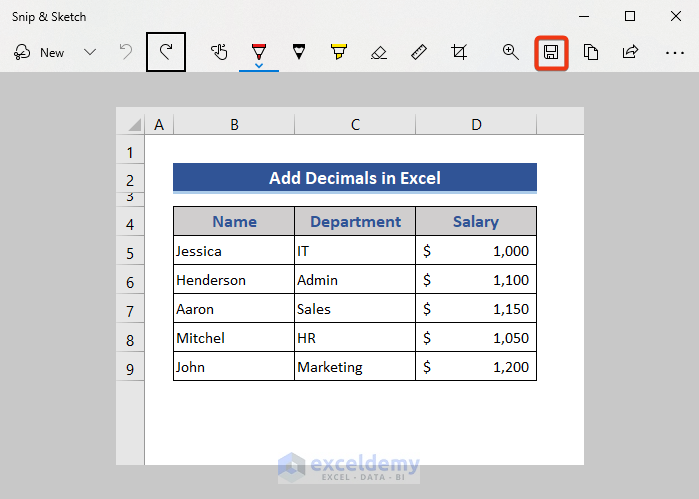
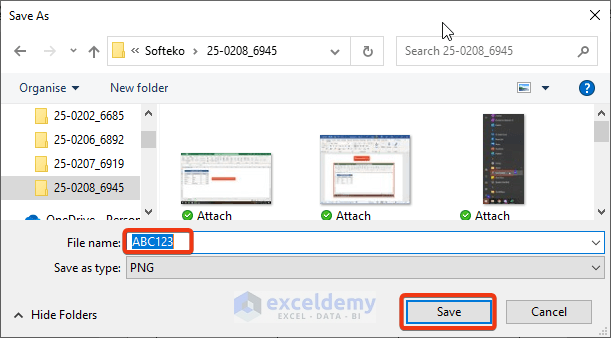
- In File Explorer, choose a location to save the image.
- Click Save.
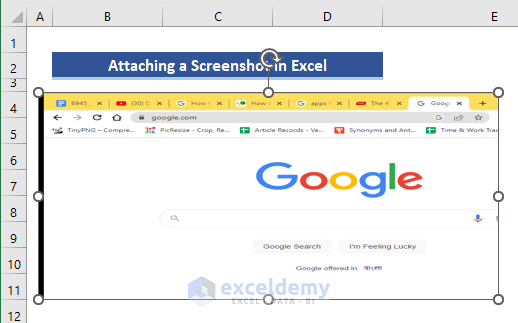
How to Insert a Screenshot in Excel
Step 1 – Choose the Screenshot
- Open a new Excel file.
- Go to the Insert tab.
- Choose Screenshot in Illustrations.
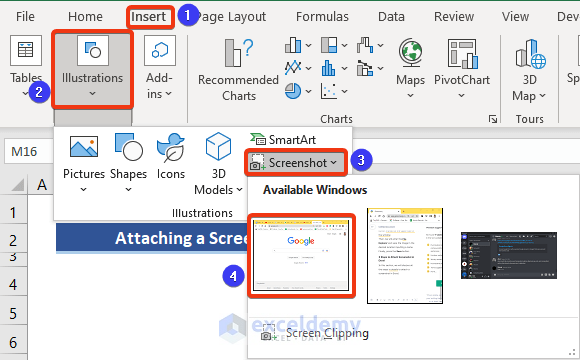
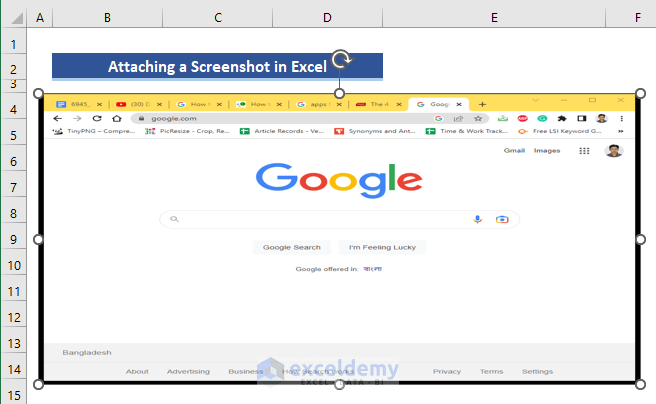
- Select the worksheet to insert the screenshot.
- This is the output.
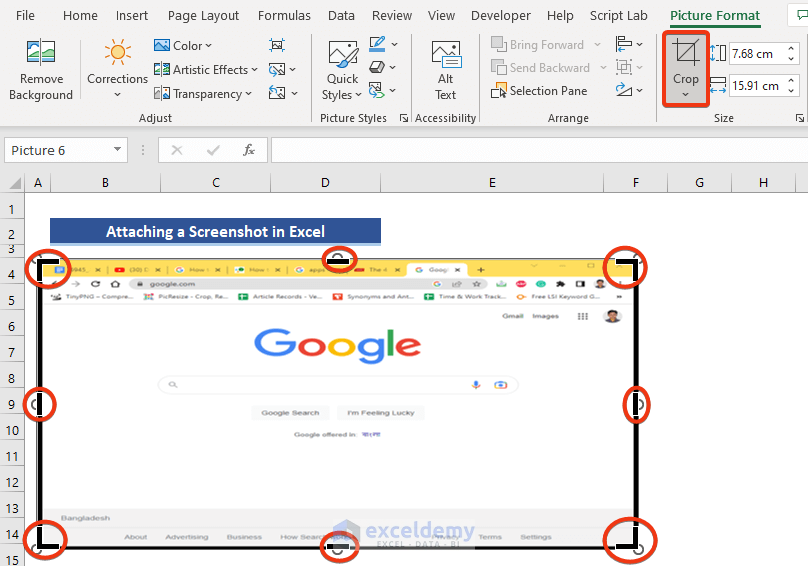
Step 2 – Crop the Screenshot
- In Picture Format, select Size.
- Click Crop.
- An 8-border mark is displayed in the screenshot.
- Place the cursor on the right-bottom border mark. Click and hold the mouse and scroll to the left-upper side to select a part of the image.
- Release the mouse button and click Crop.
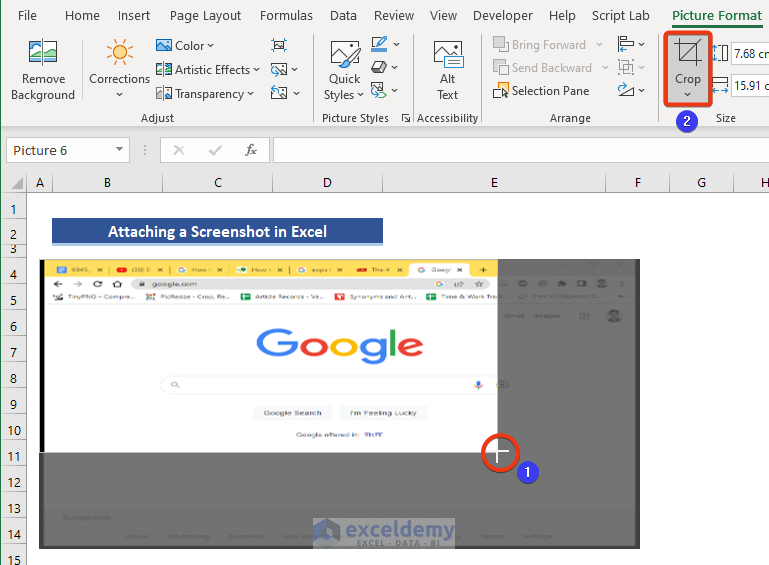
- This is the output.
Step 3 – Resize the Screenshot
- Go to Size.

Customize the image.
Alternative method to insert a Screenshot:
- Go to Picture in Illustrations.
- Choose This Device.
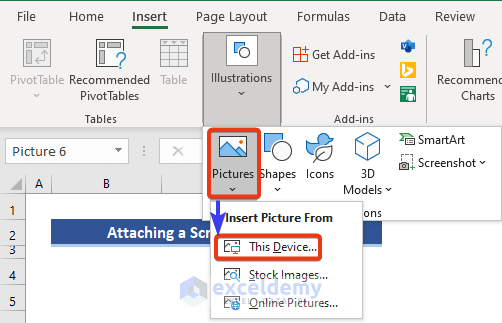
In the File Explorer choose a saved screenshot.
Read More: How to Attach PDF File in Excel
Download Practice Workbook
Download the practice workbook and exercise.
Related Articles
- How to Insert an Excel File into Another Excel File
- How to Attach Email in Excel
- [Fixed!] Cannot Insert Object in Excel
- [Fixed!] Cannot Insert PDF into Excel
- How to Attach Zip File in Excel
- How Do I Insert a Multiple Page PDF into Excel
- How to Attach Documents in Excel
<< Go Back to Attach File in Excel | Learn Excel
Get FREE Advanced Excel Exercises with Solutions!
