How to Use Code in the Visual Basic Editor
- Go to the Developer tab from the Excel ribbon.
- Click on the Visual Basic option.

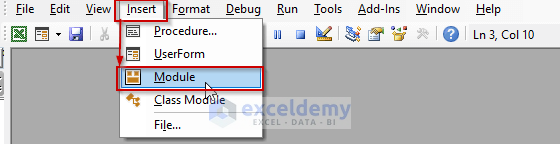
- In the Visual Basic for Applications window, click the Insert drop-down and select Module.
- With a new module is opened, write or paste some code there and press F5 to run.
Method 1 – Use of the Range.NumberFormat Property to Format Cells as Text
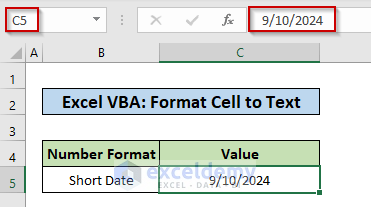
In cell C5, we have a short date that we’re going to change as text.
- In the visual basic editor, copy and paste the following code.
Sub FormatCellAsText()
Range("C5").NumberFormat = "@"
End Sub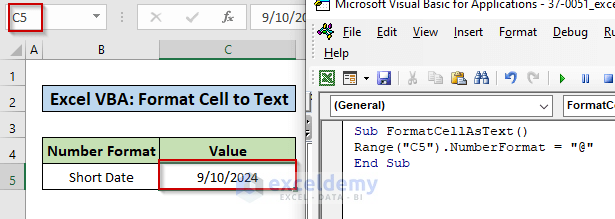
- Press F5 to run the code.
Code Explanation:
- We used the Range Object to select the cell in the worksheet that contain the input.
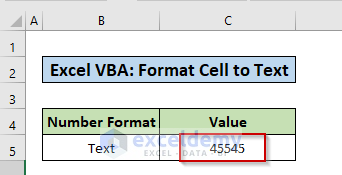
- To format the input value as text, we need to put the Number Format value as “@”.
Similarly, by applying the same piece of code we can change different number formats to text.

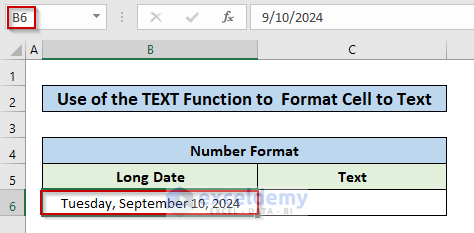
Method 2 – Refer to the TEXT Function in a VBA Code to Format Cells as Text
Let’s say we have a Long Date in cell B6 that we want to format as text.
- Put the following code in the visual basic editor to accomplish this.
Sub FormatCellAsText()
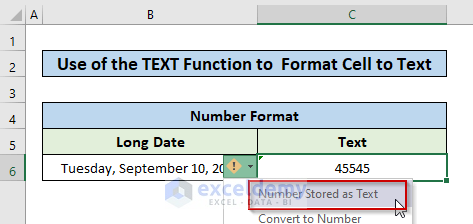
Range("C6") = WorksheetFunction.Text(Range("B6"), "'0")
End Sub- By running the code with F5, you can convert the long date into a text value. We can also format a cell containing different number formats to text.
Code Explanation:
- We used the Range Object to select the cells in the worksheet that contain input and output values.
- The WorksheetFunction object enabled us to use the TEXT function in VBA code.
- The TEXT function needs 2 arguments-
value– the input cell reference (in this example B6).
format_text- we used ” ‘ 0 ” to convert the value to text format.
Read More: How to Format Text in Excel Cell
Method 3 – Use of the VBA Format Function to Format Cells as Text in Excel
- Using the following code converts a Long Date in cell C5 to a text.
Sub FormatCellAsText()
Range("C6").Value = Format(Range("B6").Value, "'0")
End Sub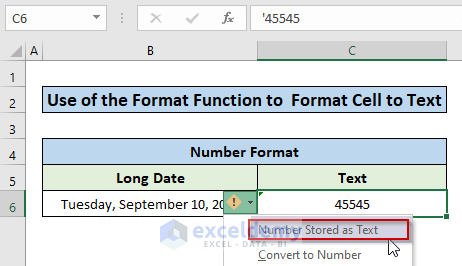
Code Explanation:
- We used the Range Object to select the cells in the worksheet that contain input and output values.
- The Format function needs 2 arguments-
expression– the input cell reference (in this example B6).
format- we used ” ‘ 0 ” to convert the value to text format.
Alternative Code:
Sub FormatCellAsText()
Range("C6").Value = " ' " & Format(Range("B6").Value, "0")
End Sub
Important Notes
- We added a single quote ( ‘ ) before zero to enter the number format code as ” ‘ 0 ” in the Text and Format functions argument to format a cell to a text value.
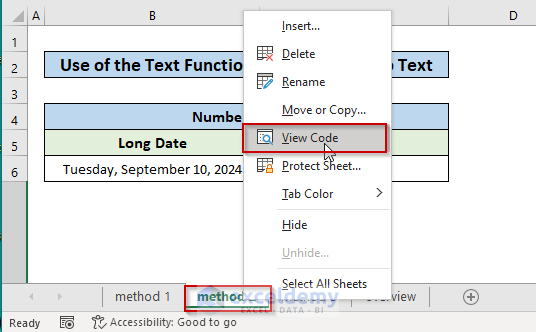
- To view the code used in the sheet, click the right button on the sheet name and select the View Code option.
Download the Practice Workbook
Related Articles
- How to Overline Text in Excel
- How to Use Formula to Find Bold Text in Excel
- Excel VBA Codes to Bold Text in a String
<< Go Back to Text Formatting | Learn Excel
Get FREE Advanced Excel Exercises with Solutions!
