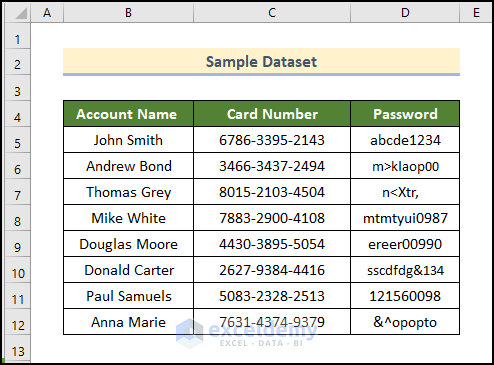
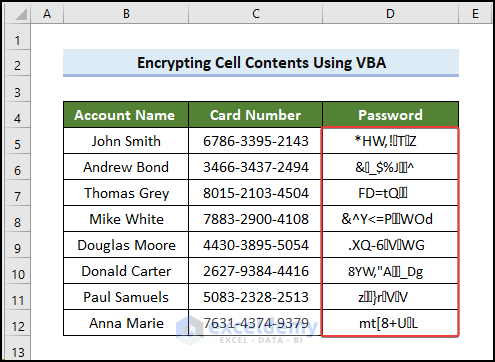
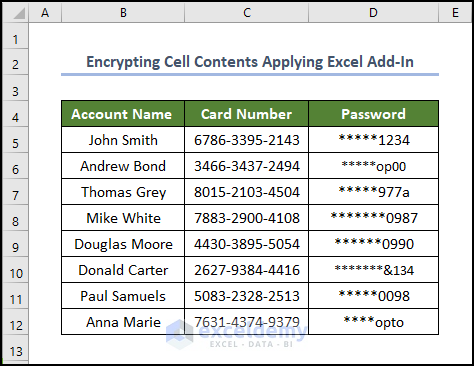
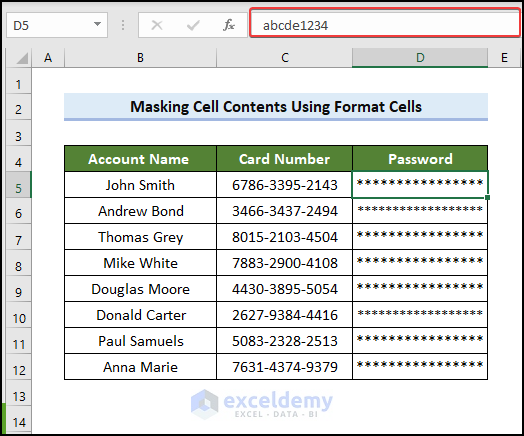
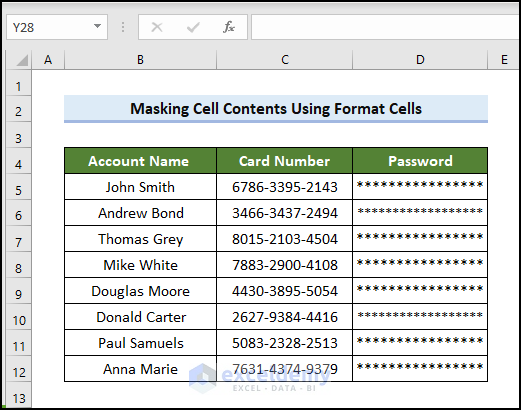
The dataset showcases Account Names, Card Numbers, and passwords.
To encrypt the Password:
Method 1 – Applying VBA Macros to Encrypt Cell Content
Steps:
- Go to the Developer tab >> choose Visual Basic. If you don’t see it on the ribbon, you need to enable the Developer tab.
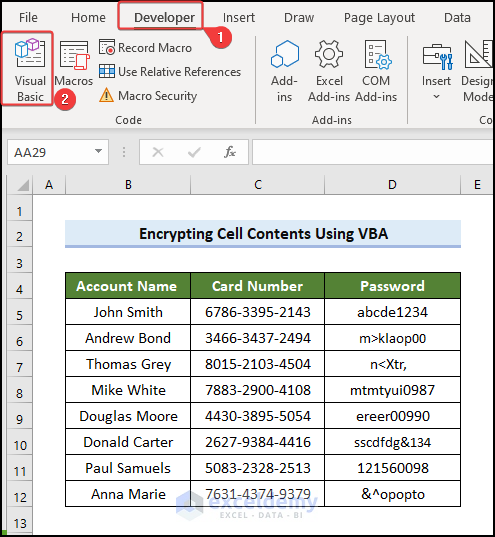
The Visual Basic Application dialog box is displayed. You can also access it by pressing ALT + F11.
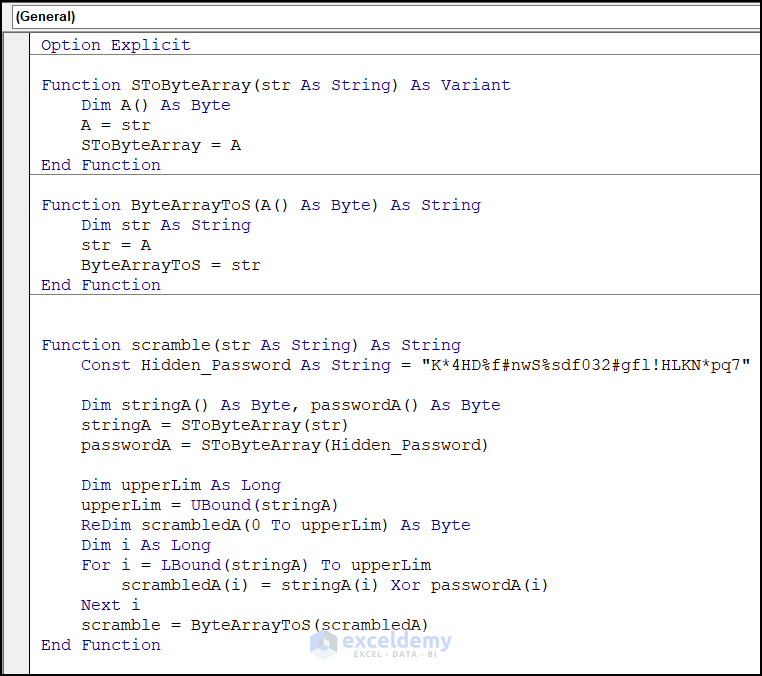
- Go to the Insert tab >> Module >> Module1.

- Enter the VBA code.
Option Explicit
Function SToByteArray(str As String) As Variant
    Dim A() As Byte
    A = str
    SToByteArray = A
End Function
Function ByteArrayToS(A() As Byte) As String
    Dim str As String
    str = A
    ByteArrayToS = str
End Function
Function scramble(str As String) As String
    Const Hidden_Password As String = "K*4HD%f#nwS%sdf032#gfl!HLKN*pq7"
    Dim stringA() As Byte, passwordA() As Byte
    stringA = SToByteArray(str)
    passwordA = SToByteArray(Hidden_Password)
    Dim upperLim As Long
    upperLim = UBound(stringA)
    ReDim scrambledA(0 To upperLim) As Byte
    Dim i As Long
    For i = LBound(stringA) To upperLim
        scrambledA(i) = stringA(i) Xor passwordA(i)
    Next i
    scramble = ByteArrayToS(scrambledA)
End Function
This code declares the function scramble as a String. It sets a Hidden_Password in the function.
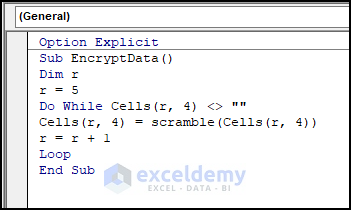
- Open a new module and enter this new code.
Option Explicit
Sub EncryptData()
Dim r
r = 5
Do While Cells(r, 4) <> ""
Cells(r, 4) = scramble(Cells(r, 4))
r = r + 1
Loop
End Sub
The Sub is declared as EncryptData. The range is declared as r. In the dataset, the encrypted data starts with row_number 5. So, the code will start to encrypt in row 5. Set the encryption in the 4th column: set column number 4 in the Cells of the code. Transform it with the scramble sub-functionin the previous code. The sub-function box contains Cells.
- Run the code by pressing F5.
You can create a macro button in Excel utilizing the Form Controls and encrypt and decrypt data with a click:
- After adding the button to the worksheet, right-click it and choose Assign Macro in the Context Menu.
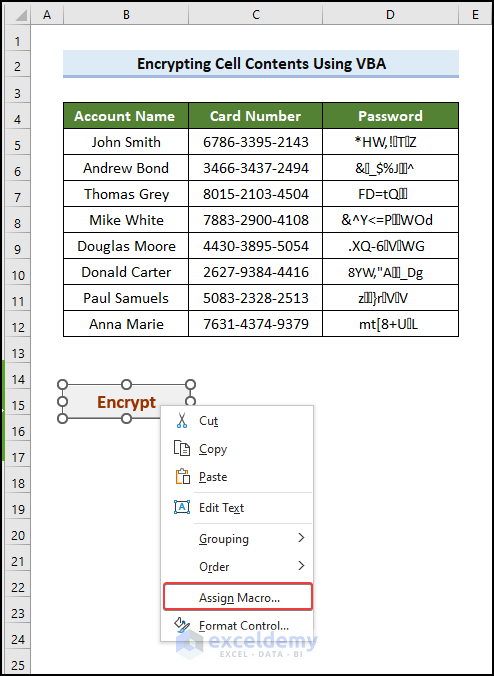
- Select the Macro name as EncryptData.

The Decrypt button is created. Observe the GIF.
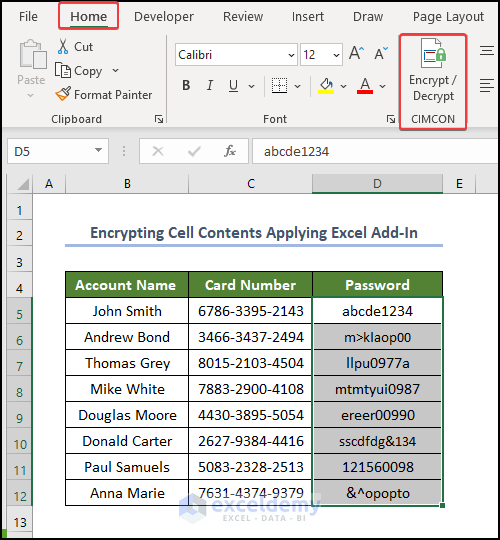
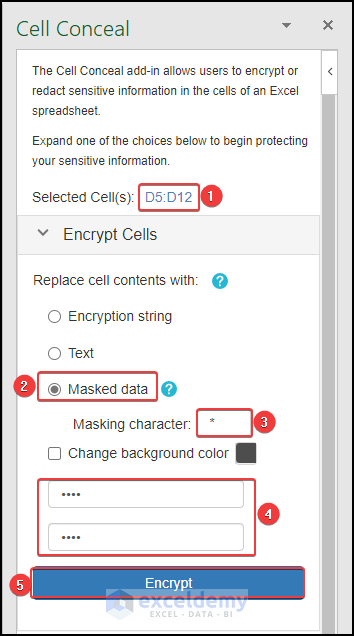
Method 2 – Using the Encrypt/Decrypt Add-in for Cell Content
- Go to the CIMCON command in the Home tab and choose Encrypt/Decrypt.
- In the Cell Conceal window, select the range to encrypt. Go to Masked data and maintain the Mask character (*).
- Create a password and confirm it for decrypting cells.
- Click Encryption.
Your data is encrypted:
Read More: How to Decrypt Excel File Without Password
Alternative to Encryption: Using Excel Functions to Mask Cell Content
Steps:
- Select the entire column you want to mask.
- Go to Format Cells.
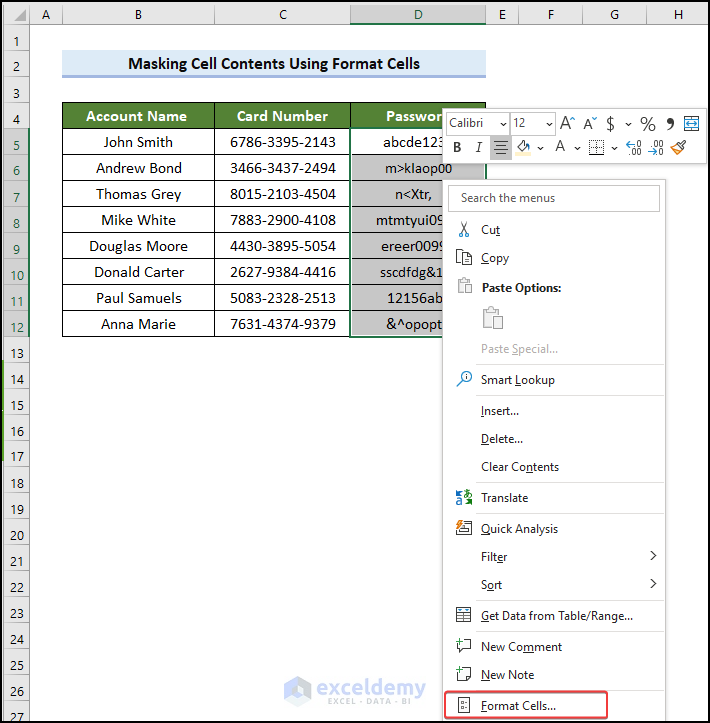
Note: you can open the Format Cells dialog box by pressing CTRL + 1.
- Choose Custom in Category and enter ;;;** in Type.
- Click OK.
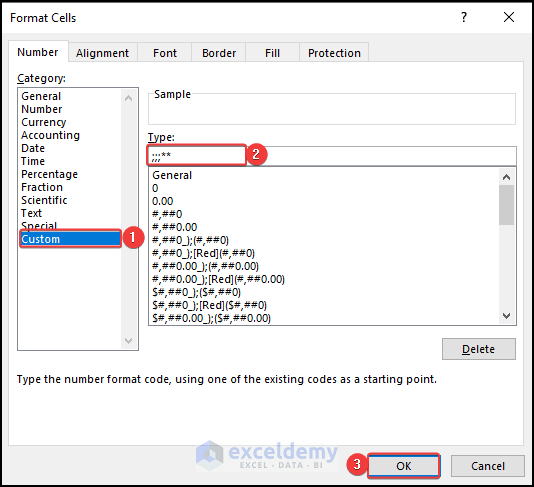
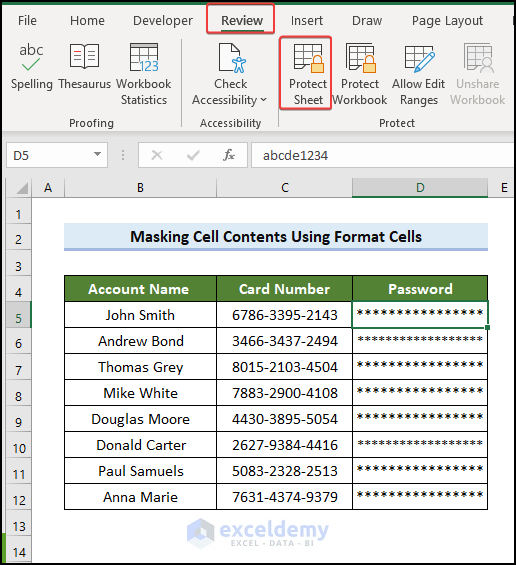
You have masked your data, but it is showing in the Formula Box:
- Lock the sheet: go to the Review tab >> choose Protect Sheet.
- In the Protect Sheet window, uncheck all the boxes except Edit Objects and Edit Scenarios.
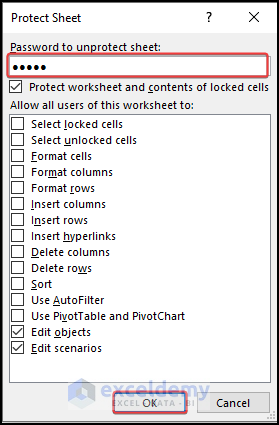
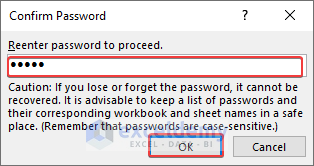
- Confirm the password and click OK.
You have locked the dataset. The Formula Box does not show the masked data.
Practice Section
Practice here.

Download Practice Workbook
Download the practice workbook.
Related Articles
<< Go Back to Encryption in Excel | Excel Protect | Learn Excel
Get FREE Advanced Excel Exercises with Solutions!
