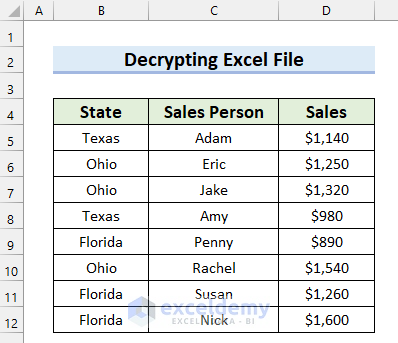
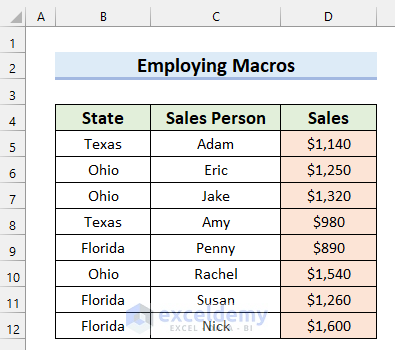
We’ll the following Excel sheet to showcase decryption. It contains a sales overview.
If I try to edit something in this Excel sheet it shows a Warning Box.

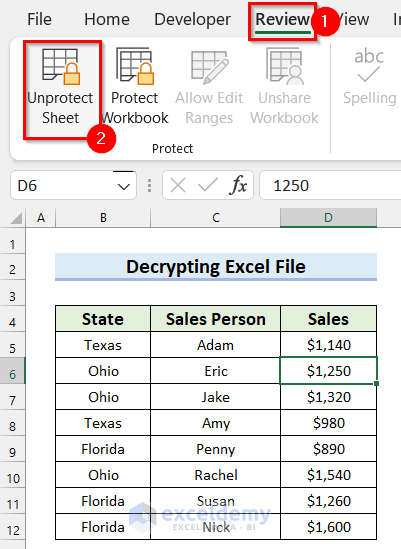
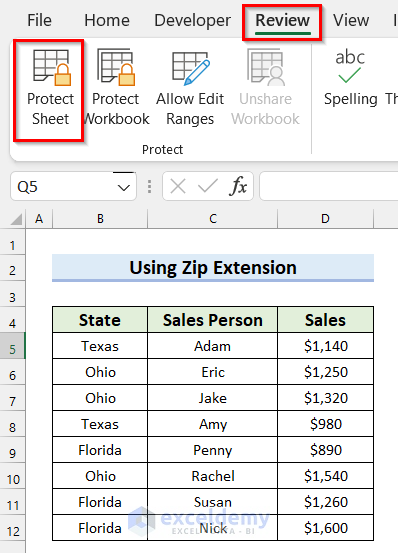
To check if the Excel sheet is protected, go to the Review tab from Ribbon. In the Protect group, you will see that the sheet is protected.
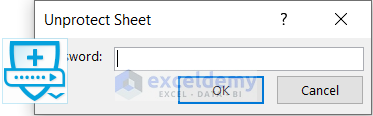
If you click on Unprotect Sheet, you will see the Unprotect Sheet dialog box. You will need to insert a password here to decrypt the Excel file. We’ll show you how to decrypt Excel file without password in 2 different ways.
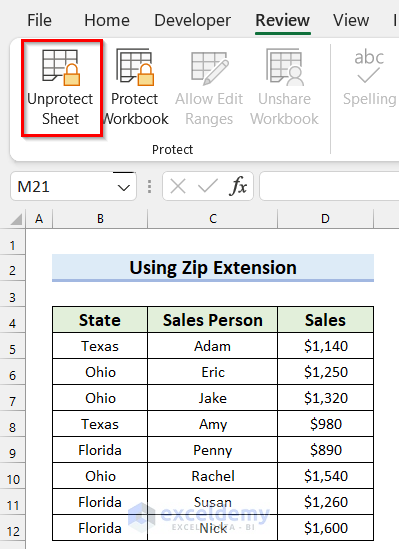
Method 1 – Use the ZIP Extension to Decrypt an Excel File Without a Password
Let’s use a protected sheet to show the method.
Steps:
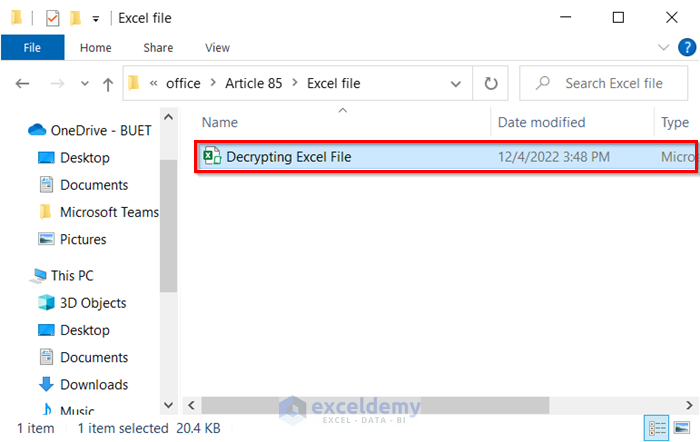
- In the following image, you can see that the file extension is not showing.
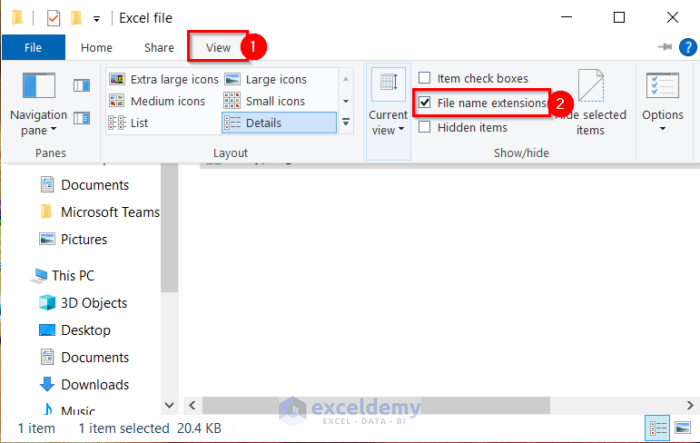
- Go to the View tab.
- Check the File name extensions option.
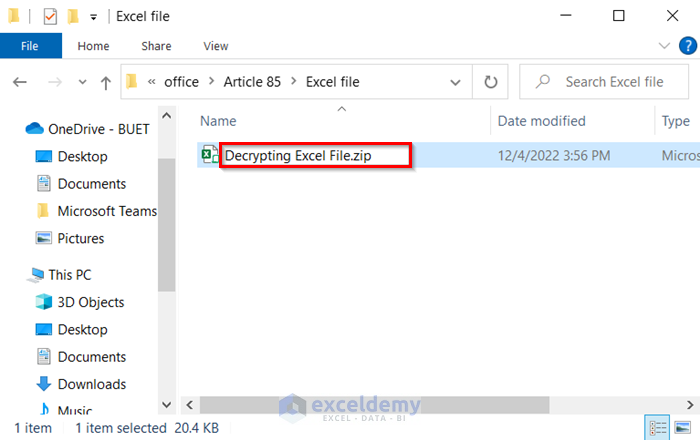
- Change the file extension to zip.
- Press Enter.
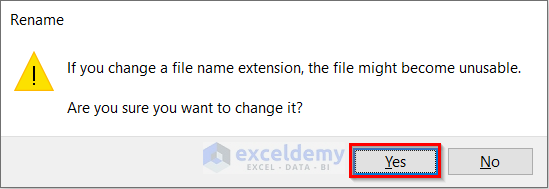
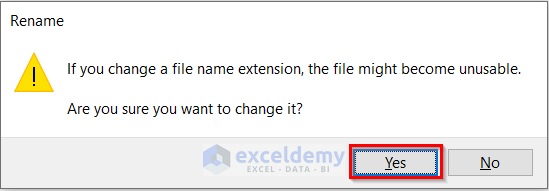
- A warning box will appear asking you to confirm the change. Select Yes.
- You will see ta new file extension.
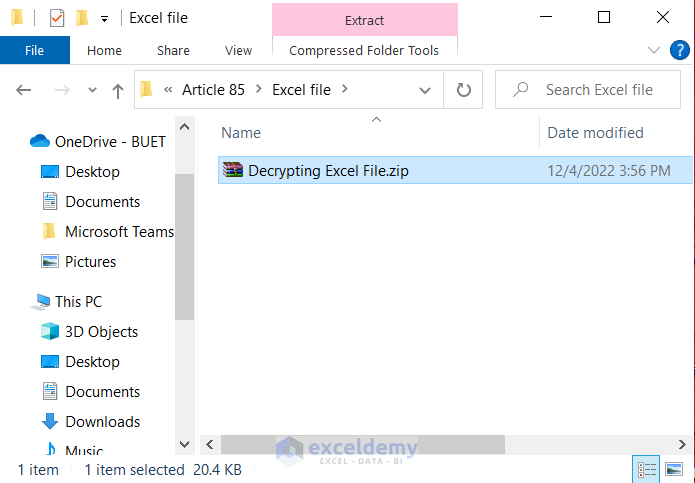
- Select the file.
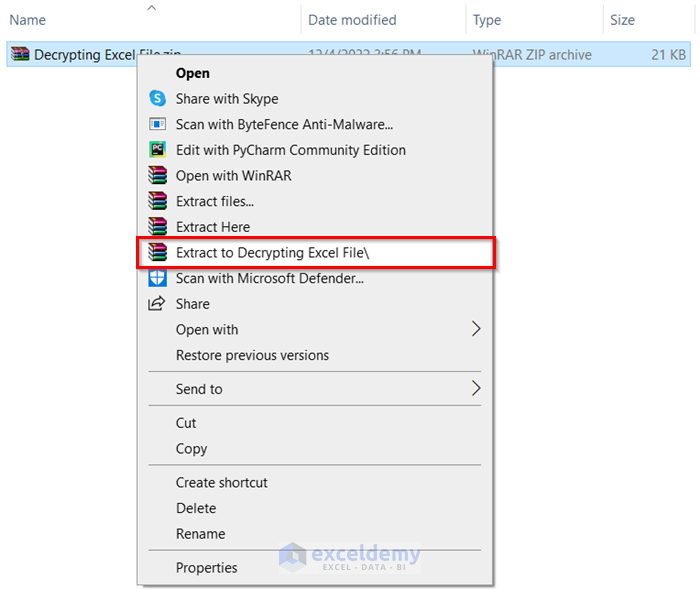
- Right-click on it.
- Select Extract to Decrypting Excel File.
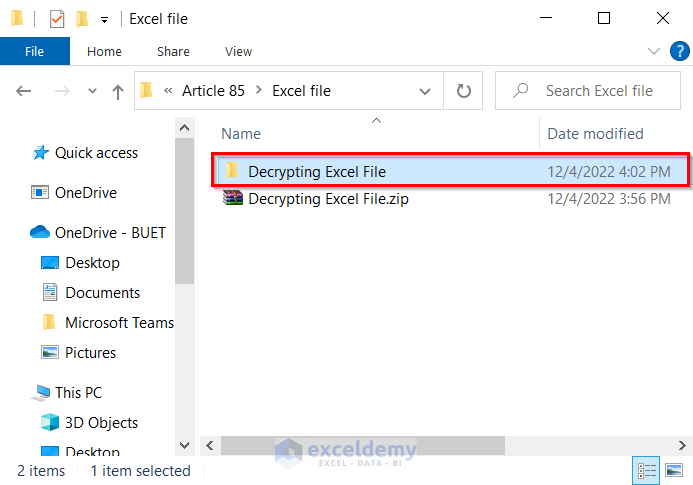
- A new folder will be created. Open that folder.
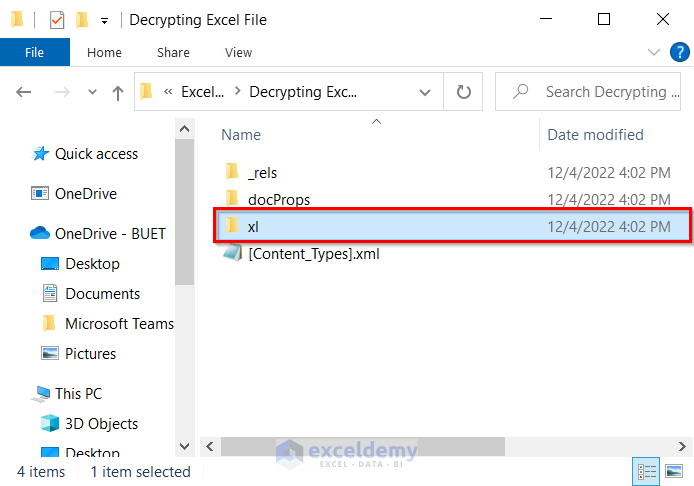
- Open the folder named xl.
- Open the folder named worksheets.
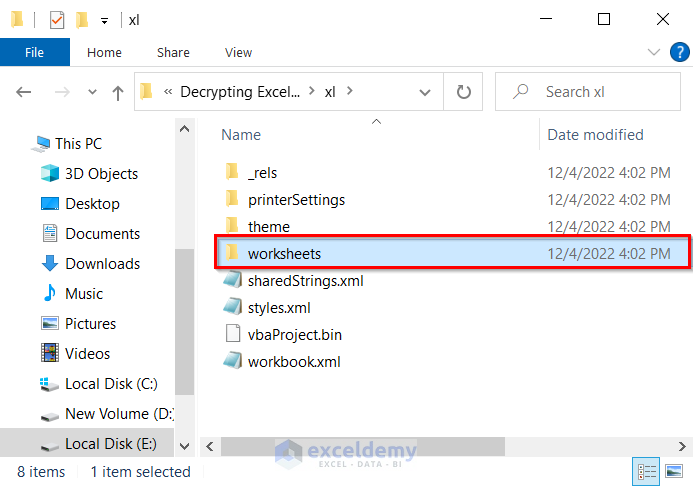
- You will see all the worksheets of that Excel file. We want to remove protection from sheet3.
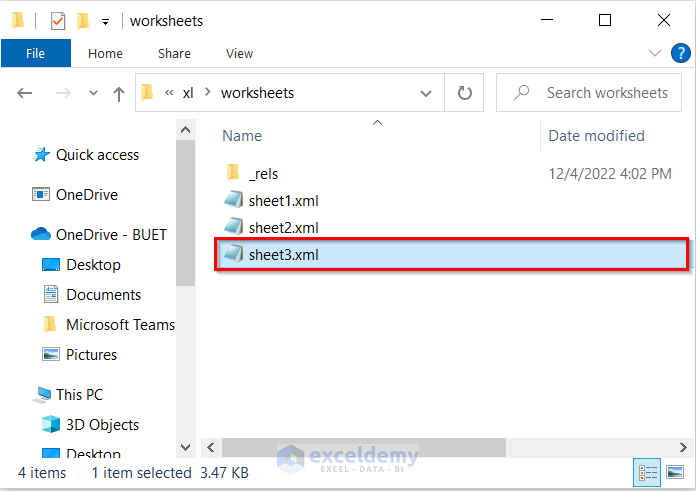
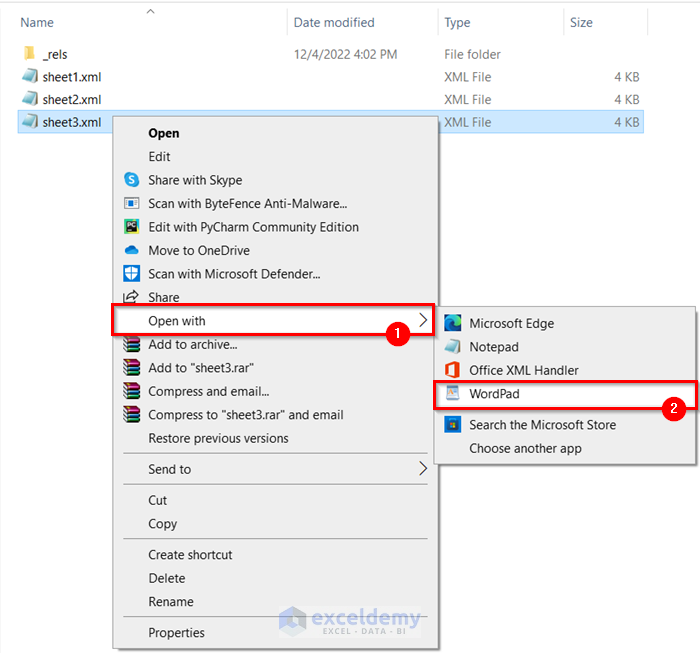
- Right-click on sheet3.
- Select Open with.
- Select WordPad.
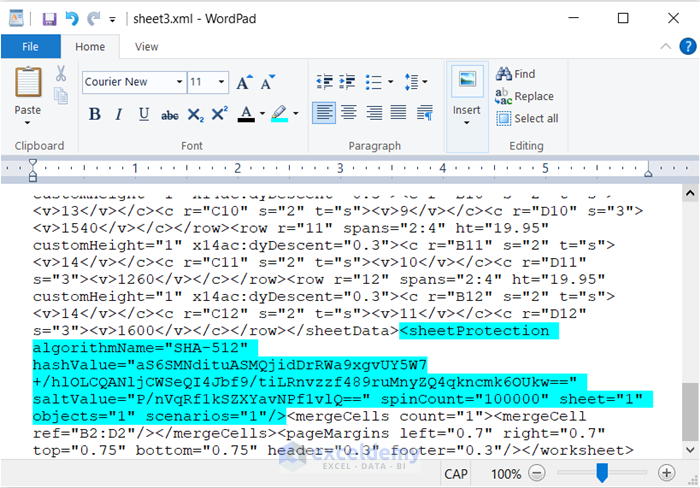
- In that document, find the highlighted part in the following image, starting with <sheetProtection.
- Delete that part.
- Press Ctrl + S to save the file.
- Select all the folders and files.
- Right-click and select Send to.
- Choose Compressed (zipped) folder.
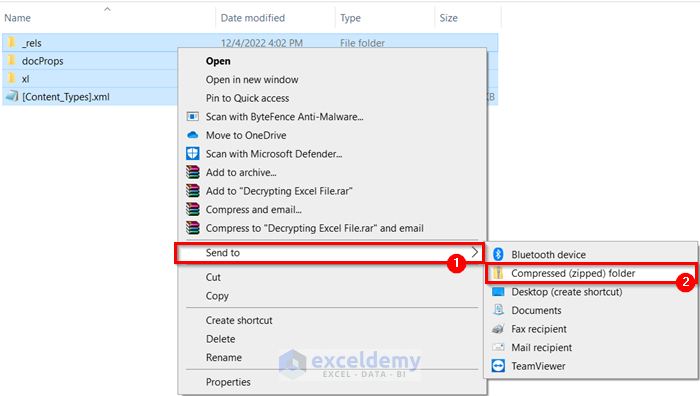
- Nme the file as you want.
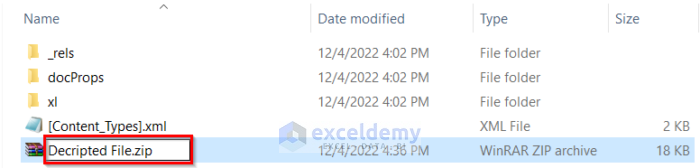
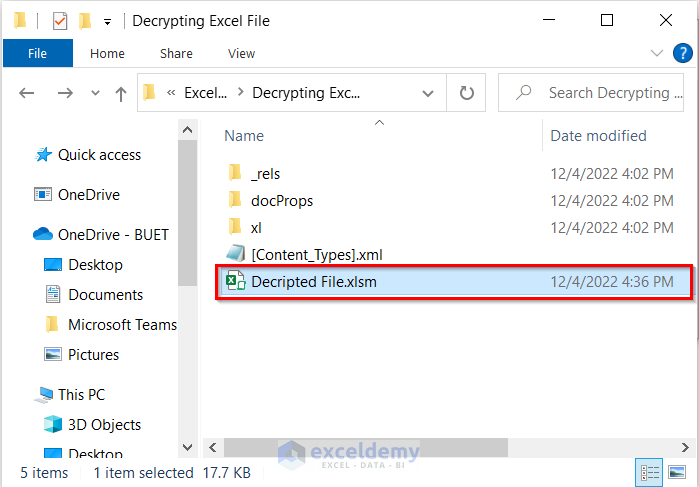
- You will see that you have got your zipped file.
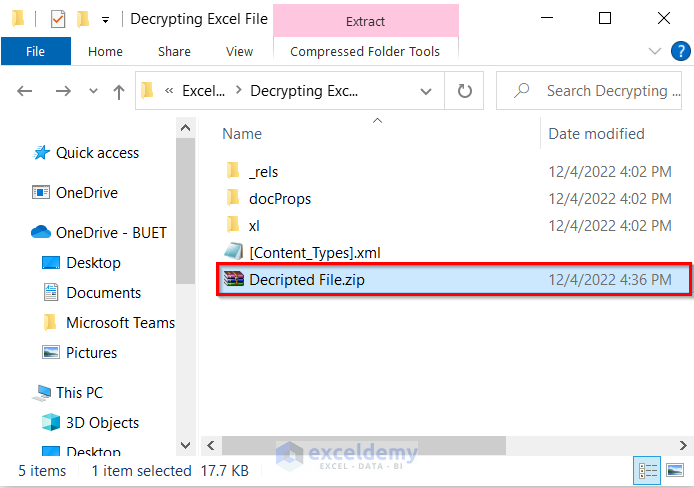
- Change the extension of the file to xlsm.
- Press Enter.
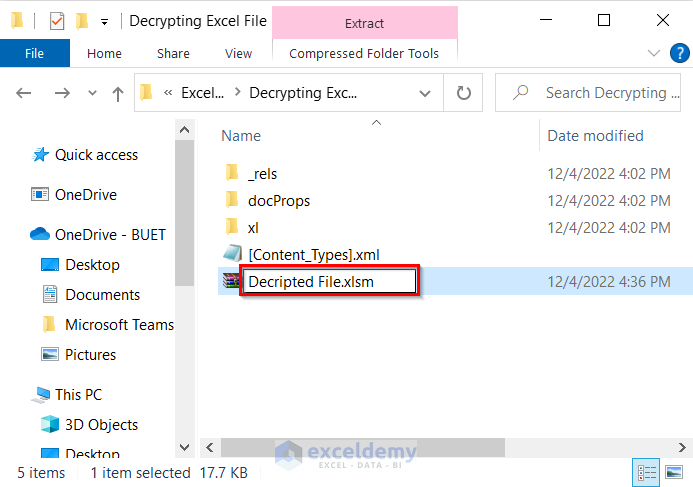
- A warning box will appear. Select Yes.
- You will get your desired Excel file.
- Open that file to check if the file is decrypted.
- You can see that you have decrypted the Excel file without a password.
Method 2 – Employ Macros to Decrypt an Excel File Without a Password
We’ll use the same sheet to show the method.
Steps:
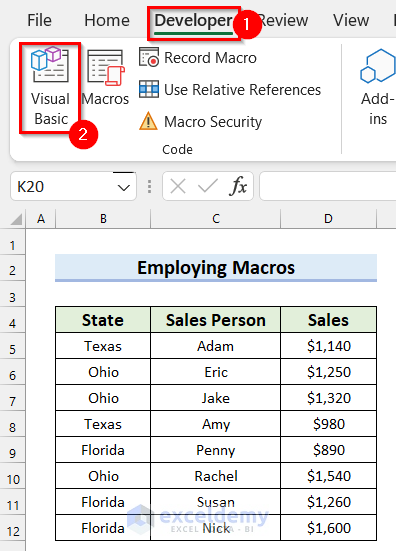
- Go to the Developer tab.
- Select Visual Basic.
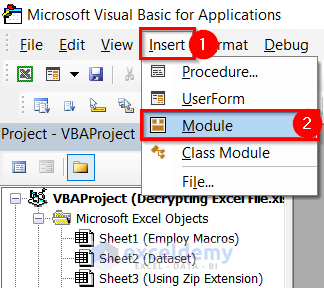
- The Visual Basic editor window will open. Select the Insert tab.
- Select Module.
- A Module will open. Paste the following code in the Module.
Sub Decrypt_File()
Dim p As Integer, q As Integer, r As Integer
Dim a As Integer, b As Integer, c As Integer
Dim p1 As Integer, p2 As Integer, p3 As Integer
Dim p4 As Integer, p5 As Integer, p6 As Integer
On Error Resume Next
For p = 65 To 66: For q = 65 To 66: For r = 65 To 66
For a = 65 To 66: For b = 65 To 66: For p1 = 65 To 66
For p2 = 65 To 66: For p3 = 65 To 66: For p4 = 65 To 66
For p5 = 65 To 66: For p6 = 65 To 66: For c = 32 To 126
ActiveSheet.Unprotect Chr(p) & Chr(q) & Chr(r) & Chr(a) & Chr(b) _
& Chr(p1) & Chr(p2) & Chr(p3) & Chr(p4) & Chr(p5) & Chr(p6) & Chr(c)
If ActiveSheet.ProtectContents = False Then
MsgBox "Done!"
Exit Sub
End If
Next: Next: Next: Next: Next: Next:
Next: Next: Next: Next: Next: Next:
End Sub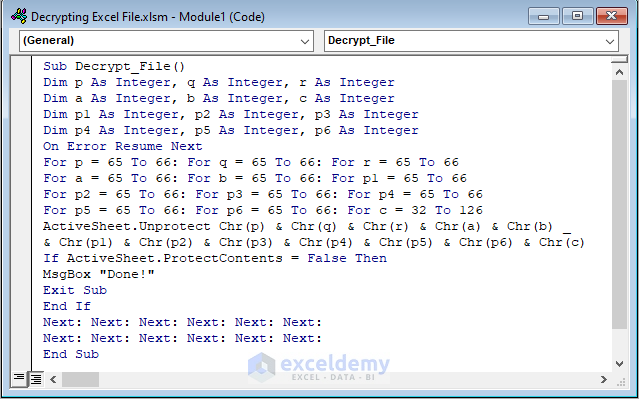
How Does the Code Work?
- We used 12 For Next loop to go through the characters.
- We used the ActiveSheet.Unprotect method to remove the protection from the active sheet.
- The Chr function gets the characters equivalent to the ASCII code.
- The ActiveSheet.ProtectContents property checks if the worksheet is still protected or not. If it is False then a message box will appear showing “Done!”.
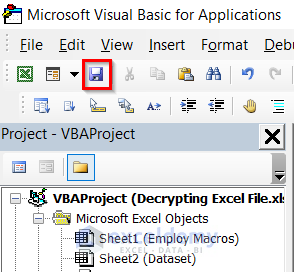
- Save the code and go back to your worksheet.
- Go to the Developer tab again.
- Select Macros.
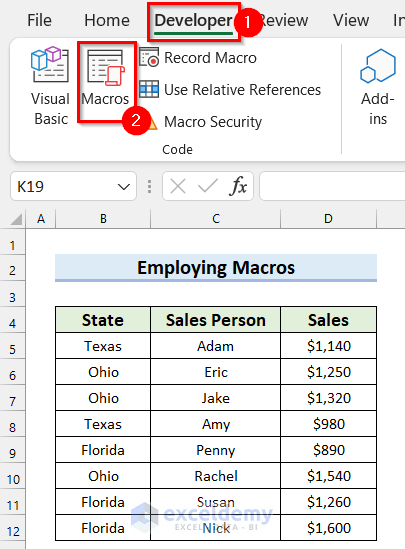
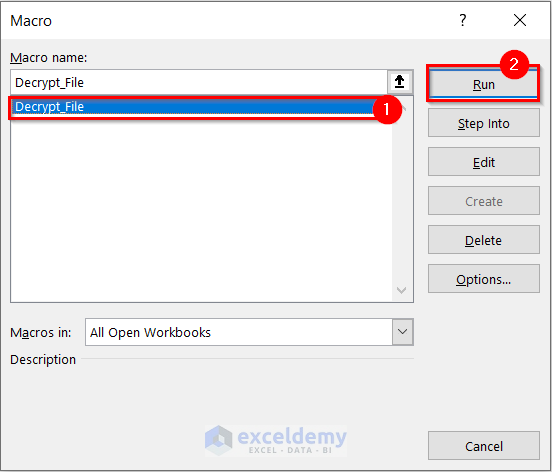
- The Macro dialog box will appear. Select Decrypt_File as the Macro name.
- Select Run.
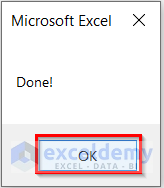
- A message box will appear. Select OK.
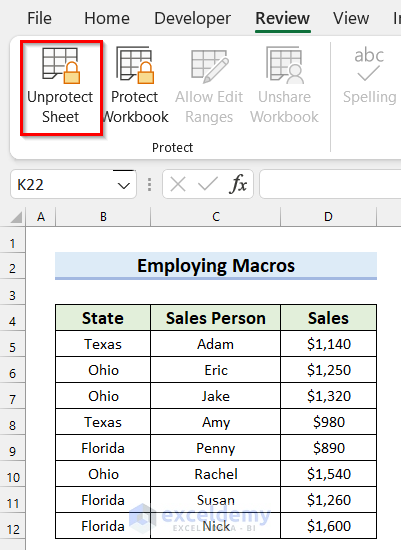
- The protection will be removed from the Excel sheet. To check that, we will try editing the sheet.
- Select the range where you want to add Fill Color.
- Go to the Home tab.
- Click on the drop-down option for Fill Color.
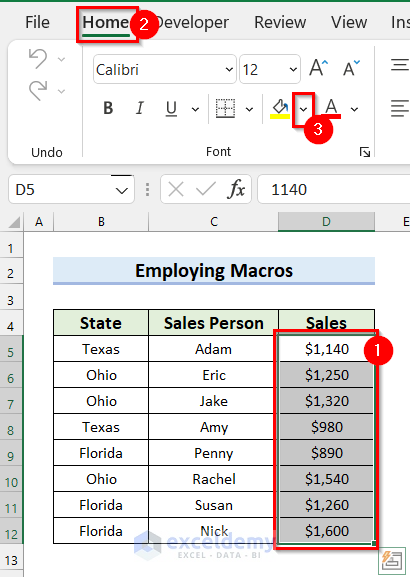
- Select the color you want.
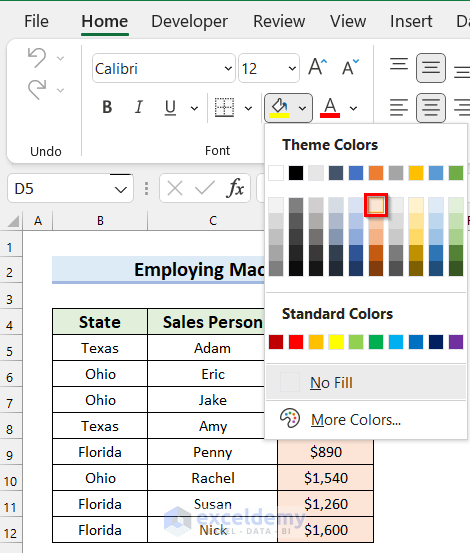
- You can see that a Fill Color is added to the selected range. That means you have decrypted the file without a password.
Read More: How to Encrypt Cell Contents in Excel
How to Decrypt an Excel File with a Password
Steps:
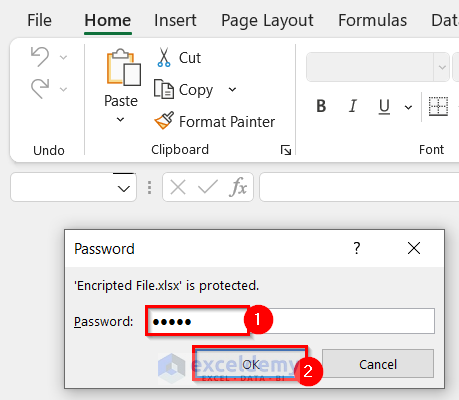
- You will see a dialog box appear when you open the file.
- Write the password in the dialog box.
- Press OK.
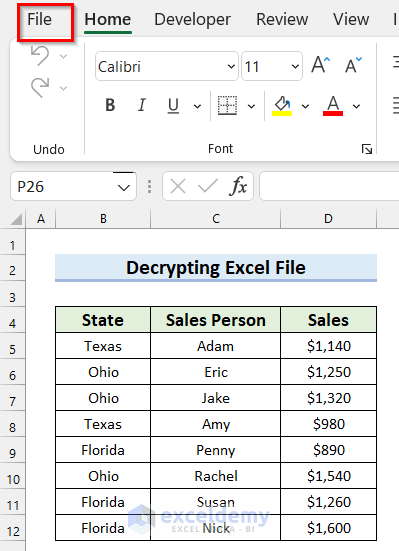
- Your Excel file will be decrypted.
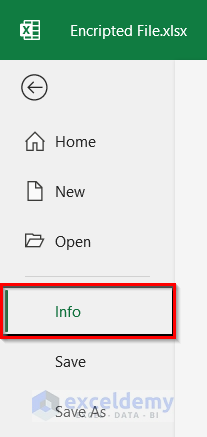
- Go to the File tab.
- Select Info.
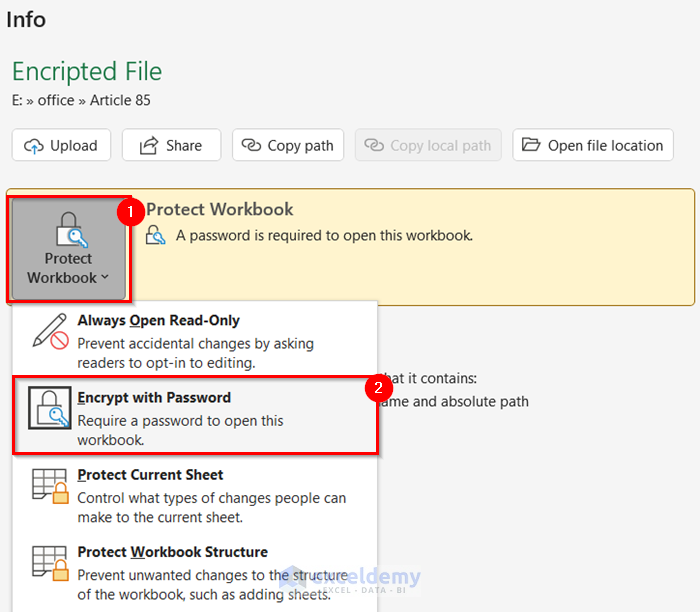
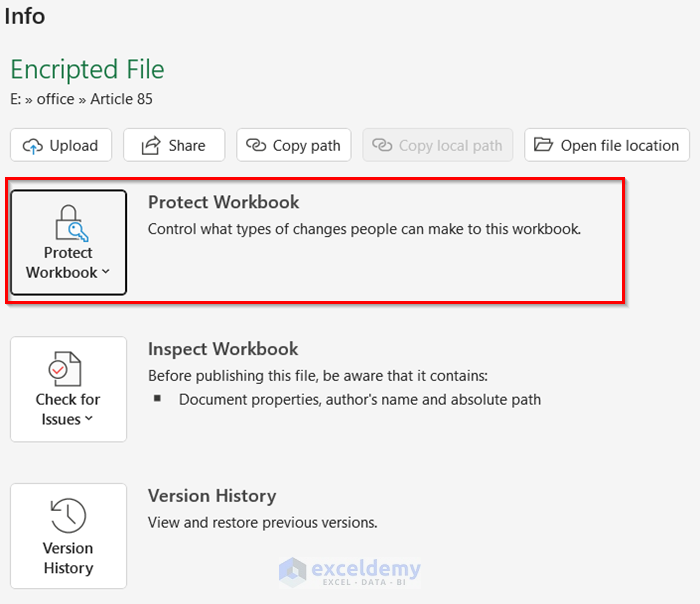
- Click on the drop-down menu for Protect Workbook.
- Select Encrypt with Password.
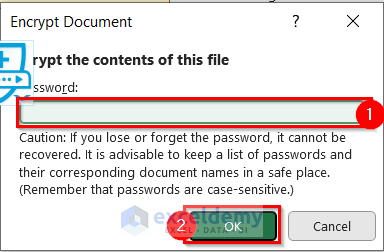
- A dialog box will appear. Clear the password from here.
- Select OK.
- You have removed the protection from the Excel file.
Things to Remember
- For Method 2, if you want to remove protection from multiple sheets, you will have to run the code from each sheet individually, and the code might take a while to finish.
Practice Section
We have provided a practice sheet for you to practice how to decrypt an Excel file with a password.

Download the Practice Workbook
Related Articles
<< Go Back to Encryption in Excel | Excel Protect | Learn Excel
Get FREE Advanced Excel Exercises with Solutions!
