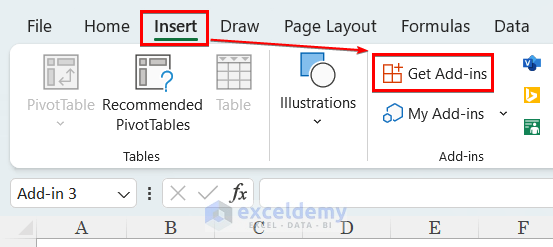
Step 1 – Adding a Suitable Date Picker Add-in from the Microsoft Store
- Go to the Insert tab and click on the Get Add-ins command to navigate to the Office Add-ins popup.
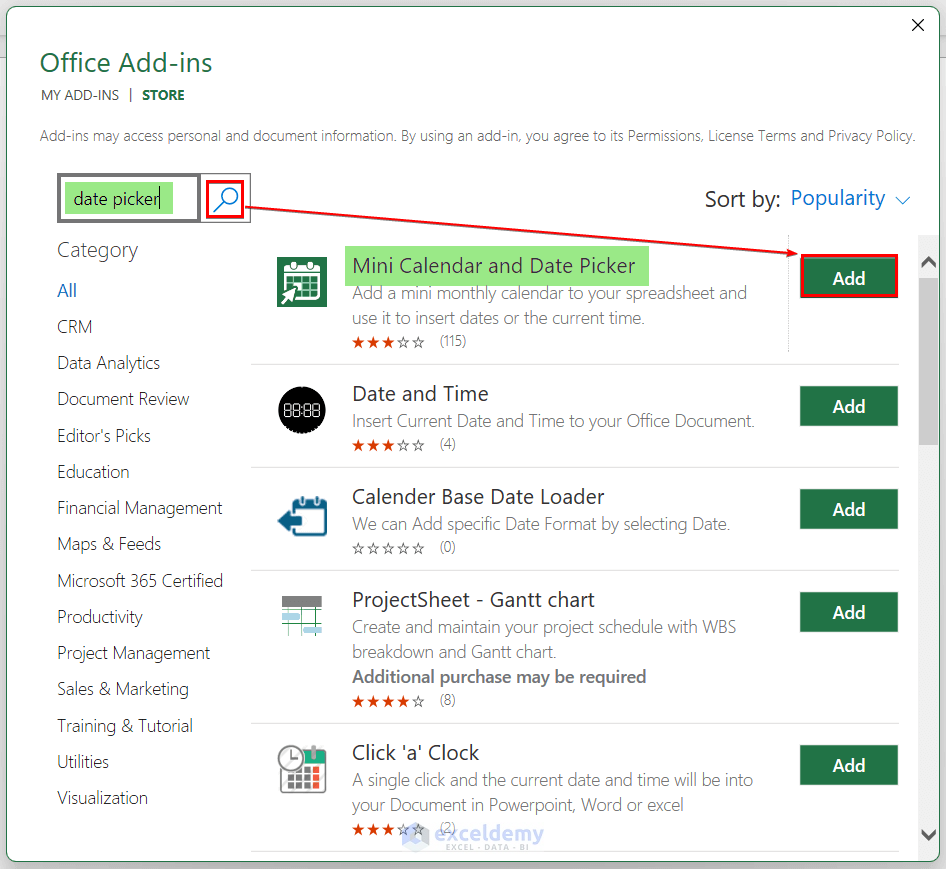
- In the search box, type “date picker” and click on the icon to search for related results.
- The Mini Calendar and Date Picker add-in will be at the top of the list if you sort the results by popularity. This add-in is developed by VERTEX42.COM.
Before starting to add and use it, note two things:
- This add-in can read and make changes to your document.
- It can send data over the internet.
If you are okay with these, then proceed to the next steps.
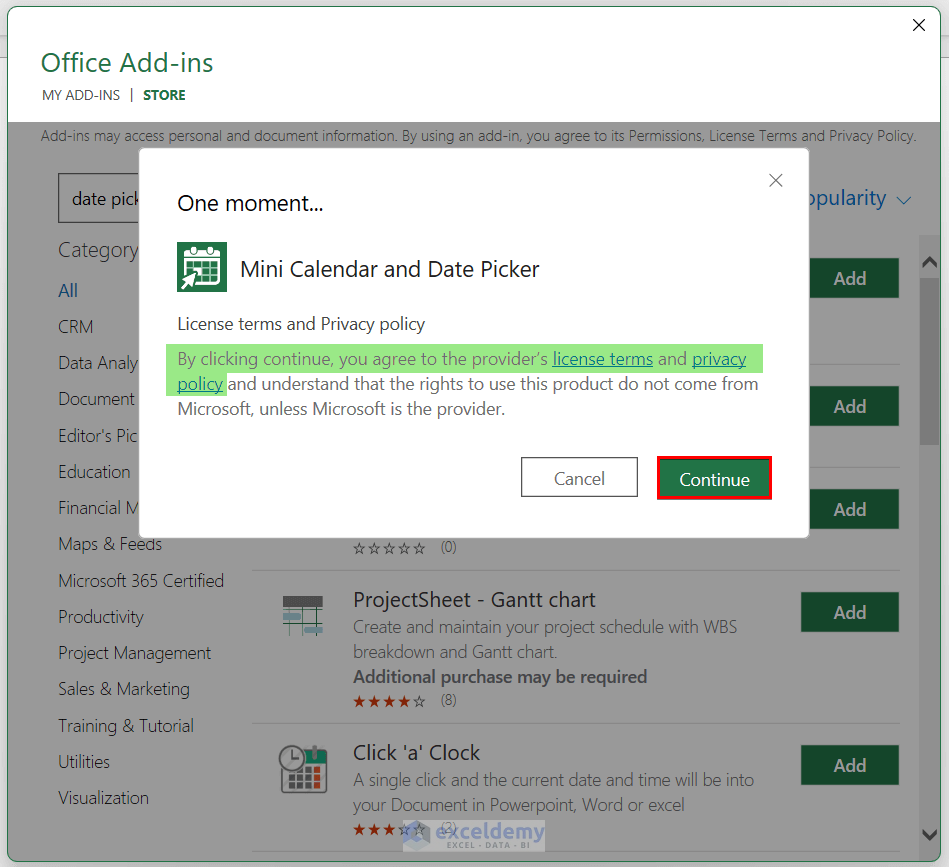
- Press Add.
- You will get a window to agree to the provider’s license terms and privacy policy.
- Check the links if you want and click on Continue.
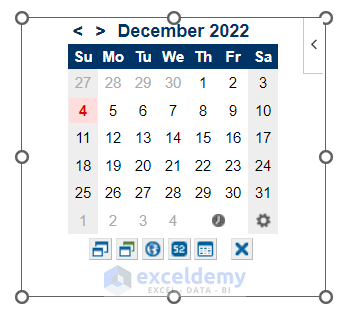
- You will get the Date Picker in the current worksheet. It will look like the following image.
Read More: Insert Drop Down Calendar in Excel Without Date Picker
Step 2 – Using the Date Picker
Case 1 – Adding Schedule Dates with the Date Picker
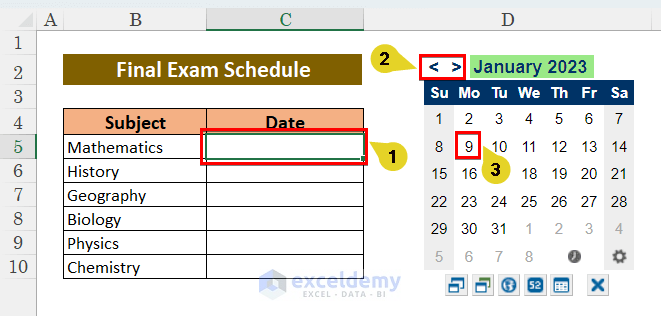
Let’s make a final exam routine for a school. The Subjects are listed in the left column, and we will insert exam dates in the right column using the Date Picker.

- Click on a cell in the Date column (we have selected Cell C5).
- Using the right or left arrows in the Date Picker, find the correct year and month (January 2023 in our case).
- Click on the date you want to schedule the exam.
- Repeat to add all the scheduled dates from the picker. Your Routine will look something like the following image.

Case 2 – Changing the Position of the Date Picker
- Click on the Date Picker.
- Hover your mouse to the borderline, and you will see a thick cross arrow ✥ appears. This is a dragging tool.
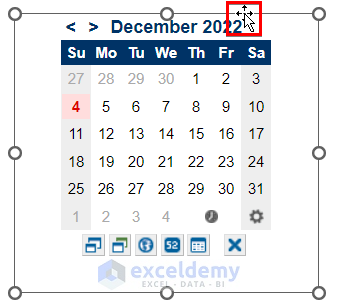
- Drag the Date-Picker to the desired position.
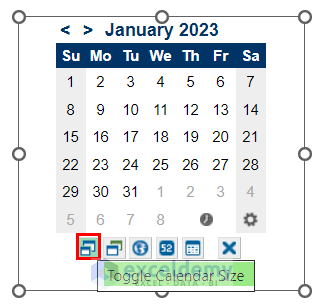
Case 3 – Formatting the Date Picker
If you look down the Date Picker window, a list of command icons will be visible:
- The first icon toggles calendar size.
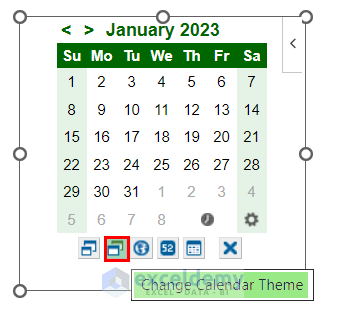
- The second icon changes the calendar theme. There are 5 built-in themes.
- The third command sets the calendar system.
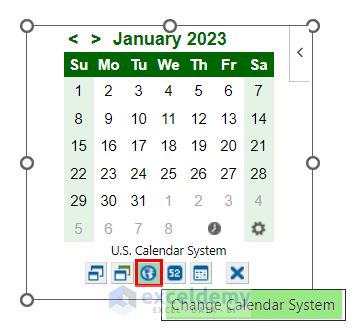
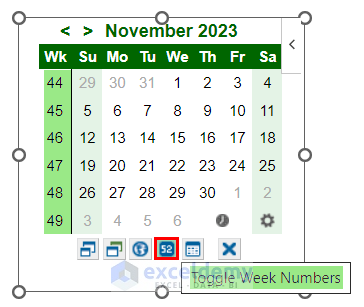
- The fourth command shows a serial number for each of the weeks throughout the year in the calendar.
- To show or hide these commands, use the cog icon.

Case 4 – Deleting the Date Picker Window
- Click on the Date Picker, and a left arrow will be visible in the top right corner.
- Click on the arrow and select Delete from the list of commands.
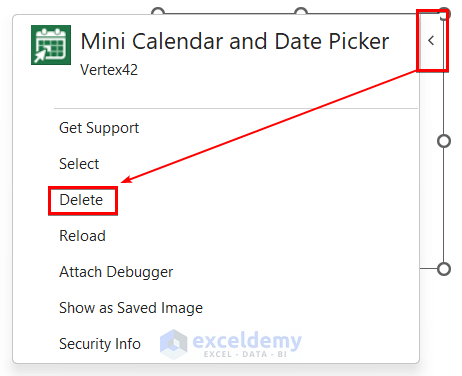
Deleting the Date Picker will not delete dates generated by it.
Read More: How to Use Excel UserForm as Date Picker
An Alternative to the Date Picker: Use a Calendar Template from Microsoft Excel
If you have a 64-bit version and don’t want to use any third-party add-ins for security concerns, then you can use a built-in calendar of MS Excel as an alternative.
Steps:
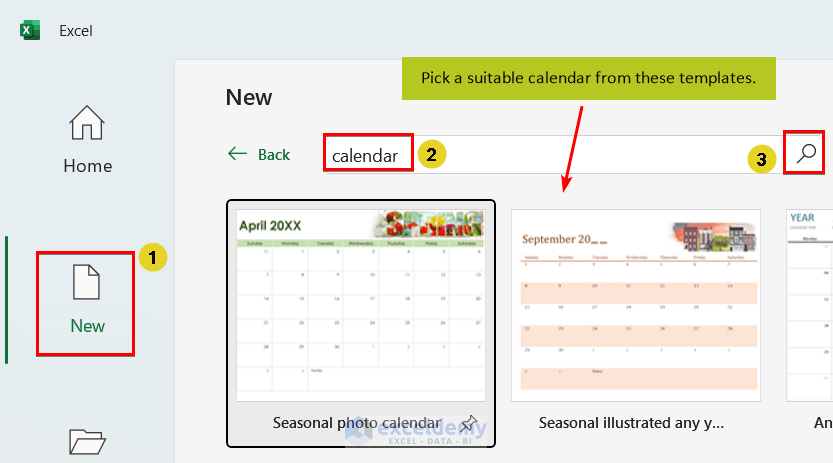
- Open Excel and click on New.
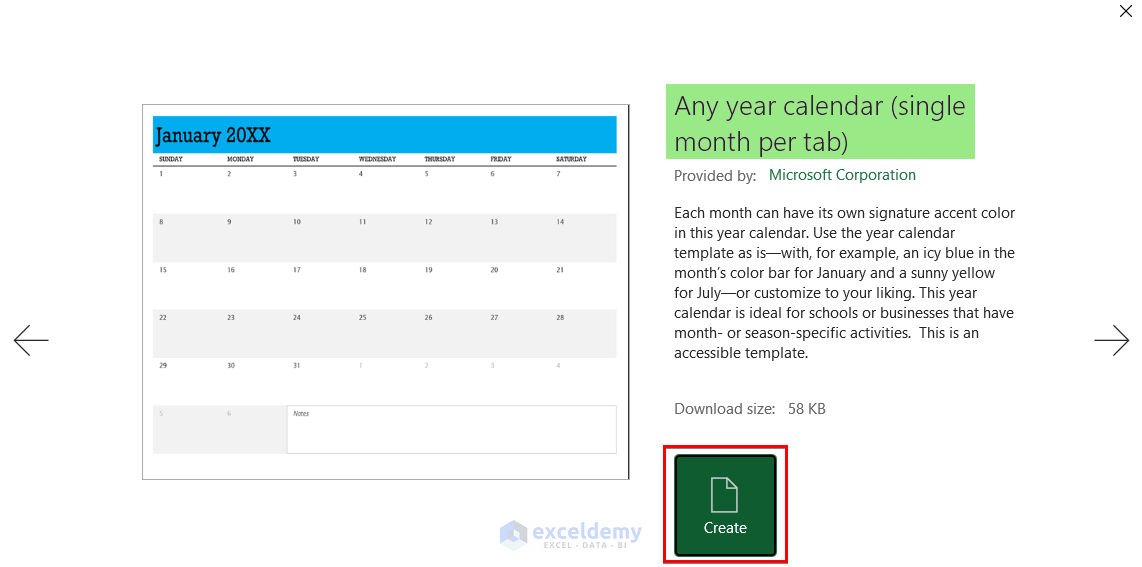
- In the search box, type calendar and click the icon.
- Select a calendar format. We have selected the Any Year Calendar.
- Press the Create button.
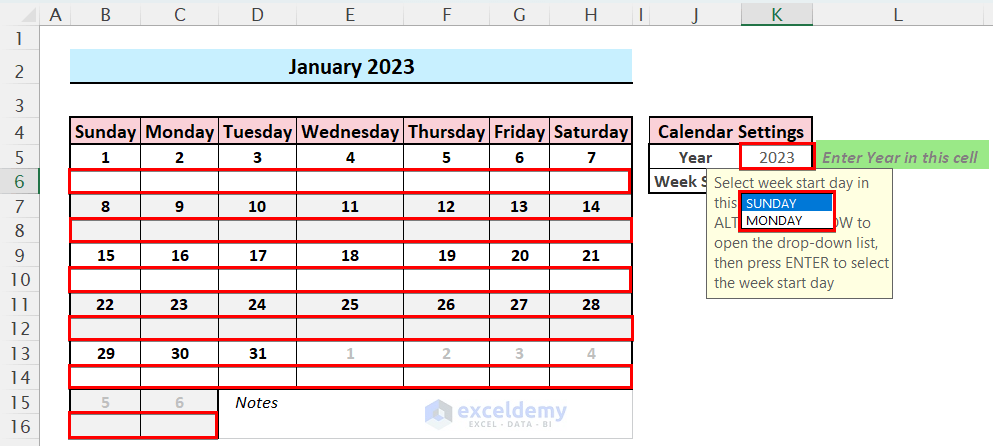
- A calendar with months in separate worksheets will appear. We have applied some formatting to make the calendar look like the image below.
- You can type the desired year in Cell K5 and select week start from the drop-down in Cell K6.
- You can add comments or work schedules in the cell right below the date cells, i.e. B6:H6, B8:H8, etc.
Download the Practice Workbook
Here is a practice workbook you can download to follow along.
Related Articles
- [Solved!] Datepicker Not Showing in Excel
- Excel Date Picker for Entire Column
- How to Insert Calendar in Excel Cell
<< Go Back to Excel Date Picker | Learn Excel
Get FREE Advanced Excel Exercises with Solutions!

Why on earth wouldn’t Excel add such a useful feature to 64 bit versions of excel? So lame!
Hello, Joe Smith!
The 64-bit version of Excel is not compatible with 32-bit active x controls. To know more about it you can visit this site
Regards
ExcelDemy