This is an overview.
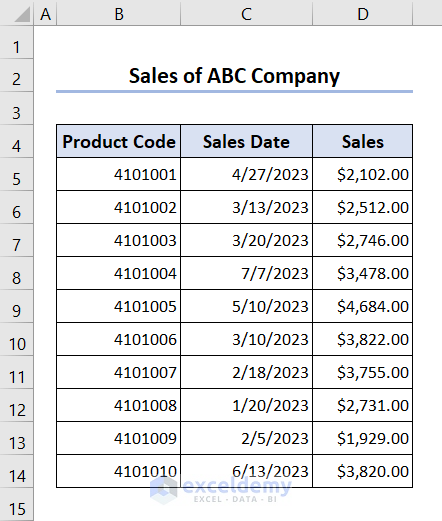
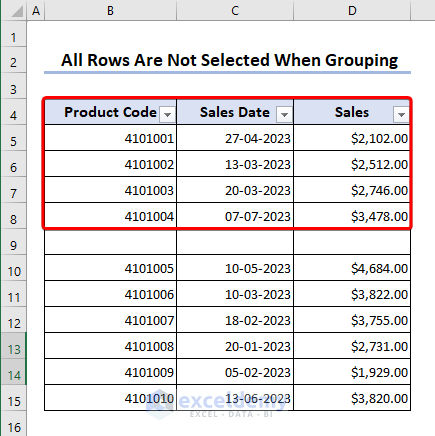
The dataset showcases product code, selling date, and sales amount.
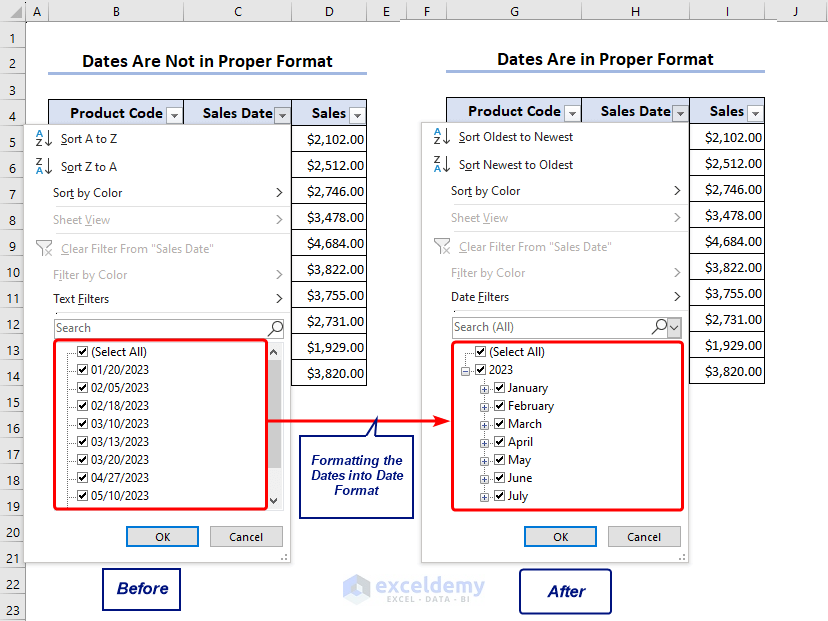
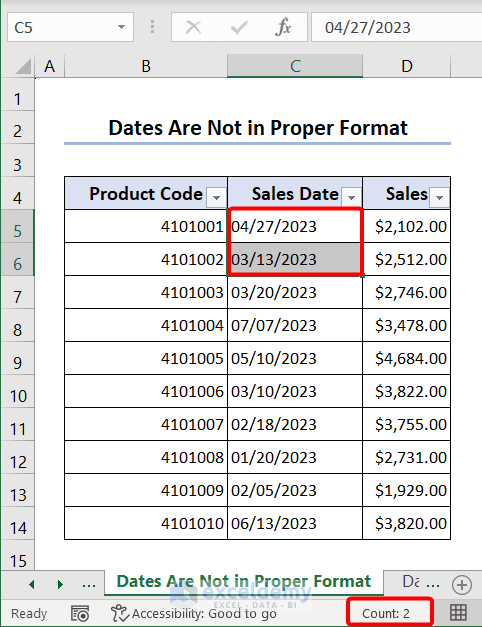
Solution 1 – If Dates Are Not in Proper Format
If the date is in Text format, it will be left aligned.
If you select more than one cell with dates, you will see only the cell count in the status bar.
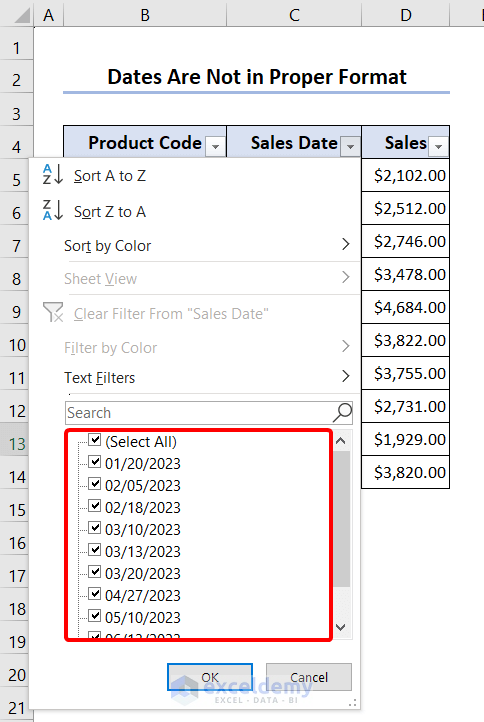
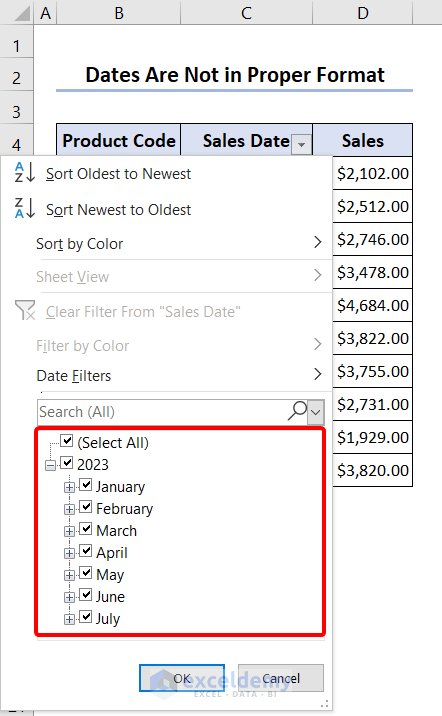
If you add a filter to C4:C14, there is no month-based date filtering option.
If the inputs are in Date format, after applying the Filter month names will appear as a filtering option.
Solutions:
Convert the Date inputs into Date format.
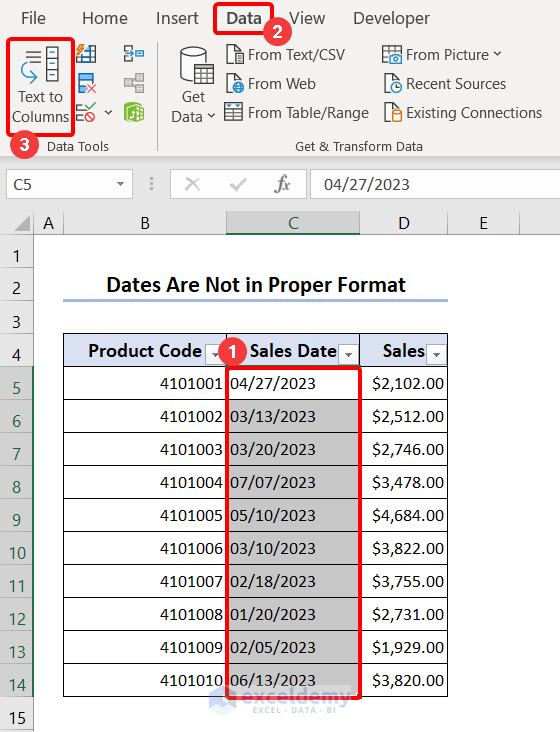
- Select the cell range to filter. Here, C5:C14.
- Go to the Data tab and select Text to Columns in Data Tools.
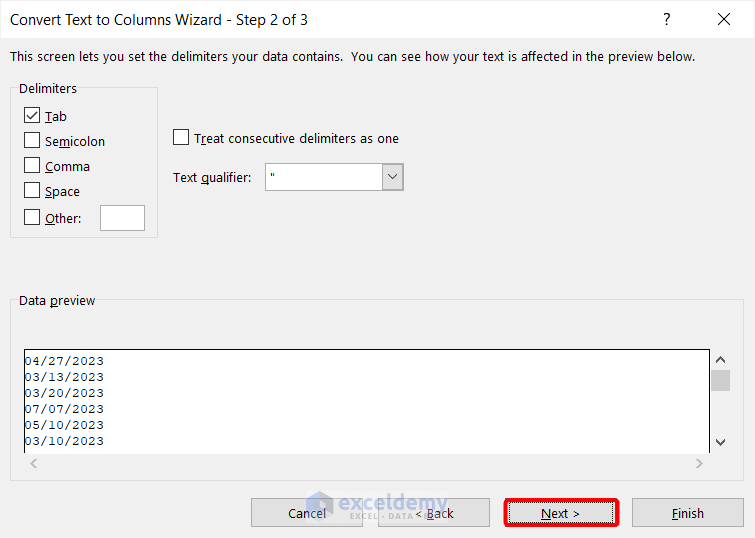
- The Convert text to Columns Wizard will open.
- Select Delimited in Original data type.
- Click Next.

- Click Next.
- Select MDY date format in Column data format and click Finish.

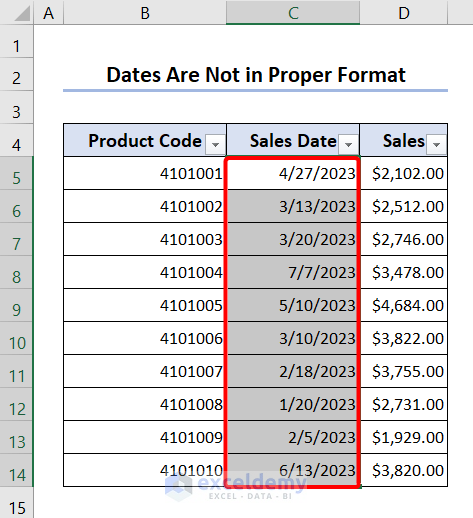
Date format will be displayed and you will be able to Filter the dates by month.
Solution 2 – Not All Rows Are Selected When Grouping
In the image below only B4:D8 was selected while applying the Filter.
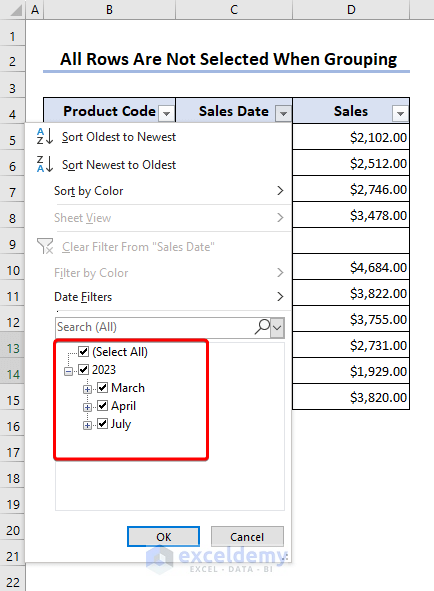
If you click the Drop-down beside Sales Date, you can only see March, April, and July as filtering options.
Solutions:
- Select the rows you want to filter. Here, B4:D15.
- Go to the Data tab and click Filter twice in Sort & Filter.
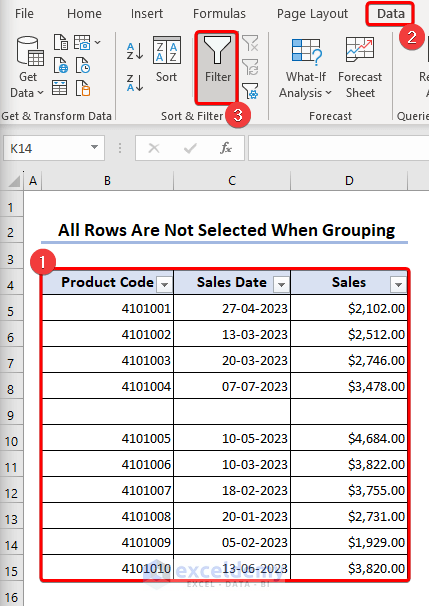
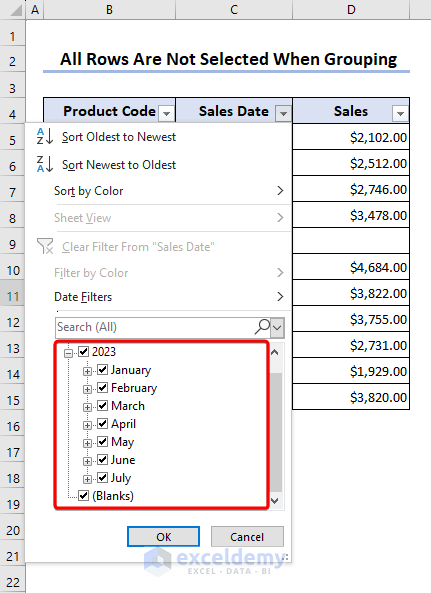
- Click the drop-down option, and you will be able to see all the months.
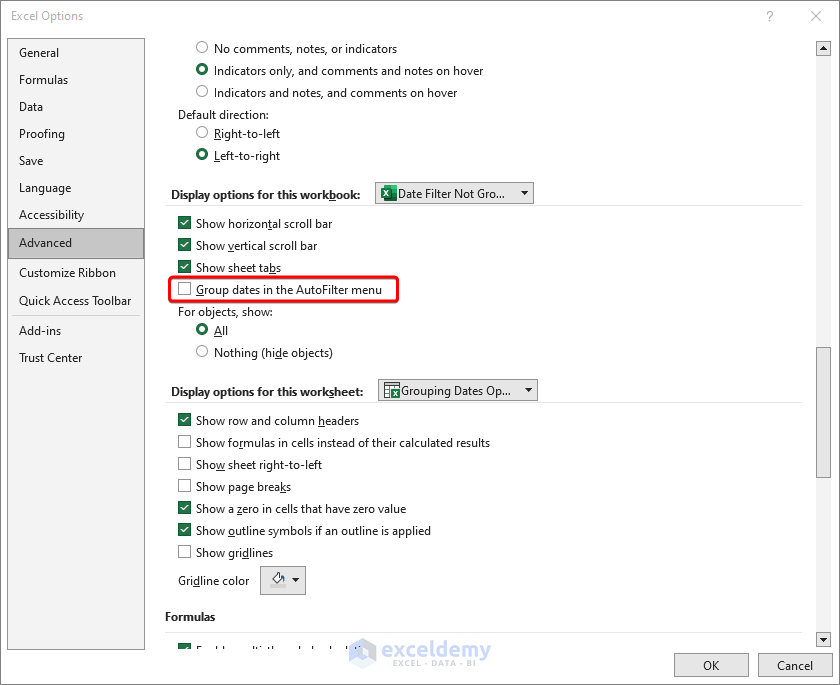
Solution 3 – Grouping Dates in the AutoFilter Menu Is Disabled
Solutions:
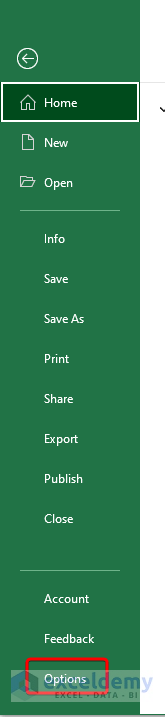
- Go to the File tab and click Options.
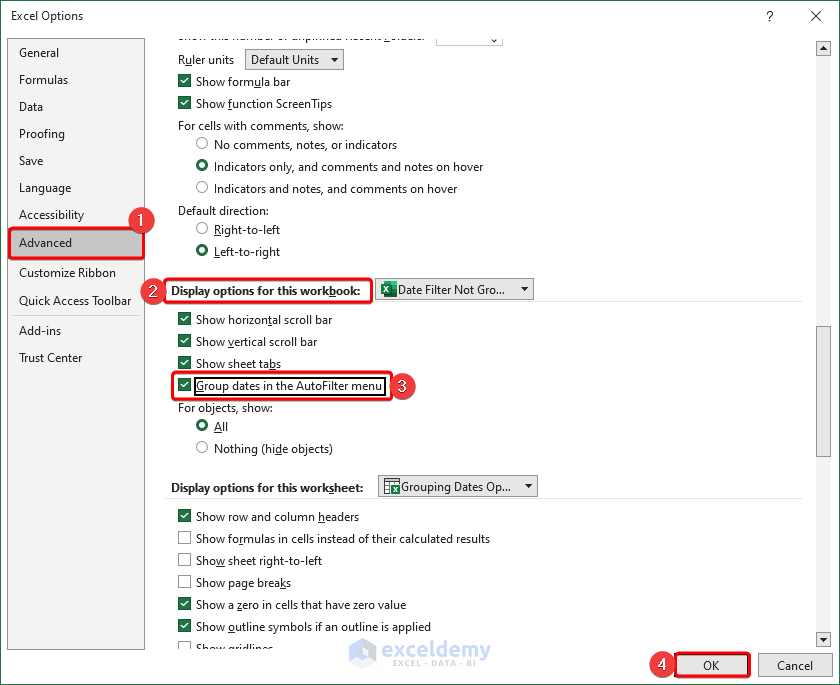
- In Excel Options, click Advanced.
- In Display options for this workbook, click Group dates in the AutoFilter menu.
- Click OK.
The AutoFilter menu is enabled and you will be able to filter dates by month.
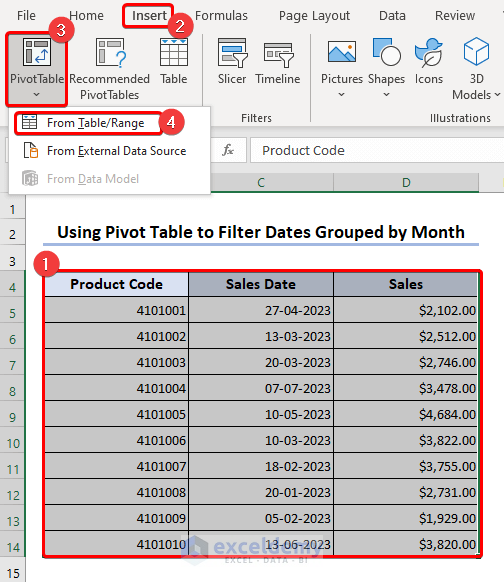
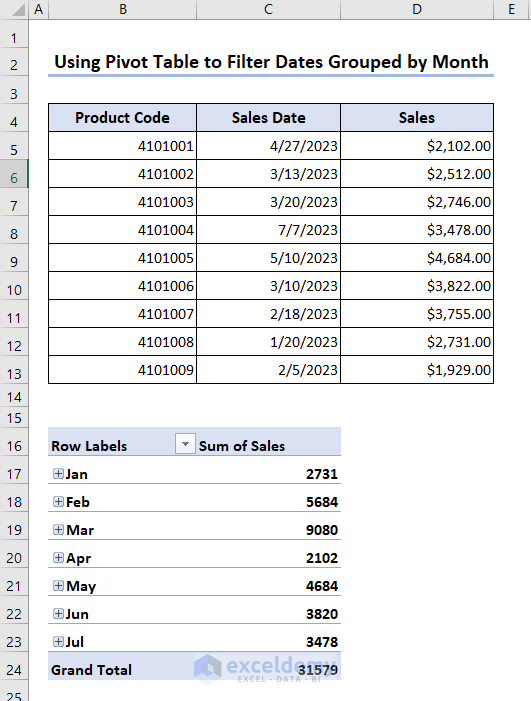
How to Use a Pivot Table to Automatically Filter Dates Grouped by Month in Excel
- Select the cell range you want to filter by month. Here, B4:D14.
- Go to Insert and select From Table/Range in Pivot Table.
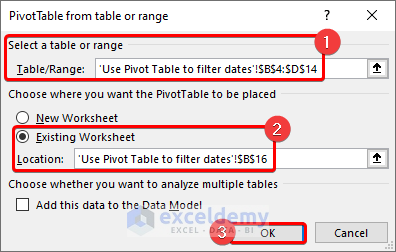
- The PivotTable from table or range dialog box will display the selected range.
- Choose a location to paste the pivot table. Here, B16 in Existing Worksheet.
- Click OK.
- Drag Sales Date and Months into Rows, and Sales into Values.
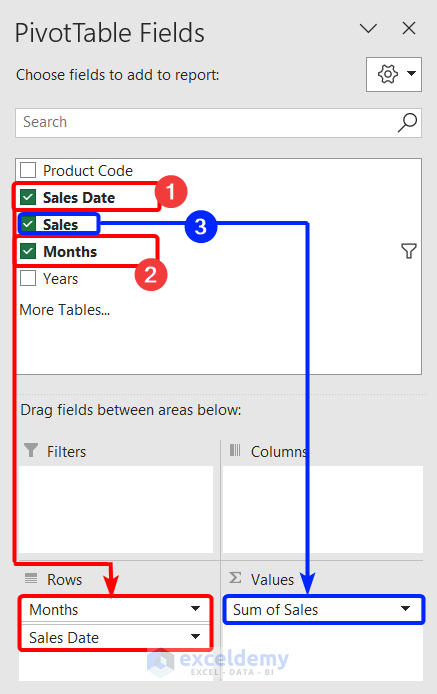
In B16 you will see the pivot table.
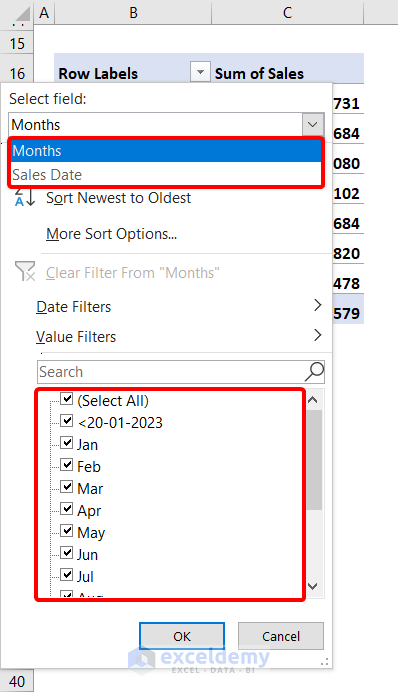
- Click the drop-down beside Row Labels.
- In Select Field, choose filter by Months or Sales Date.
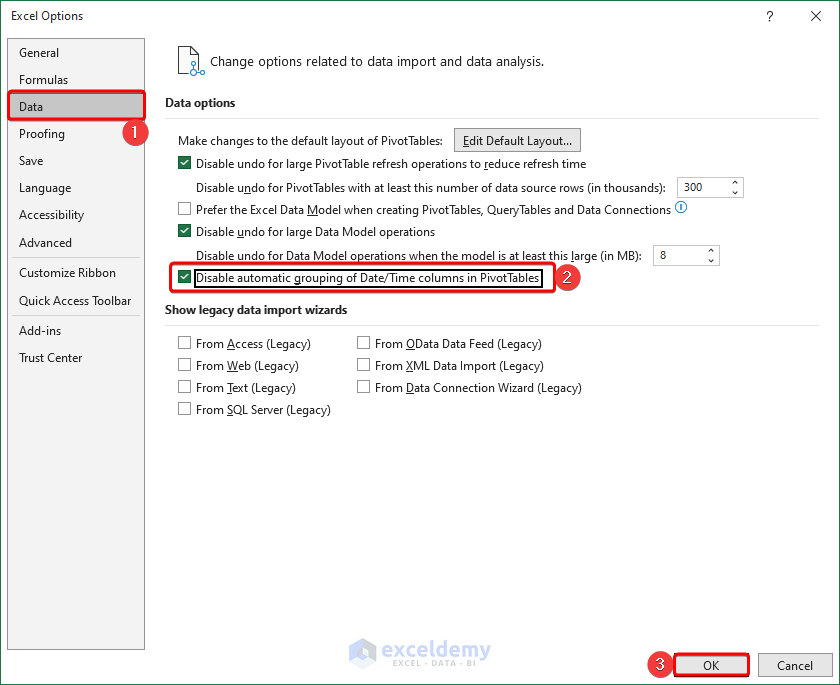
How to Turn Off Automatic Date Filter Grouped by Month in Excel
- Go to File.
- Select Option.
- Click Data.
- Click Disable automatic grouping of Date/Time columns in PivotTables in Data options.
- Click OK to turn off the Automatic Date Filter.
3 Other Common Reasons that prevent Excel from Filtering the Date
1. Existing Blank Rows
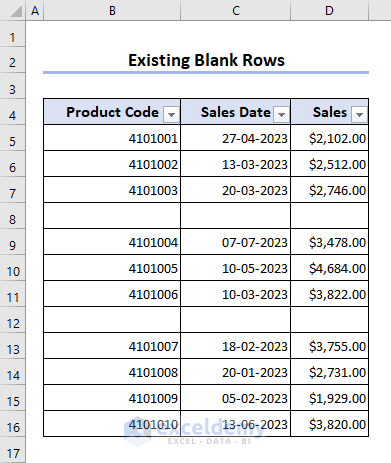
- Click the drop-down in the Sales Date column and you will be able to see Blanks as an option along with the month names.
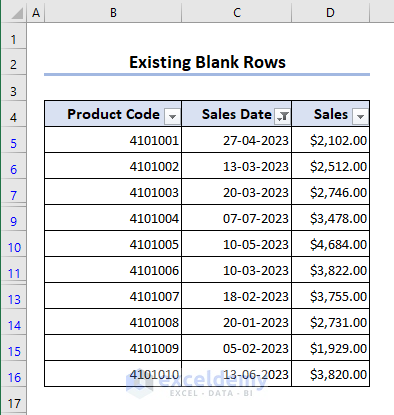
- Uncheck Blanks.
- Click OK.

Blank cells are hidden.
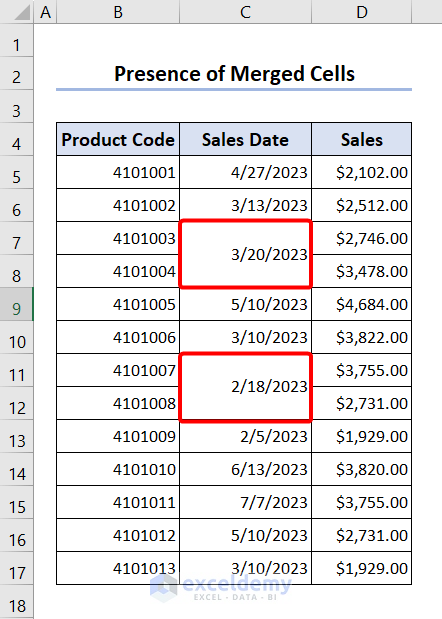
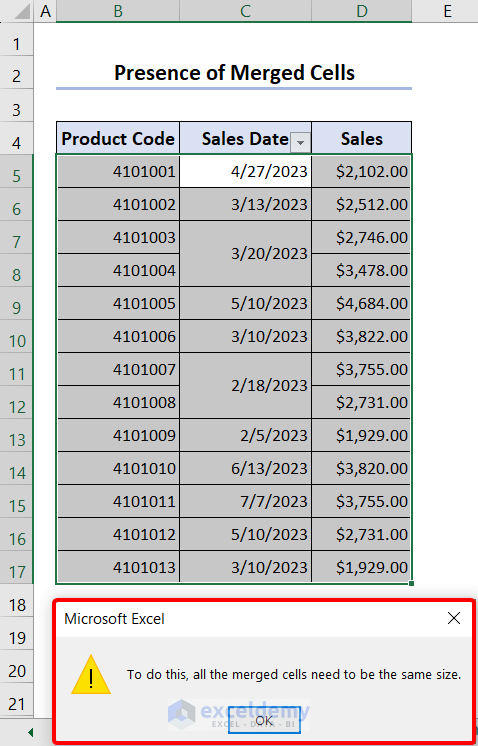
2. Merged Cells
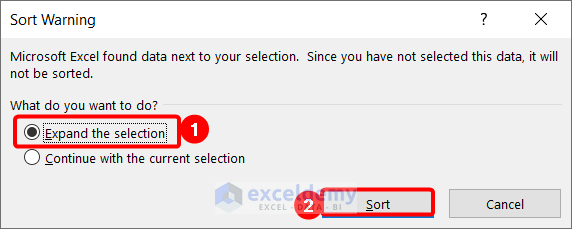
- Click the drop-down in Sales date and select Sort Newest to Oldest.

- In the Sort Warning, select Expand the selection and click Sort.
A message box is displayed: all cells need to be the same size.
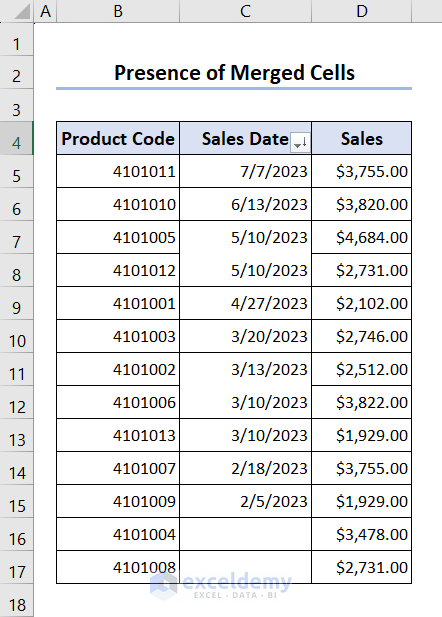
Unmerge the cells:
- Select the merged cells. Here, C7.
- Holding Ctrl, click C11.
- Go to the Home tab, click Merge & Center, and select Unmerge Cells.

Dates are sorted from newest to oldest.
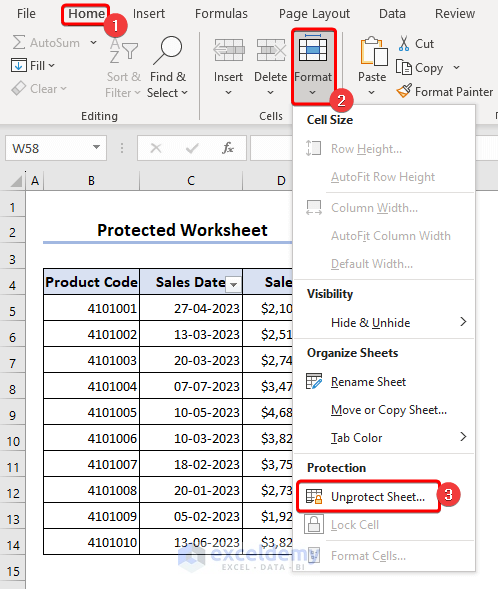
3. Protected Worksheet
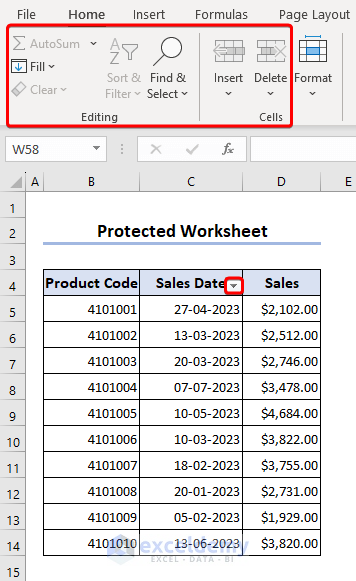
- Go to the Home tab
- Click Format in Cells.
- Select Unprotect Sheet… in Protection.
Frequently Asked Questions
1. How do I group dates by Month in the Excel filter?
Select all Date inputs, including the header in the dataset. Go to the Data tab and click Filter. Click the drop-down, and you will see months as filtering options. If you have date inputs of different years, after clicking the drop-down, click Date Filters and All Dates in the Period. Choose a month.
2. What should I do if I need help with the suggestions above?
The Excel “MONTH” function allows you to extract the month value from a date and use it to build a pivot table or perform other data analysis tasks.
Download Practice Workbook
Download the practice workbook here!
<< Go Back to Date Filter | Filter in Excel | Learn Excel
Get FREE Advanced Excel Exercises with Solutions!

Hello,
Using the “Convert text to Columns Wizard” method to convert the data helped. I was getting really frustrated because nothing seen on the internet seemed to work, but this method saved me.
Thank you very much and have a great day/night!
Hello Calin,
You are most welcome.
Regards
ExcelDemy