An Overview of the Dataset and VBA Code
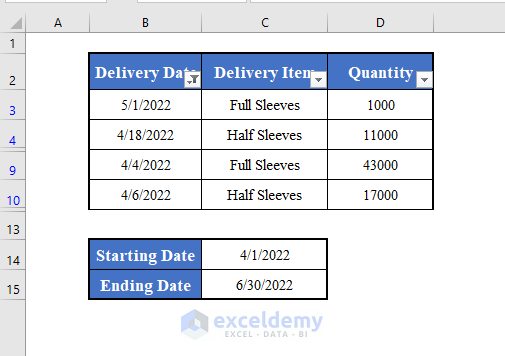
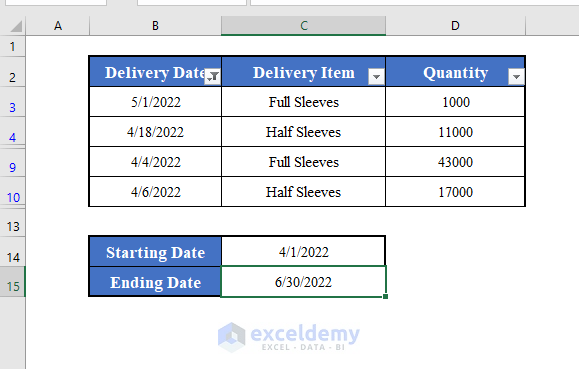
- We have a dataset in the range B3:D12 containing Delivery Dates, Delivery Items, and Quantities.
- Additionally, we have Starting Date (C14) and Ending Date (C15) cells.
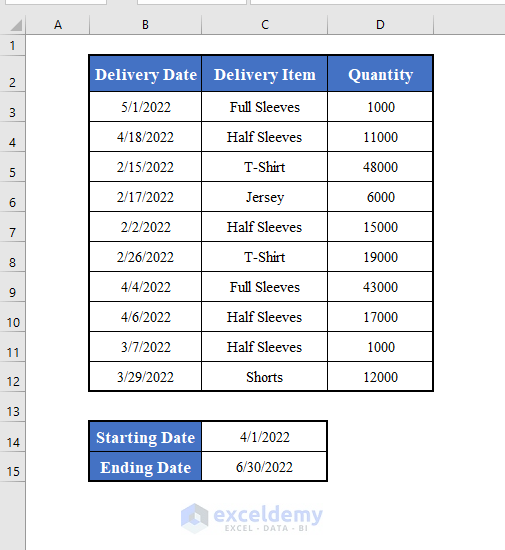
- Our goal is to filter the dataset to include only rows where the Delivery Date falls within this date range.
Step 1 – Capturing Input
- Define the first cell of the dataset (B3).
- Set the starting date (C14) and ending date (C15).
- Specify the field (column number) for filtering (1 for Delivery Date).
Set First_Cell = Worksheets("Sheet1").Range("B3")
Set Starting_Date = Range("C14")
Set Ending_Date = Range("C15")
Field = 1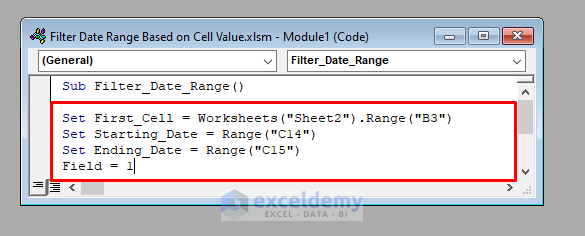
Step 2 – Applying AutoFilter
- Use the AutoFilter method to filter rows based on the date range.
- Combine criteria using an AND operator.
First_Cell.AutoFilter Field:=Field, Criteria1:=">" & Starting_Date, Operator:=xlAnd, Criteria2:="<" & Ending_Date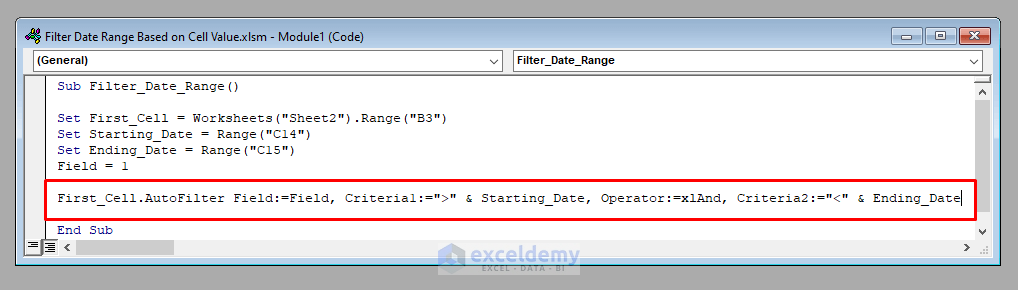
VBA Code
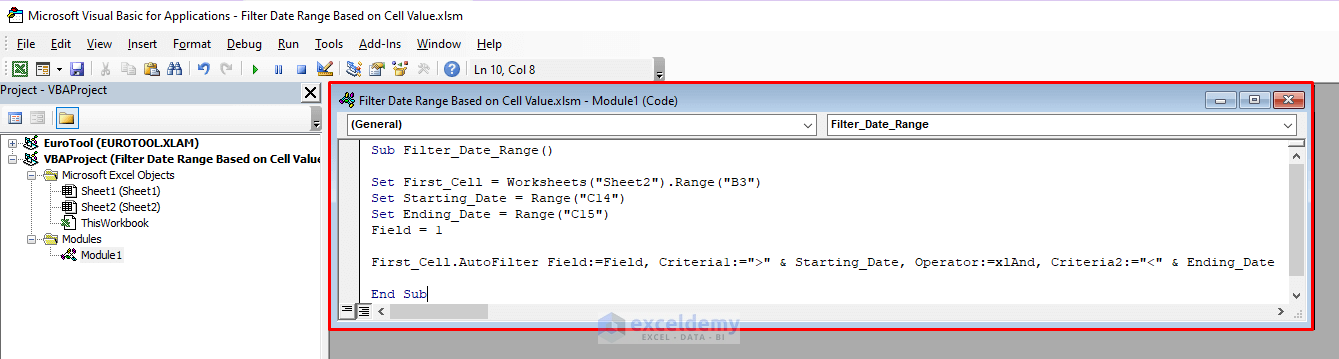
The complete VBA code will be:
Sub Filter_Date_Range()

Set First_Cell = Worksheets("Sheet1").Range("B3")
Set Starting_Date = Range("C14")
Set Ending_Date = Range("C15")
Field = 1

First_Cell.AutoFilter Field:=Field, Criteria1:=">" & Starting_Date, Operator:=xlAnd, Criteria2:="<" & Ending_Date

End Sub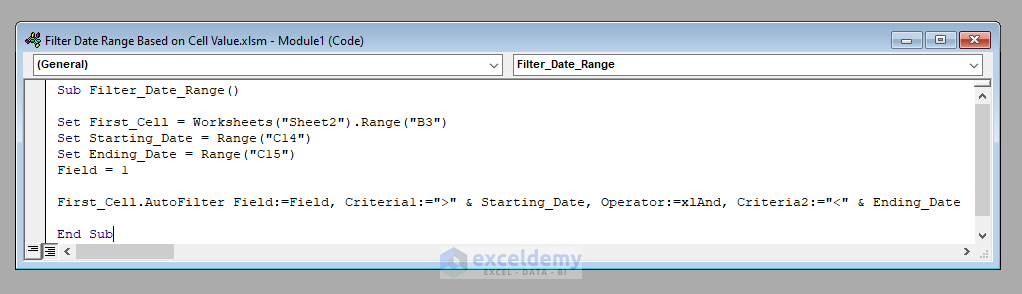
Method 1 – Developing a Macro to Filter the Date Range Based on Cell Value in Excel
- Open the VBA window (ALT + F11).
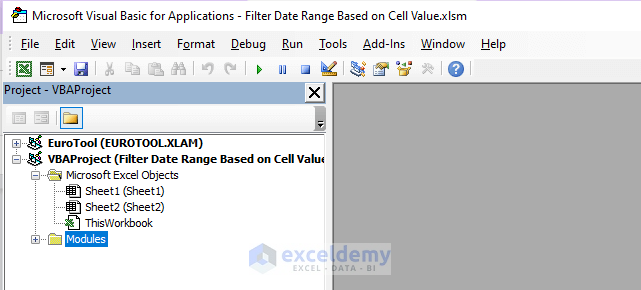
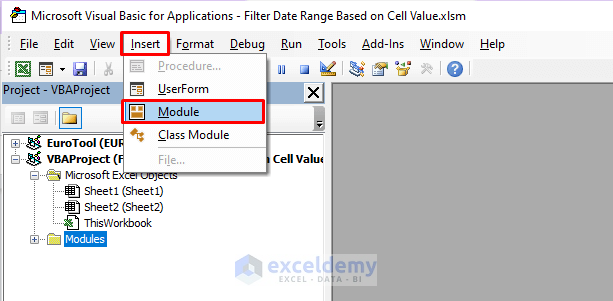
- Insert a new module (go to Insert and select Module).
- Add the VBA code.
- Run the macro using the Run Sub / UserForm tool.
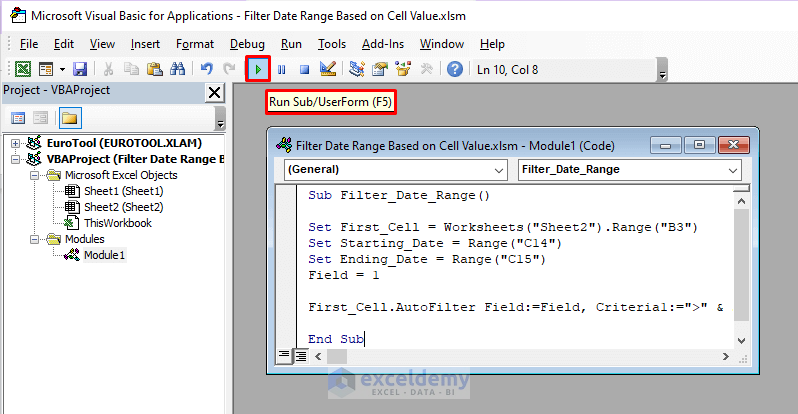
- If the Macro runs successfully, your desired worksheet will display the filtered dataset based on the specified date range.
Method 2 – Building a UserForm to Filter the Date Range Based on Cell Value in Excel
You can create a UserForm to filter a date range based on specific cell values using VBA. Follow the step-by-step procedure below:
Step 1 – Opening the VBA Window
- Press ALT + F11 to open the Visual Basic window.
Step 2 – Inserting a New UserForm
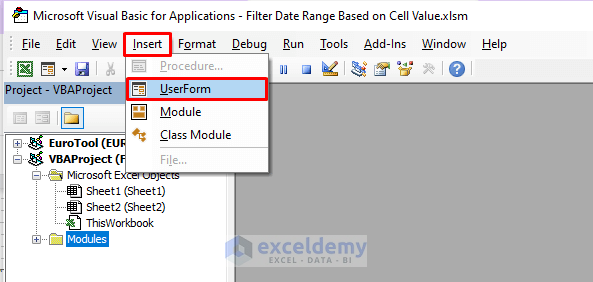
- Go to Insert and select UserForm in the toolbar.
- Click on UserForm to create a new UserForm (named UserForm1).
- The Toolbox will open alongside the UserForm.
Step 3 – Adding Tools to the UserForm
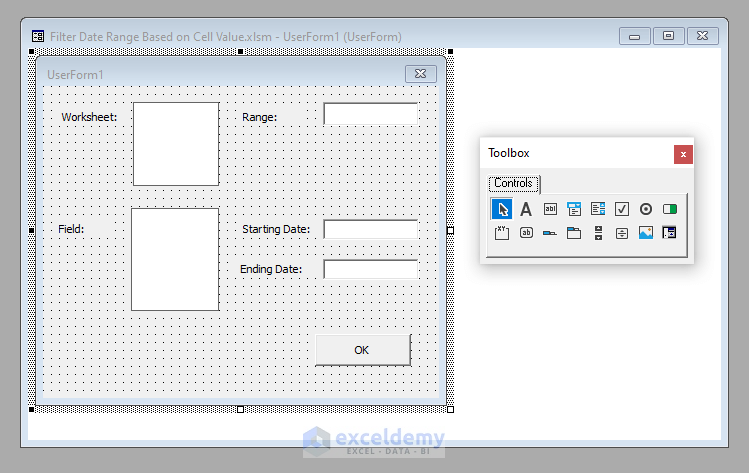
- Drag and drop the following tools from the Toolbox onto the UserForm:
- 5 Labels
- 2 ListBoxes
- 3 TextBoxes
- 1 CommandButton
- Customize the display of Labels and the CommandButton as needed.
Step 4 – Adding Code to ListBox1
- Double-click on ListBox1 to open the private sub-procedure called ListBox1_Click.
- Insert the below VBA code for handling ListBox1 events.
For i = 0 To UserForm1.ListBox1.ListCount - 1
    If UserForm1.ListBox1.Selected(i) = True Then
        Worksheets(UserForm1.ListBox1.List(i)).Activate
    End If
Next i

On Error GoTo LB1

Range(UserForm1.TextBox1.Text).Select

UserForm1.ListBox2.Clear

i = 1
While Range(UserForm1.TextBox1.Text).Cells(1, i) <> ""
    UserForm1.ListBox2.AddItem i
    i = i + 1
Wend

LB1:
    Error_Value = 240
Step 5 – Adding Code to TextBox1, TextBox2, and TextBox3
- Double-click on each TextBox (TextBox1, TextBox2, TextBox3) to open their respective private sub-procedures.
- Insert the below VBA code for handling changes in TextBox values.
On Error GoTo TB1

Range(UserForm1.TextBox1.Text).Select

UserForm1.ListBox2.Clear

i = 1
While Range(UserForm1.TextBox1.Text).Cells(1, i) <> ""
    UserForm1.ListBox2.AddItem i
    i = i + 1
Wend

TB1:
    Error_Value = 240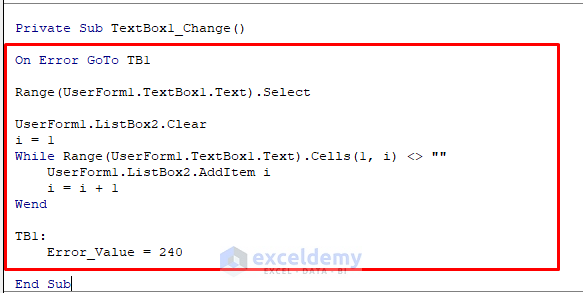
On Error GoTo TB2

Range(UserForm1.TextBox2.Text).Select

TB2:
    Error_Value = 240
On Error GoTo TB3

Range(UserForm1.TextBox3.Text).Select

TB3:
    Error_Value = 240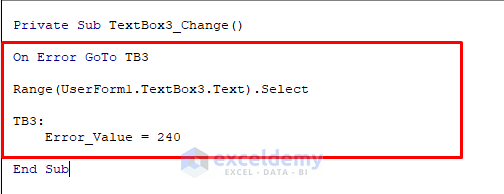
Step 6 – Adding Code to CommandButton1
- Double-click on CommandButton1 to open the private sub-procedure called CommandButton1_Click.
- Insert the below VBA code for handling the button click event.
Set First_Cell = ActiveSheet.Range(UserForm1.TextBox1.Text)
Set Starting_Date = ActiveSheet.Range(UserForm1.TextBox2.Text)
Set Ending_Date = ActiveSheet.Range(UserForm1.TextBox3.Text)
For i = 0 To UserForm1.ListBox2.ListCount
    If UserForm1.ListBox2.Selected(i) = True Then
        Field = UserForm1.ListBox2.List(i)
    End If
Next i

First_Cell.AutoFilter Field:=Field, Criteria1:=">" & Starting_Date, Operator:=xlAnd, Criteria2:="<" & Ending_Date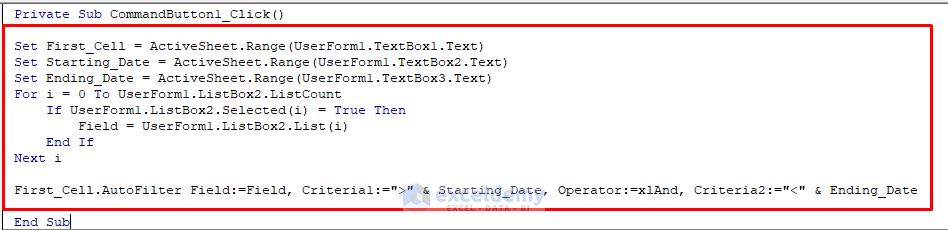
Step 7 – Inserting Code for Running the UserForm
- Create a new module from the toolbar.
- Insert the below VBA code for running the UserForm.
Sub Run_UserForm()

UserForm1.Caption = "Filter Date Range Based On Cell Value"

UserForm1.ListBox1.BorderStyle = fmBorderStyleSingle
UserForm1.ListBox2.BorderStyle = fmBorderStyleSingle

UserForm1.ListBox1.ListStyle = fmListStyleOption
UserForm1.ListBox2.ListStyle = fmListStyleOption

For i = 1 To Sheets.Count
    UserForm1.ListBox1.AddItem Sheets(i).Name
    If Sheets(i).Name = ActiveSheet.Name Then
        UserForm1.ListBox1.Selected(i - 1) = True
    End If
Next i

UserForm1.TextBox1.Text = Selection.Address

UserForm1.ListBox2.Clear

i = 1
While Range(UserForm1.TextBox1.Text).Cells(1, i) <> ""
    UserForm1.ListBox2.AddItem i
    i = i + 1
Wend

Load UserForm1
UserForm1.Show

End Sub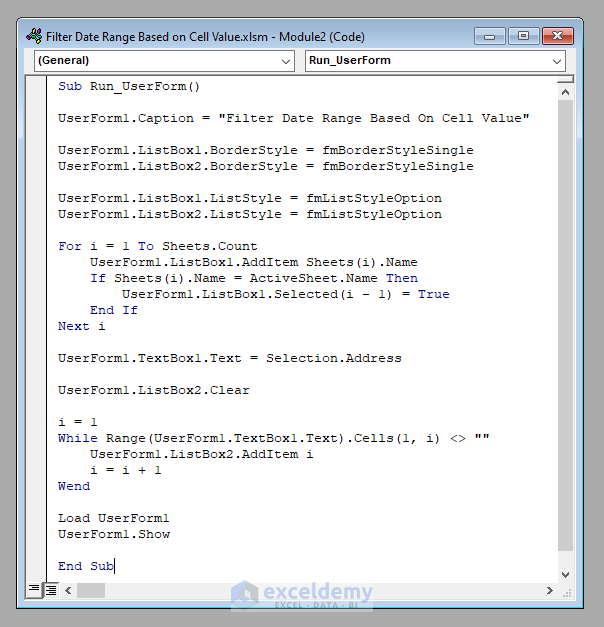
Step 8 – Running the UserForm
- Execute the macro called Run_UserForm.
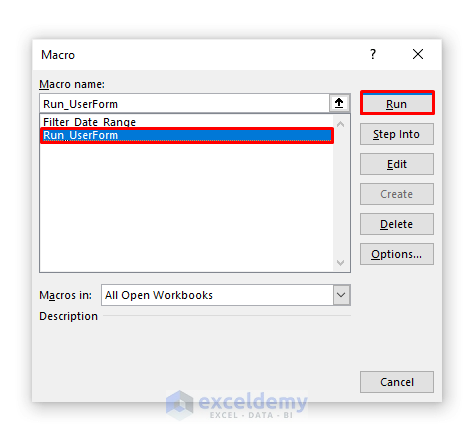
- The UserForm, named Filter Date Range Based On Cell Value, will appear.
- Enter the necessary values (e.g., worksheet, cell references, field number, starting date, ending date).
- We’ve selected Sheet1 as the worksheet, cell B3 as the first cell of the range, 1 as the field, cell C14 as the starting date, and cell C15 as the ending date.

- Click OK.
- The filtered dataset will be displayed in your desired worksheet based on the specified date range.
Things to Remember
- We’ve used two AND-type criteria to filter the dataset using a single field. You can customize this further by using different fields or applying OR-type operations (using xlOr instead of xlAnd). Refer to the AutoFilter method of VBA for more details.
Download Practice Workbook
You can download the practice workbook from here:
<< Go Back to Date Filter | Filter in Excel | Learn Excel
Get FREE Advanced Excel Exercises with Solutions!
