Why Enable Editing?
Enabling editing allows you to modify the workbook, even if it was initially set to prevent further changes. Creators or users may lock workbooks to protect data, formats, prevent data loss, or unauthorized alterations.
Remember that these scenarios may vary based on the specific Excel version you’re using.
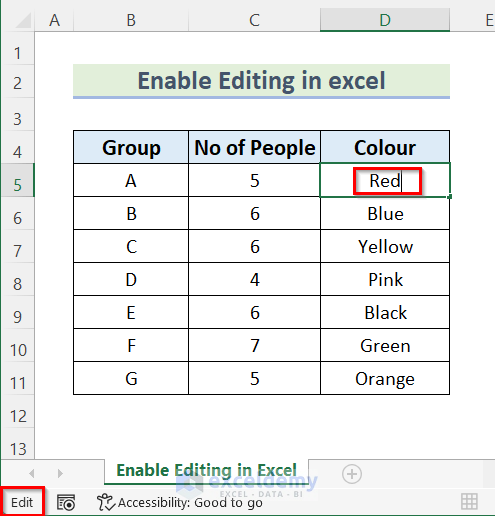
Scenario 1: Enabling Edit Mode
You can easily make changes to the content of a cell right from the formula bar using the Edit mode. There are three ways to enter Edit mode:
- Double-Clicking a Cell: Double-click on a cell to activate Edit mode.
- Pressing the F2 Key: Select a cell and press the F2 key on your keyboard.
- Editing via the Formula Bar: Click on the formula bar at the top of the Excel window to directly edit the cell’s content.
However, Edit mode may not always be enabled. If you encounter a dataset that you cannot edit, follow these steps to turn on Edit mode:
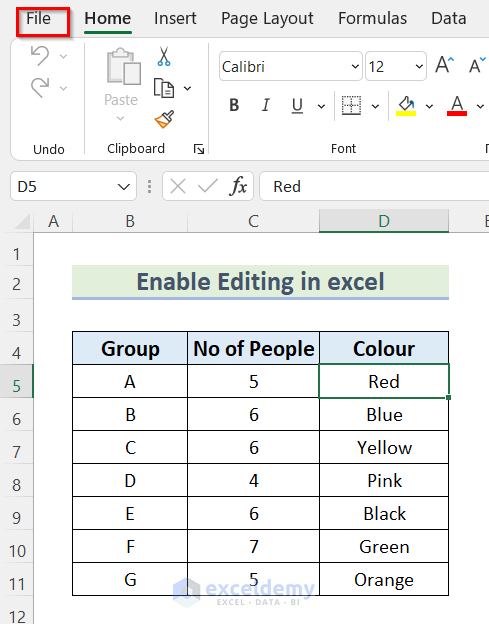
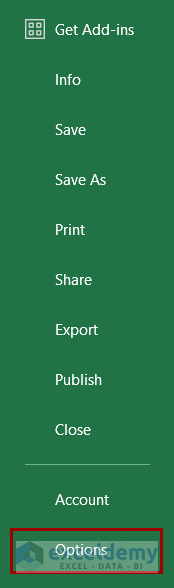
- Click on the File tab.
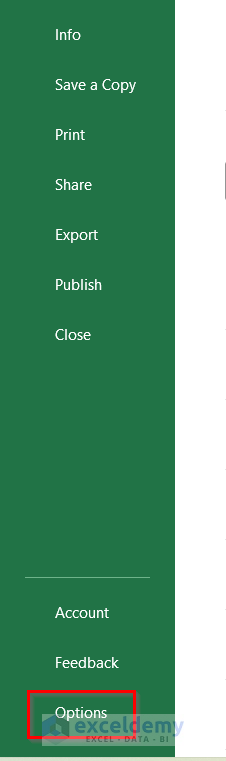
- Then, click on Options.
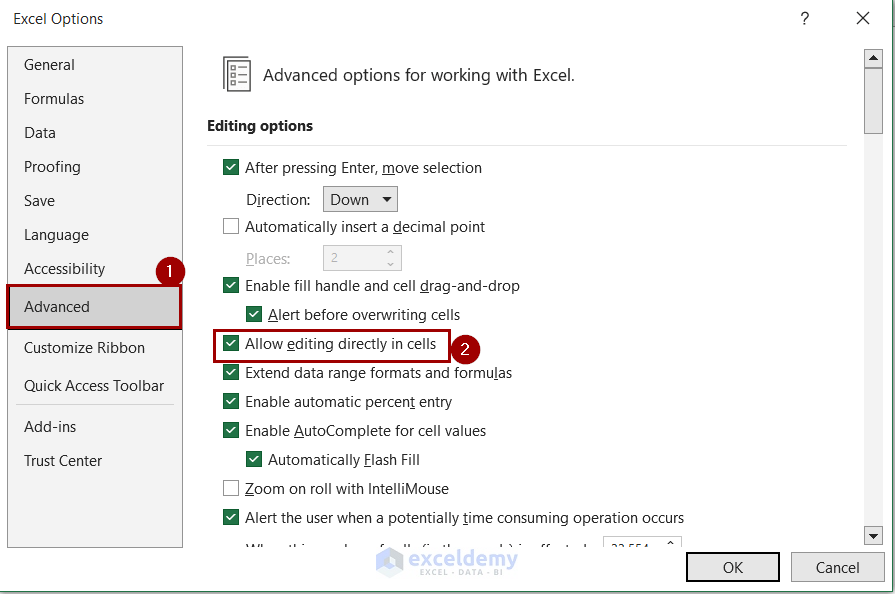
- The Excel Options dialog box will appear.
- Go to the Advanced section.
- Under Editing options, enable Allow editing directly in cell.
- Press OK.
- Now, you can edit the file by clicking on any cell.
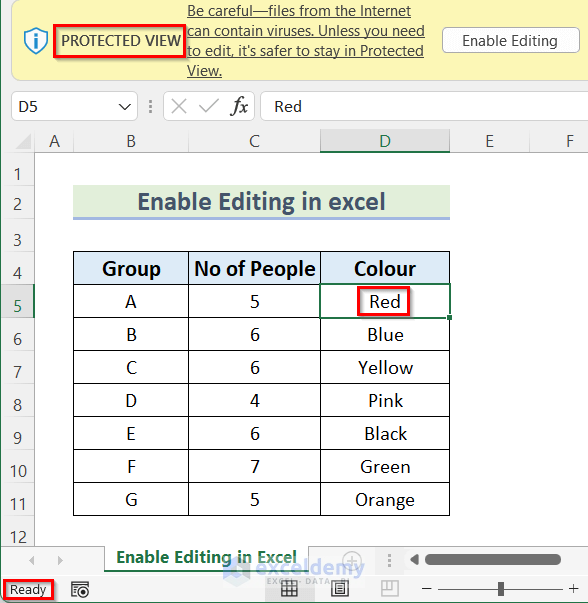
Scenario 2: Enabling Editing in Excel Protected View
Protected View is a security feature that helps prevent files from opening and executing potentially harmful content. It provides an extra layer of protection for files obtained from untrusted sources. However, it’s essential to disable it with caution.
When you open a protected Excel file, you’ll see a Protected View message at the top of the formula bar. Here are three ways to enable editing in Excel while in Protected View:
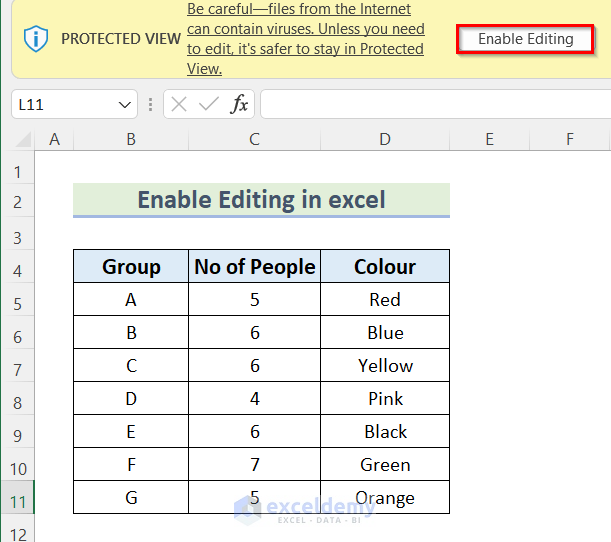
- From the Warning Message:
- Click on the Enable Editing button in the warning message at the top of the worksheet.
-
- After that, you can edit your Excel file as needed.
- Using the Info Feature:
- Look for the warning message at the top of the worksheet.
- Click on the File tab.
- Go to the Info bar and click on Enable Editing.

- If prompted to open the file as read-only, choose No.

-
- Now, you can edit your file as desired.
- Using Trust Center Settings
To disable the security warning message permanently from the Trust Center settings in Excel, follow these steps:
-
- Click on the File tab.

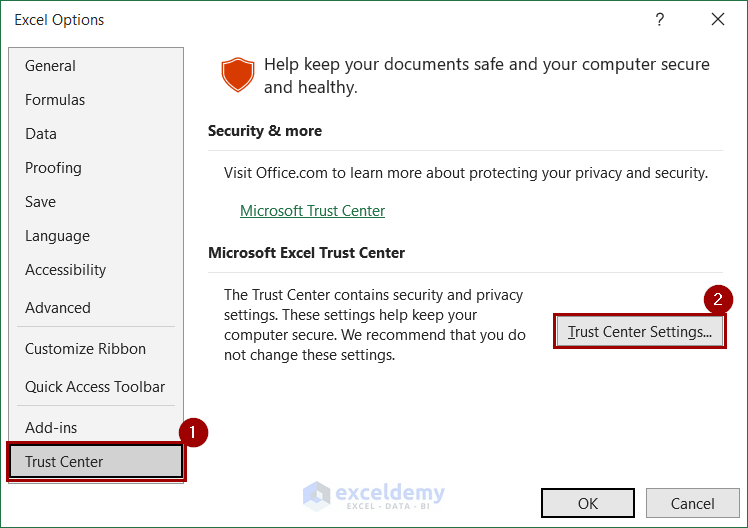
- Select Options from the backstage view.
- In Excel Options window, choose the Trust Center tab on the left.
- Click on Trust Center Settings on the right.
- Click on the File tab.
-
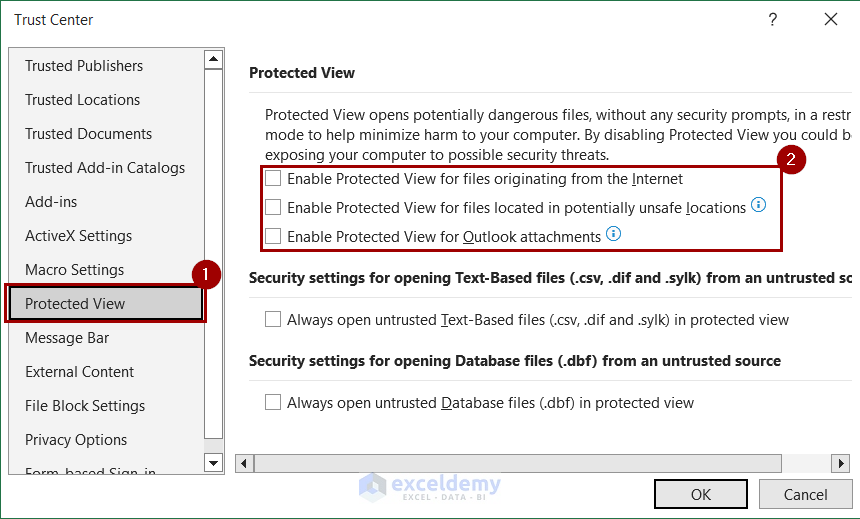
- In the Trust Center, navigate to the Protected View tab.
- Uncheck all the options under the Protected View section.
- Press OK and close the Options box.
Now, when you open a workbook, you’ll be able to edit it without encountering the warning message.
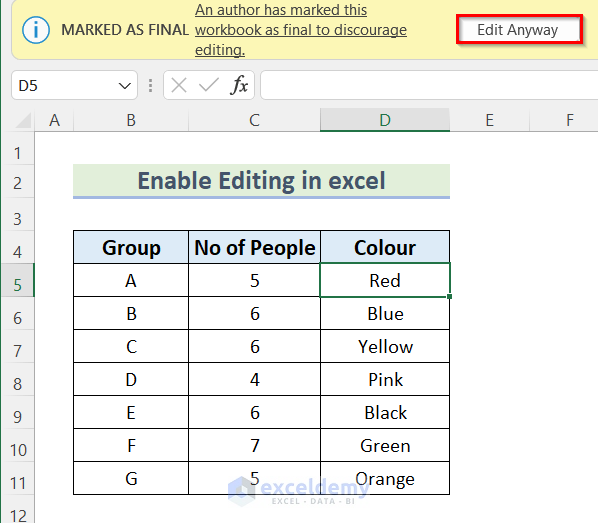
Scenario 3: Enabling Editing for “Marked as Final” Excel Files
“Marked as Final” files are typically considered complete, and the creator doesn’t intend for others to make any changes. However, there are situations where you need to bypass this restriction and edit the file again.
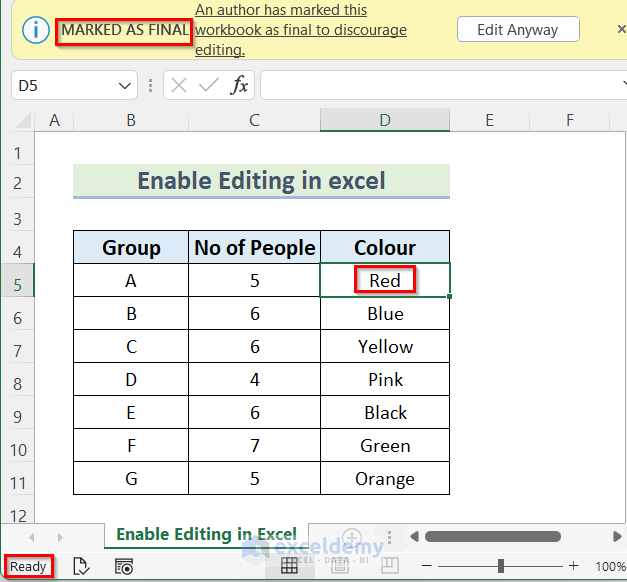
- Identifying the “Marked as Final” Warning:
- When you open a Marked as Final Excel file, you’ll see a warning message at the top of the worksheet indicating that the file is marked as final.
- Enabling Editing:
- Click on the Edit Anyway button in the warning message.
- By doing so, you override the read-only status and gain the ability to edit the file.
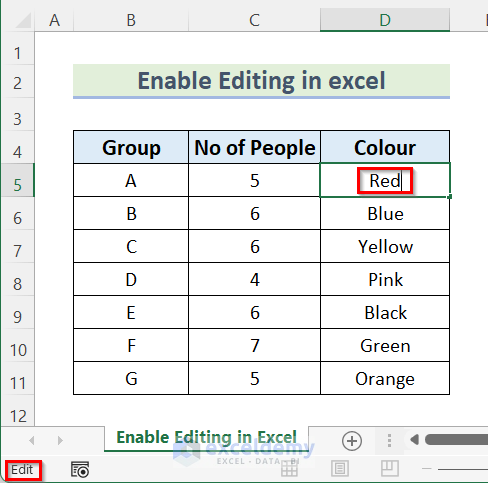
- Edit Your File:
- Now, you can make changes to the content as needed.
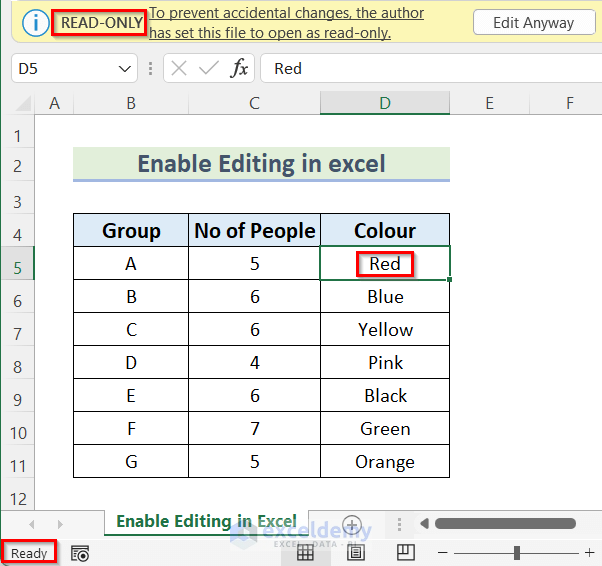
Scenario 4: Enabling Editing for Read-Only Excel Files
“Read-Only” files are similar to “Marked as Final” files. They are saved with restrictions to prevent accidental changes. However, there are times when you still need to edit them.
- Identifying the “Read-Only” Warning:
- When you open a Read-Only Excel file, you’ll see a warning message at the top of the worksheet indicating that the author saved the file as read-only.
- Enabling Editing:
- Click on the Edit Anyway button in the warning message.
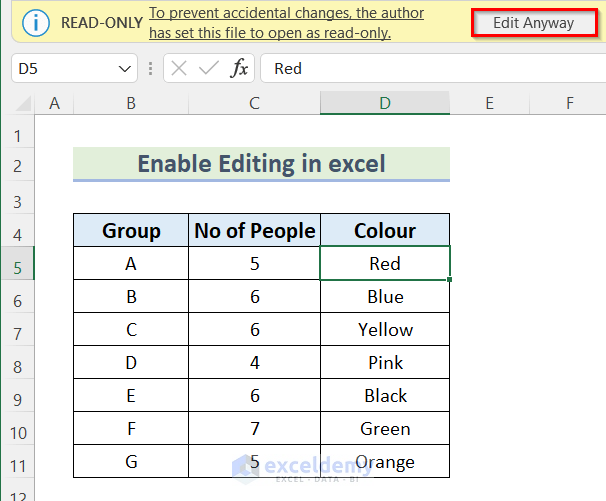
-
- This action allows you to enter Edit mode and modify the cells.

Scenario 5: Using a Password to Enable Editing for Password-Protected File
Creators or users often encrypt files with passwords to restrict general access. In Excel, there are two types of passwords: one for opening the file and another for protecting the structure of the workbook. To modify a workbook, you’ll need both passwords if the file contains both.
Follow these steps to enable editing for a password-protected Excel file:
- Open the password-protected Excel file.
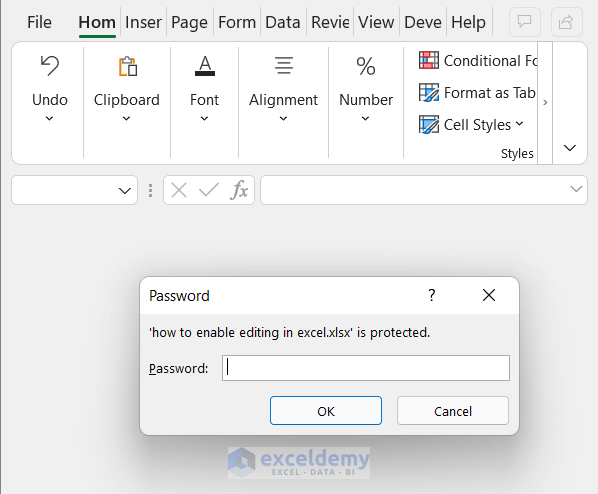
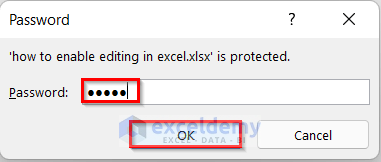
- When prompted, enter the password for the file (e.g., “12345”).
- Click OK.
- If the file also has a modified password, another dialog box will appear, asking for the modified password.
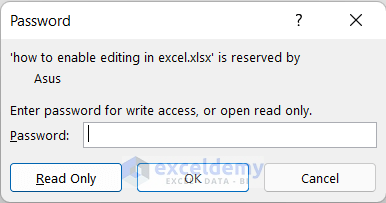
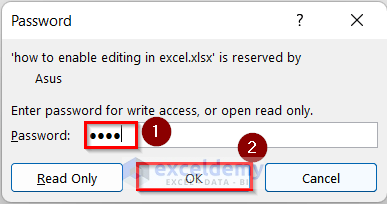
- Enter the modified password (e.g., “6789”).
- Click OK.
You can now edit your Excel file.

Download Practice Workbook
Frequently Asked Questions
- How do I allow everyone to edit in Excel? To allow everyone to edit an Excel file, you need to share the workbook. Follow these steps:
- Click “Share” in the top-right corner of the Excel interface.
- Set permissions accordingly by checking or unchecking the “Allow editing” option based on whether you want users to view or edit the file.
- What is the shortcut key for enabling editing in Excel? The shortcut key to access edit mode is F2. Pressing F2 will take you to the editing mode from the active cell.
- How do I lock editing in Excel? You can lock editing for specific cells using the following steps:
- Select the cells you want to lock.
- Press Ctrl+1 to open the “Format Cells” dialog.
- Go to the “Protection” tab and check the “Locked” box.
- Click “OK.” This will prevent further edits to the locked cells.<!– Provide a clear and informative disclaimer about the limitations of my knowledge and the need for users to verify information independently. –> Please note that my knowledge is based on information available up to a certain point, and I recommend verifying any critical instructions independently.
Related Articles
- How to Protect a Worksheet in Excel
- How to Press Enter in Excel Without Changing Cells
- Making Same Change to Multiple Worksheets in Excel
- Excel Data Types: Everything You Need to Know
<< Go Back to Entering and Editing Data in Excel | Learn Excel
Get FREE Advanced Excel Exercises with Solutions!
