Step 1: Display the Countdown Timer
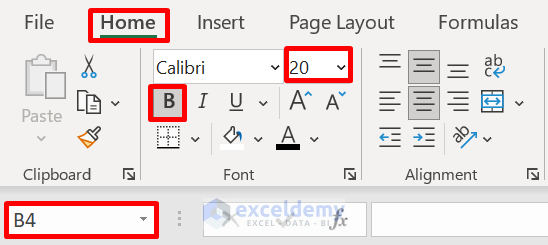
- Select cell B4.
- Go to the Home tab.
- From the Font group, pick the B icon to bold.
- Set the font size to 20.
- Click the All border symbol.
- Choose the Blue Lighter 80% as the Fill Color and the Font Color as Black.
- From the Alignment group, select Middle and Center.
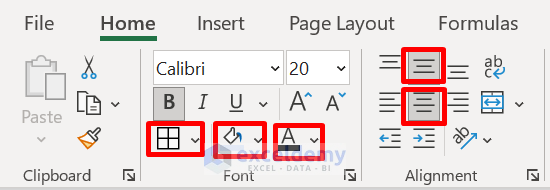
- We will get the intended clock as below.

Read More: How to Use VBA Code for Creating Digital Clock in Excel
Step 2: Build a Macro to Start the Countdown
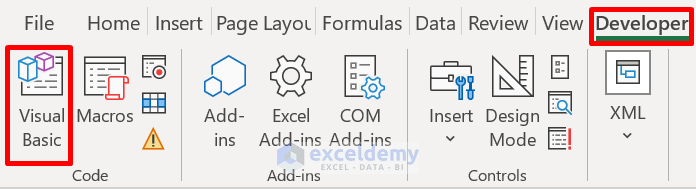
- Go to the Developer tab, followed by Visual Basic.
- Click the Insert and then Module to get a Module Box.
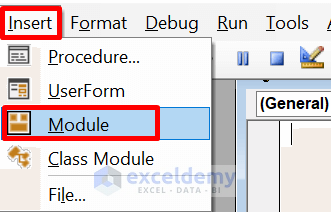
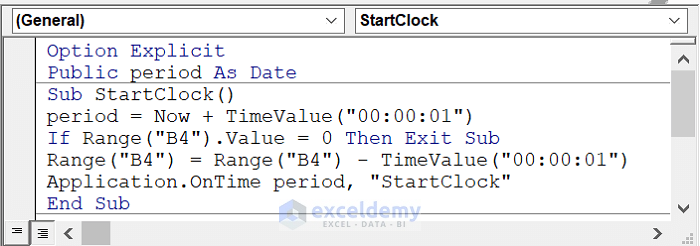
- Enter the following code in the Module Box:
Public period As Date
Sub StartClock()
period = Now + TimeValue("00:00:01")
If Range("B4").Value = 0 Then Exit Sub
Range("B4") = Range("B4") - TimeValue("00:00:01")
Application.OnTime period, "StartClock"
End Sub- In this case, we titled StartClock as the Procedure Name. This Macro is responsible for starting the Timer App.
- Press the Ctrl+S key.
Read More: How to Create Timer Event with VBA in Excel
Step 3: Establish Another Macro to Reset the Timer
- Open the same Module.
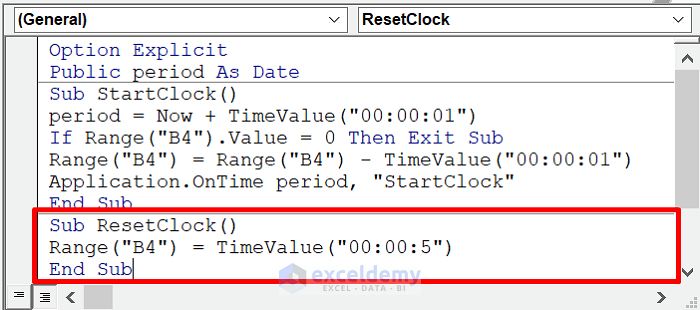
- Enter the following code in the Module Box:
Sub ResetClock()
Range("B4") = TimeValue("00:00:5")
End Sub
- We labeled ResetClock as the Procedure Name. The Macro here can reset the Clock.
- Press Ctrl+S.
Step 4: Generate the Last Macro to Stop
- Open the Module. In our study, it is called Module1.
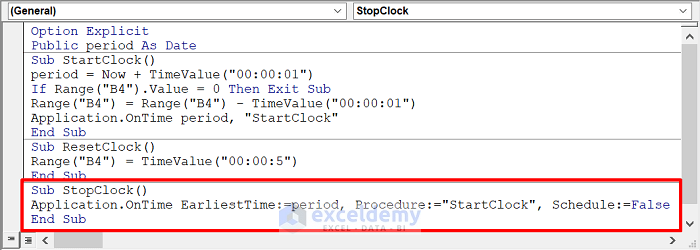
- Enter the following code in the Module Box to create another Macro titled StopClock for this demo:
Sub StopClock()
Application.OnTime EarliestTime:=period, Procedure:="StartClock", Schedule:=False
End Sub- We used this Macro to stop the Timer App.
- Press the Ctrl+S key.
Step 5: Set Buttons to Use the Timer
- Go to the Developer tab.
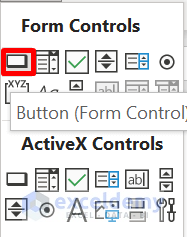
- From the Controls group, click the Insert icon.
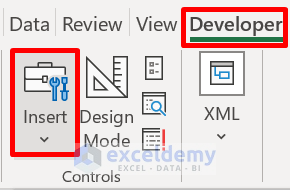
- A tiny bar will appear.
- From the Form Controls, choose the Button symbol.
- Draw a rectangle right below the B4 cell.
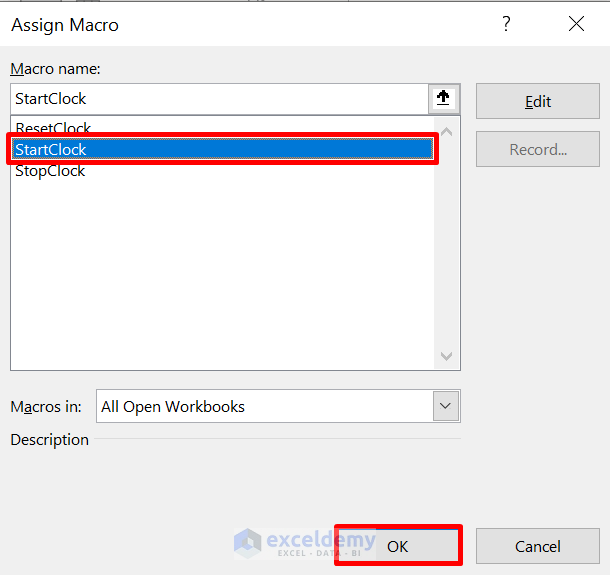
- The Assign Macro window will pop up.
- Choose the StartClock procedure, followed by OK.
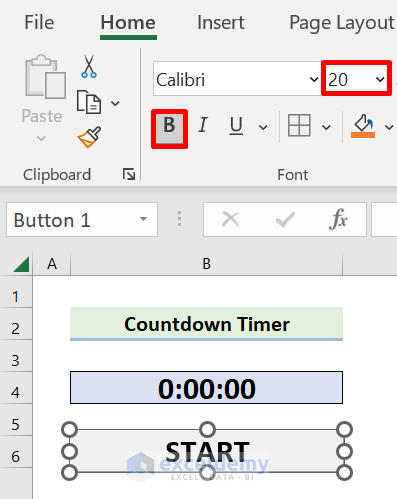
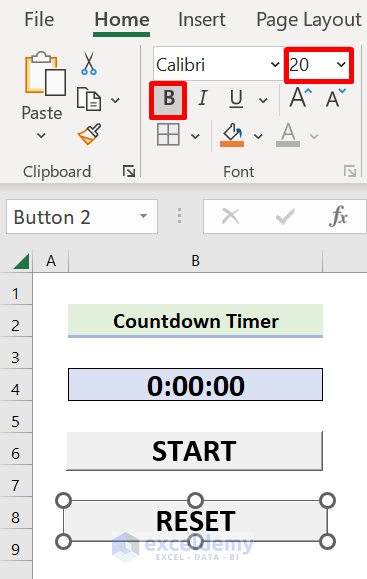
- Rename the button. In this case, START.
- Select the text, bold it, and increase its size to 20.
- Create another button for the reset purpose.
- Draw and place this button below Button 1.
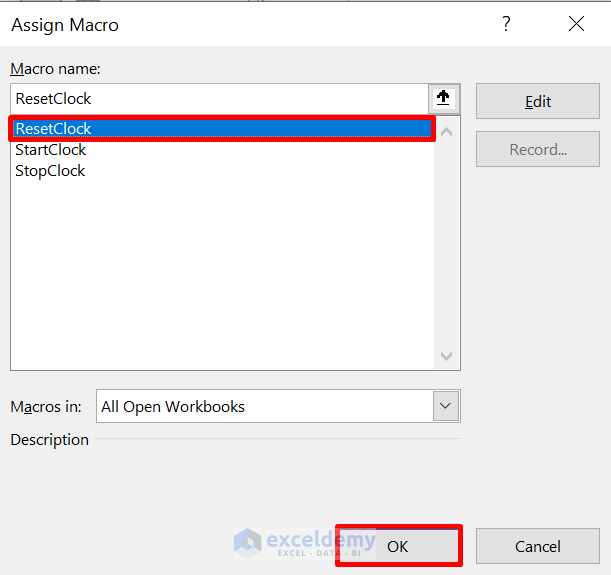
- The Assign Macro will come up.
- Choose the Macro titled ResetClock, followed by OK.
- Rename the button. In this scenario, RESET.
- Bold the text and raise its size to 20.
- Construct an additional stop button.
- Draw this button and place it beneath Button 2.
- The Assign Macro dialogue box will appear.
- Select the StopClock sub-procedure, followed by OK.
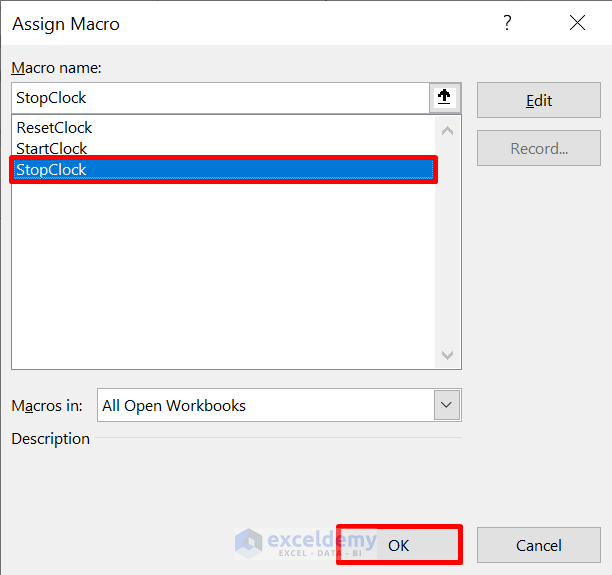
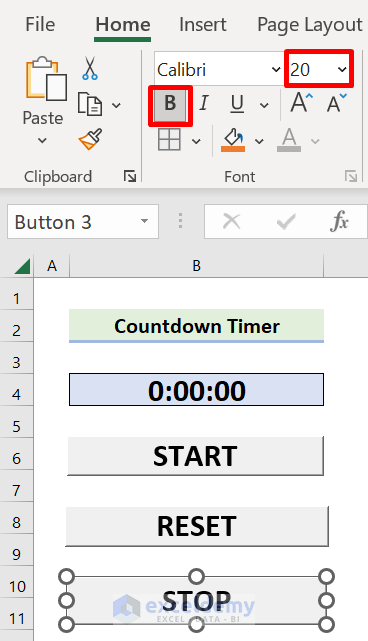
- Change the button’s name. In this situation, STOP.
- Pick the text, bold it, and make its size 20.
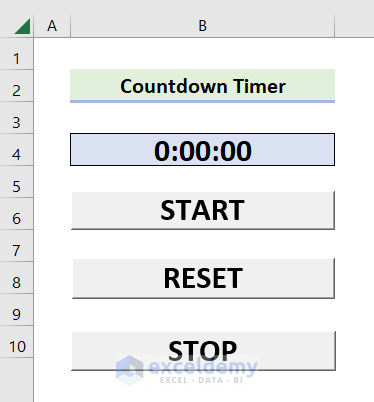
- The Countdown Timer will display like below.
Step 6: Test the Countdown Timer
- Click the RESET button.
- Press START.
- Click the STOP button.
- Reset the Countdown Timer again.
- Click the START button.
- The Countdown Time is working perfectly.
Download the Practice Workbook
Download the workbook to practice.
Related Articles
- Create Analog Clock in Excel
- How to Make a Clock Chart in Excel
- How to Make a Running Clock in Excel

