What Are Data Types in Excel?
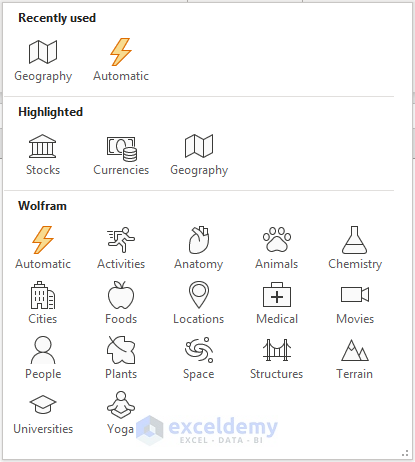
Data Types in Excel refer to various categories of information, each with specific details. By utilizing the Data Types tool, you can enrich your Excel sheets without needing to open a web browser. For instance, you can convert a word or phrase into a data type (e.g., a state as a geography data type) and instantly extract relevant information such as population, households, and area.
The image below shows the available data types in Excel 365.
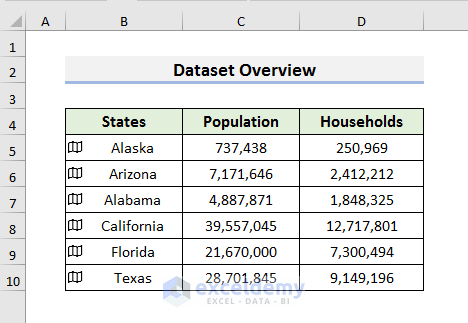
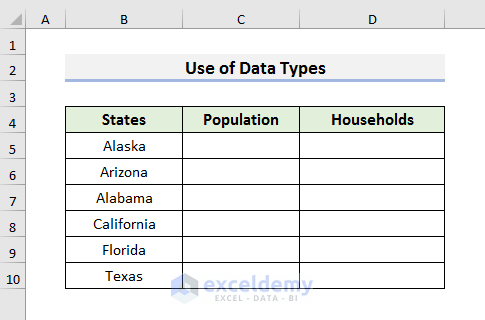
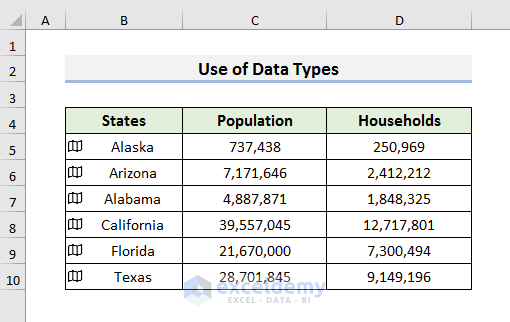
Dataset Overview
We’ll use a dataset containing information about some states’ populations and households to demonstrate the steps to add data types to the Excel Ribbon.
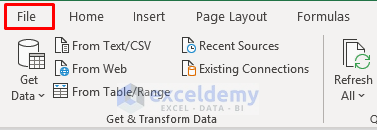
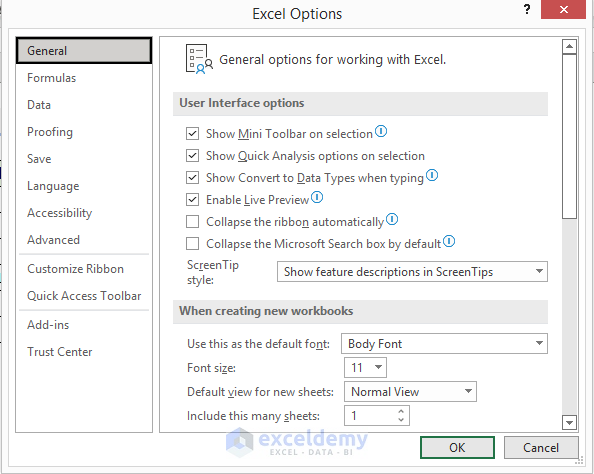
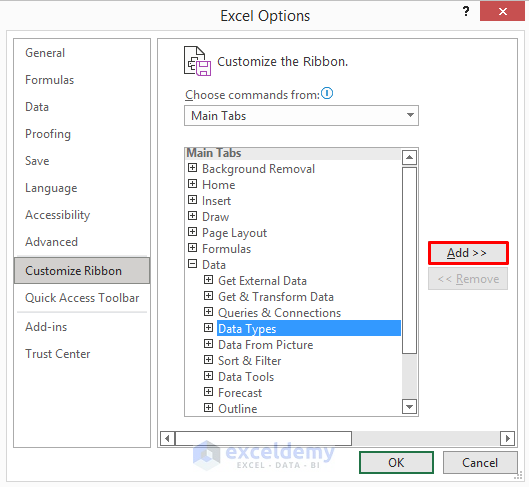
Step 1 – Open the Excel Options Window
- Click the File tab in the ribbon.
- Select Options.
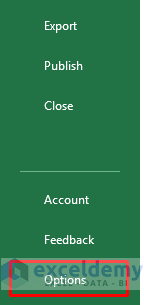
- This opens the Excel Options window.
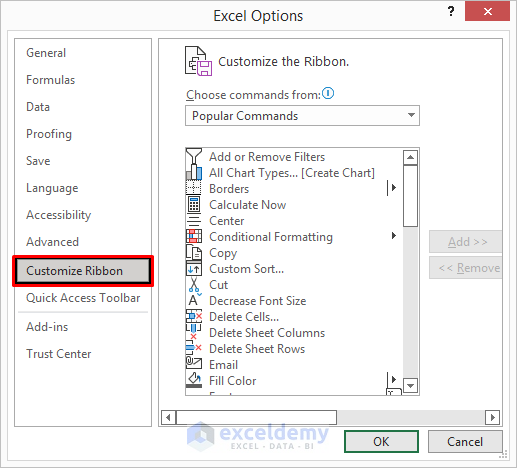
Step 2 – Customize the Ribbon
- In the Excel Options window, choose Customize Ribbon.
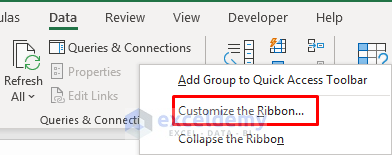
- Alternatively, right-click on a blank space in the ribbon and select Customize the Ribbon from the Context Menu.
Step 3 – Add Data Types to the Selected Tab
- Under Choose commands from, select Main Tabs.
- Click the plus (+) icon next to the Data tab.
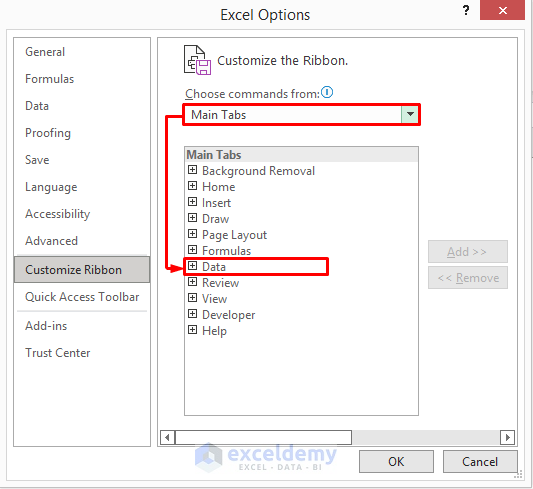
- Add Data Types to the ribbon.
Step 4 – Close the Excel Options Window
- Click OK to close the Excel Options window.

- Navigate to the Data tab and verify the presence of Data Types.

Using Data Types in Excel
We will add details about the population and households of some states. You can see the dataset below.
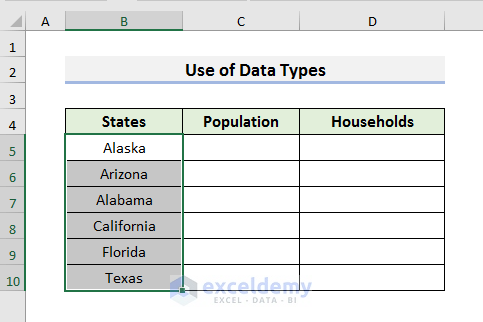
- Select Words for Data Types
- Choose the words or phrases where you want to apply data types (e.g., select the range B5:B10).
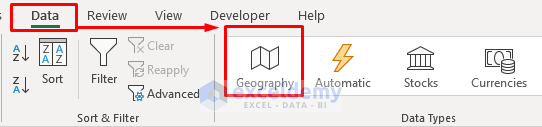
- Select Geography Data Type
- Go to the Data tab.
- Choose Geography as the data type.
-
- An Insert Data icon will appear.
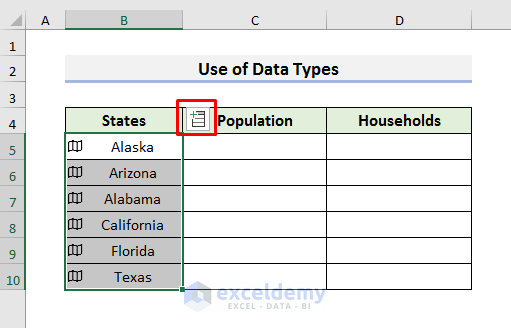
- Add Specific Fields
- Click the Insert Data icon.
- Select the field you want to add to your dataset (e.g., Population).
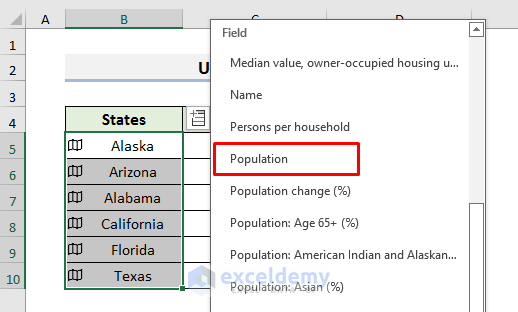
-
- The results will populate accordingly.
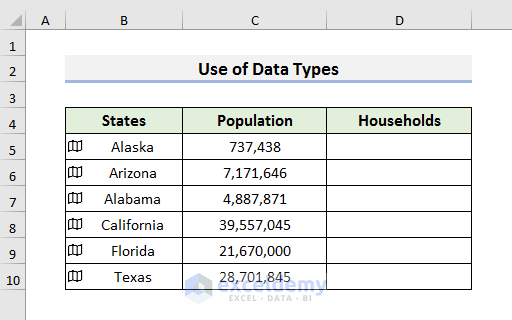
- Repeat for Other Fields
- Use the Insert Data icon again to add details about other fields (e.g., Households).
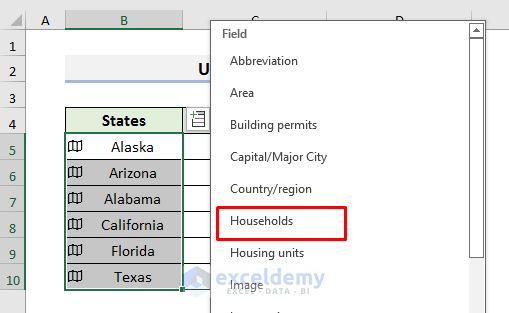
- In the end, you will see results:
Read More: How to Show the Developer Tab on the Ribbon
Additional Information about Data Types
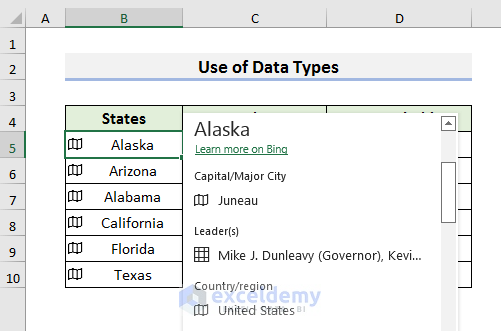
- Each state has a Show Card icon at the start.
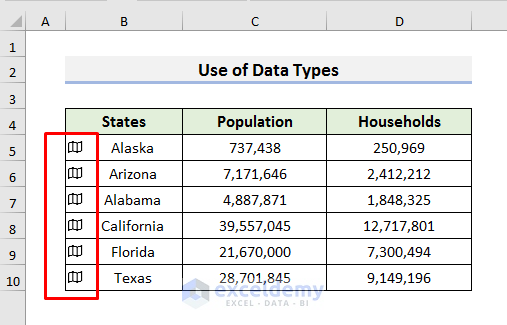
- Clicking the Show Card icon reveals additional state-specific information.
- To update details, go to the Data tab and select Refresh All.

- If you select a cell, you will see the formula related to the cell in the formula bar.

Things to Remember
- Ensure you have an internet connection, as the data type tool collects information from the web.
- If you can’t find the Data Types option, consider repairing your Microsoft Excel application.
Download Practice Book
You can download the practice workbook from here:
Related Articles
- How to Restore Ribbon in Excel
- How to Use Excel VBA to Customize Ribbon
- How to Add Custom Ribbon Using XML in Excel
<< Go Back to Excel Ribbon | Excel Parts | Learn Excel
Get FREE Advanced Excel Exercises with Solutions!

Thank you for sharing this information.
My query is whether datatype option under Data Tab in Excel is available on offline version of Excel or only on online version.
Hello ASRA,
The Data Type option in the Data tab in Microsoft Excel is available in both the online and offline versions of Excel.
The offline version of Microsoft Excel is part of the Microsoft Office suite, which can be purchased and installed on your computer. Once you have installed Microsoft Office, you can access Microsoft Excel from the start menu or by double-clicking on an existing Excel file on your computer. The Data Type option in the Data tab will be available in the Excel application after installation. I hope this helps.
Regards,
Yousuf Khan (ExcelDemy Team)
Hi Yusuf,
Unfortunately, this is not working.
I have ms office Home and student 2019 but when I added the data types option from the ribbon it’s not showing the stock/ geography option, rather nothing is coming.
Do I need to purchase anything separately for this?
Hello BUAN,
The Data Types option is not available for Excel 2019 version.
It is only available for Excel for Microsoft 365, Excel for Microsoft 365 for Mac, and Excel for the web.
You need to buy a subscription to Microsoft 365 to use these options.
If you have any further queries, kindly post them on our Exceldemy Forum.
Regards
Exceldemy Team