Method 1 – Save Excel File as Zip File
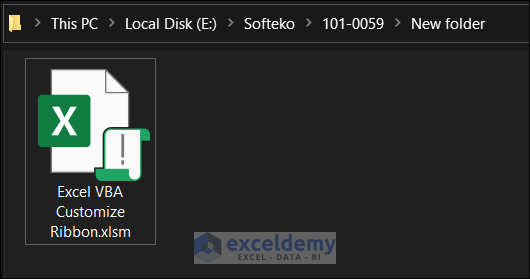
Change the extension of the Excel file. We have a sample Excel file with the extension xlsm. We want to change it to zip.
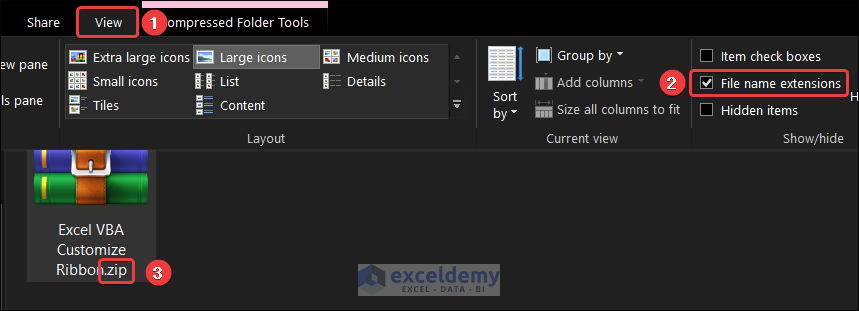
- Click on the View panel and tick the checkbox of File name extensions.
- The file extension will be visible in the file name.
- Rename the file by changing the extension to zip.
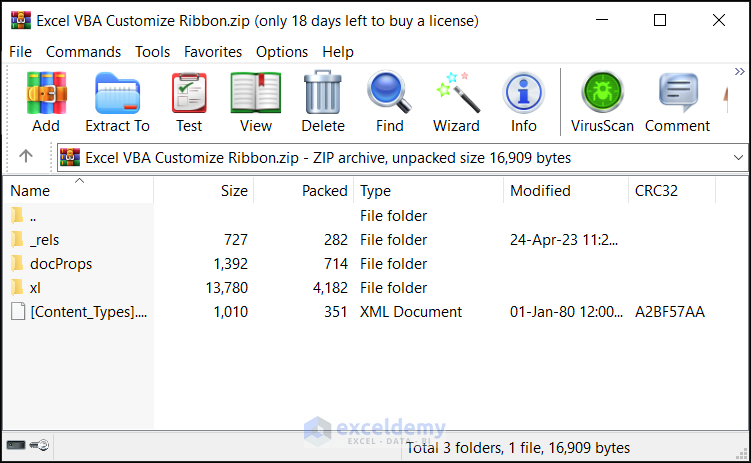
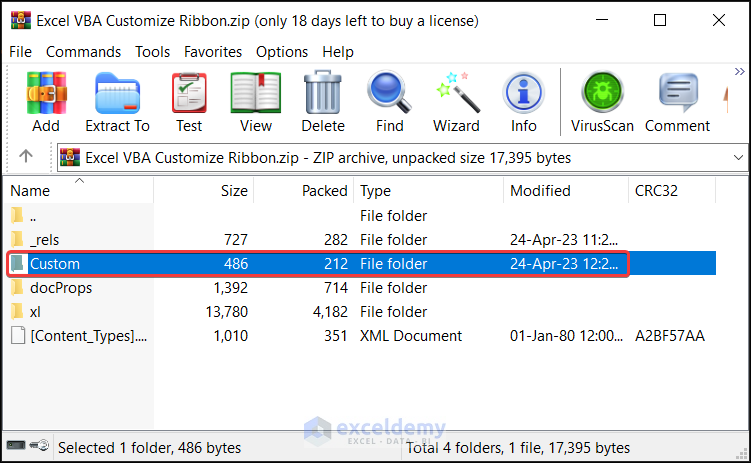
- Double-click the zip file to see the folders inside it. The zip file should contain _rels, docProps, and xl folders.
Method 2 – Create an XML File to Add New Groups, Tabs, and Buttons
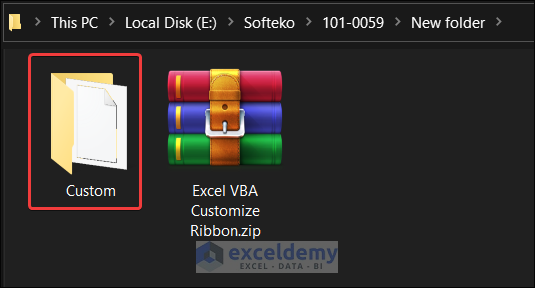
- Create a new folder and name it as you like. We named our folder Custom.
- Create a text file inside the folder and change the extension to xml. Our created file is Custom_Rib.xml.
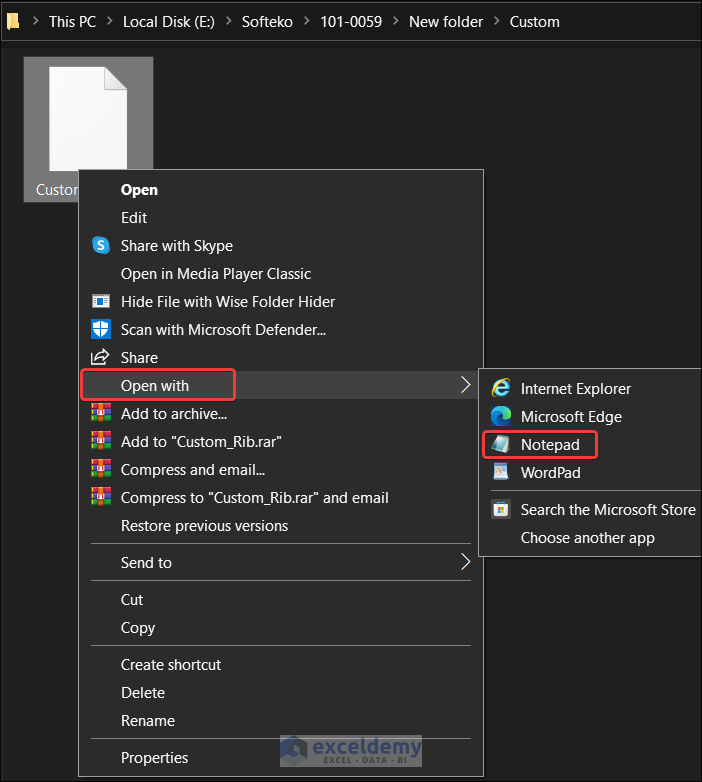
- Open the file with Notepad.
- Paste the following code. This code will create a custom tab with two groups, each containing two buttons.
<customUI xmlns="http://schemas.microsoft.com/office/2009/07/customui">
<ribbon>
<tabs>
<tab id = "first_tab" label = "Custom Tab">
            <group id = "group1" label = "First Group">
                        <button id = "button1" label = "Button 1"/>
                        <button id = "button2" label = "Button 2"/>
            </group>
            <group id = "group2" label = "Second Group">
                        <button id = "button3" label =  "Button 3"/>
                        <button id = "button4" label = "Button 4"/>
            </group>
</tab>
</tabs>
</ribbon>
</customUI>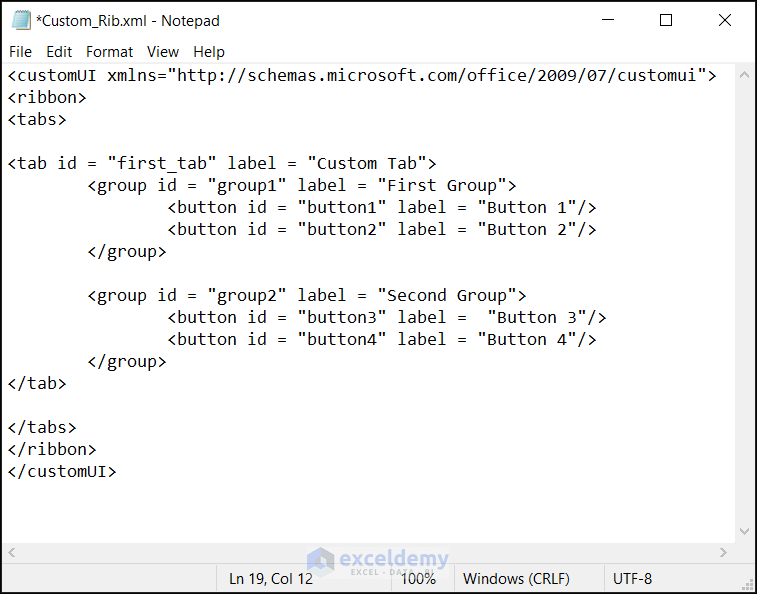
- Save the file by pressing Ctrl+S.
- Drag and drop the Custom folder to the zip file to complete this step.
Method 3 – Edit .rels File and Add Relationship to Excel File
- Copy the _rels folder from the zip file.
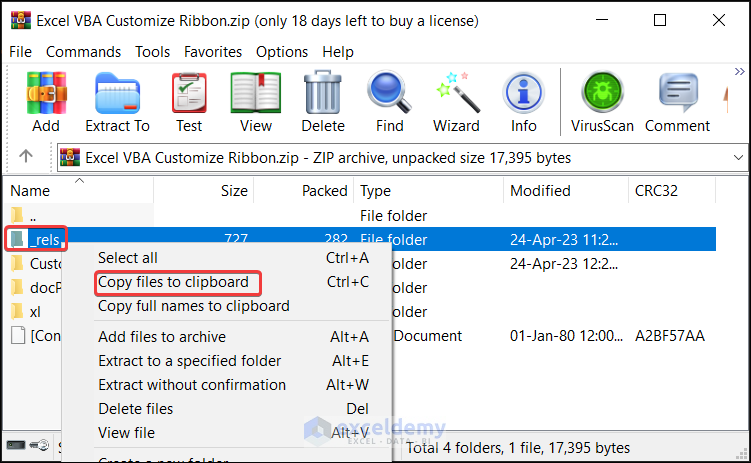
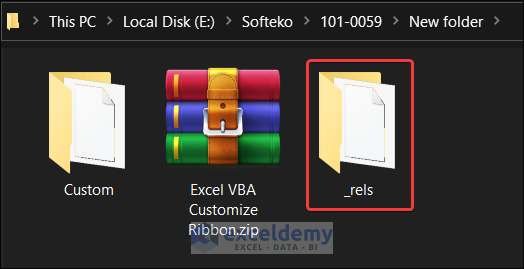
- Paste it into any folder outside the zip file.
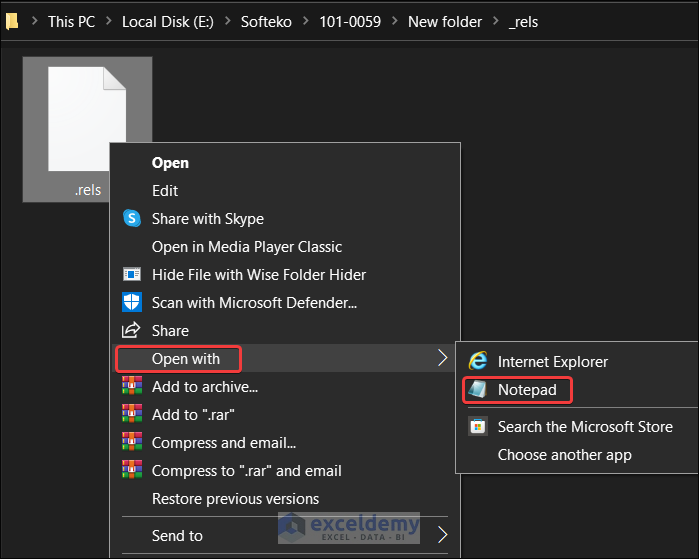
- Go to the _rels folder and open the .rels file with Notepad.
- Add a new Relationship and change the Target argument. The argument must match the folder and custom XML file name.
<Relationship Id="softeko"
Type="http://schemas.microsoft.com/office/2007/relationships/ui/extensibility"
Target="/Custom/Custom_Rib.xml"/></Relationships>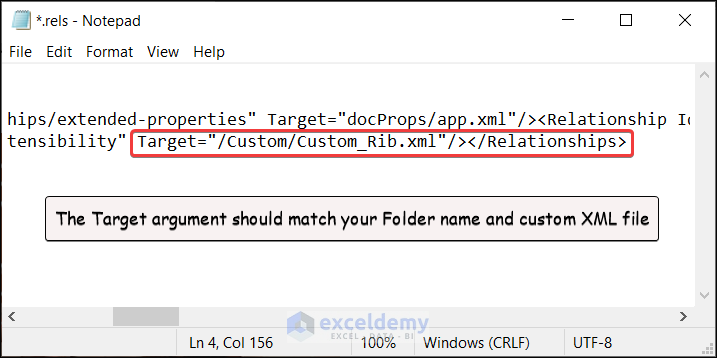
- Save the .rels file.
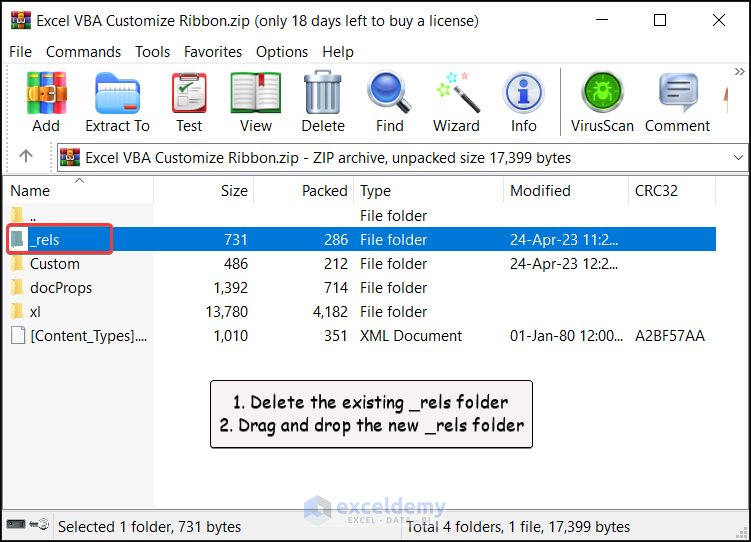
- Delete the existing _rels folder inside the zip file.
- Drag and drop the new _rels folder in the zip file.
- See the newly added tab, groups, and buttons, change the file extension of the zip file to xlsm file.

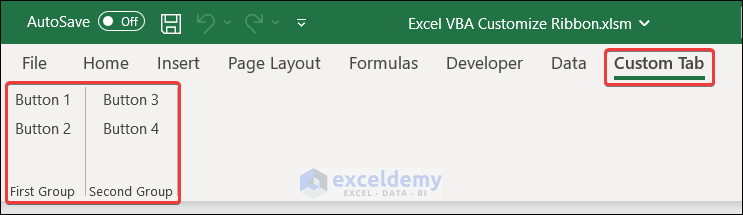
- Launch the xlsm file, and you will find a new tab named Custom Tab that contains two groups and four buttons.
Method 4 – Customize Buttons with Icon
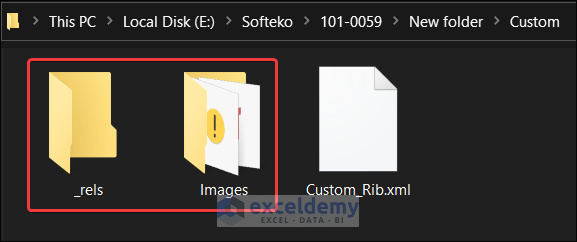
- Create two new folders inside the Custom folder and name them _rels and Images.
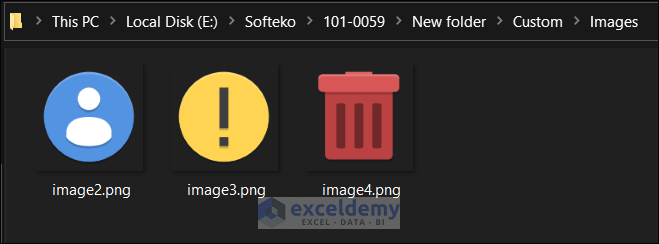
- The image folder contains three image files with png extension.
- In the _rels folder, create a new file and name it Custom_Rib.xml.rels.
- Open the file with Notepad and paste the following code.
<?xml version="1.0" encoding="utf-8"?>
<Relationships xmlns="http://schemas.openxmlformats.org/package/2006/relationships">
<Relationship Type="http://schemas.openxmlformats.org/officeDocument/2006/relationships/image" Target="images/image2.png" Id="icon_2" />
<Relationship Type="http://schemas.openxmlformats.org/officeDocument/2006/relationships/image" Target="images/image3.png" Id="icon_3" />
<Relationship Type="http://schemas.openxmlformats.org/officeDocument/2006/relationships/image" Target="images/image4.png" Id="icon_4" />
</Relationships>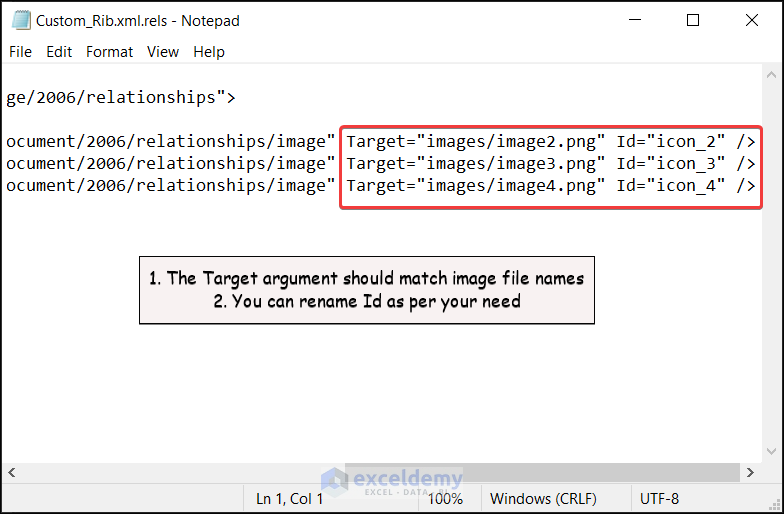
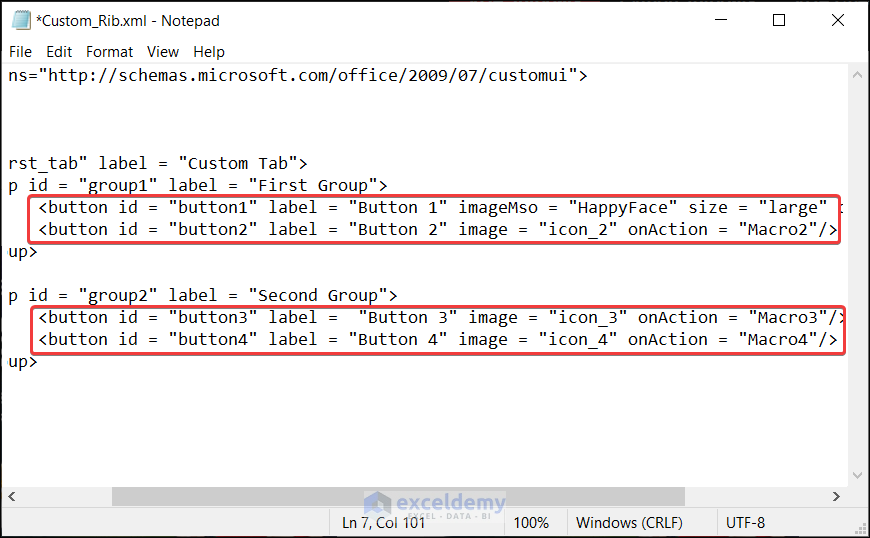
- Open Custom_Rib.xml file and insert the following code there.
<customUI xmlns="http://schemas.microsoft.com/office/2009/07/customui">
<ribbon>
<tabs>
<tab id = "first_tab" label = "Custom Tab">
<group id = "group1" label = "First Group">
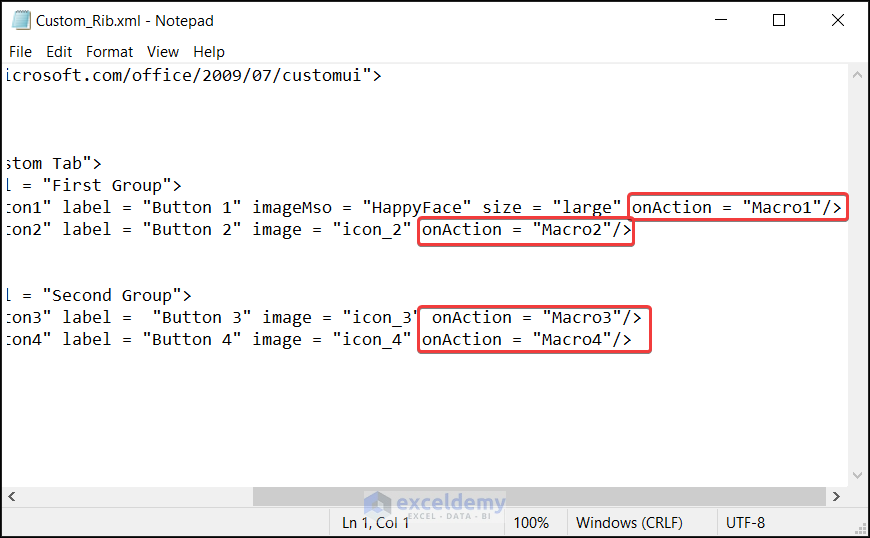
<button id = "button1" label = "Button 1" imageMso = "HappyFace" size = "large" onAction = "Macro1"/>
<button id = "button2" label = "Button 2" image = "icon_2" size = "large" onAction = "Macro2"/>
</group>
<group id = "group2" label = "Second Group">
<button id = "button3" label = "Button 3" image = "icon_3" onAction = "Macro3"/>
<button id = "button4" label = "Button 4" image = "icon_4" onAction = "Macro4"/>
</group>
</tab>
</tabs>
</ribbon>
</customUI>- imageMso = “HappyFace” adds a built-in icon to Button 1.
- image = “icon_2” adds the image that has icon_2 as Id to Button 2.
Method 5 – Connect Macros to Buttons
The code for connecting the macro is given below.
onAction = "Macro Name"This onAction connection is known as Callbacks. Creating a sub-procedure using Macro Name will assign the code to the button.
- After adding all the codes, save the files.
- Delete the existing Custom folder from the zip file and add the new Custom folder inside it.
- Change the extension of the zip file to xlsm and open the Excel file.
- Click on Custom Tab and you will find that all the buttons have images and icons.

- To test the buttons, write the following sample code in a VBA code Module. The code will work when Button 4 is clicked.
Sub Macro4(control As IRibbonControl)
 Dim myRange As Range
    On Error Resume Next
    Set myRange = Application.InputBox("Select the range:", _
    "Delete Range", Type:=8)
    On Error GoTo 0
    If Not myRange Is Nothing Then
        myRange.Delete
    End If
End Sub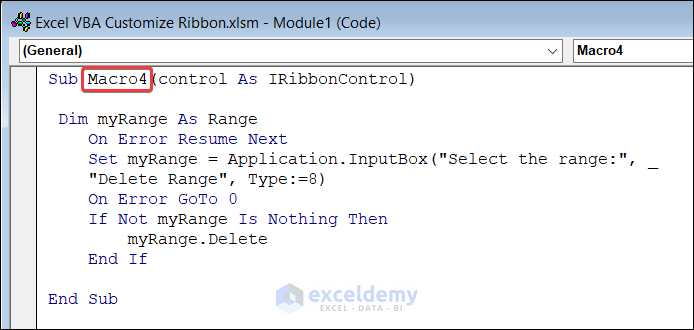
Code Breakdown:
Set myRange = Application.InputBox("Select the range:", _
"Delete Range", Type:=8)- This line takes a range in an InputBox and assigns it to myRange variable.
- myRange.Delete deletes the content of myRange.
- Click on Button 4 and an InputBox will pop up.
- Select a range in the InputBox and as a result, the range will be deleted.
Frequently Asked Questions
1. What is the shortcut to customize ribbon?
First, press Alt+F and then press T to open the word option dialogue box. After that, press the Down Arrow key and select Customize Ribbon.
2. How do I personalize a ribbon in Excel?
Right-click on the Excel ribbon and select Customize the Ribbon. From the Ribbon tab window, you can add or remove different commands, tabs, or groups as per your need.
Things to Remember
- Before dragging a folder in the zip file, delete the existing folder with the same name inside the zip file.
- While changing the extension of a file, you will get a warning message. You can simply click on Yes to continue when that happens.
Download Practice Workbook
Download this practice workbook to exercise while reading this article.
Related Articles
- How to Display Developer Tab on the Ribbon in Excel
- How to Restore Ribbon in Excel
- How to Add Data Types to Excel Ribbon
<< Go Back to Excel Ribbon | Excel Parts | Learn Excel
Get FREE Advanced Excel Exercises with Solutions!
