This tutorial will delineate the approaches to turning on Excel AutoSave. While constructing approaches we are likely to use Quick Access Toolbar (QAT), Excel options, and VBA. The use of VBA is inevitable in the case of using the older versions excluding Office 365.
Imagine a situation where you are in a hurry and likely to meet the deadline. All of a sudden, a power outage, system crash, load shedding, or closing of the Excel file takes place without saving. All your effort goes in vain. In this case, saving the Excel file automatically may enhance your effort.
Download Practice Workbook
To practice, please download the Excel Workbook file from the link below.
What Is AutoSave in Excel?
Excel AutoSave is a feature that instantly saves a newly produced document that you yet to have saved. It helps you avoid losing essential information during a computer crash or power outage. The Excel file is stored in OneDrive, OneDrive for Business, or SharePoint Online once the default AutoSave option is enabled.
How to Turn On AutoSave in Excel
1. AutoSave from Quick Access Toolbar
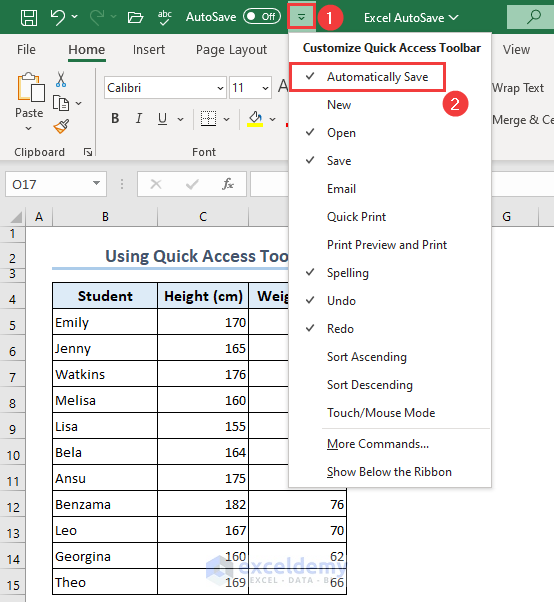
Using the Quick Access Toolbar (QAT) users can have the AutoSave option in the Top Ribbon.
- To get the AutoSave feature, initially click and expand the Quick Access Toolbar icon >> Then check the Automatically Save option.
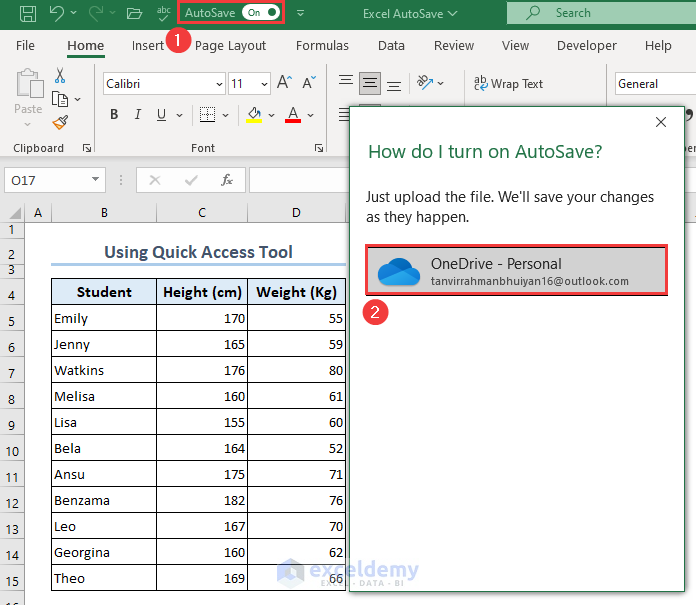
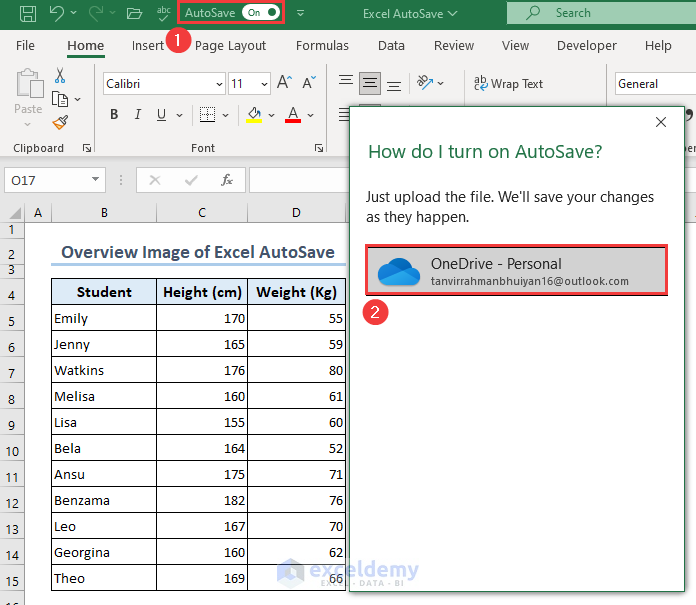
- Next, turn on the AutoSave button >> After that a pop-up dialog appears, and select OneDrive as your storage.
Note: This AutoSave feature is only available on Microsoft Office 365. However, it is absent in the previous versions.
2. Excel Options Dialog to Configure AutoSave
Another alternative to the previous method is AutoSaving the Excel file via the Excel Options dialog.
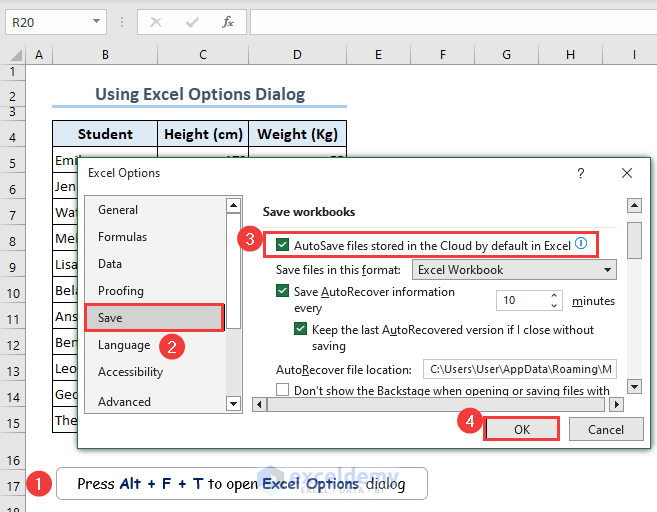
Primarily, open the Excel Options dialog by pressing Alt + F + T keys >> Then go to the Save menu >> Next check the AutoSave files stored in the Cloud by default in Excel option from the Save workbooks section >> Finally hit the OK button.
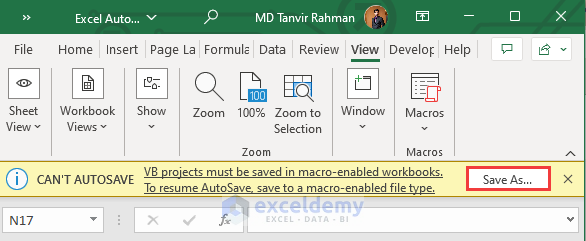
Note: There is an alarming issue. If the Excel file contains a .xlsm extension, it will not autosave itself. Rather, you must save it as macro-enabled workbooks with a .xlsm extension.
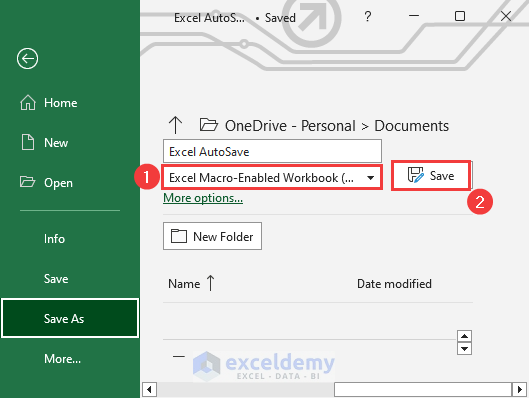
- So, click on the Save As command.
- Then click on the Save button after selecting the Excel Macro-enabled Workbook option.
3. AutoSave Via Excel VBA Before Closing File
In the previous versions, you hardly find the AutoSave feature. Therefore, the application of VBA becomes an integral part in terms of autosaving an Excel file.
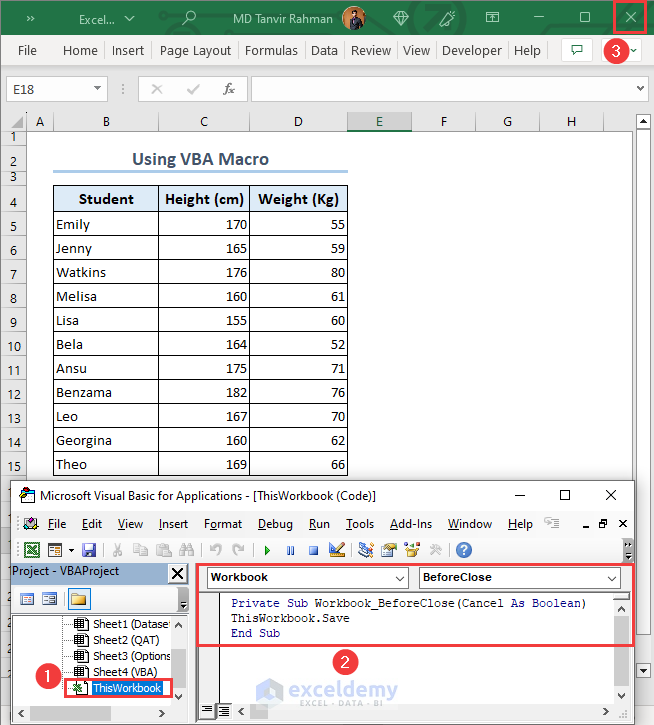
- Write down the following VBA code by selecting This Workbook from the Project Explorer >> Further, hit the Run icon, or press the F5 key to execute the VBA code.
Private Sub Workbook_BeforeClose(Cancel As Boolean)
ThisWorkbook.Save
End Sub- Therefore, the Excel file saves automatically every time a user closes it.
How to Turn On AutoRecover in Excel
When Excel crashes or closes by accident, the Excel AutoRecover feature enables you to recover previously unsaved files. It generally saves the most recent versions and allows you to continue your journey.
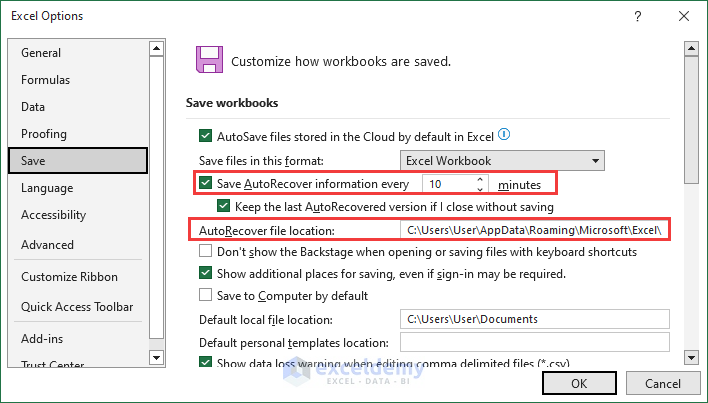
- The Excel Options dialog offers you to configure the AutoRecover To configure, firstly press Alt + F + T keys to open the Excel Options dialog >> go to the Save menu >> Secondly, check the Save AutoRecover information every 10 minutes >> Thirdly, insert the AutoRecover file location.
- Thus you will be able to get the recovered version of the Excel file after every 10 minutes.
Note: If you are not logged in as an administrator, you will not be able to navigate the AutoRecover location in the File Explorer. Also, you can’t change its path.
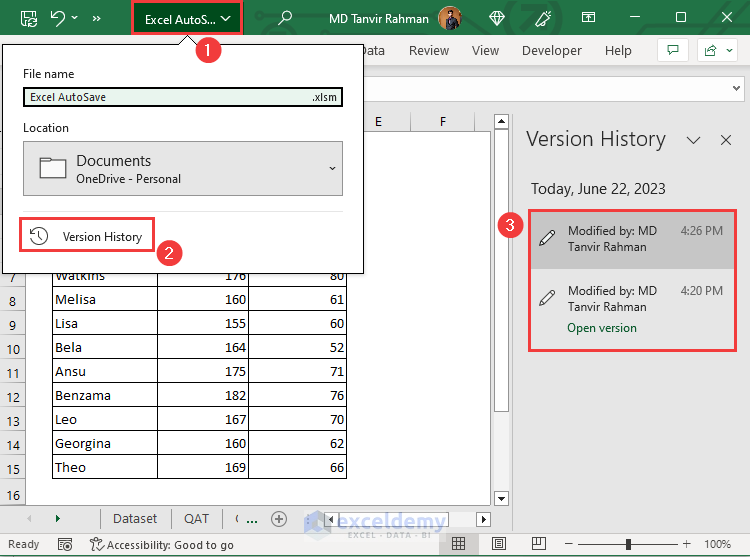
How to Recover Overwritten Files with Excel
You can recover overwritten files via Excel once you enable the Auto Recover option.
Initially, click on the Excel AutoSave file name >> Then select Version History from the expansion>> Next, select the options from the Version History pane.
How to Save Back-up Copy of Excel File
Users can store the Excel file’s backup copy to get rid of any unwanted situations from the Save As dialog.
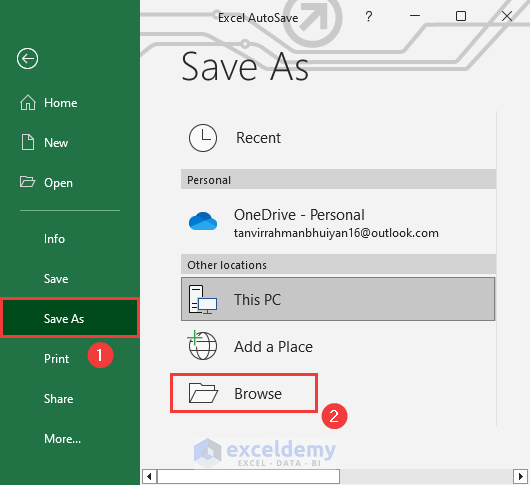
- Go to the File tab >> Then click the Save As menu >> Next select the Browse command.
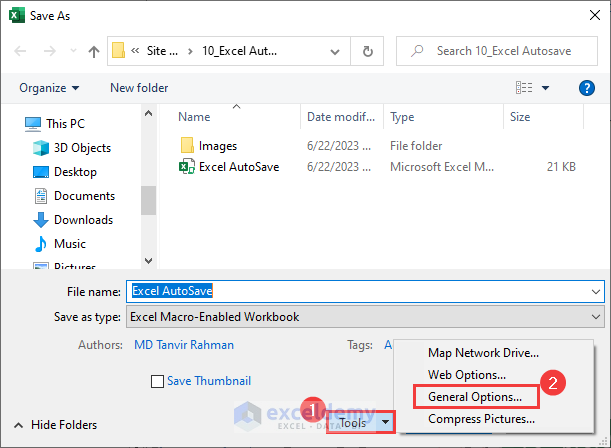
- Thus the Save As dialog appears. Then expand the options from the Tools command >> Next, select the General Options from the list.
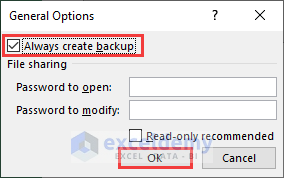
- Therefore, a dialog named General Options Now, check the Always create backup option >> Further hit the OK button.
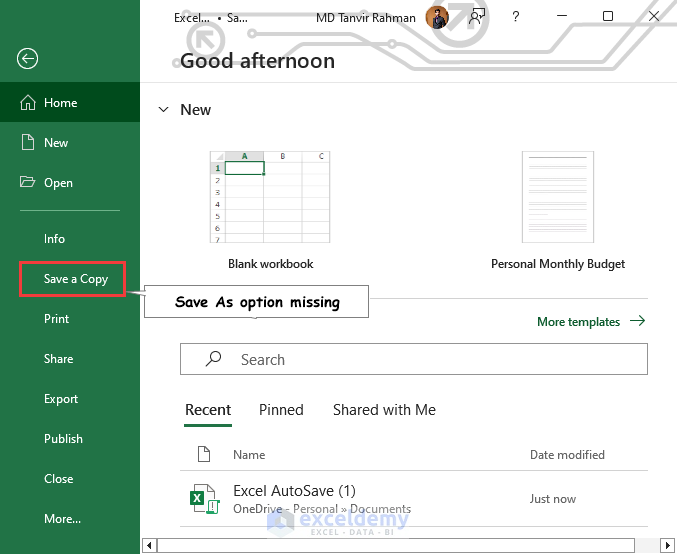
Why Save As Option Absent While Using AutoSave in Excel
While enabling the AutoSave button, you have probably noticed that there Save As Option is missing in the File tab. Despite the Save As option, you will notice a Save a Copy option. The AutoSave feature saves your workbook after a particular time automatically. However, you can’t save a particular change in an Excel file. Thus you can store a particular change in an Excel file using the Save a Copy option.
Conclusion
We explained 3 approaches such as QAT, Excel options, and VBA for Excel Autosave. Moreover, automatically recovering, Overwriting, and saving backup files also took place for discussion. I hope this content gives you a brief illustration regarding AutoSave in Excel. Don’t forget to leave your thoughts in the comment section. For a better understanding and new articles, don’t forget to go through our site.
Frequently Asked Questions
1. What If My Version of Excel Doesn’t Have AutoSave?
You will not AutoSave feature without Microsoft Office 365. Thus the use of Excel VBA code can be a suitable way to autosave the file every time whenever the user closes it.
2. How do you disable or turn off AutoSave in Excel?
Go to the Excel Options menu first >> Then select Save from the left Ribbon >> Uncheck the AutoSave files stored in the Cloud by default in Excel option from the Save workbooks section.
3. How do I save an Excel File every say one minute?
firstly go to the Save menu of the Excel Options dialog >> Secondly, re-configure and check the Save AutoRecover information every 1 minute option.
Excel Autosave: Knowledge Hub
<< Go Back to Excel Files | Learn Excel
Get FREE Advanced Excel Exercises with Solutions!
