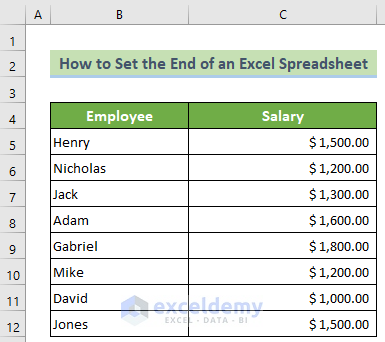
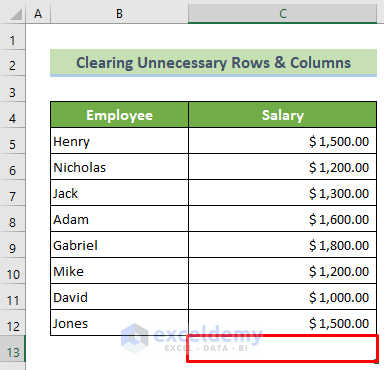
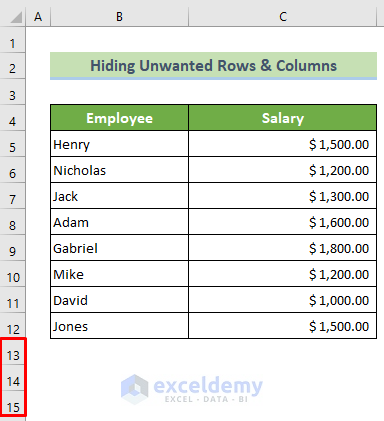
Say, you have a dataset of 10 employees’ salaries in an Excel spreadsheet. The end of the spreadsheet should be the last value of your dataset (C12 cell) or immediately next to the last cell (C13 cell) of your dataset.
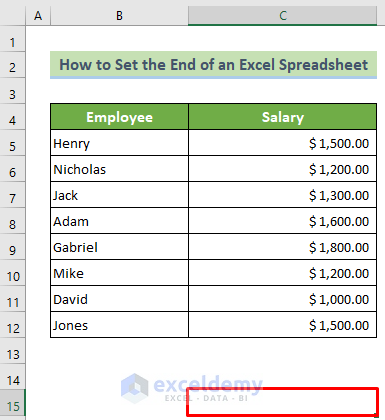
You can find the end of your cell by pressing the Ctrl + End button. In the given dataset, if you press the Ctrl + End button, you will find the last cell is C15. Let’s set the end of the sample spreadsheet at the C12 or C13 cell.
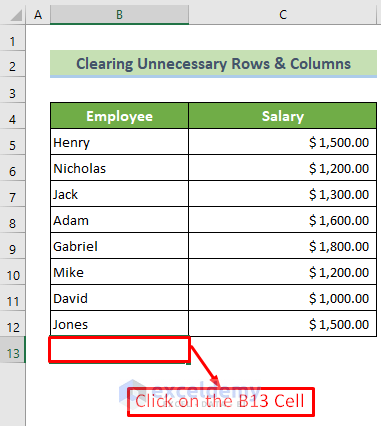
Method 1 – Clear All Unnecessary Blank Rows and Columns
Steps:
- Click on the B13 cell.
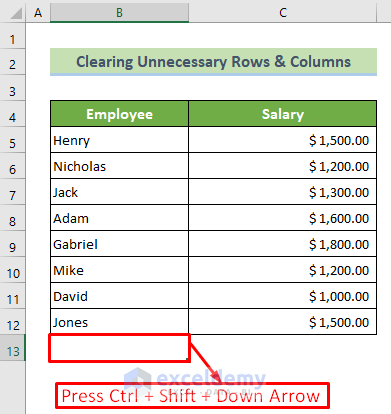
- Press Ctrl + Shift + Down Arrow. All the cells below the B13 cell including it will be selected.
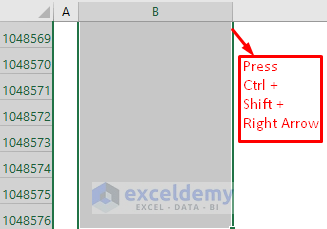
- Press Ctrl + Shift + Right Arrow. It should select all the cells right to the B13 cell.
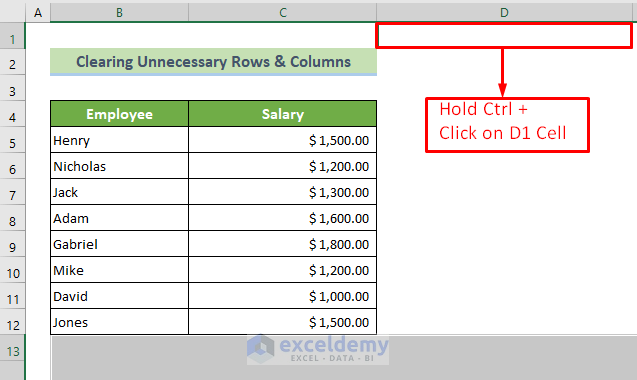
- Scroll to the 1st row.
- Hold the Ctrl button and click on the D1 cell.
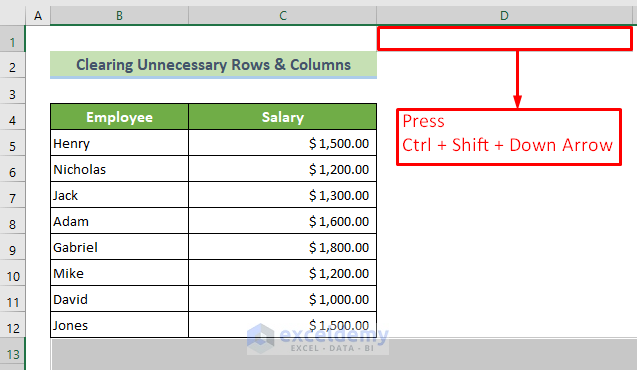
- Press Ctrl + Shift + Down Arrow to select all the cells below the D1 cell.
- Press the Ctrl + Shift + Right Arrow to select all the cells right to the D1 cell.
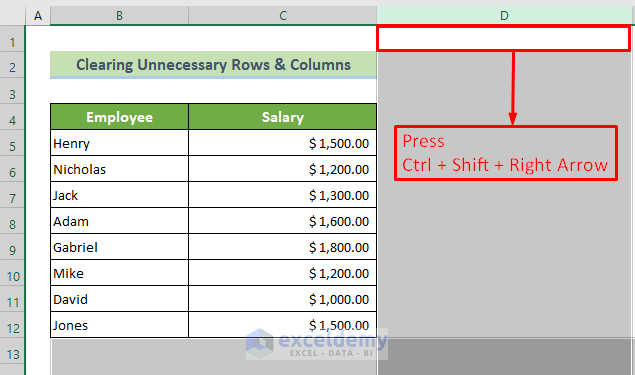
- You have selected all the cells of the spreadsheet right below your dataset.
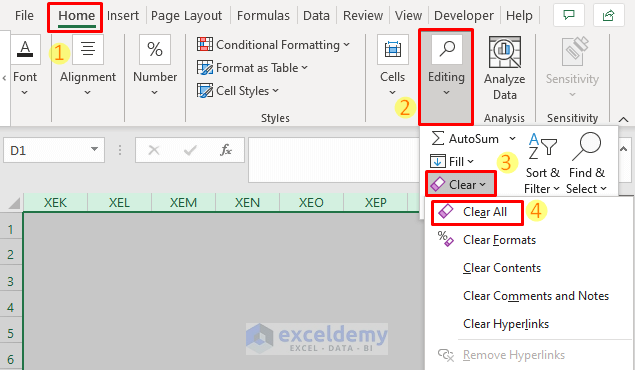
- Go to the Home tab and the Editing group.
- Select the Clear tool and choose the Clear All option.
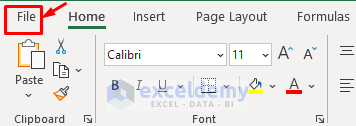
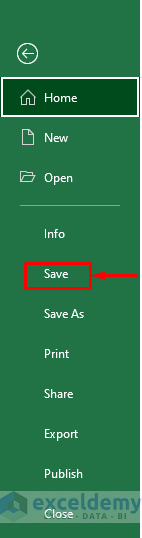
- Go to the File tab.
- Click on Save.
- Press the Ctrl + End button. You will see the C13 cell is activated as the last cell in the file.
Read More: How to Limit Columns in Excel
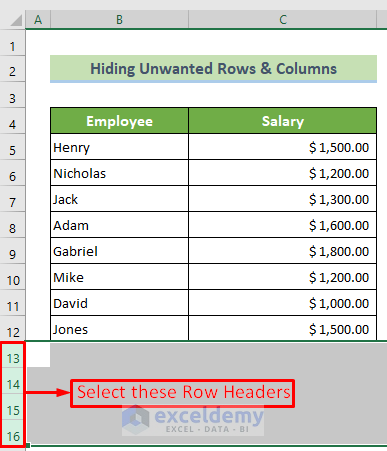
Method 2 – Hide Unwanted Rows and Columns
Steps:
- Select some row headings below your dataset as much as you want. You have to make sure the current last cell’s row header is selected.
- Right-click and choose Hide from the context menu.
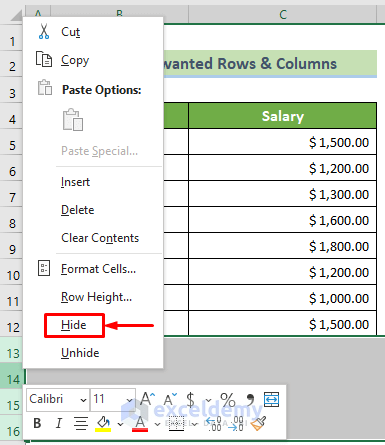
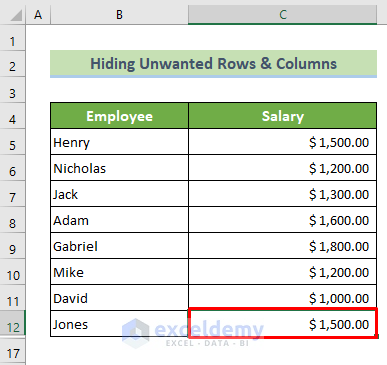
- You will see the selected rows are hidden. The end of the spreadsheet has been set to the C12 cell.
Note:
If you want to unhide all the rows of your spreadsheet for further use, perform the following tasks.
- Select any one of the rows surrounding the hidden rows.
- Right-click and choose the Unhide option.
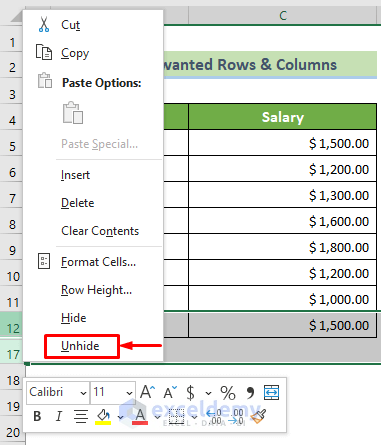
- You will see the hidden rows will appear again.
Read More: How to Limit Number of Rows in Excel
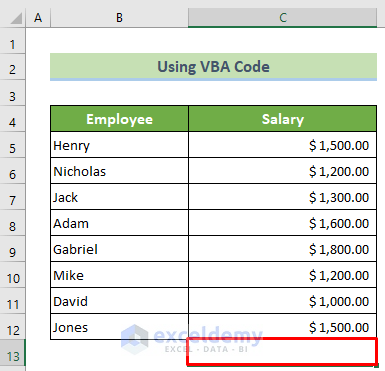
Method 3 – Use VBA Code
Steps:
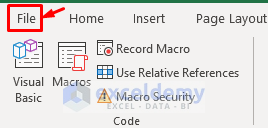
- Go to the Developer tab and select Visual Basic.
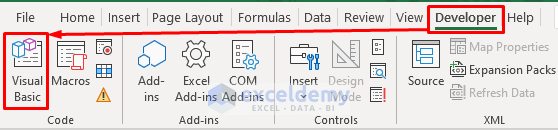
- The Microsoft Visual Basic for Applications window will open.
- Select the Sheet4 option from the VBAProject options.
- The code window for Sheet4 will appear.
- Copy the following code in the code window.
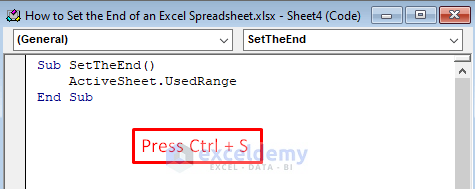
Sub SetTheEnd()
ActiveSheet.UsedRange
End Sub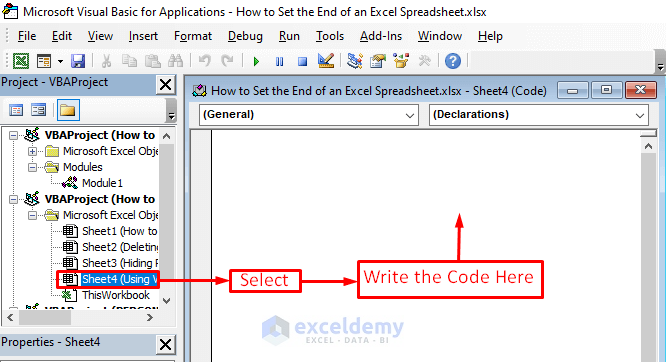
- Press Ctrl + S to save the code.
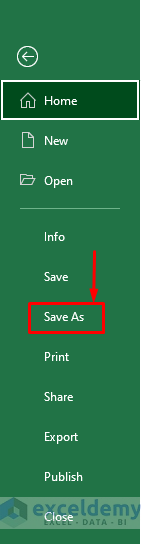
- Close the visual basic window and go to the File tab from the Excel spreadsheet.
- Choose the Save As option.
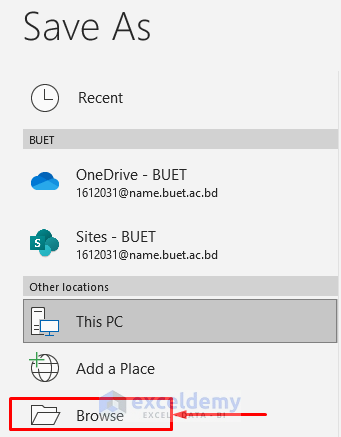
- Click on the Browse option.
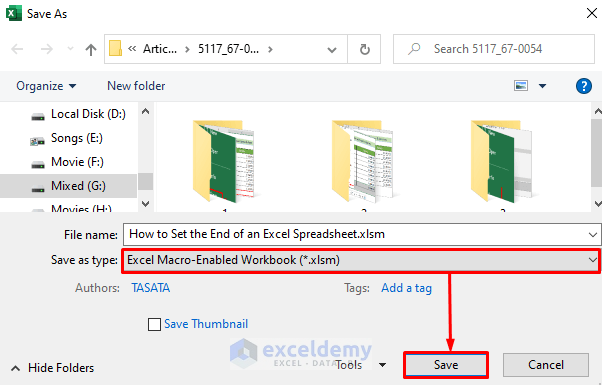
- In the Save as type options, choose the .xlsm format.
- Click on the Save button.
- You will see that the last cell of your spreadsheet has moved to the C13 cell.
Download Practice Workbook
Related Articles
<< Go Back to Row and Column Limit | Rows and Columns in Excel | Learn Excel
Get FREE Advanced Excel Exercises with Solutions!
