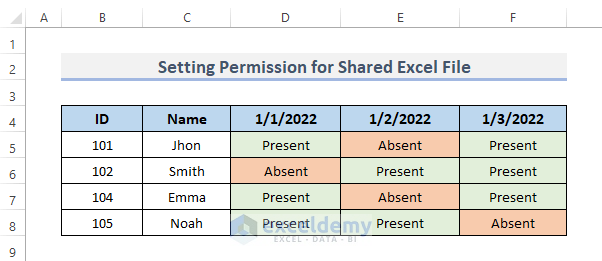
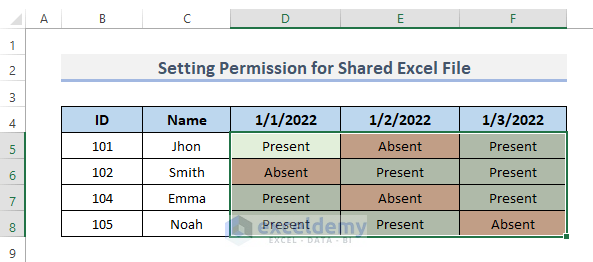
Suppose we have a sheet of some students’ IDs, names, and a record of their attendance on specific dates. We want to give access to another person who takes care of these records, but we don’t want them to have full access to the Excel sheet. Let’s set some permissions for a shared Excel file.
Method 1 – Limit Permission Rights by Making the Shared Excel File as Final
Steps:
- Go to the File tab from the ribbon.
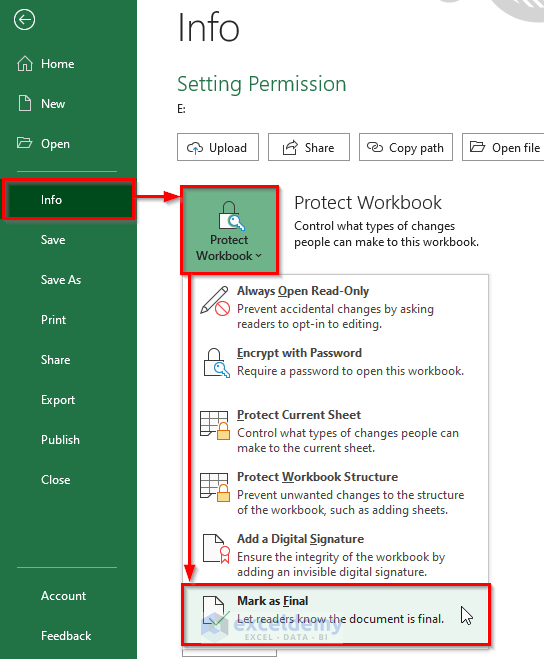
- Click on Info from the backstage view.
- Choose Mark as Final from the Protect Workbook drop-down menu.
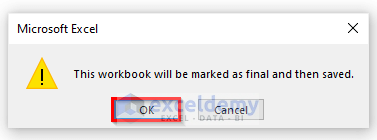
- You will get a dialog box showing the message This workbook will be marked as final and then saved.
- Click on the OK button to proceed.
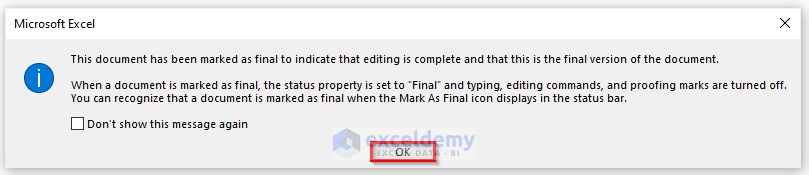
- Another Excel warning dialog will appear. Click OK.
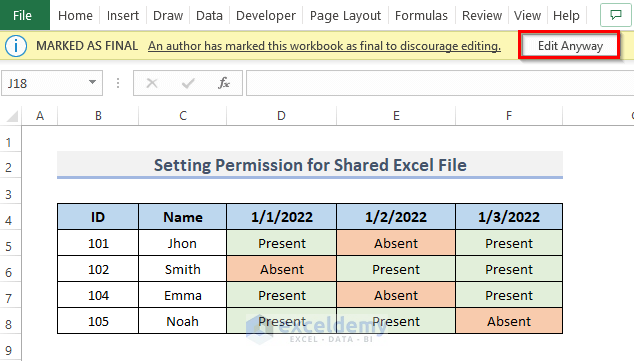
- Keep an eye out for the yellow bar at the top of the workbook, which indicates that it is designated as final.
- If you go to check the backstage view again by going to the File tab and then clicking on Info, you will see the permission section is now updated.

Read More: How to Enable Share Workbook in Excel
Method 2 – Encrypt the Shared File with a Password in Excel
Steps:
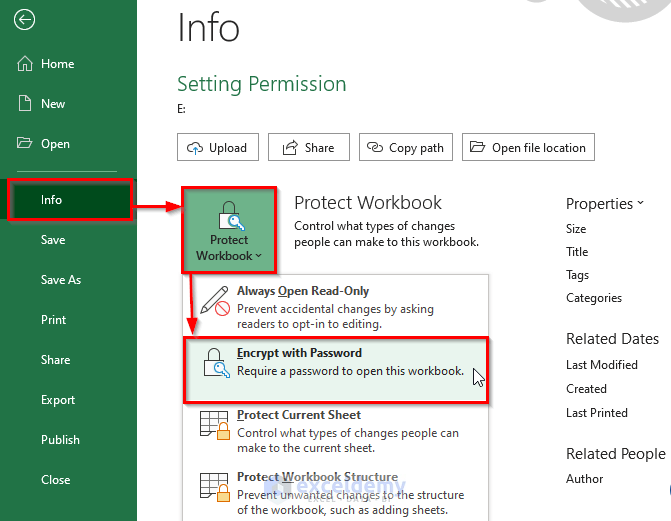
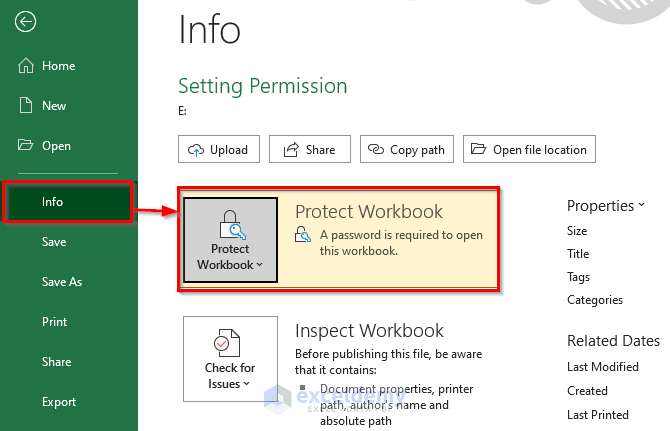
- Go to the File tab from the ribbon.
- Select Info.
- From the Protect Workbook drop-down box, select Encrypt with Password.
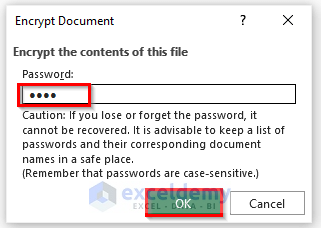
- In the Encrypt Document dialog, enter a password in the Password field.
- Click OK.
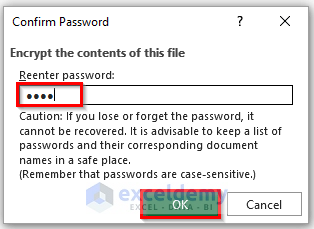
- A Confirm Password dialog will appear to ensure the password you are entering is correct or not.
- Click OK to finish the process.
- If you go to the File tab and then select Info, you’ll see that the permissions section has been modified.
- Whenever someone needs to open the workbook, they need to input a password.
Read More: How to See Who Is in a Shared Excel File
Method 3 – Set Permissions for Certain Users to Edit Certain Ranges of a Shared File
Steps:
- Select the cells that users can edit. We select the range D5:F8.
- Go to the Review tab from the ribbon.
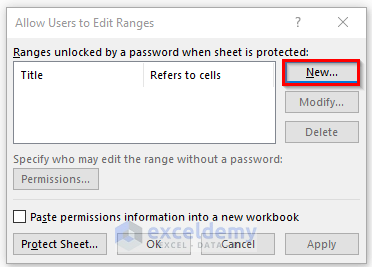
- Select the Allow Edit Ranges option from the Protect group.
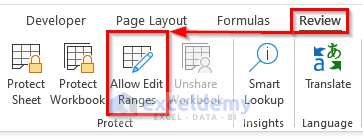
Note: If the Excel spreadsheet is not password secured, this Allow Edit Ranges option will show.
- In the Allow Users to Edit Ranges dialog, click on New to take the referred cells and the title.
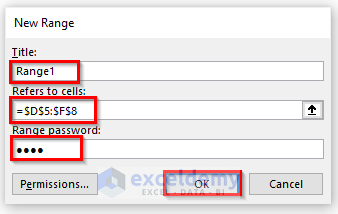
- A New Range dialog will open up. Type a title name under the Title field.
- Select the cells in the Refers to cells field which we have already selected.
- Enter a password under the Range Password field.
- Click on the OK button to proceed.
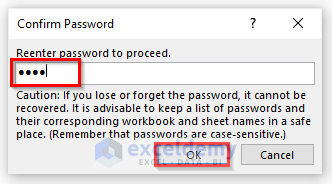
- Confirm the password by entering the password on the Reenter password to proceed field.
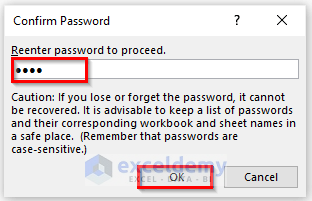
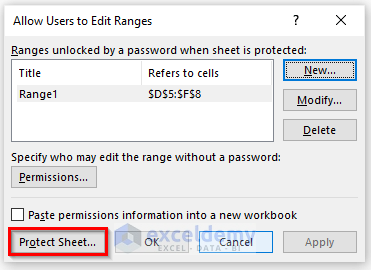
- This will take you back to the Allow Users to Edit Ranges dialog box.
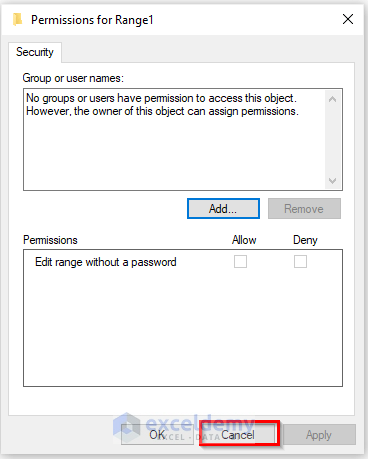
- Click on Permission if you want to make the worksheet more restricted.
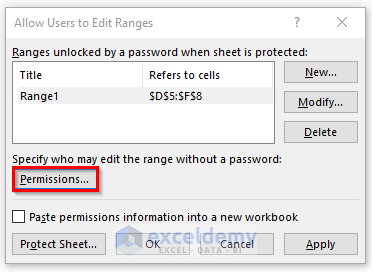
- This will show the dialog box Permission for Range 1. We don’t want to make any other changes, so click on Cancel.
- Click on Protect Sheet bottom left of the dialog.
Note: To change an already existing editable range, check the option labeled Ranges unlocked by a password when the sheet is protected. Then select Modify from the drop-down menu.
- The Protect Sheet dialog will appear.
- Type the password that you put earlier on the Password to unprotect sheet.
- Make sure that Select locked cells and Select unlocked cells are checked.
- Click OK.

Note: In the Range password box, the passcode will be used as a key to access that specific range. If you don’t provide a password any other user can simply alter the cells in your worksheet. Select Permissions from the drop-down menu. This will bring up the Range Permissions dialog box.
- A Confirm Password popup will display once again to verify that the password you are entering is accurate.
- Click OK.
Download the Practice Workbook
Download the workbook to practice creating permissions.
Related Articles
- [Solved]: Share Workbook Not Showing in Excel
- [Fixed!] Unshare Workbook Greyed Out in Excel
- How to Share Excel File for Multiple Users
<< Go Back to Share Workbook | Workbook in Excel | Learn Excel
Get FREE Advanced Excel Exercises with Solutions!
