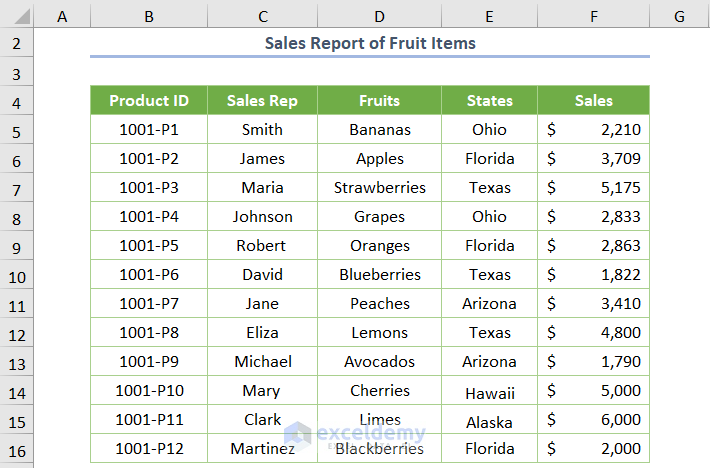
We have an Excel file named Sales Report of Frutis.xlsx and need to share the file with multiple users.
Method 1 – Share the Excel File for Multiple Users in Microsoft 365
Case 1.1 – Using OneDrive
Steps
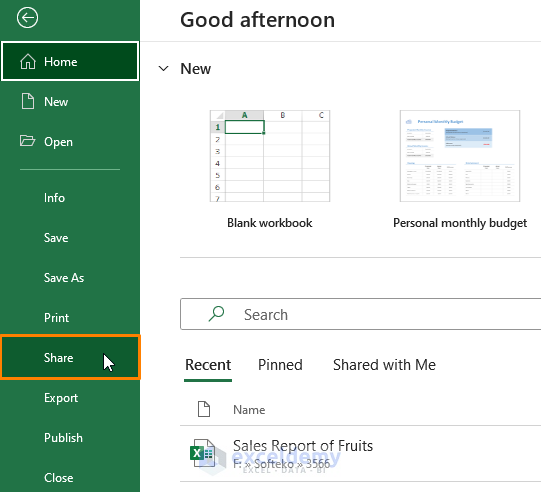
- Go to File and select Share.
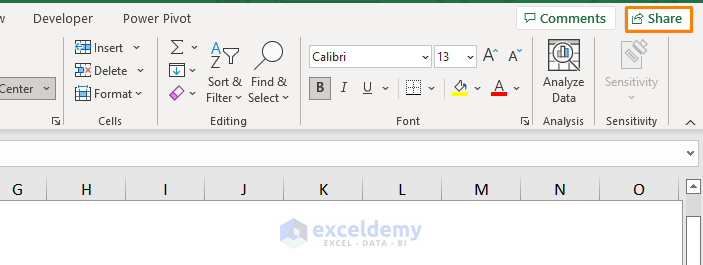
- Alternatively, you can pick the Share button located in the upper-right corner of your spreadsheet.
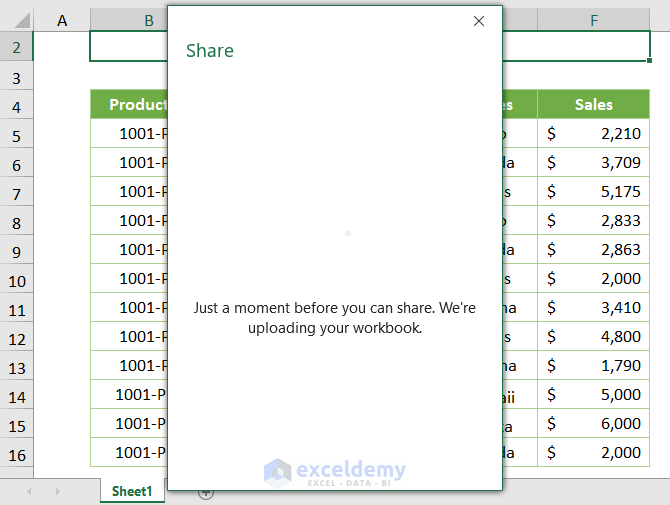
- Choose the OneDrive account.
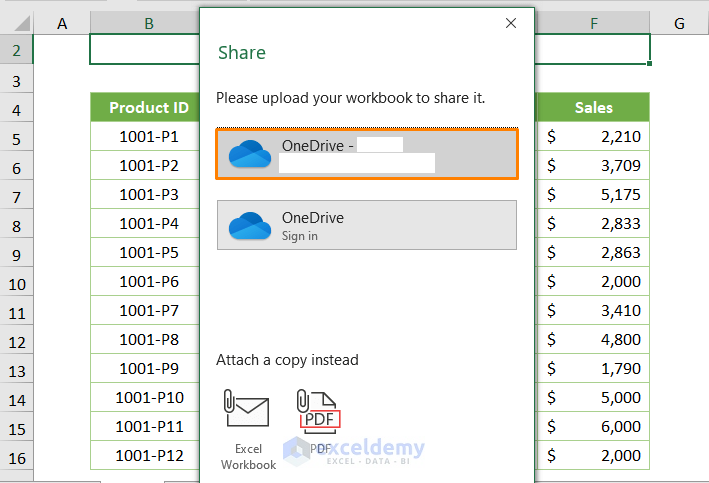
You’ll see the following message.
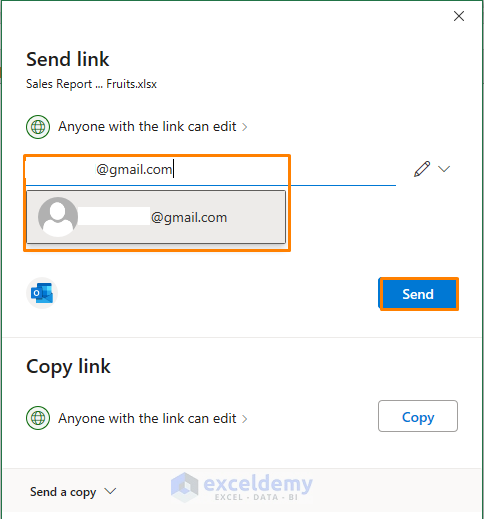
You’ll get the sharing options.
- Input the username, group, or email of users.
- Click on the Send button.
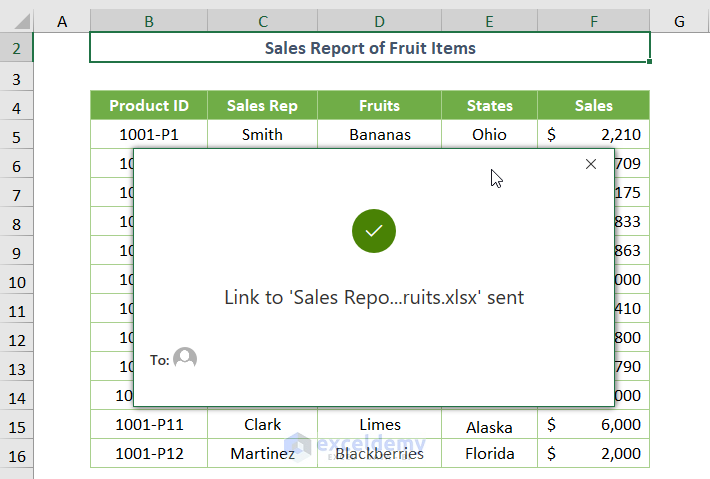
After sending, you’ll get the confirmation message, and users will get the message about your file.
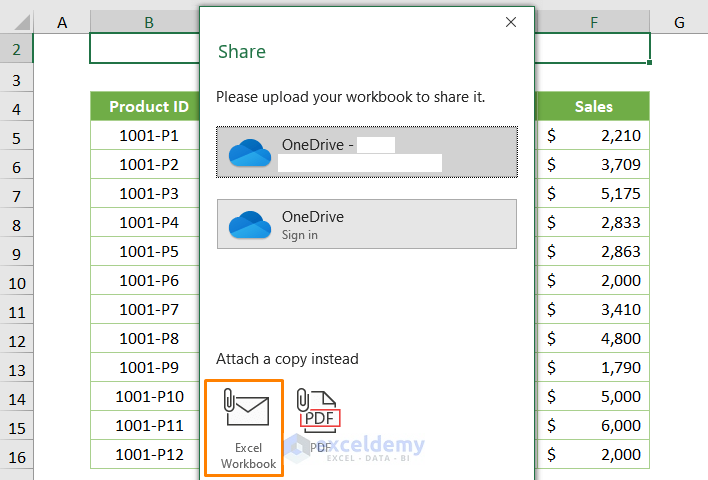
Case 1.2 – Without OneDrive
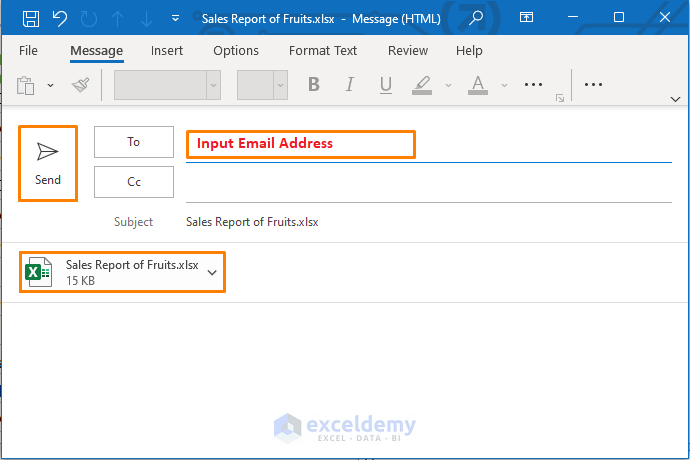
- After picking the Share button (see above), select the Excel Workbook to share the .xlsx format or PDF icon to convert the file into PDF format (especially in the case of printing).
- Type the email address of the user and click on the Send button.
Method 2 – Share the Excel File for Multiple Users in Earlier Versions
Steps:
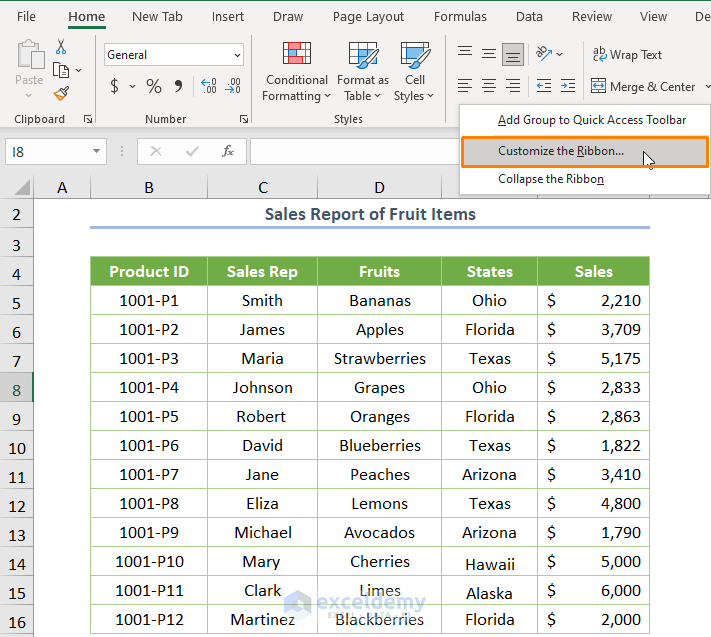
- Right-click on any blank space within the ribbon and pick the Customize the Ribbon option.
- In the Excel Options, navigate to Customize Ribbon option.
- Add the following commands from the list on the left to the list on the right (by selecting the option and clicking the Add button).
-
- Share Workbook (Legacy)
- Track Change (Legacy)
- Protect Sharing (Legacy)
- Compare and Merge Workbooks
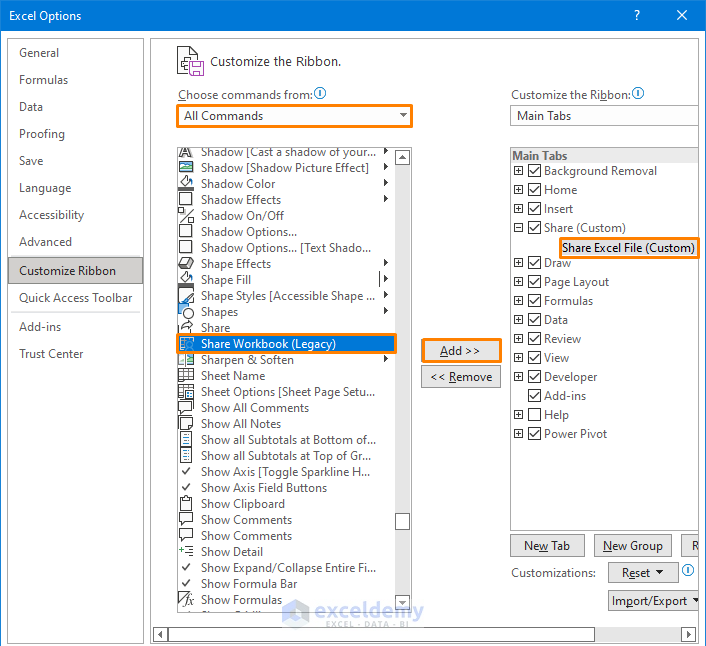
Note: Here, we created a dedicated tab and group. Utilize the New Tab and New Group options.
- Press OK.

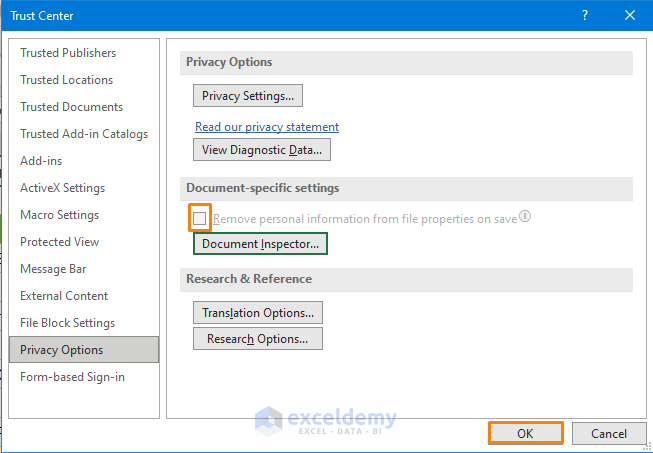
- Go to Trust Center in the Excel Options and click Trust Center Settings.
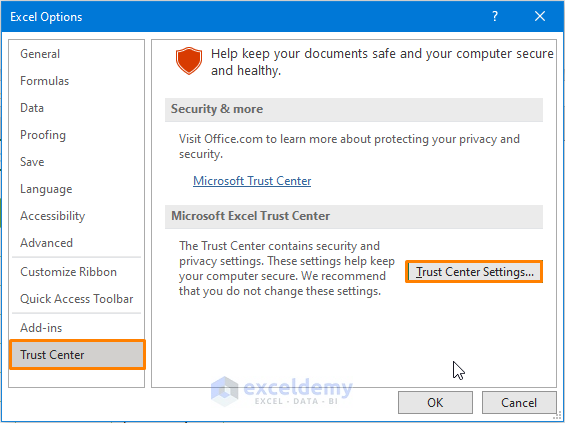
- Uncheck the box for Remove personal information from file properties on save and press OK.
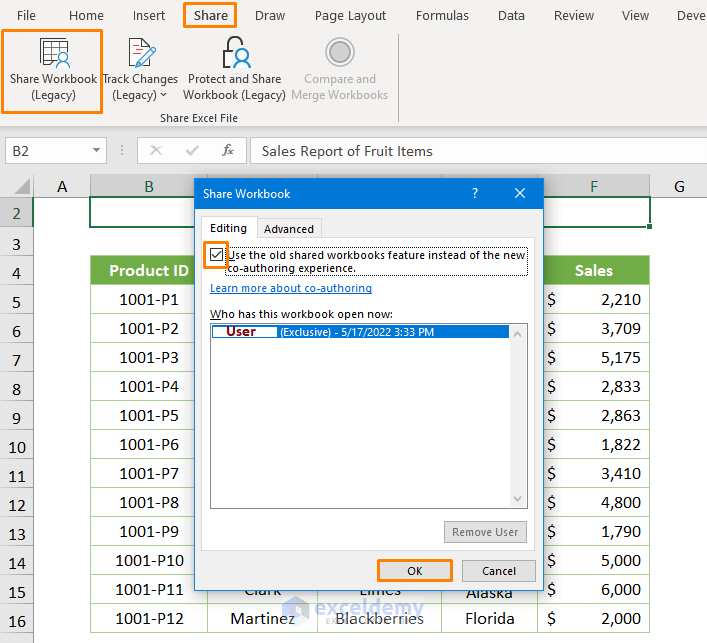
- Choose the Share Workbook (Legacy) command from the Share tab and check the box in the Editing tab as shown below.
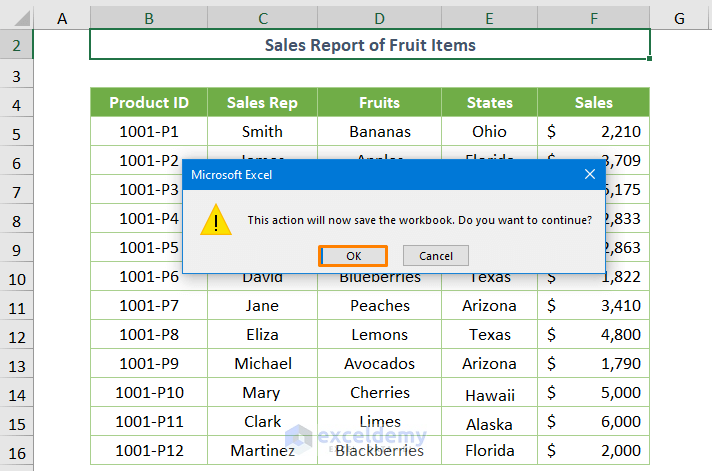
You’ll get a notification message.
- Press OK.
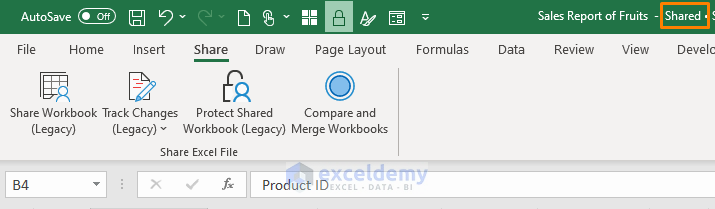
- Your Excel file is ready to share as you see the Shared word after the file name. Share the file online or offline.
Read More: How to Enable Share Workbook in Excel
How to Utilize the Co-Authoring Feature
⧪ Share the File Link Only
- If you want to inform users about your shared file link using other platforms, press the Copy button.
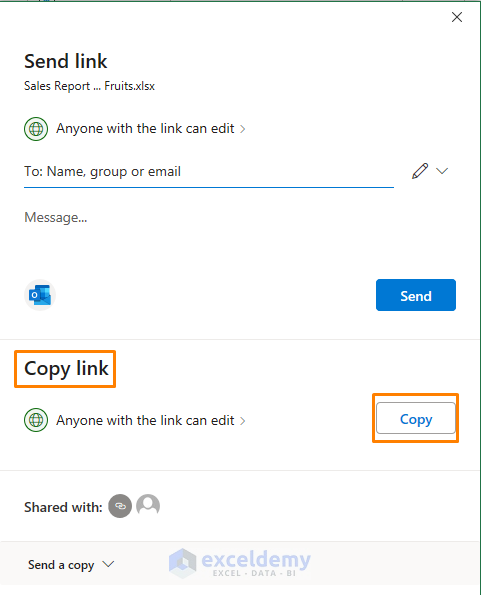
- Copy the link and paste it where you want.
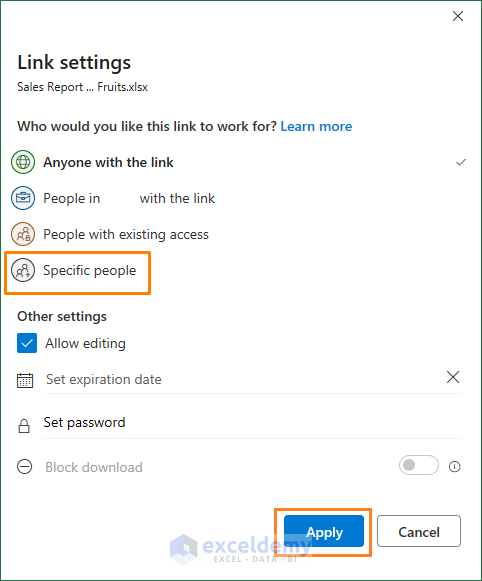
⧪ Share the Excel File with a Specific User Only
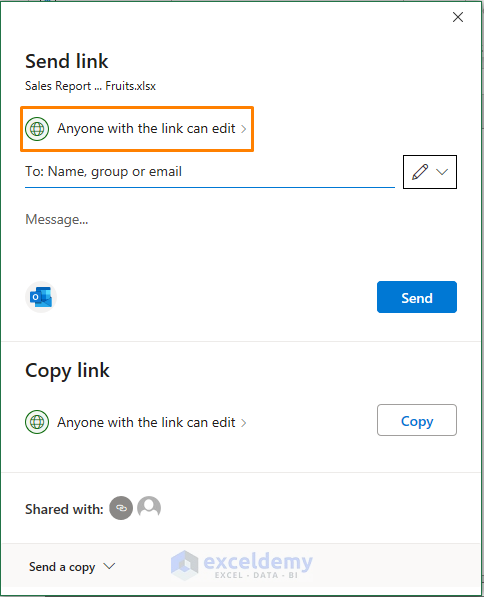
- Select the Anyone with the link can edit.
- In the Link settings, navigate to the Specific people option and press the Apply button.
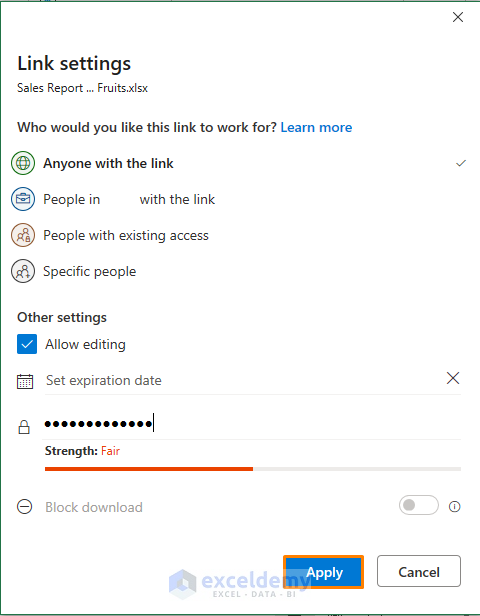
⧪ Share an Excel File for Multiple Users with Password
- Click on the Set Password option.
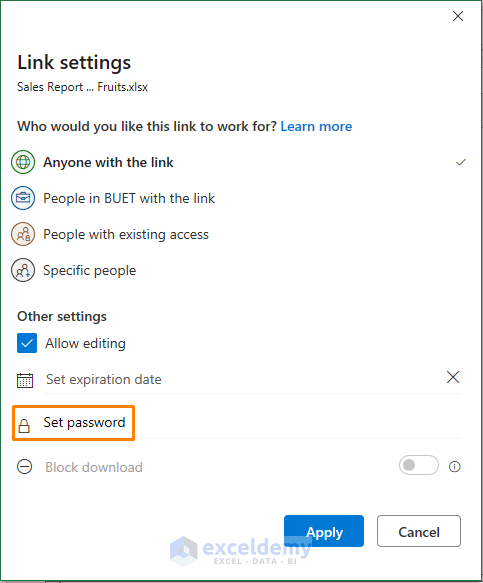
- Input your password and press the Apply button.
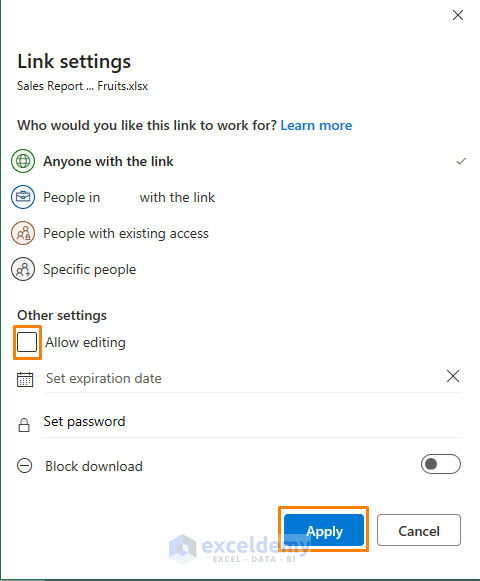
⧪ Restrict File Sharing
- Uncheck the box before Allow editing option when sharing.
Read More: Setting Permissions for a Shared File in Excel
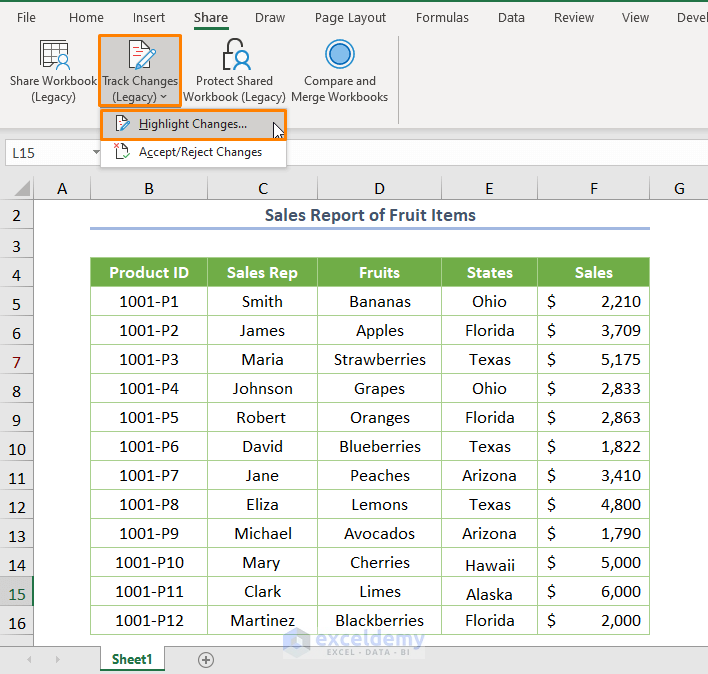
How to Track Changes in a Shared Excel File
- Click the Track Changes (Legacy) command and choose the Highlight Changes option.
- Check the boxes before When and Who.
- Press OK.
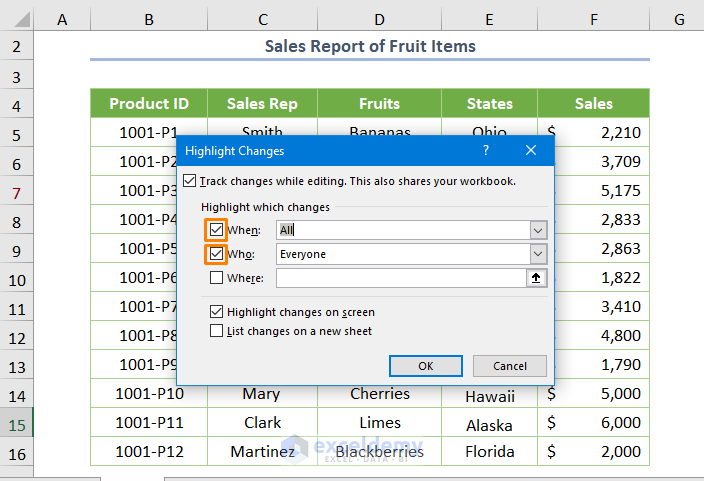
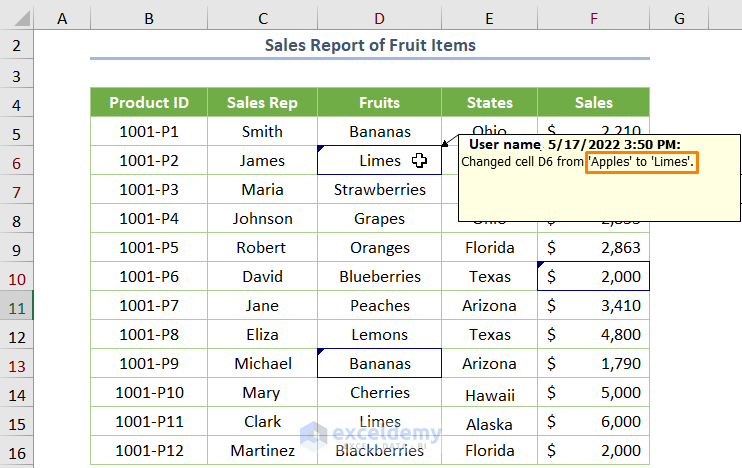
If any user makes any change, you’ll see the cell as highlighted, and the change will pop up with the date-time.
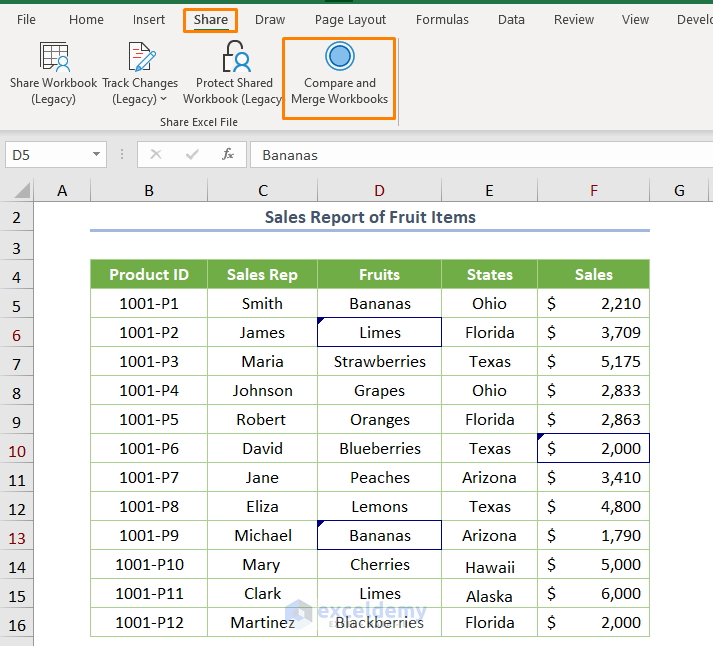
How to Compare and Merge Workbook
- Navigate to the Compare and Merge Workbooks command.
- Select the multiple files by pressing the Shift key and pressing OK.
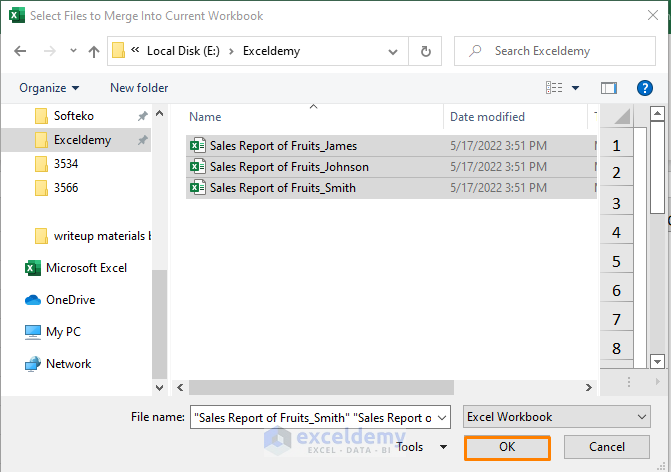
Note: You have to keep your file and other shared file in the same folder.
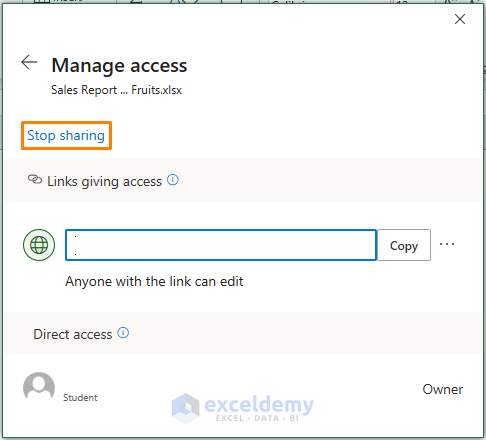
How to Stop Sharing or Remove a User
⧪ Stop Sharing in Microsoft 365
- Select the Shared with option.
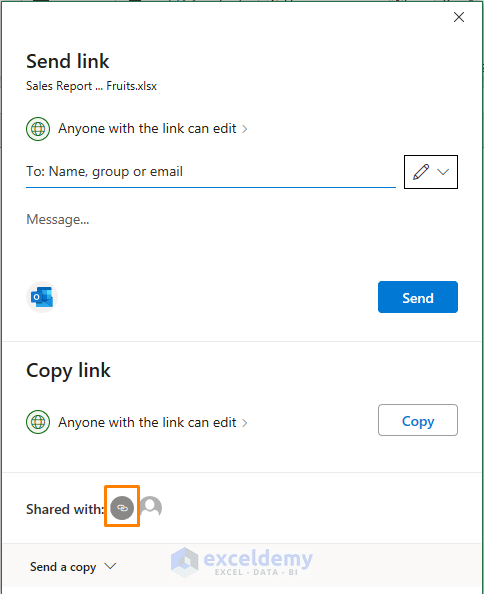
- Click Stop sharing.
⧪ Remove a User in Earlier Versions
- Choose the Share Workbook (Legacy) command in the Editing tab.
- Select a user and press the Remove User button.

Read More: How to See Who Is in a Shared Excel File
Things to Remember
- You can’t use Co-authoring and tracking changes methods simultaneously as the Track Changes is a legacy command
Download the Practice Workbook
Related Article
<< Go Back to Share Workbook | Workbook in Excel | Learn Excel
Get FREE Advanced Excel Exercises with Solutions!

Great tips! I especially found the section on using OneDrive for real-time collaboration really helpful. It made sharing my Excel files so much easier for my team. Thanks for the clear instructions!
Hello,
You are most welcome. Thanks for your appreciation. Glad to hear that our clear instructions helped you to share your Excel file easily. Keep learning Excel with ExcelDemy!
Regards
ExcelDemy