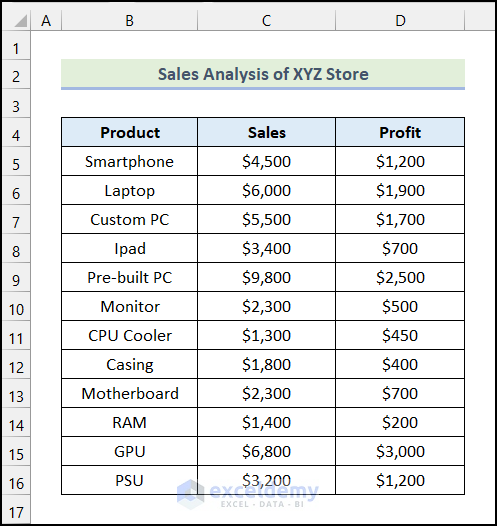
The dataset showcases the Sales Analysis of the XYZ Store.
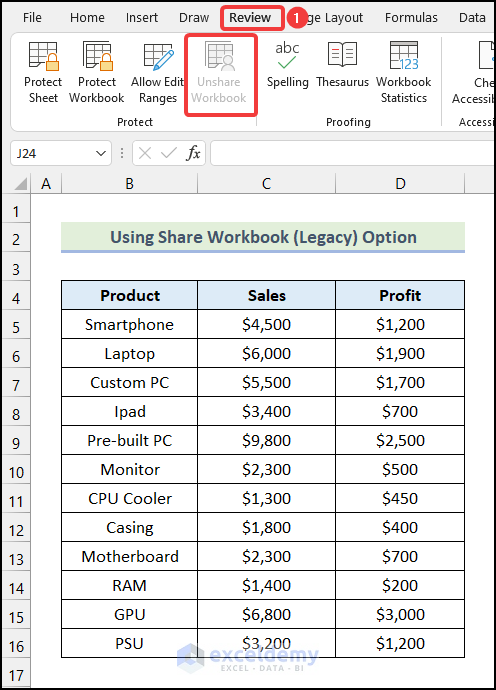
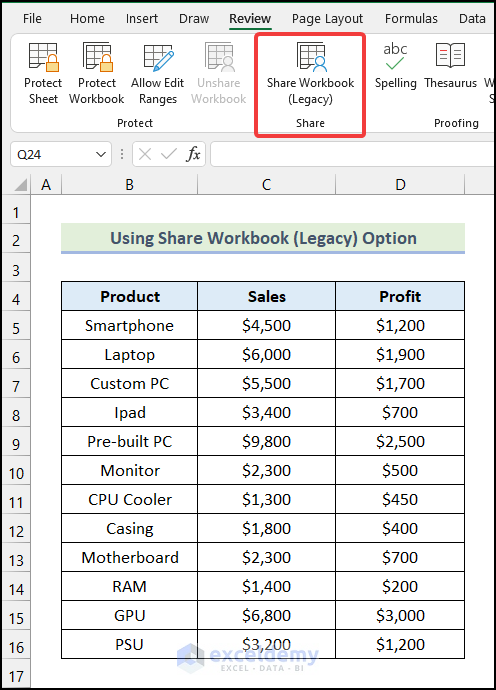
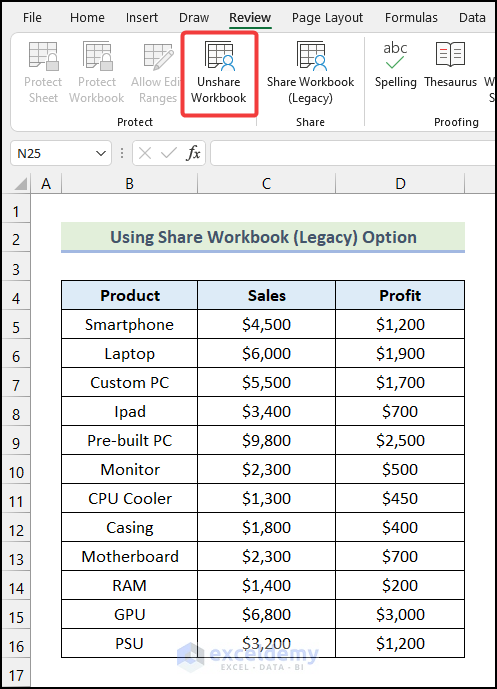
If you go to the Review tab on the Ribbon, you will see that the Unshare Workbook option is grayed out
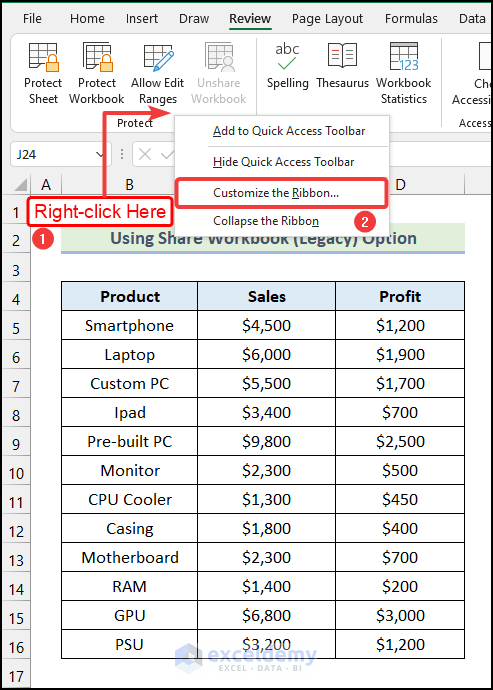
Step 1 -Enabling the Share Workbook (Legacy) Option
- Right-click any empty space on the Ribbon.
- Choose Customize the Ribbon.
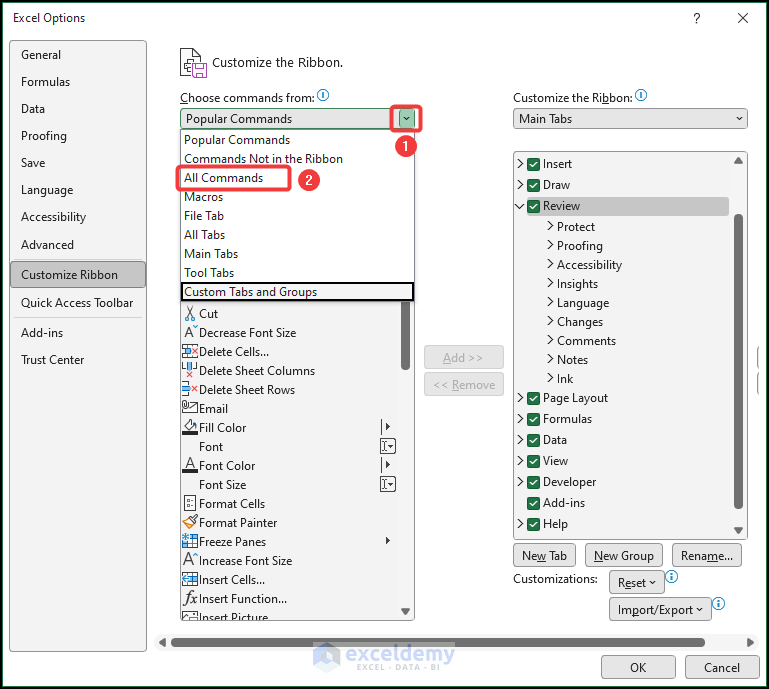
The Excel Options dialog box will open.
Note: You can also press ALT + F + T to open it.

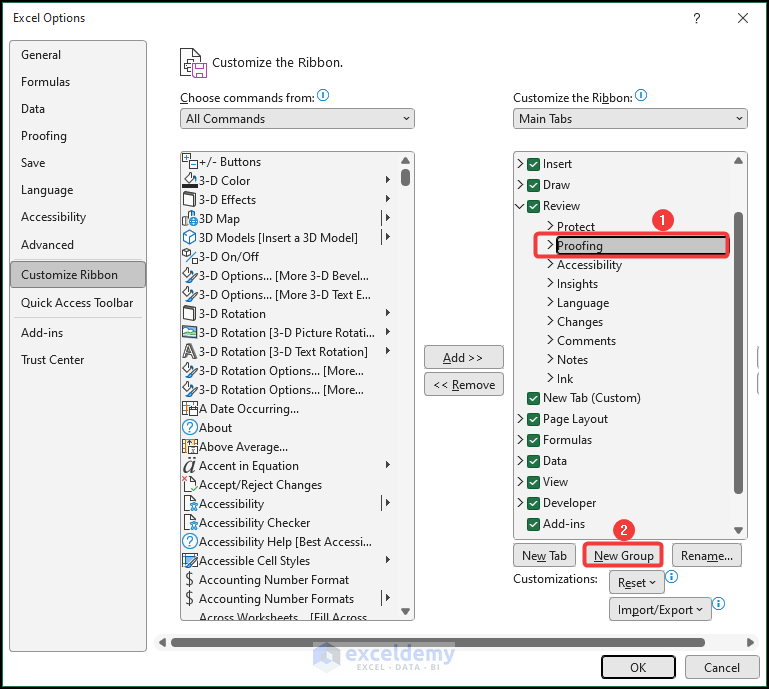
- Click the drop-down icon beside Popular Commands.
- Choose All Commands.
- Click Proofing.
- Choose New Group.
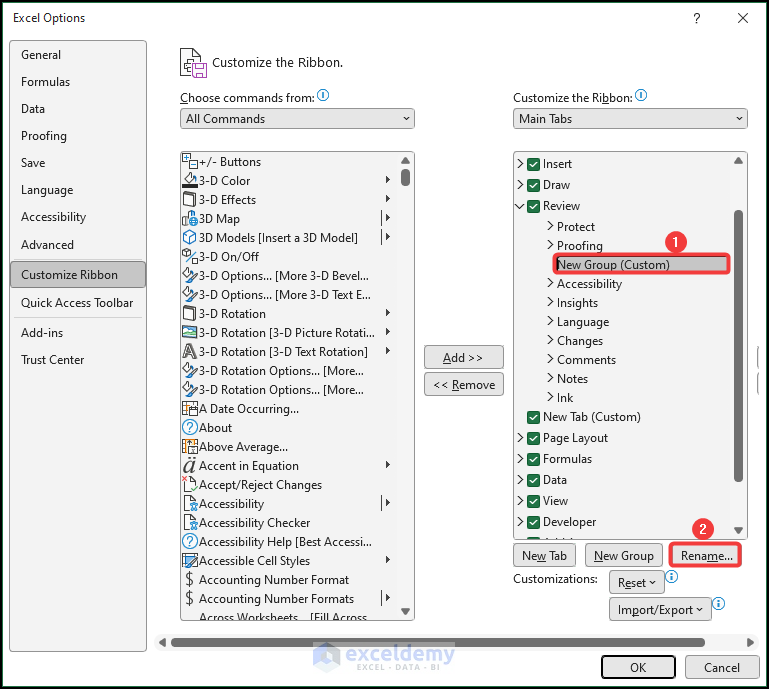
- Select New Group (Custom) and click Rename.
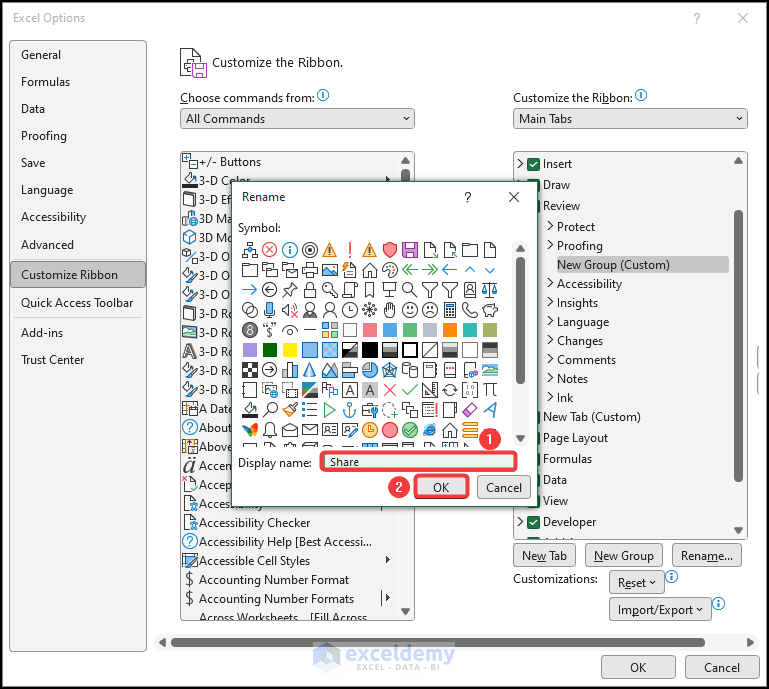
- Choose a name in the Display name field. Here, Share.
- Click OK.
- Select Share Workbook (Legacy).
- Choose Share (Custom).
- Click Add.
- Click OK.
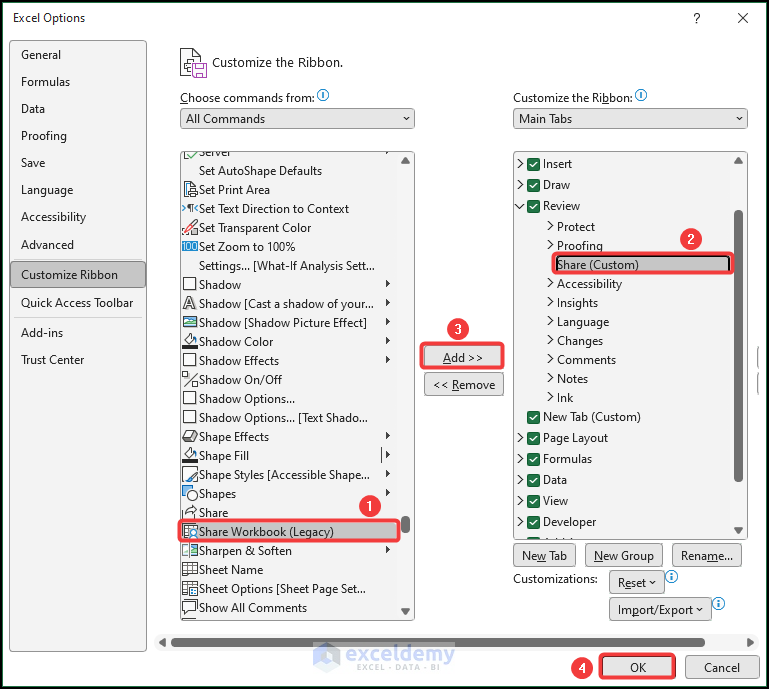
This is the output.
Read More: Setting Permissions for a Shared File in Excel
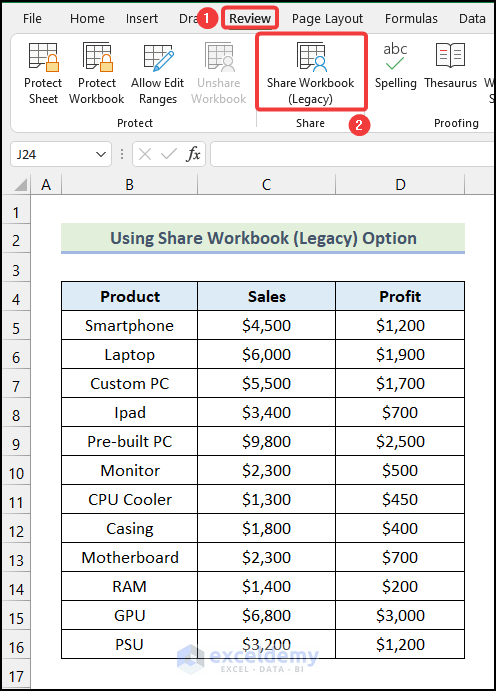
Step 2 – Enabling the Unshare Workbook Feature
- Go to the Review tab.
- In Share, choose Share Workbook (Legacy).
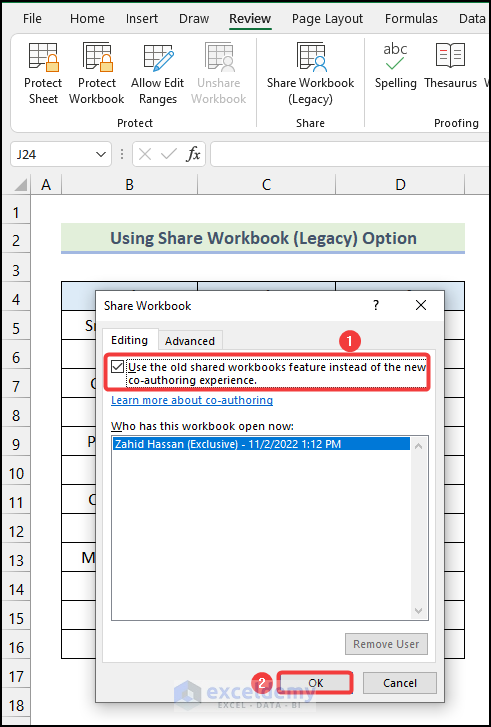
- In the Share Workbook dialog box, check the box under the Editing tab.
- Click OK.
- Click OK.
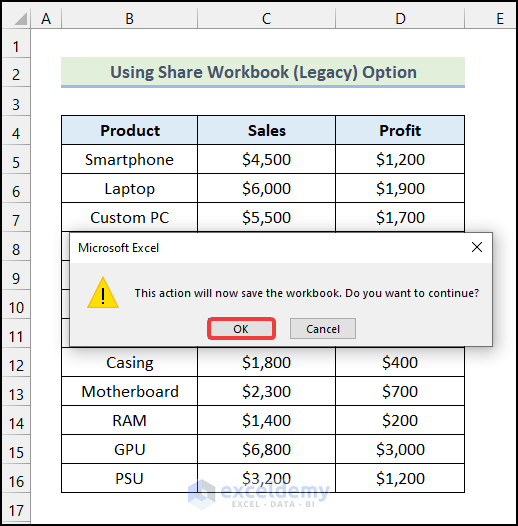
The Unshare Workbook option is no longer grayed.
What to Do If You’re Unable to Share the Excel Workbook
Steps:
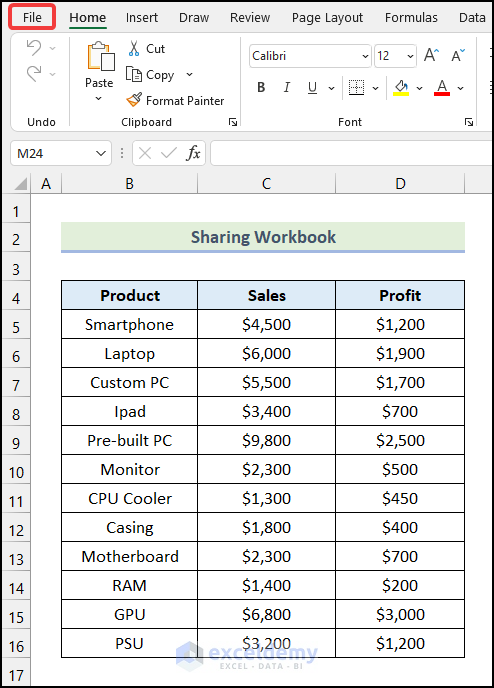
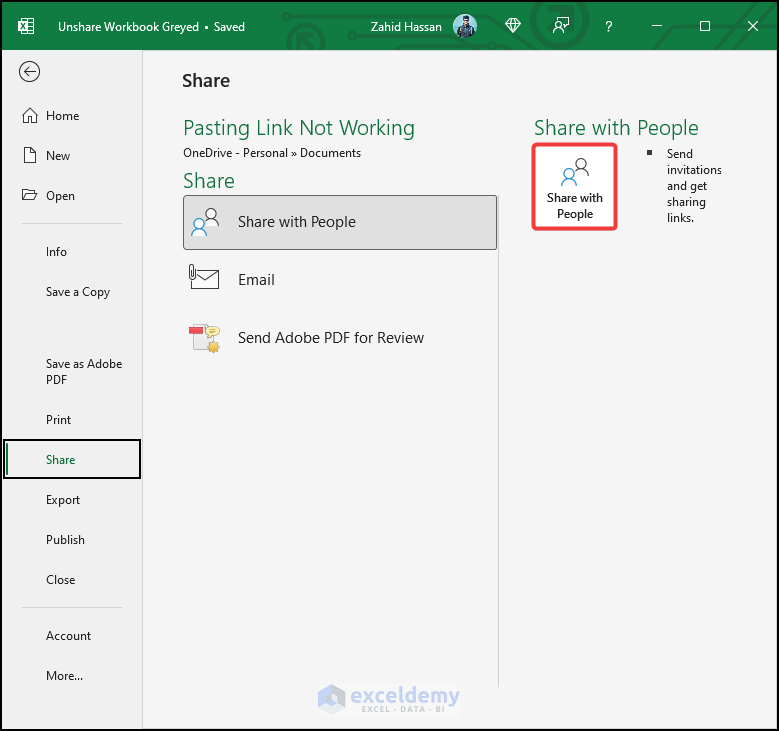
- Go to the File tab.
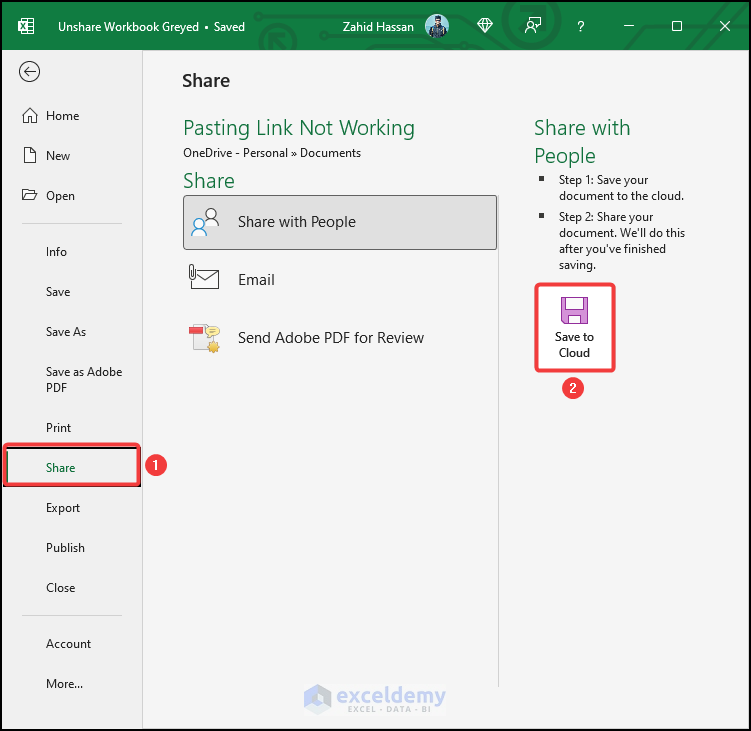
- Select Share.
- Choose Save to Cloud.
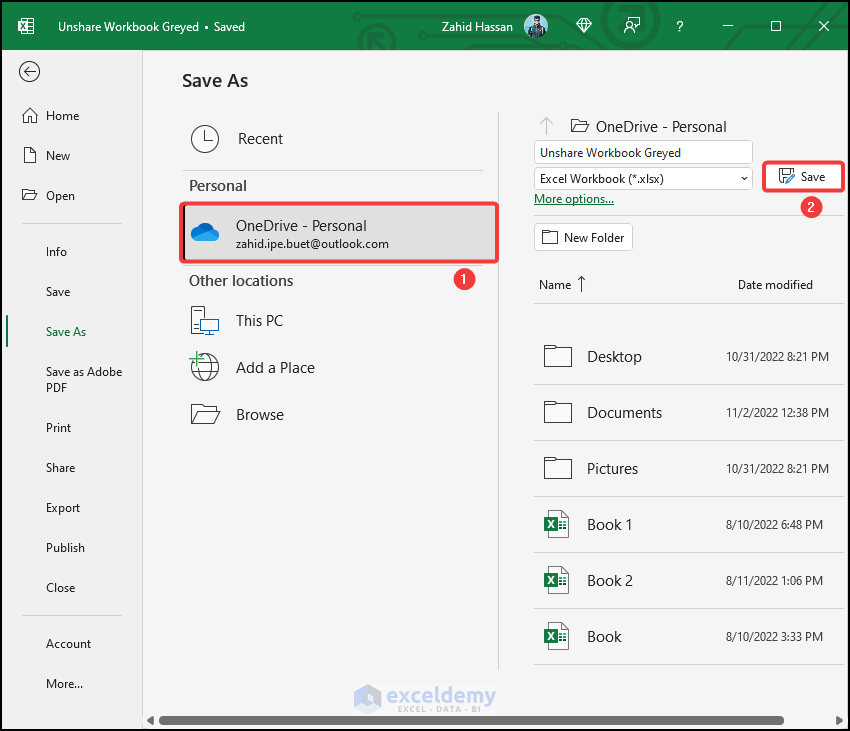
- Select OneDrive – Personal.
- Click Save.
- Select Share with People.
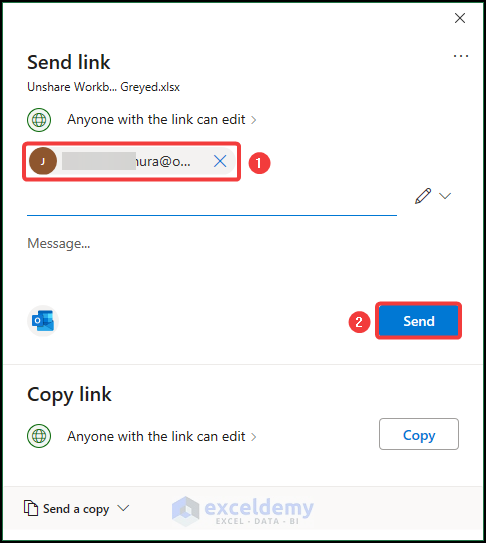
- Enter the email id of the person you want to share the file with.
- Click Send.
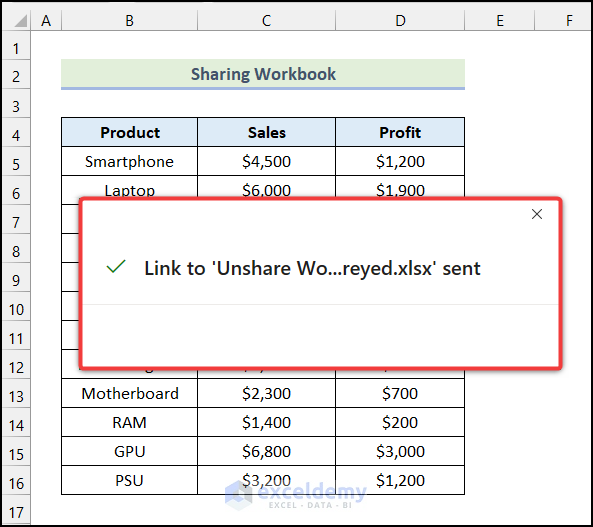
A confirmation will be displayed.
Download Practice Workbook
Related Articles
<< Go Back to Share Workbook | Workbook in Excel | Learn Excel


Microsoft has recently changed their menus and dialogs to push you to the one drive option. Even the internal search function does not show this command as a result anymore. Thankfully this article helped me re-enable a a core feature we used on a shared workbook in the office! Lots of crumbs and props on adding the command in from the ribbon!
Thank you!
Dear Richard,
You are most welcome.
Regards
ExcelDemy