The article will provide you with some basic concepts on how to unhide all rows by using Excel VBA. Suppose, you had a large dataset and you didn’t need all the information to be displayed. But now you want that information again. So you have to unhide all the rows that you hid earlier. Doing this manually will be time-consuming and tiresome, so we can use the Excel VBA to unhide all rows at once.
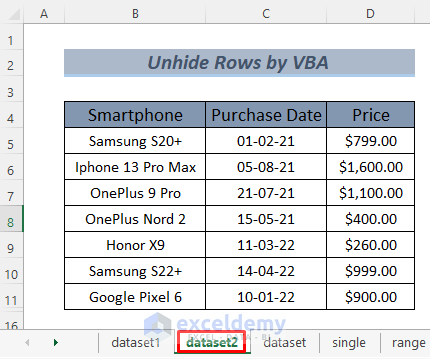
Here, we have a dataset where we store information about some smartphones in a shop: their model name, purchase date, and price. First, I’ll show you the whole dataset.
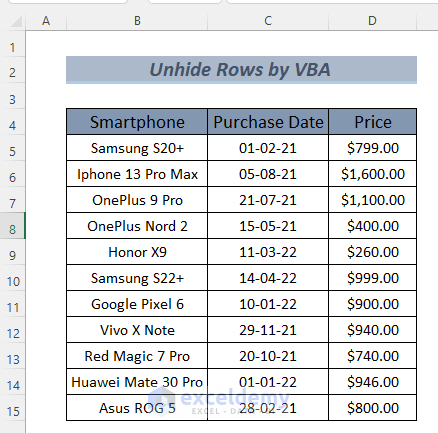
And in the following image, we will hide some of the rows, which we will unhide by using VBA later in this article.

How to Unhide All Rows Using Excel VBA: 5 Practical Examples
1. Excel VBA to Unhide All Rows from a Single Worksheet
We can simply unhide all rows by simply using the VBA EntireRow.Hidden property. Let’s go through the procedure below.
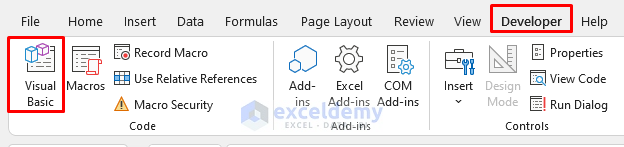
- First, open Visual Basic from the Developer Tab.
- The VBA Window will open. Select Insert >> Module.

- Type the following code in the VBA Module.
Sub UnhideAllRowsSingleWorksheet()
Rows.EntireRow.Hidden = False
End Sub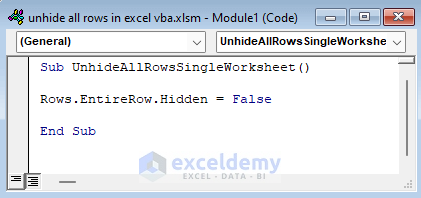
Here, we unhide all the hidden rows by making the Rows.EntireRow.Hidden property False. Basically, this property is used to hide rows.
- Now go back to your sheet and Run the Macro named UnhideAllRowsSingleWorksheet as it is our current Macro.

- And there you go. You will see all the hidden rows after this operation.
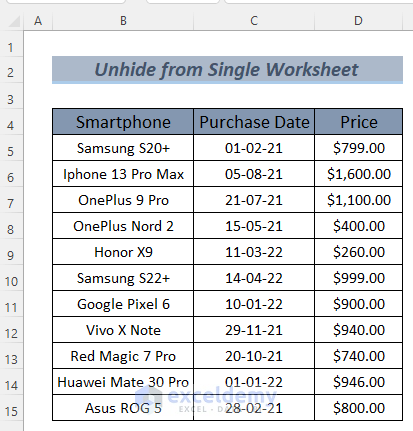
Thus you can unhide all rows by using the EntireRow.Hidden property.
2. Using VBA to Unhide All Rows of a Particular Range
Suppose you don’t want to unhide all rows in your worksheet. Rather you want to display a set of rows that are hidden. To do this you can use the VBA Rows.Hidden property. Let’s go through the procedure below.
Steps:
- Follow Section 1 to open the VBA Editor.
- Type the following code in the VBA Module.
Sub UnhideRowsFromRange()
For k = 5 To 10
    Rows(k).Hidden = False
Next k
End Sub
Code Explanation
- Here, we unhide all the hidden rows by making the Hidden property False.
- As we wanted to unhide rows in the range of 5th to 10th, we used a For Loop to run the Macro in that range.
- Basically, the Hidden property is used to hide rows.
- Now go back to your sheet and Run the Macro named UnhideRowsFromRange as it is our current Macro.
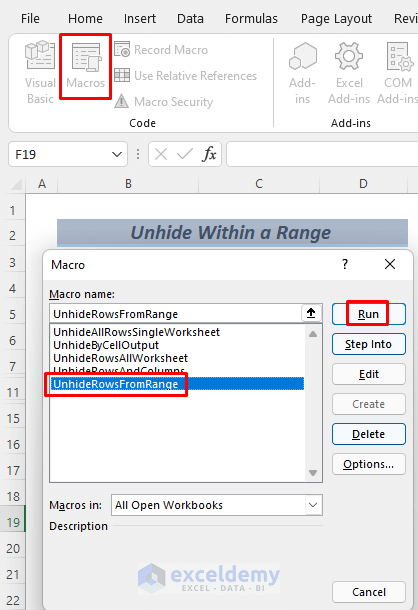
- And there you go. It will unhide all rows after this operation.

Thus you can unhide all rows between the 5th and 10th row by using the Rows.Hidden property. We cannot unhide all other hidden rows in this worksheet.
3. Based on a Cell Output Unhide All Rows
Suppose you want to unhide rows in your worksheet based on a cell output. In this article, I created a formula to identify which smartphones are in a price range of 600 to 900 bucks.
- I wrote the following formula in cell E5 and applied it through E5:E15 by using Fill Handle.
=AND(D5>=600,D5<=900)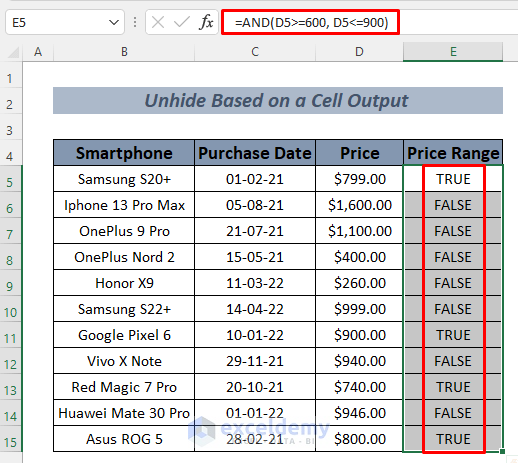
We hide the 9th to 11th rows.

We are going to unhide them by a Check Box from the Developer Tab. Let’s go through the procedure below.
Steps:
- Follow Section 1 to open the VBA Editor.
- Type the following code in the VBA Module.
Sub UnhideByCellOutputCheckBox_Click()
Dim rng As Range
Set rng = Range("$E$5")
If rng = False Then
    Sheets("cell output").Rows("9:11").EntireRow.Hidden = True
ElseIf rng = True Then
    Sheets("cell output").Rows("9:11").EntireRow.Hidden = False
End If
End Sub
Note: Make sure you keep the part ‘CheckBox_Click’ at the end of the name of your Macro.

Code Explanation
- We want to Run this code by a Check Box, so we write CheckBox_Click at the end of our Macro
- First, we declare rng as Range.
- Our target cell is E5. Based on this cell value, we will unhide rows of another Sheet.
- Next, use an IF Statement to check whether the selected range meets the condition or not.
- We will unhide rows based on the TRUE or FALSE of cell E5 by setting the Hidden property to False while declaring the sheet name and row number.
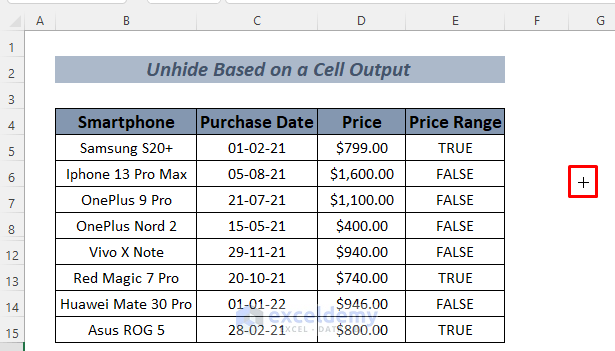
- Now go back to your Sheet and go to Developer >> Insert >> Check Box (Form Control)

- You will see a plus icon (+), place it anywhere in your Excel sheet and click.
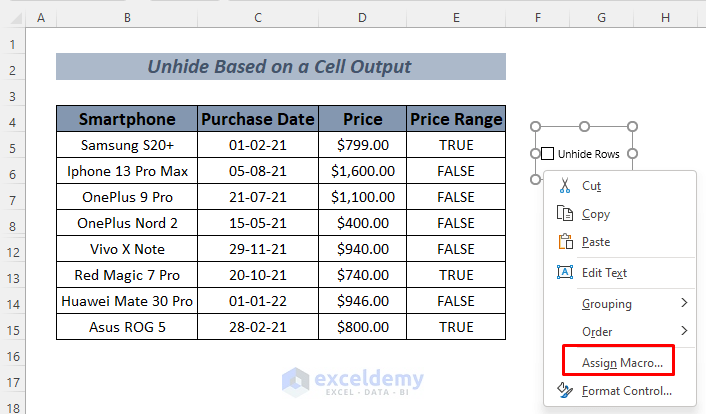
- After that, you will see the Check Box. Give this Check Box a name.

- Then right-click on the Check Box and select Assign Macro. In this case, we created our code in the UnhideByCellOutputCheckBox_Click Macro. So we choose this.
- A dialog box will show up. Select UnhideByCellOutputCheckBox_Click and click OK.

- Check the Unhide Rows Check Box. Right after that, you will see the hidden 9th to 11th rows will appear.

Read More: VBA to Hide Rows Based on Cell Value in Excel
4. Excel VBA to Unhide All Rows from Multiple Worksheets
Suppose you want to unhide all rows throughout your whole workbook. To do this you can use the VBA Rows.EntireRow.Hidden property. Let’s go through the procedure below.
Steps:
- Follow Section 1 to open the VBA Editor.
- Type the following code in the VBA Module.
Sub UnhideRowsAllWorksheet()
Dim SpreadSheet As Worksheet
For Each SpreadSheet In Worksheets
SpreadSheet.Rows.EntireRow.Hidden = False
Next SpreadSheet
End Sub
Code Explanation
- We declare all our worksheets as SpreadSheet.
- Then we used a For Loop to Run the Macro in each worksheet of the whole workbook.
- We unhide all the rows by making EntireRow.Hidden property False.
The execution of this code will unhide all the rows in every worksheet. We will show you 2 different worksheets as examples. The first worksheet is dataset1 where we hid rows from 9th to 12th.

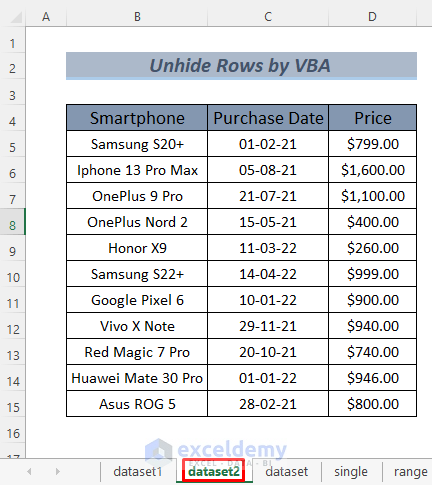
And the worksheet dataset2 has 12th to 15th rows hidden.
- Now go to Developer >> Macro and Run UnhideRowsAllWorksheet as it is our current Macro.
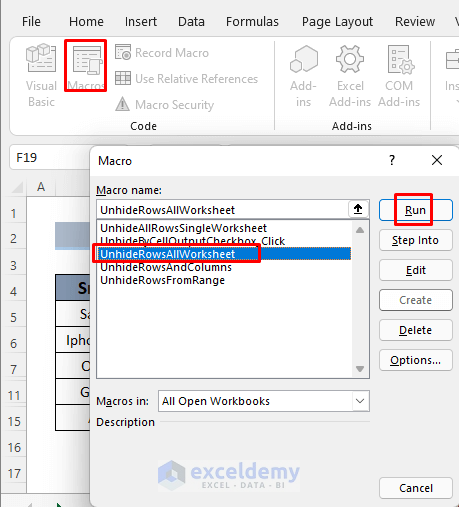
- And there you go. It will unhide rows of dataset1 and dataset2 as well as from other Sheets after this operation.

The worksheet dataset2 has also all the rows displayed.
Thus you can unhide all rows throughout the whole workbook by using the Rows.EntireRow.Hidden property.
5. Unhide All Rows & Columns at Once by Using Excel VBA
If you want to unhide both rows and columns in your worksheet, you can use the VBA Rows.EntireRow.Hidden and Columns.EntireColumn.Hidden properties. Let’s go through the procedure below.
Steps:
- Follow Section 1 to open the VBA Editor.
- Type the following code in the VBA Module.
Sub UnhideRowsAndColumns()
    Columns.EntireColumn.Hidden = False
    Rows.EntireRow.Hidden = False
End Sub
Here, we unhide both rows and columns by making both of the Rows.EntireRow.Hidden and Columns.EntireColumn.Hidden properties False.
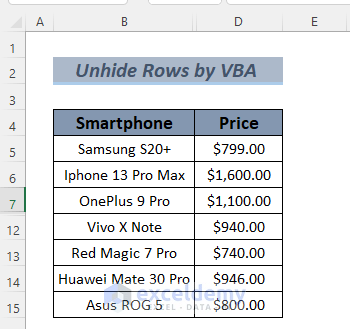
- Now go back to your sheet where we hide the 8th to 11th rows and column B.
- Run the Macro named UnhideRowsAndColumns as it is our current Macro.

- And there you go. It will unhide all the hidden rows after this operation.

Thus you can unhide all rows and columns in your worksheet by using VBA Rows.EntireRow.Hidden and Columns.EntireColumn.Hidden properties.
Practice Section
Here I’m giving you the dataset that we used in this article so that you can practice these methods on your own.

Download Practice Workbook
Conclusion
In the end, we can anticipate that you achieve the necessary knowledge to unhide all rows by Excel VBA. The process is pretty simple. If you have any better ideas or feedback, please share them in the comment box. This will help me enrich my upcoming articles.
Related Articles
- How to Hide Blank Rows in Excel VBA
- How to Hide Rows with Zero Values in Excel Using Macro
- VBA to Hide Rows Based on Criteria in Excel

