In this article, we will learn how to Turn on Spell Check in Excel using the Review tab, shortcut key, and VBA code.
But, let’s first learn how to turn on AutoCorrect in Excel.
Steps:
- Click on the File menu.

- Go to Options.

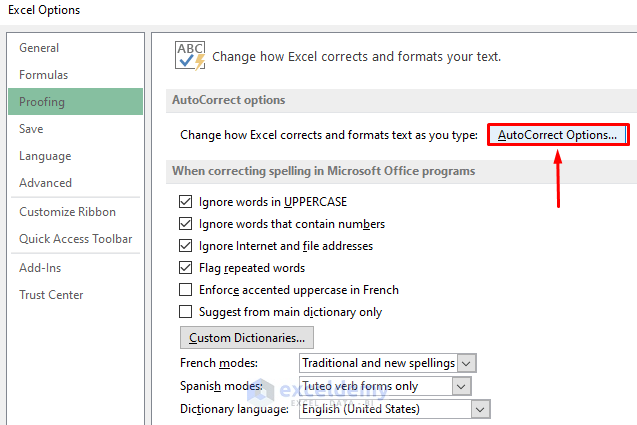
- Click on Proofing.

- A dialogue box will pop up.
- Select AutoCorrect Options.
- A new dialogue box will pop up. Choose the desired correcting options and click OK.

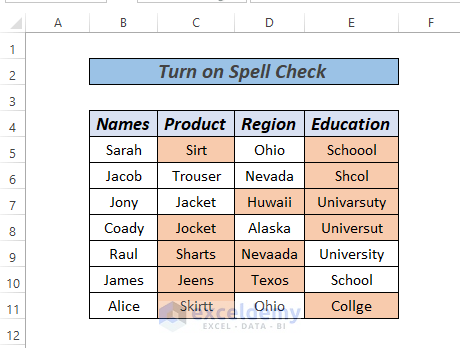
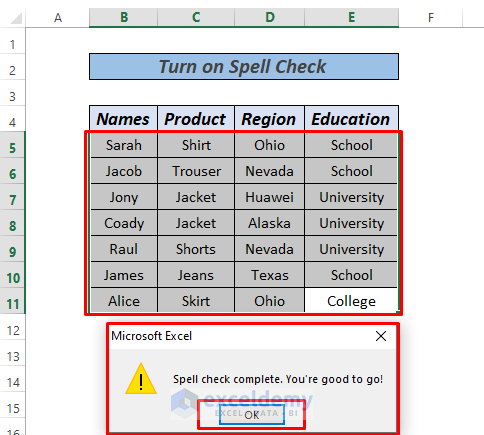
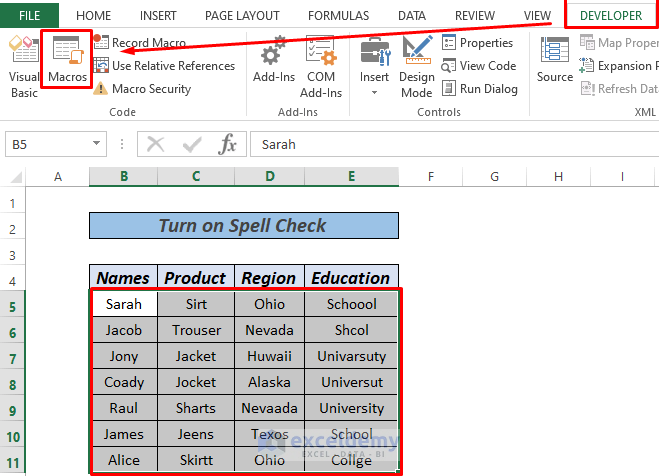
For illustration, we have a sample dataset with several spelling mistakes.
Note: To apply spell check on specific cells or range, you have to select the cells or range. If not, Excel will start spell-checking from the first cell in the workbook.
Method 1 – Turn on Spell Check in Excel from Review Tab
Steps:
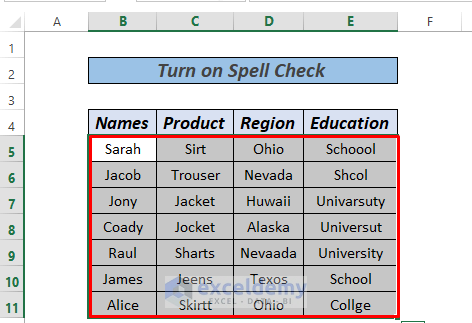
- Select the cells or range you want to spell-check.
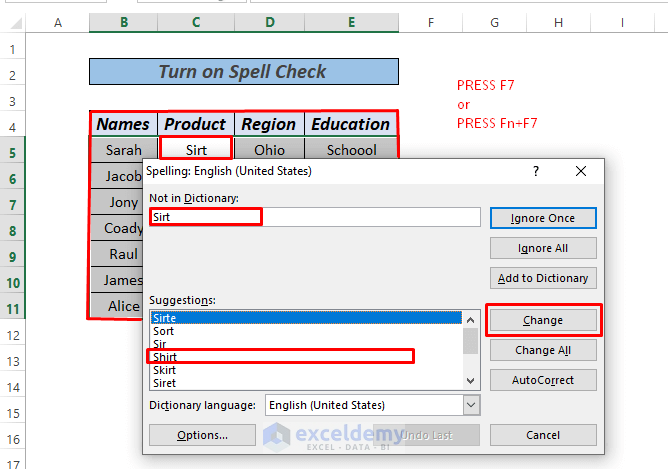
- Go to the Review Tab and click Spelling.

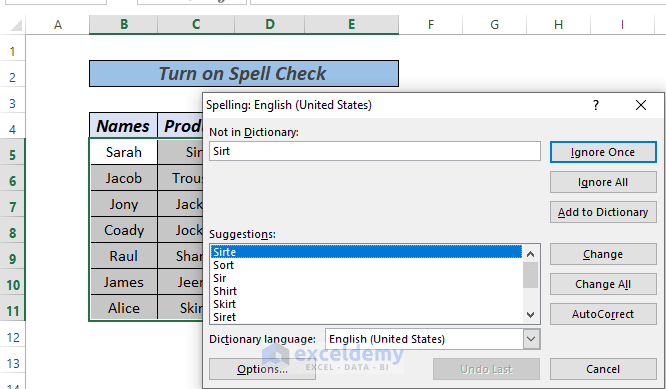
A dialogue box will pop up.
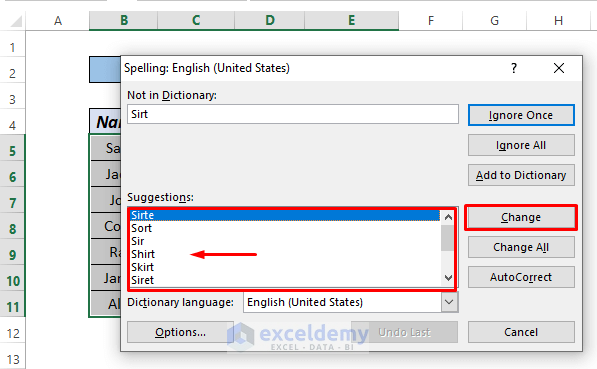
Click on Change or Change All to correct all Sirt to Shirt. After checking one cell, it will move to the right in the same row to check spelling mistakes.
You can ignore the suggestions if the spelling is correct.
Click OK.
Read More: How to Turn Off Spell Check in Excel
Method 2 – Turn on Spell Check Using Shortcut
The easiest way to turn on spell check in Excel is the Function key F7.
Steps:
- On a Desktop computer, Select the desired range and press F7.
- On Laptops or any other device with an Fn key, press Fn+F7.
Method 3 – VBA to Turn on Spell Check
Steps:
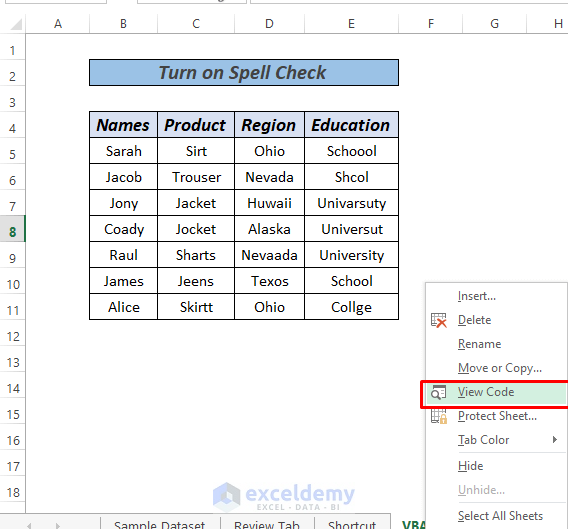
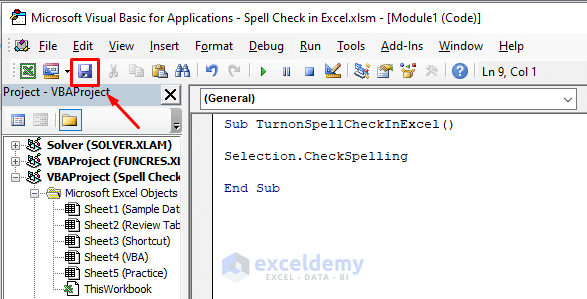
- Right-click on the sheet, and go to View Code.
- Copy and paste the VBA code below.
VBA code:
Sub TurnonSpellCheckInExcel()

Selection.CheckSpelling

End Sub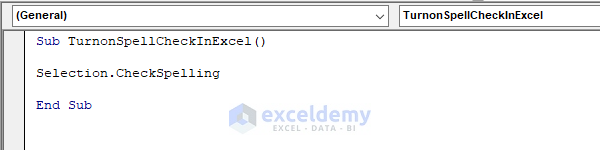
- Press CTRL+S or the Save button to save the code.
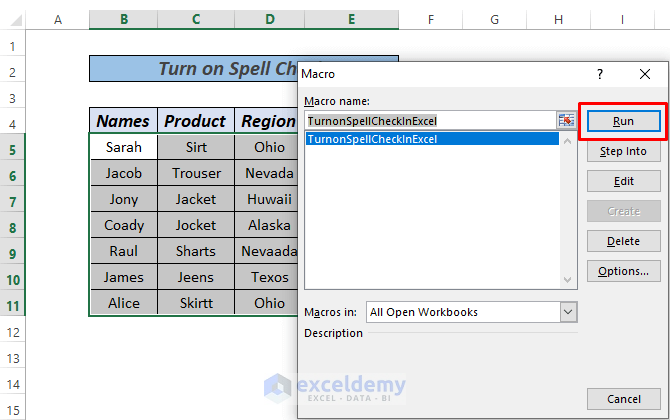
- Select the first cell of the workbook or select the data range and go to Developer > Macros.
- Click on Run to run the code.
Spell checker will turn on for the selected cell.
Read More: [Fixed!] Spell Check Is Not Working in Excel
Download Practice Workbook
Related Article
<< Go Back to Spell Check in Excel | Proofing in Excel | Learn Excel
Get FREE Advanced Excel Exercises with Solutions!
