This is an overview:
Download Practice Workbook
Download the practice workbook.
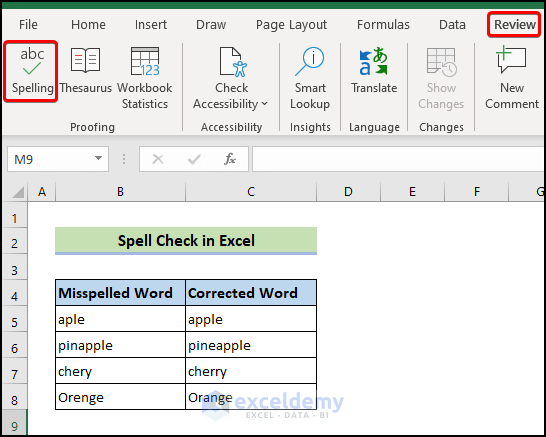
1. Using the Spelling Command to Check Spelling
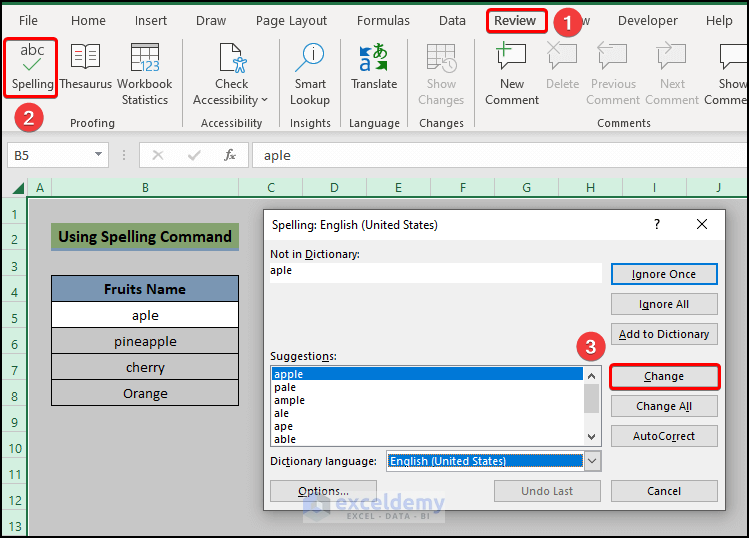
Check Spelling Mistakes in a Single Cell
There’s a misspelled word in B5:B8.
- Go to the Review tab > Spelling.
- In the dialog box, select the word and click Change.
- If the suggestion is not appropriate, click Ignore Once.
- In the message box, click OK.
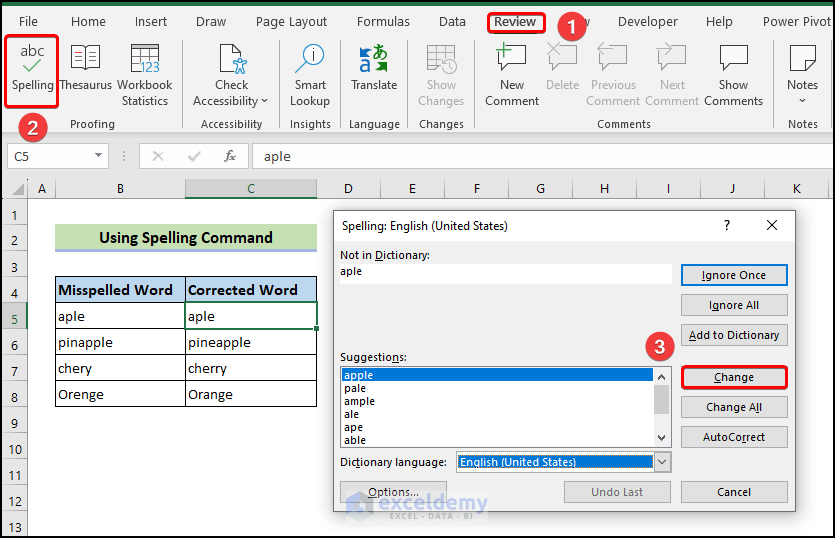
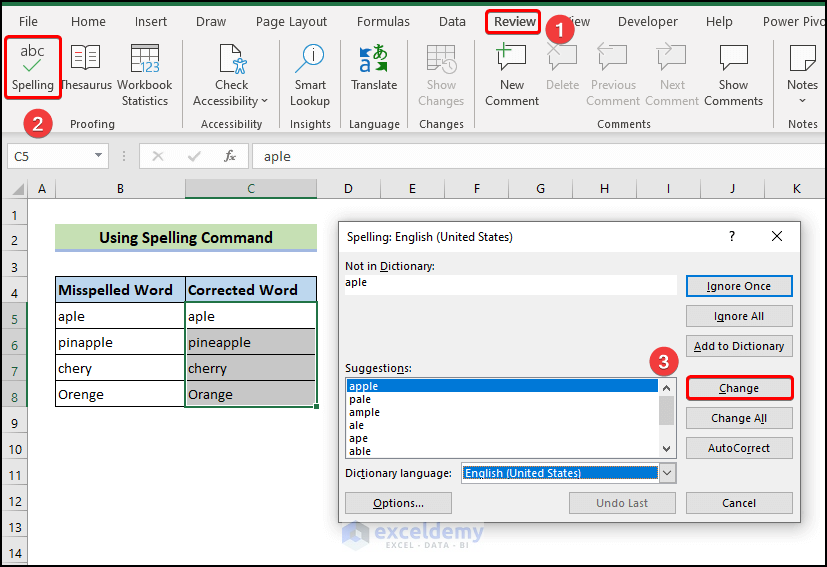
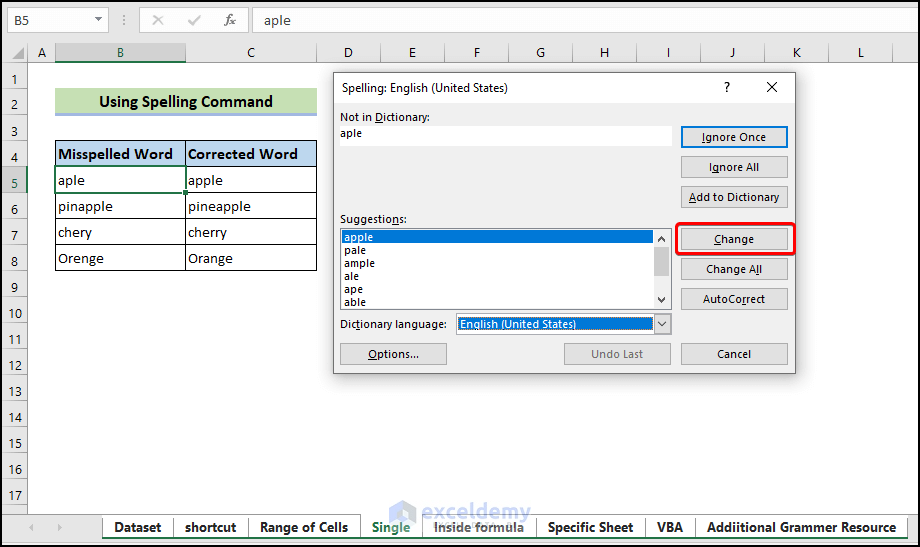
Checking a Range of Cells
There are misspelled words in B5:B8.
- Go to the Review tab > Spelling.
- In the dialog box, select the word and click Change.
- In the message box, click OK.
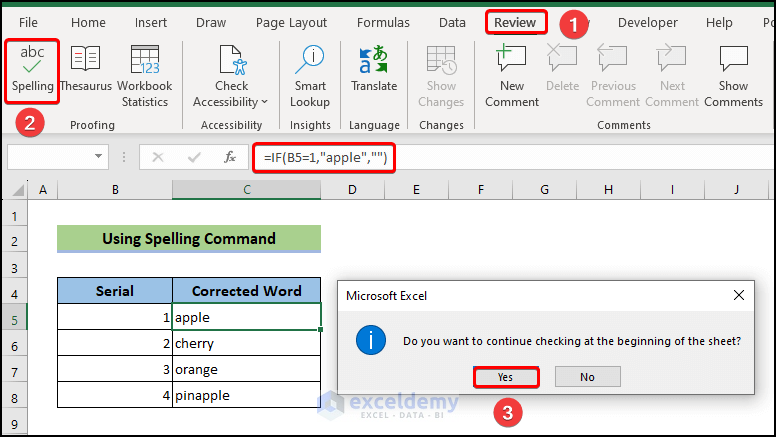
Spell Check Inside a Formula
- Select the cell and double-click it to access the editor mode.
- Select the text outside the functions.
- Go to the Review tab > Spelling.
- Press Enter.
- Click OK. Repeat the same process for the rest of the words.
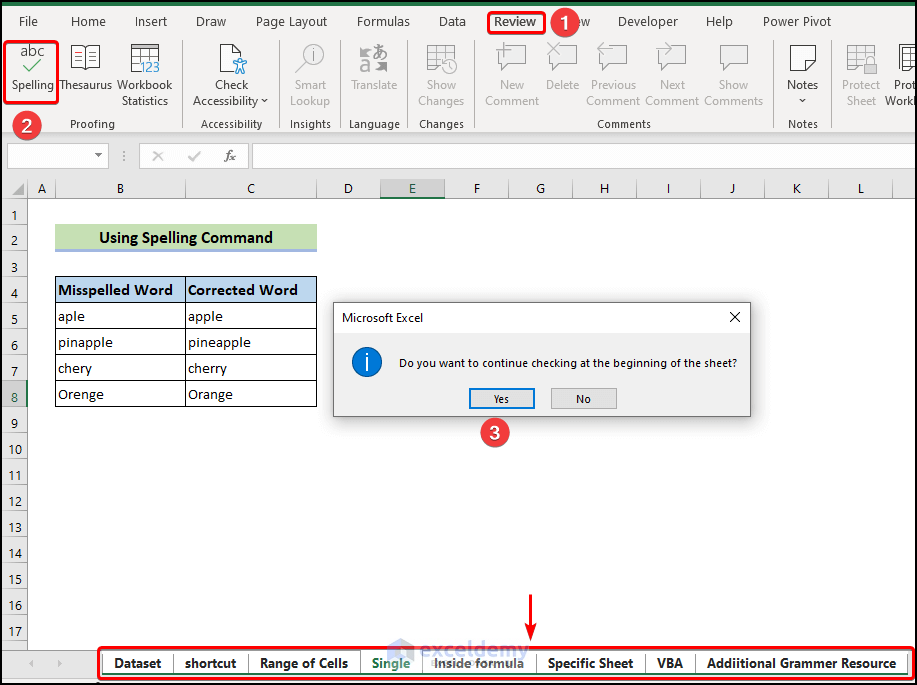
Check Specific Worksheets for Spelling Mistakes
- To check all misspellings in a worksheet, click the select all icon at the left most corner of the sheet.
- Go to the Review tab > Spelling.
- In the dialog box, select the word and click Change.
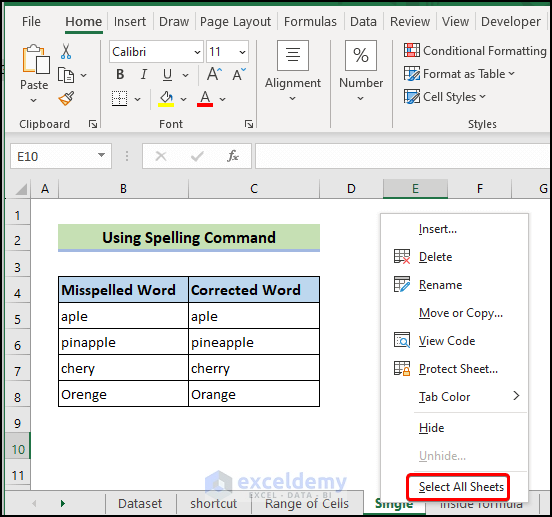
Check the Entire Workbook for Spelling Mistakes
- Right-click any sheet name in the workbook, and click Select All Sheets.
- Go to Review > Spelling.
- In the dialog box, select the word and click Change.
- Repeat the procedure for every misspelled word in the workbook.
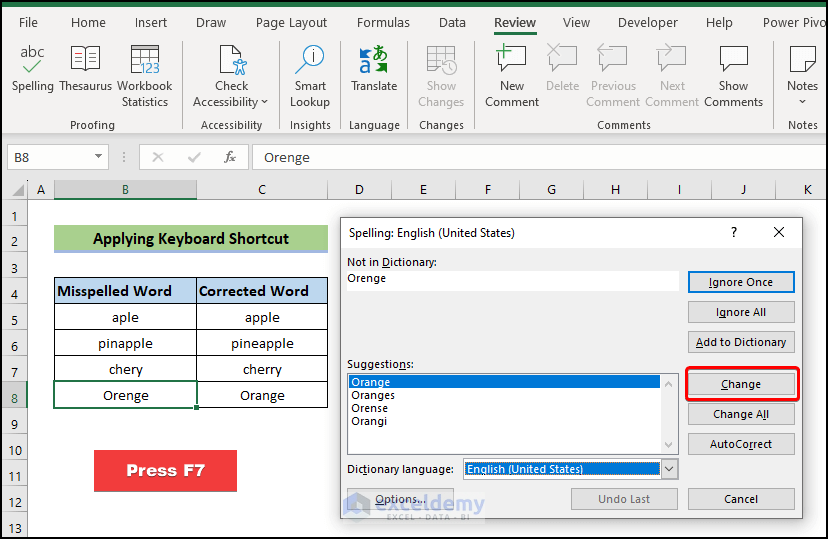
Method 2 – Applying Keyboard Shortcuts to Check Spelling
There is a misspelled word in B5:B8.
- Press F7 to open the Spelling English dialog box.
- Select the word and click Change.
- In the message box, click OK.
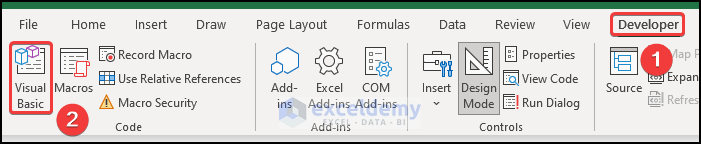
Method 3 – Embedding a VBA Code to Check Spelling in Excel
- Go to the Developer tab and click Visual Basic. (Enable the Developer tab or press ‘Alt+F11’ to open the Visual Basic Editor).
- Go to the Insert tab. Click Module.
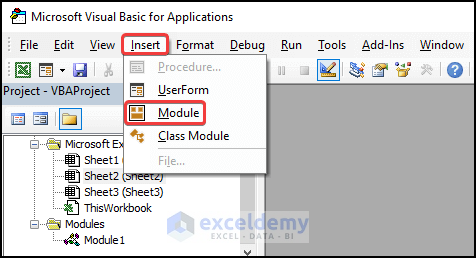
- Select the module and enter the following code.
Sub Spell_Grammar_Highlight()
Dim X As Integer
X = 0
For Each cll In ActiveSheet.UsedRange
If Not Application.CheckSpelling(Word:=cll.Text) Then
cll.Interior.Color = RGB(255, 255, 0)
X = X + 1
End If
Next cll
If X > 0 Then
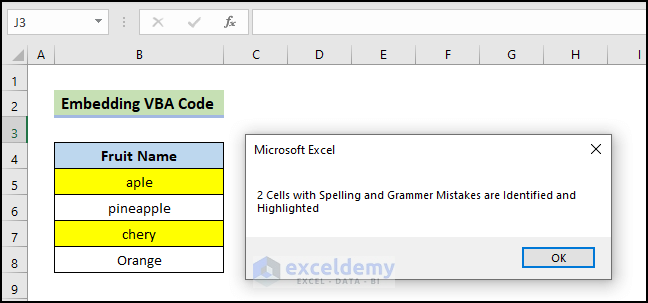
MsgBox X & " cells with spelling and grammar Mistakes are Identified and Highlighted "
Else
MsgBox "All Good, No Corrections Needed."
End If
End Sub- Save the code.
- Close the Visual Basic window.
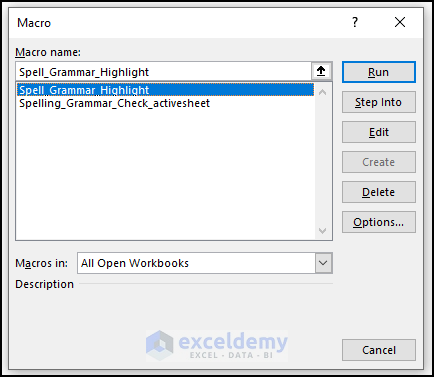
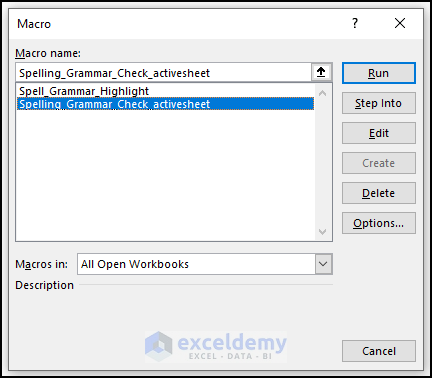
- Press Alt+F8.
- In the Macro dialog box, select the Macro name.
- Click Run.
Cells with misspelled words are highlighted in yellow.
- Click OK.
- Open the visual basic and a new module window. Enter the following code:
Sub Spelling_Grammar_Check_activesheet()
ActiveSheet.CheckSpelling
End Sub- Save the code.
- Close the Visual Basic window.
- Press Alt+F8.
- In the Macro dialog box, select the Macro name.
- Click Run.
- In the suggestion box, select the word and click Change.
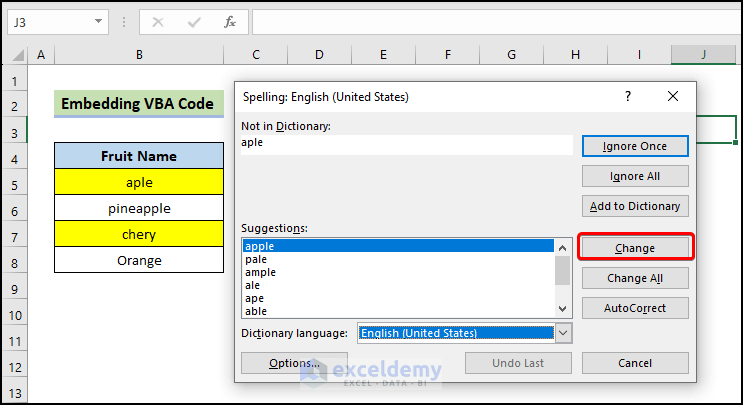
After all words in the range are replaced with the correct word, the final message will be shown.
Method 4 – Correcting Spelling and Grammar While Typing
- Enable the Autocorrect feature.
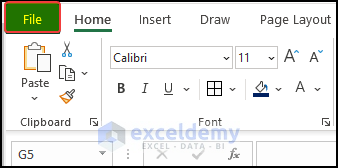
- Click File.
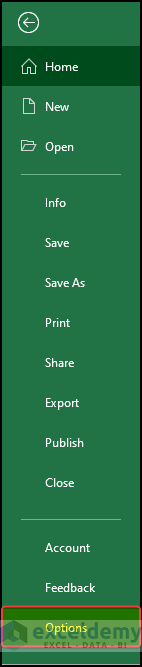
- Click Options.
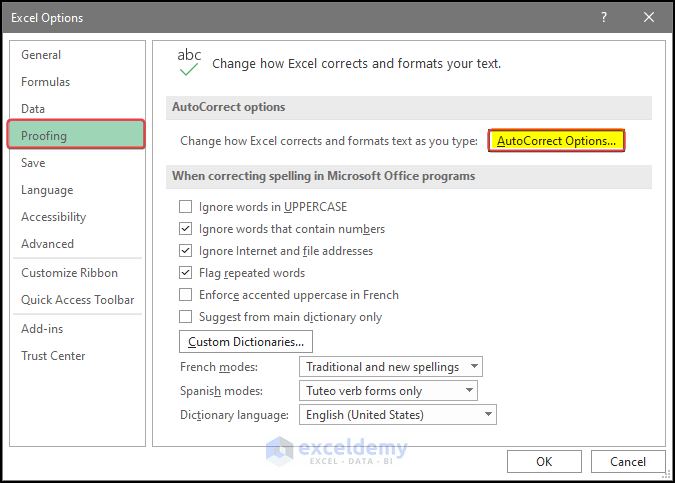
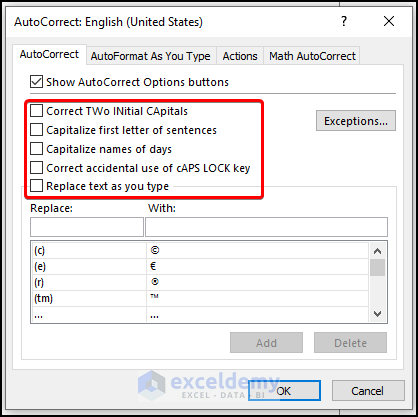
- In the Excel Options window, select AutoCorrect in Proofing.
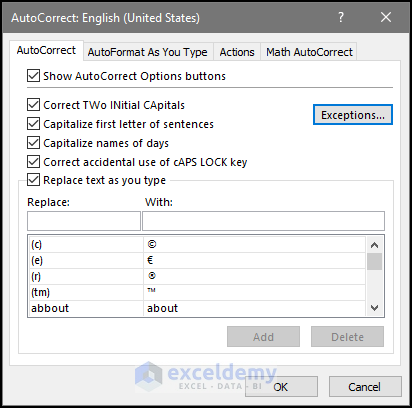
- In the Autocorrect English options window, check the autocorrect options.
- Click OK.
How to Add Words to a Custom Dictionary in Excel
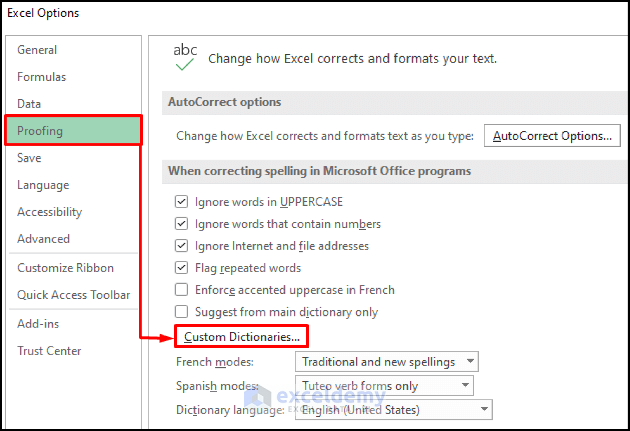
- Click File.
- Select Options and choose Excel Options.
- Click AutoCorrect Options in Proofing.
- Select Custom Dictionary.
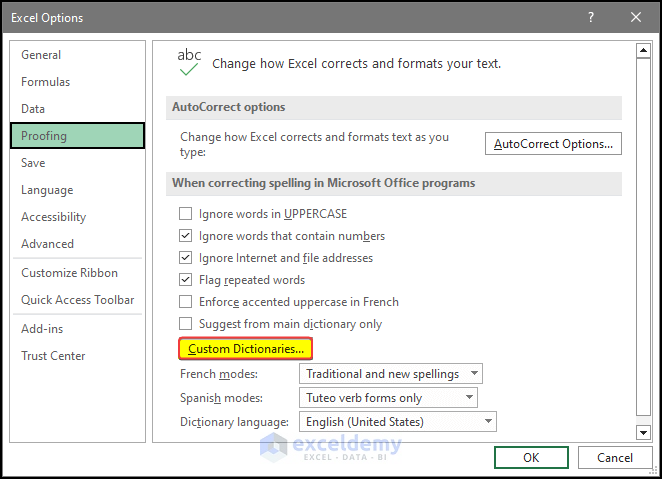
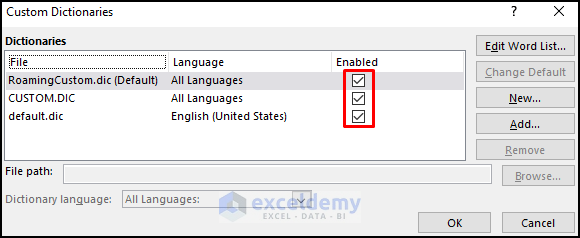
- In the Custom Dictionary dialog box, you can see all the dictionaries in use.
- To add a new word to the dictionary, click a dictionary and click Add.
- To add a whole new dictionary, click New.
- Otherwise, click OK.
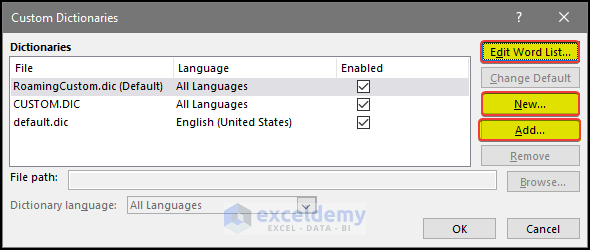
- To add a new word, click Edit word list.
Additional Grammar Resources in Excel
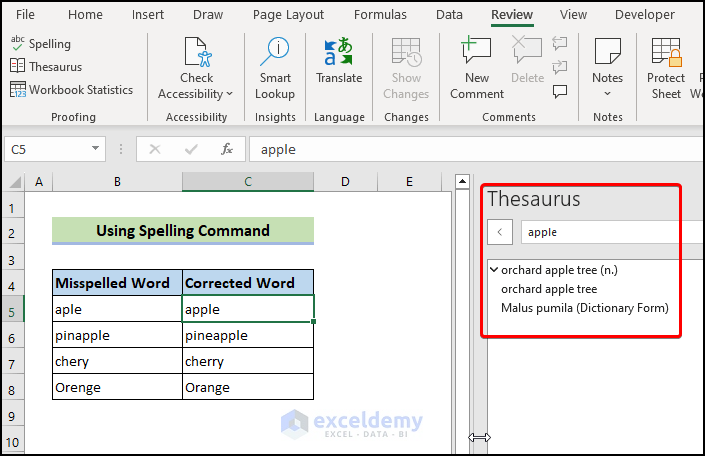
1. Thesaurus
- To get the meaning of some words, hover over the word.
- Go to Review > Thesaurus: the meaning and parts of speech are displayed in the side panel.
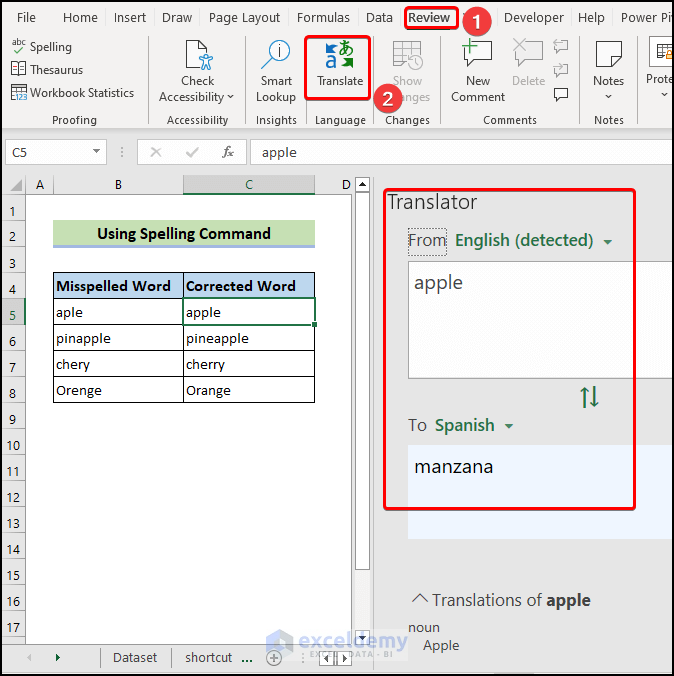
2. Translate
- Hover over the word.
- Go to the Review tab > Translate.
- In the side panel, the translated text will be displayed.
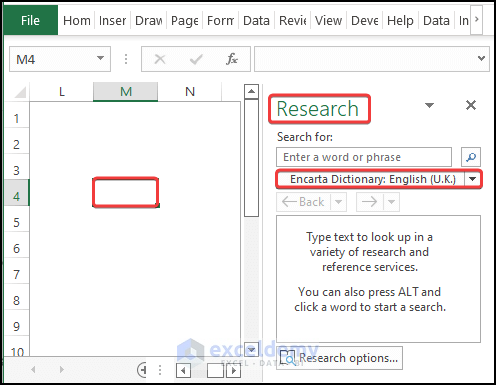
3. Research
- Press Alt and select any cell in the worksheet.
- The Research pane will be displayed.
How to Turn Off Spelling Check in Excel
- Select File > Click Options > Select Proofing > Click AutoCorrect Options.
- Uncheck all checkboxes. The Spell Check feature will be turned off.
The Spelling Check Is Not Working in Excel
- Click File > select Options.
- Click Proofing > Custom Dictionaries.
- In the dialog box, check all options and click OK.
Things to Remember
- Unprotect the sheet if the spelling check is not working.
Frequently Asked Questions
1. What languages are supported by the spell check feature in Excel?
Excel supports a wide range of languages for spell check. Choose a language in the language options: “File” > “Options” > “Proofing“.
Spell Check in Excel: Knowledge Hub
- Turn On Spell Check
- Turn Off Spell Check
- Check Spelling and Grammar in Excel
- [Fixed!] Spell Check Is Not Working in Excel
<< Go Back to Proofing in Excel | Learn Excel
Get FREE Advanced Excel Exercises with Solutions!
