Method 1 – Using Capture Screen Command to Share a 3D Map in Excel
Steps:
- Select Capture Screen from the Ribbon of the 3D Map window.
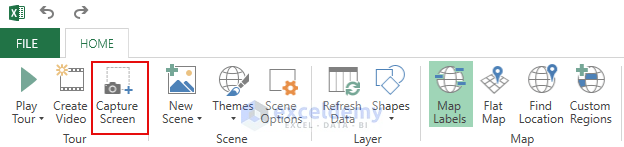
Store this 3D Map on the Clipboard.
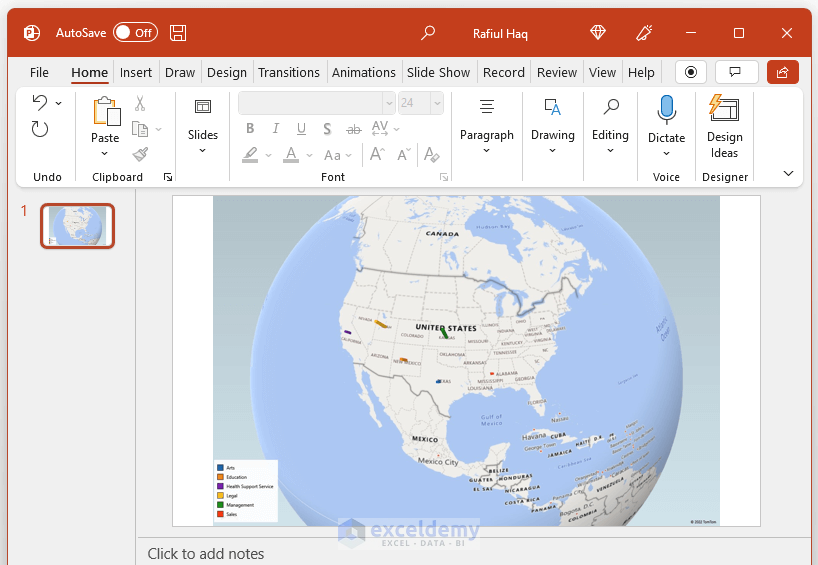
- Open a PowerPoint file.

- Press CTRL+V to paste that Map from the Clipboard to the PowerPoint file.
- Save the file.
Share this file via email or thumb drive.
Method 2 – Share a 3D Map in Excel by Creating a Video
Steps:
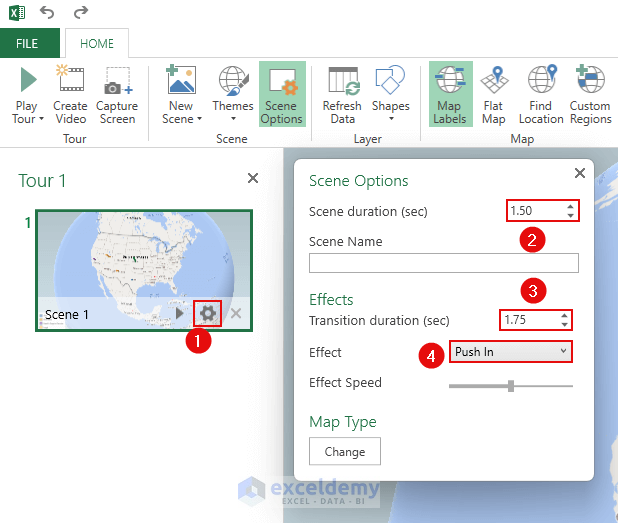
- Enable Tour Editor by clicking it from the Ribbon.

- Select Change scene options (the gear icon) inside Scene 1.
- Set the following values in the Scene Options dialog box.
- Scene duration (sec) – 1.50.
- Transition duration (sec) – 1.75.
- Effect – Push In.
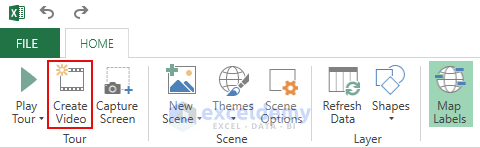
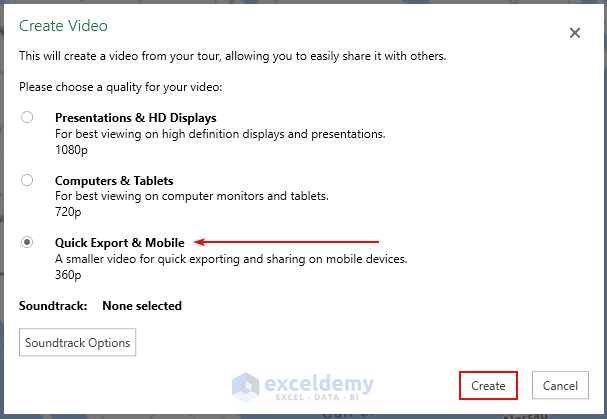
- Select Create Video.
- A new dialog box named Create Video will appear.
- Select Quick Export & Mobile.
- The video will be in a smaller file size.
- Select other options, depending on your needs.
- Select Create.
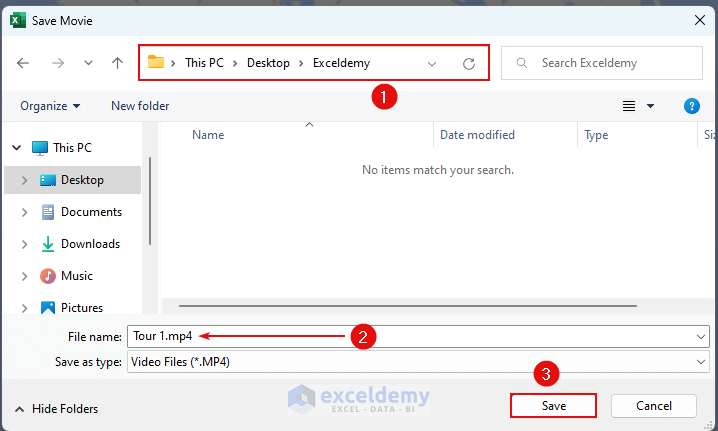
- The Save dialog box will appear.
- Select your directory.
- Type a file name, which is optional.
- Press Save.
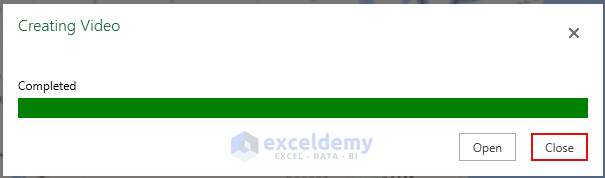
- See the Progress Bar of the video encoding process.
- Press Close when it is completed.
- Go to the file location to see our file.
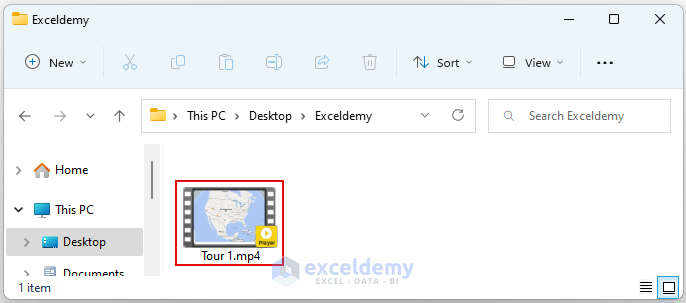
Here is the output of the file in animated image format.
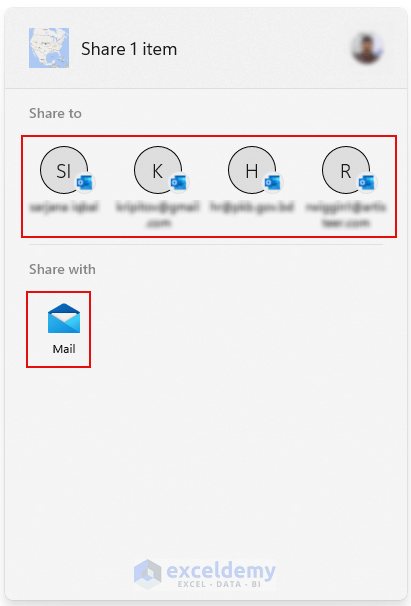
Use the built-in Windows share feature to share the 3D Map.
- Right-click on the file and click on the Share button.
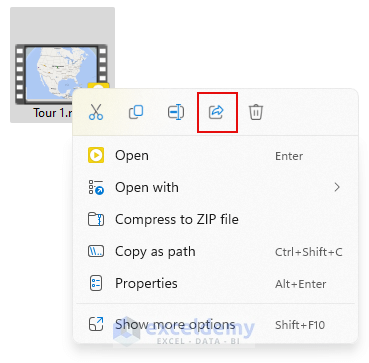
- Email your 3D Map in Excel as a video file using this feature.
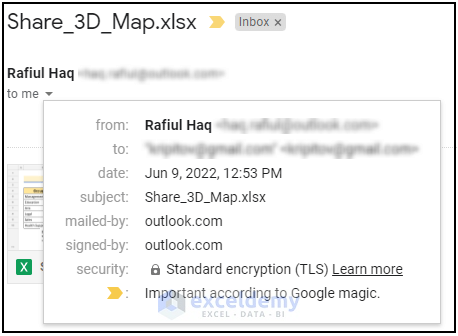
Method 3 – Share a 3D Map via Email in Excel
Steps:
- Press ALT, F, and Z to open the Excel Share window.
- Select Excel Workbook.
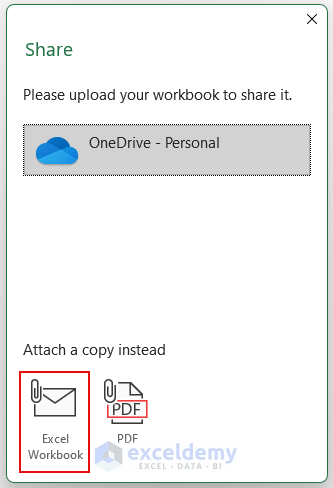
- The Outlook window will appear with our file attached.
- Type the recipient’s email address in the To field.
- Press Send.

Check your email inbox to verify the Workbook is shared correctly.
Things to Remember
- The 3D Map feature is only available on the Windows platform and from Excel 2013. Earlier versions will not have access to this feature, and you cannot use it on Apple’s OS.
- She was known as Power Map in Excel 2013. Later, Microsoft renamed it 3D Map.
- Create a 3D Map on Excel 2016; it will not be compatible with Excel 2013.
Download Practice Workbook
Related Articles
<< Go Back to Excel Power Map | Learn Excel
Get FREE Advanced Excel Exercises with Solutions!
