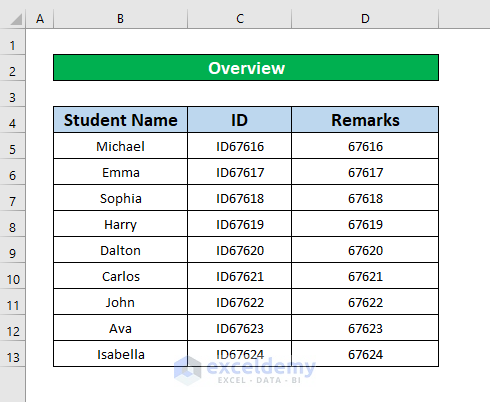
The following sample dataset shows some student IDs that start with ID and the Name of the corresponding IDs in Column C and Column B respectively.
Method 1 – Apply the RIGHT and LEN Functions to Remove Prefix in Excel
Step 1:
- Select cell D5 to replace special characters from cell C5.

- Add the RIGHT and the LEN functions below in the Formula Bar.
=RIGHT(C5,LEN(C5)-2)- Here, C5 refers to the cell from which you want to remove the prefix of the student’s ID, the RIGHT function indicates that the characters of the text will be taken from the last character, and LEN(C5)-2 indicates that the resultant text will be without the first two characters of the referred text (C5).
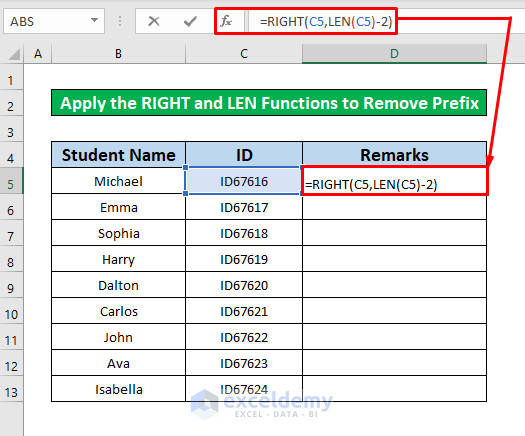
- Press Enter to get the output of the functions. The output of the functions is of the functions is 67616.

Step 2:
- On pressing Enter, place your cursor on the bottom right of cell D5 to get the AutoFill sign.

- Drag the AutoFill sign downward to remove the prefix from Column C.

Read More: How to Remove Prefix 91 in Excel
Method 2 – Insert the REPLACE Function to Remove Prefix in Excel
Step 1:
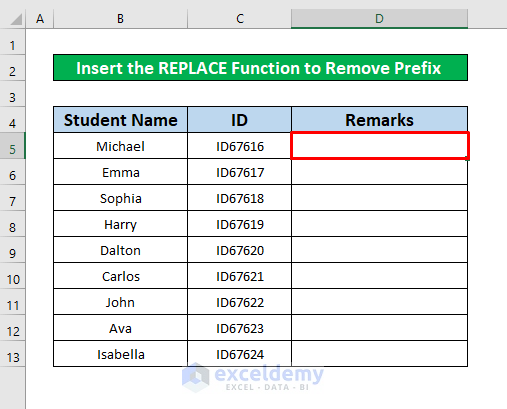
- Select an empty cell and add the REPLACE function. From our dataset we’ll select cell D5.
- In cell D5 insert the following formula.
=REPLACE(C5,1,2,"")- C5 refers to the cell from which you want to remove the prefix of the students’ ID, 1 indicates that you want to remove the prefix from the first two characters of your text, 2 indicates that you want to remove the first two characters, and (” ”) indicates that you are removing that character.
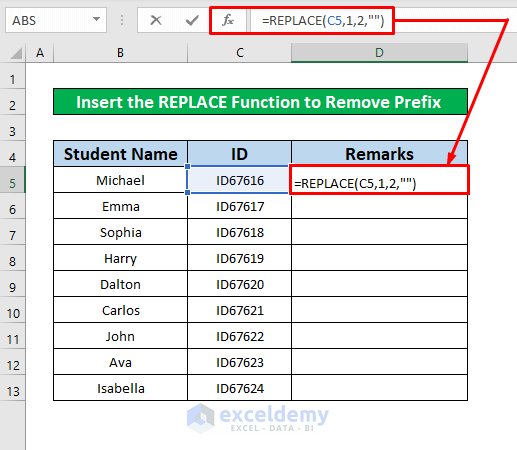
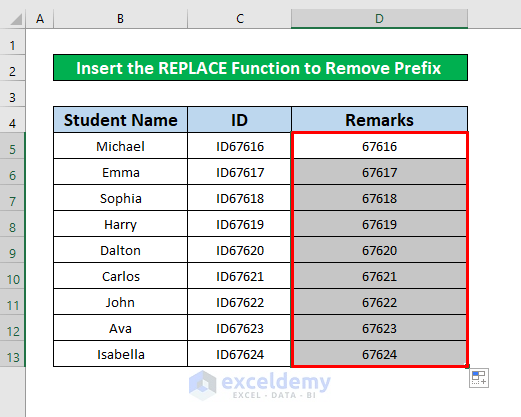
- Press Enter to get the return of the REPLACE function and the return is 67616.

Step 2:
- Place your cursor on the bottom right side of cell D5 and an AutoFill sign pops up. Drag the AutoFill sign downward.

- The prefix ID will be removed from the identification number.
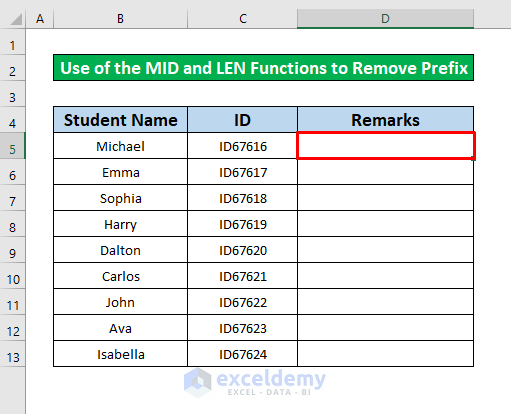
Method 3 – Use of the MID and LEN Functions to Remove Prefix in Excel
Step 1:
- To apply the MID and LEN functions, select a cell.
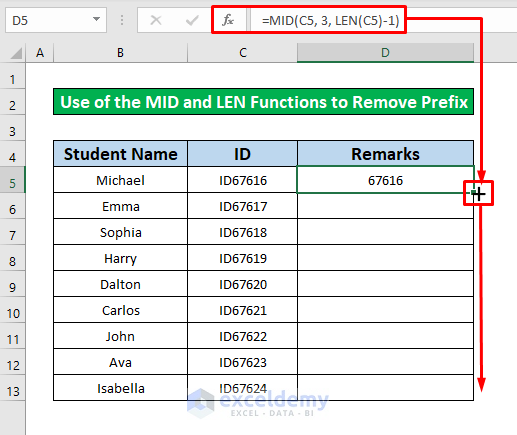
- Insert the following formula in the Formula Bar,
=MID(C5, 3, LEN(C5)-1)
- Press Enter to get 67616 as the return of the functions.

Step 2:
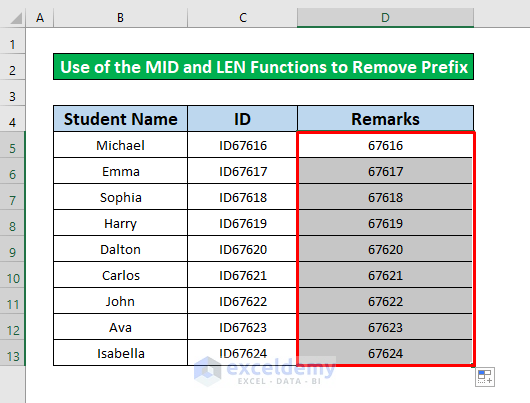
- Place your cursor on the bottom right side of cell D5 for the AutoFill sign to pop up. Drag the AutoFill sign downward.
- Release the AutoFill to get the desired output as shown in the image below.
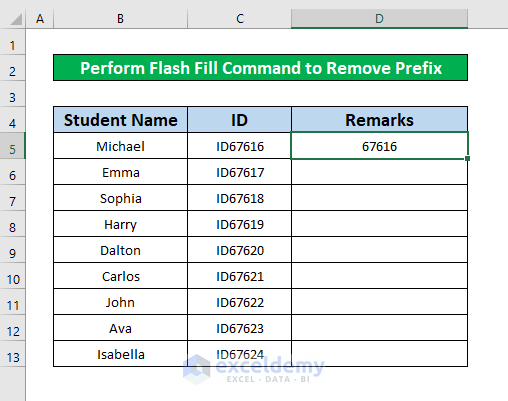
Method 4 – Perform the Flash Fill Command to Remove Prefix in Excel
Steps:
- Select cell D5 and insert Michael’s identification number 67616 without the prefix.
- From Home Tab, go to,
Home → Editing → Fill → Flash Fill
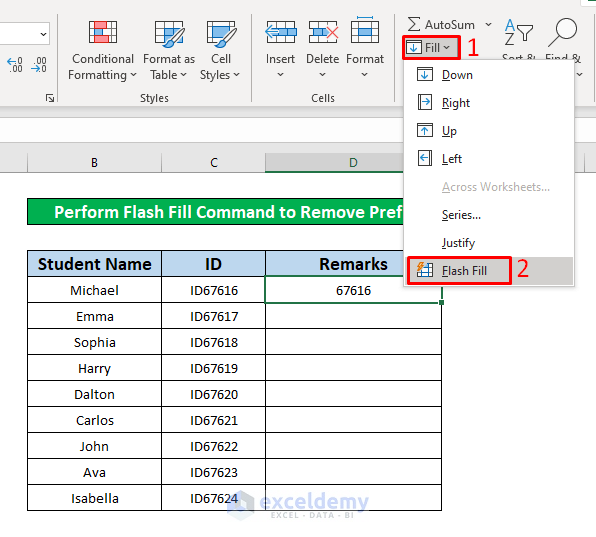
- Result shows all identification numbers without the ID.

Method 5 – Apply the SUBSTITUTE Function to Remove Prefix in Excel
Step 1:
- Select cell D5 to apply the SUBSTITUTE.
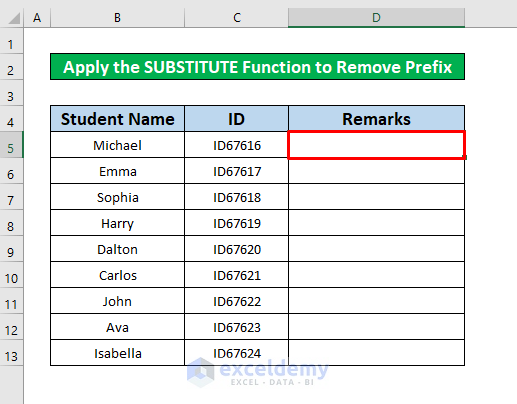
- Insert the SUBSTITUTE Function in the Formula Bar.
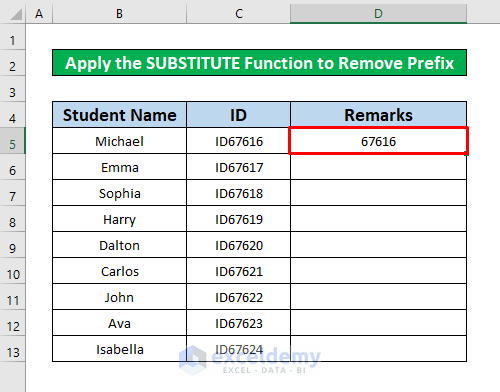
=SUBSTITUTE(C5, "ID", "")
- Press Enter to get the output of the function, the output is 67616.
Step 2:
- Place your cursor on the bottom right side of cell D5 and the AutoFill sign pops up.
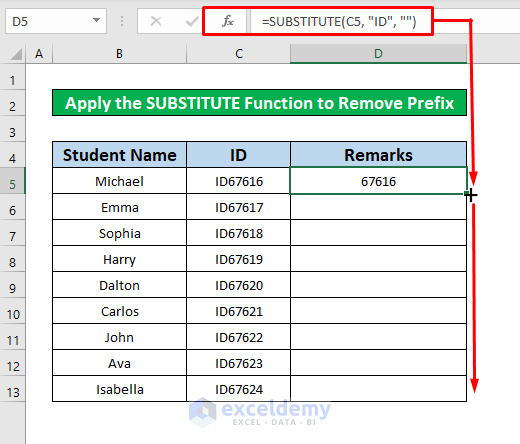
- Drag the AutoFill downwards and release to get the output of the SUBSTITUTE Function.

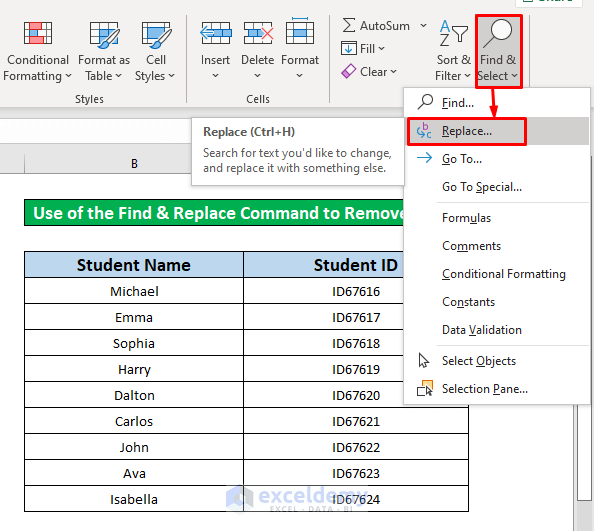
Method 6 – Use of the Find & Replace Command to Remove Prefix in Excel
Steps:
- From the Home Tab, go to,
Home → Editing → Find & Select → Replace
- A Find and Replace window pops up.
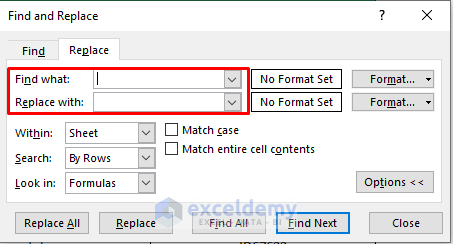
- From the Find and Replace window, type ID in the Find what box and leave the Replace with box empty.
- Click on the Replace All box.

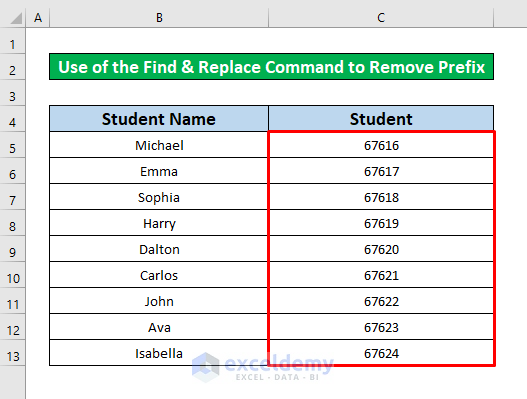
- A new dialog box named Microsoft Excel will pop up with the message All done. We made 10 replacements.
- Press OK.

- You will now be able to remove the ID with Empty as shown in the image below.
Things to Remember
While applying the Flash Fill Command, type the Code of Eraser manually and then go to,
Home → Editing → Fill → Flash Fill
Another way is to use the Ctrl + E as the keyboard shortcut instead of Flash Fill Command.
The keyboard shortcut for applying the Find & Replace method is Ctrl + H.
Download Practice Workbook
Related Articles
- How to Add Suffix in Excel
- Add Suffix Without Formula in Excel
- How to Add Text Suffix with Custom Format in Excel
- How to Add Prefix to Entire Column in Excel
- How to Add Prefix Without Formula in Excel
- How to Add Text Prefix with Custom Format in Excel
<< Go Back to Suffix and Prefix | Text Formatting | Learn Excel
Get FREE Advanced Excel Exercises with Solutions!
