In our dataset, we have multiple Products with the sold Quantity, Unit Price, and Total Price. Here’s an overview of naming cell D5 using the Name Box.

2 Ways to Name a Cell in Excel
Method 1 – Using the Name Box Feature to Name a Cell
The Name Box in Excel is a small, rectangular box located to the left of the formula bar.
- Select a cell that you want to assign a name to.
- Go to the Name Box.
- Type any name and press Enter.
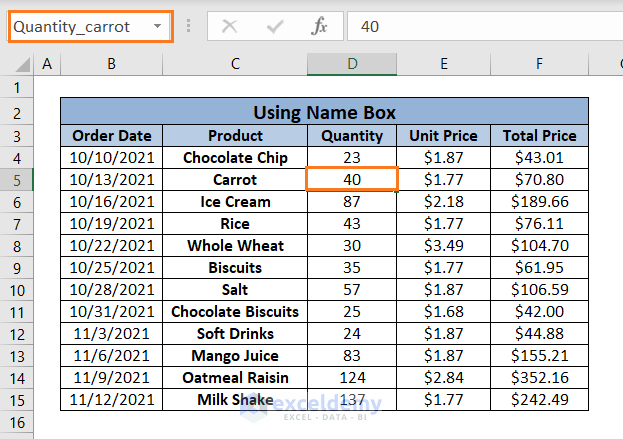
- We assigned Unit_Price_carrot as the Name for cell E5.
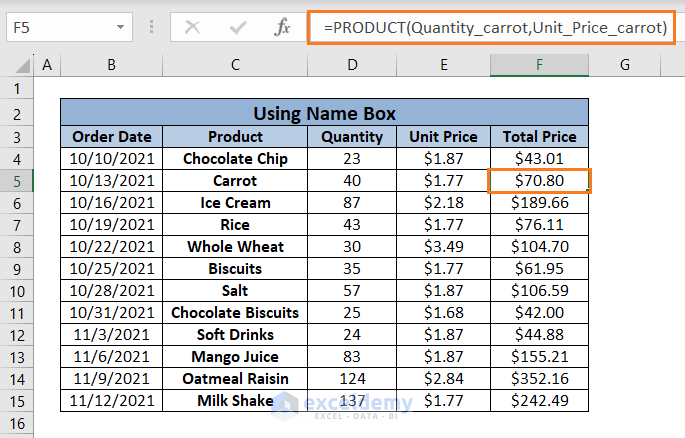
- You can use the cell name in an Excel formula, like:
=PRODUCT(Quantity_carrot,Unit_Price_carrot)
- You can assign names to a range of cells following the same process.
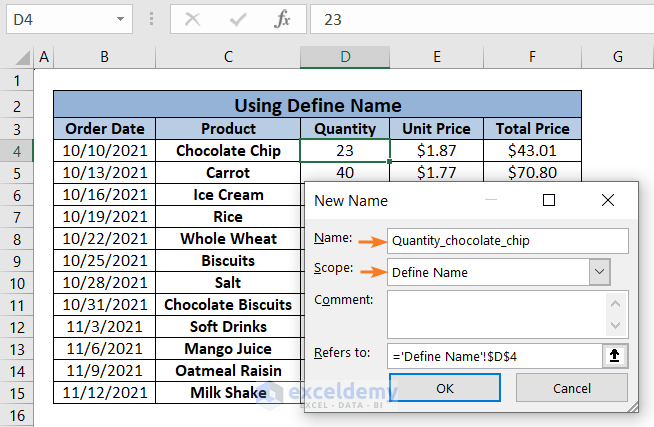
Method 2 – Using the Defined Names Command
Case – 2.1 Using the “Define Name” Option
- Select a cell.
- Go to the Formulas tab.
- Select the Defined Name drop-down.
- Click on Define Name.

- The New Name dialog box will appear.
- Type any name in the ‘Name‘ designated box.
- Select the worksheet name as Scope.
- Click OK.
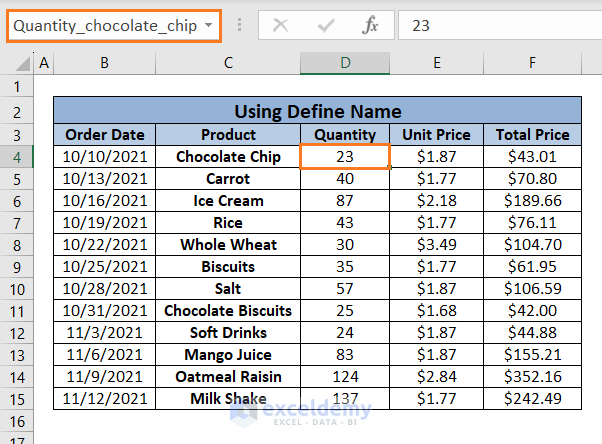
- The name has been assigned to the selected cell.
Alternatively, you can get the New Name dialog box by following the below steps:
- Go to the Formulas Tab, select the Defined Names drop-down, and go to Name Manager.
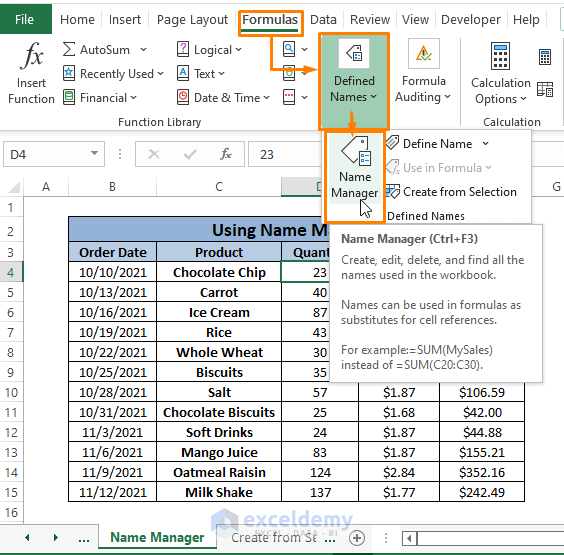
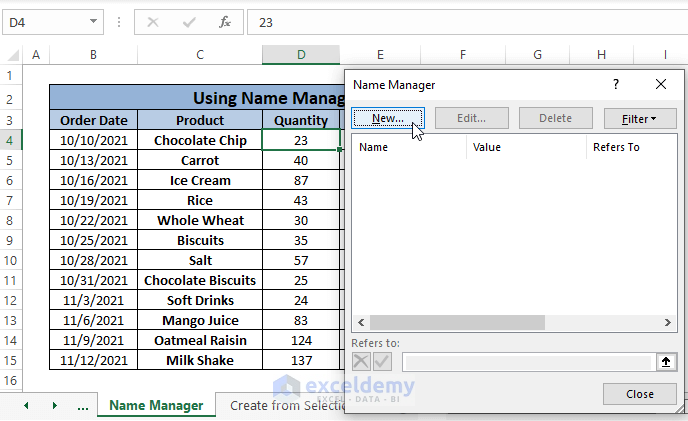
- Click on the New tab from the Name Manager dialog box.
You can apply a name to a cell like the “Define Name” method.
Note: You can use keyboard shortcuts Ctrl + F3 and ⌘ + Fn + F3 to bring up the Name Manager dialog box in Windows and Macs respectively.
Case 2.2 – Using the “Create from Selection” Option
- Select a range.
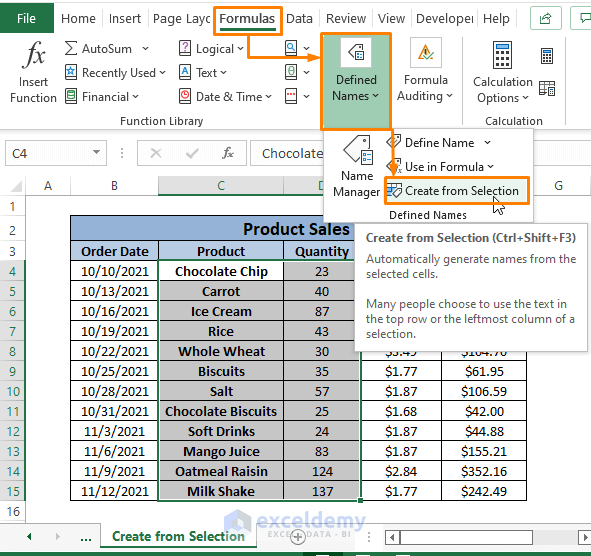
- Go to the Formulas tab, select the Defined Names drop-down, and choose Create from Selection.
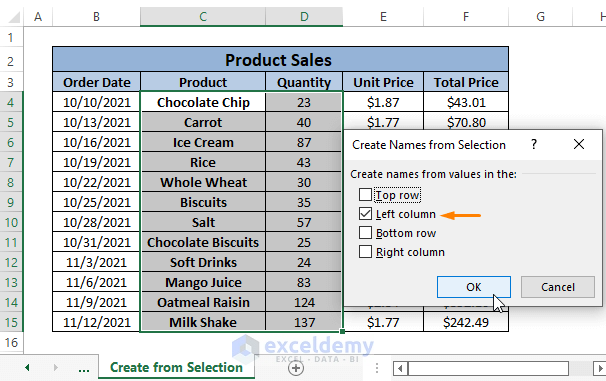
- In the Create Names from Selection dialog box, check a box according to your preference. We have checked the Left column box.
- Press OK.
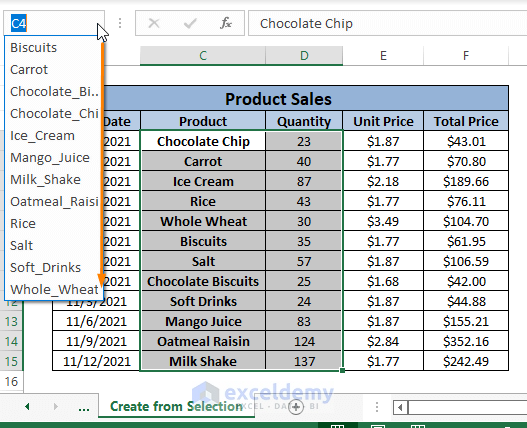
- The entries in the Quantity column will get the Product names as their assigned names.
- You can click on the Name Box to see all the assigned names. You’ll find all the Product Names assigned as names for the quantities.
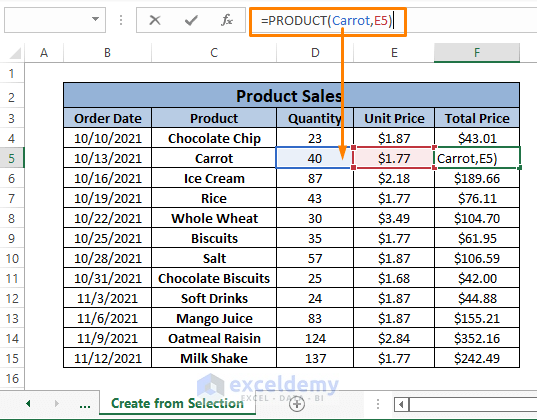
- You can use them in a formula like this:
=PRODUCT(Carrot,E5)
Note: Keyboard shortcuts Ctrl + Shift+ F3 make the Create from Selection dialog box appear in Windows.
Download the Practice Workbook
Frequently Asked Questions
Can I edit or delete a cell name later?
Yes, you can edit or delete cell names. Use the “Define Name” option to manage existing names. Simply select the name you want to modify or remove and make the necessary changes
Can I use named cells across multiple worksheets?
Yes, you can use named cells across multiple worksheets within the same workbook. Simply refer to the named cell with the syntax “SheetName!NamedCell.”
Can I use spaces or special characters in cell names?
Yes, you can use spaces and certain special characters in cell names.
Related Article
<< Go Back to Excel Parts | Learn Excel
Get FREE Advanced Excel Exercises with Solutions!
