Example 1 – Merge a Single Page in an Excel File into a Word Document
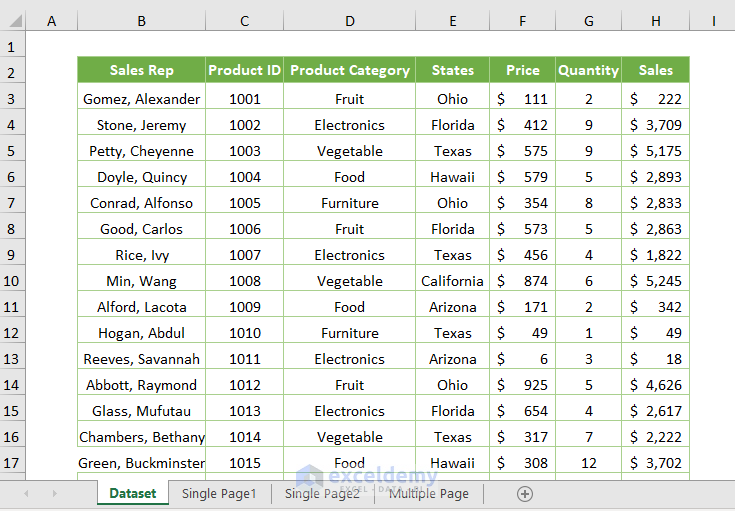
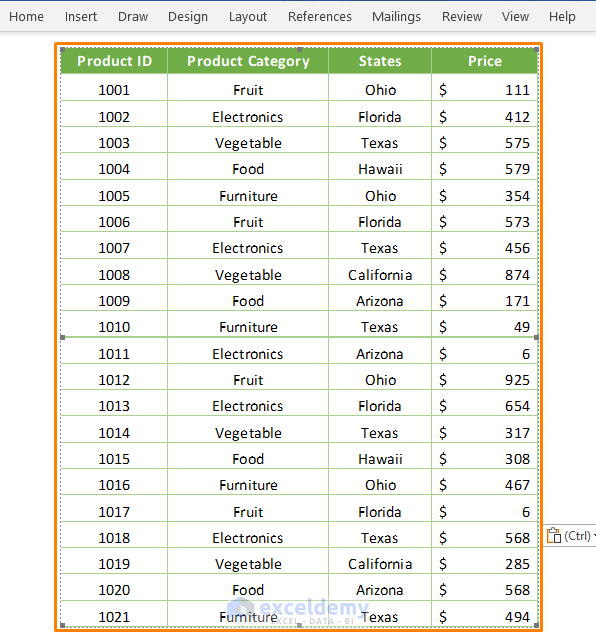
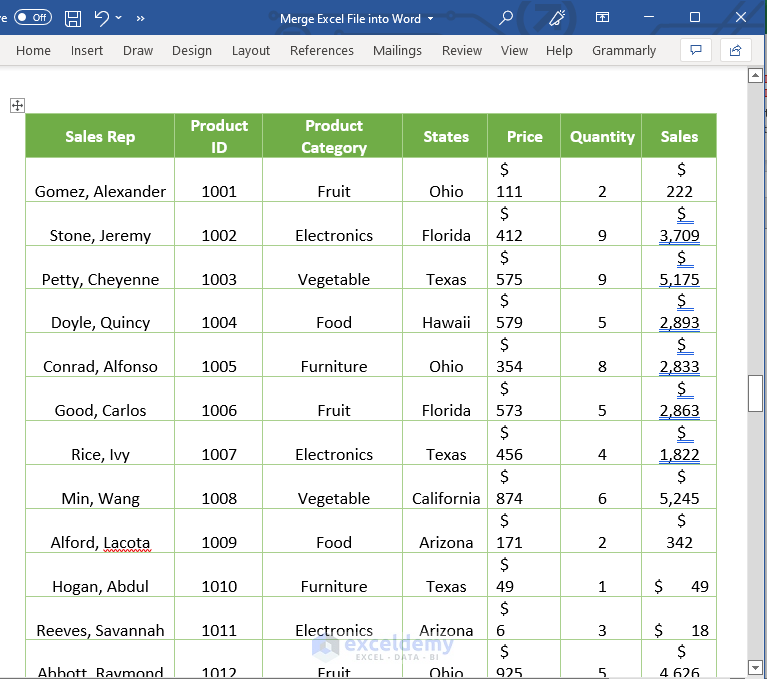
The sample dataset showcases a sales report: Sales Rep, Product ID and Category, States, Price, Quantity, and Sales.
1.1. Merging the Excel Dataset into the Word Document Directly
- Select the entire dataset by moving the cursor or pressing CTRL + A.
- Copy the dataset by pressing CTRL + C.
- Open a Word document.
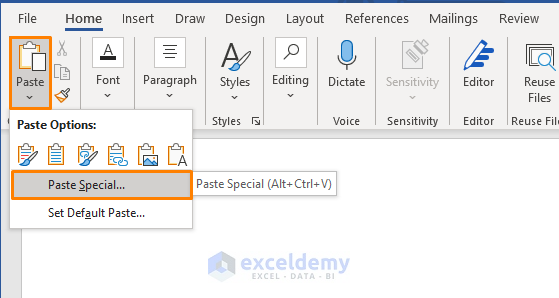
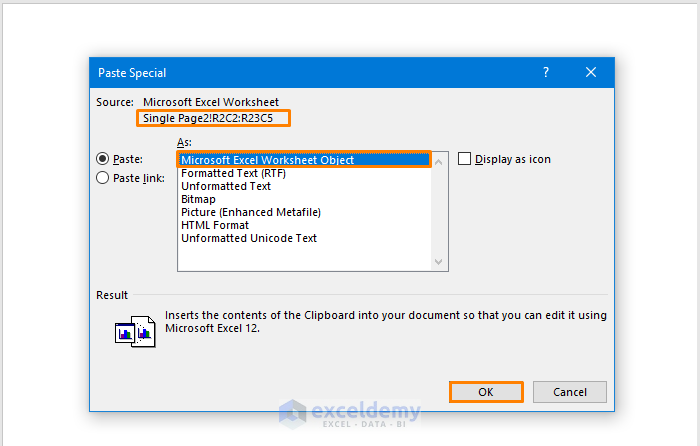
- In the Home tab, choose the Paste Special in Paste. (You can also press ALT + CTRL + V)
- In the Paste Special dialog box, choose Microsoft Excel Worksheet Object in As:.
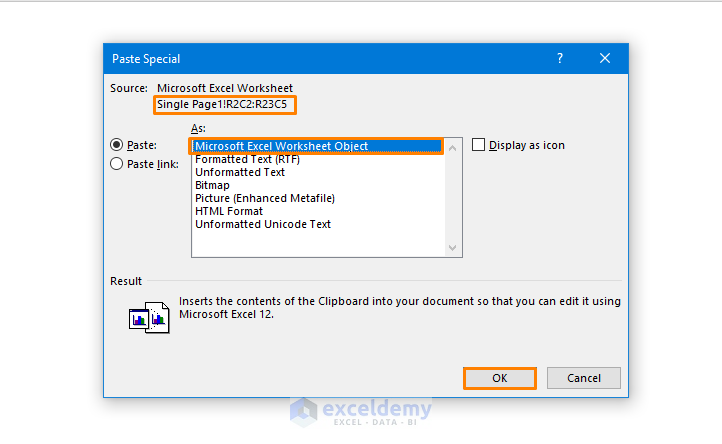
- Click OK.
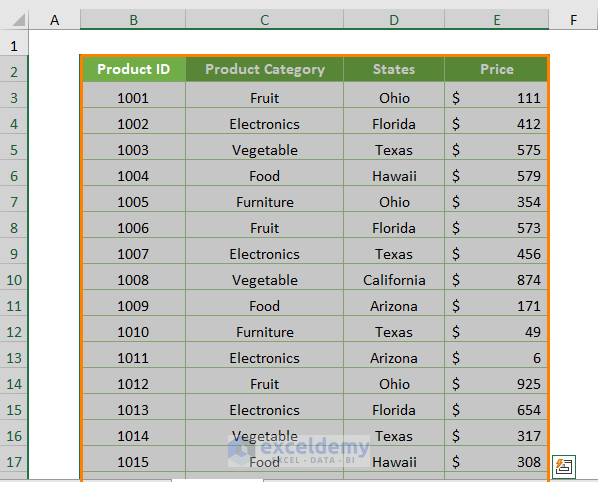
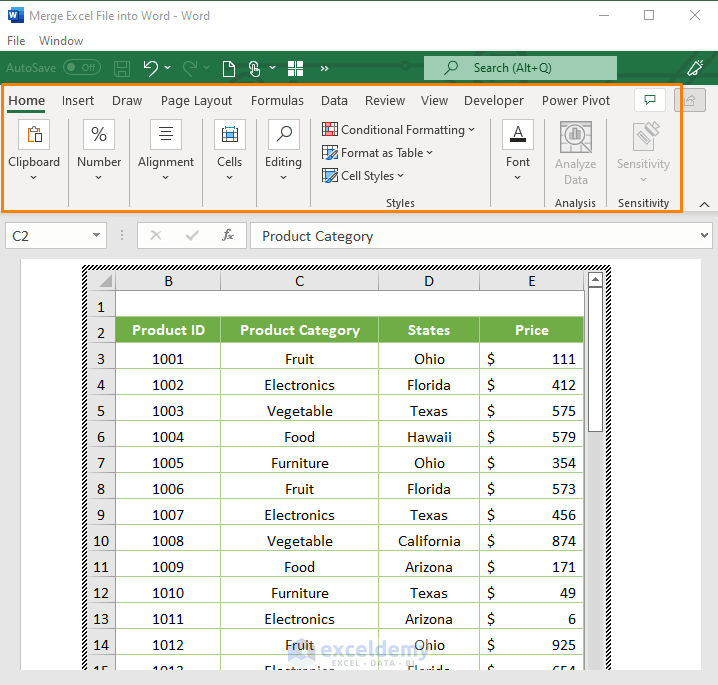
You’ll see the dataset in the Word document.
If you double-click a cell within the dataset, you’ll see the Excel Ribbon.
1.2. Creating an Excel Table and Merging it into a Word Document
Step 1: Create an Excel Table and Copy it
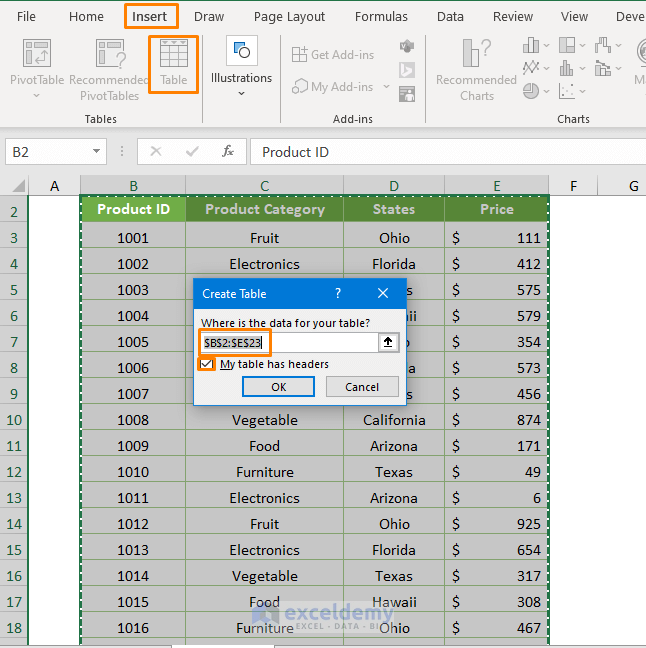
- Select the whole dataset and select Table in the Insert tab.
- In Create Table, check My table has headers.
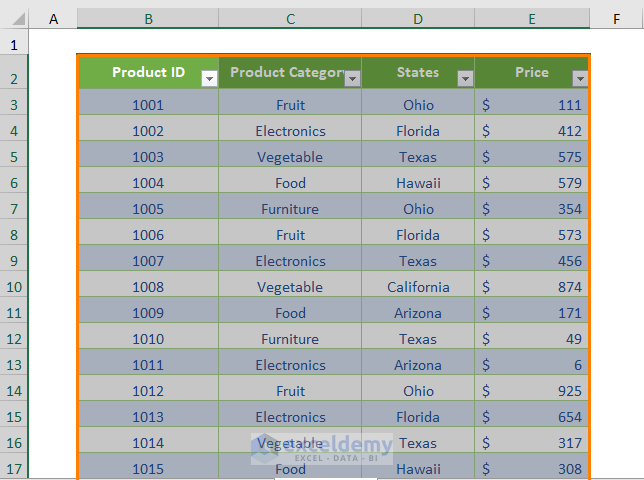
A table will be created.
- Copy the table by pressing CTRL + C.
Step 2: Paste the Table into the Word Document
- Go to the Word document and choose Microsoft Excel Worksheet Object in the Paste Special dialog box.
You’ll see the table in the document with the Filter Button.
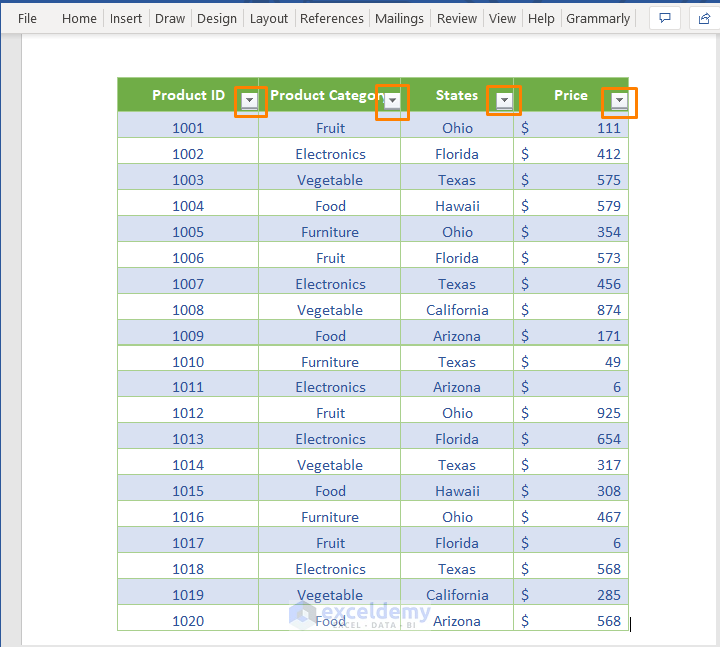
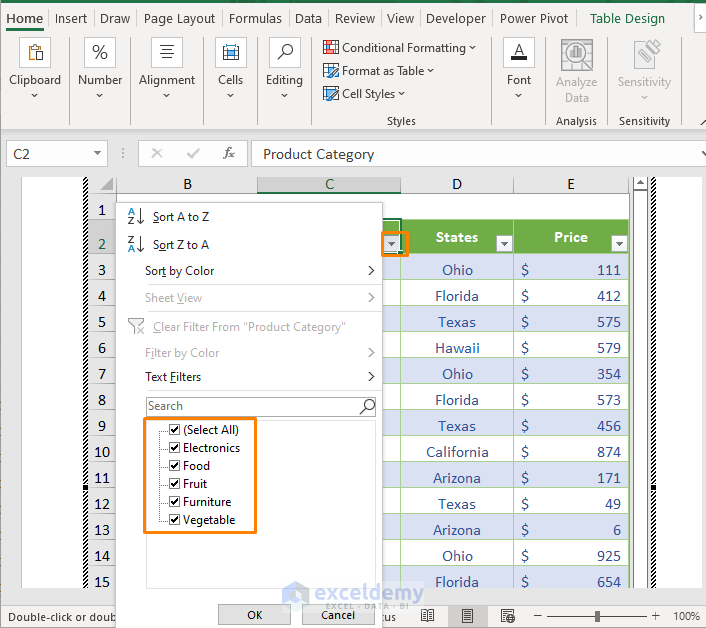
If you click the Filter Button in Product Category, you’ll see the options.
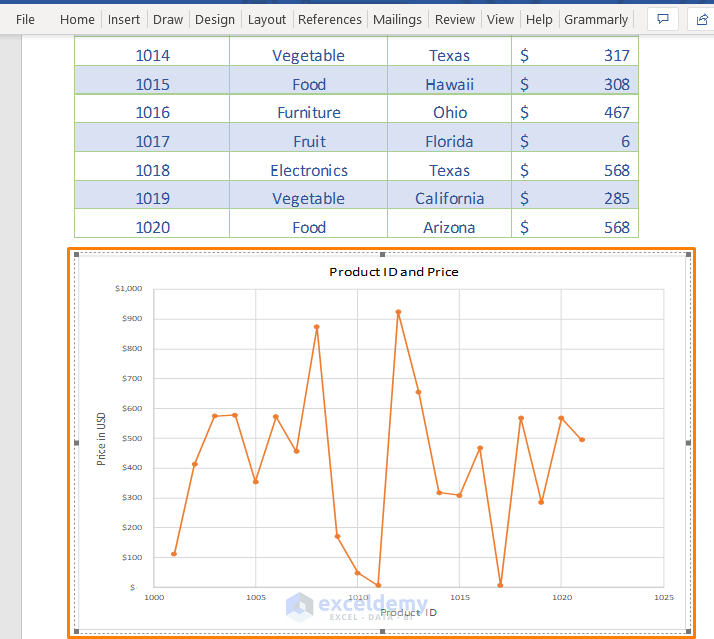
1.3. Merging an Excel Chart into a Word Document
- Select the chart and copy it.
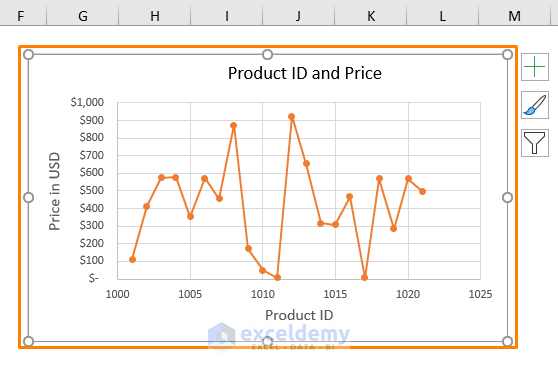
- Go to the Paste Special dialog box and choose Microsoft Excel Chart Object.
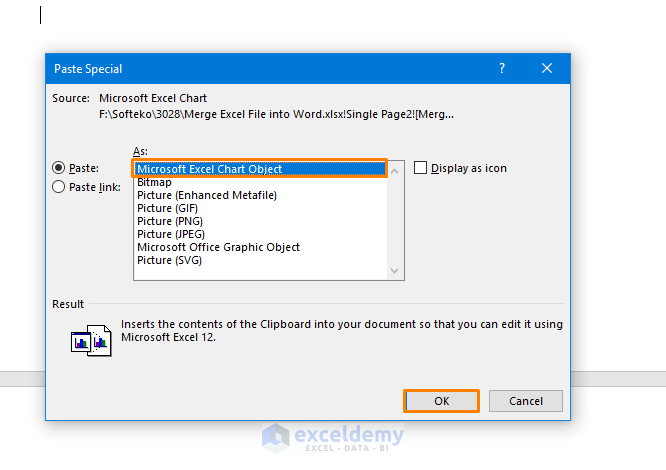
This is the output.
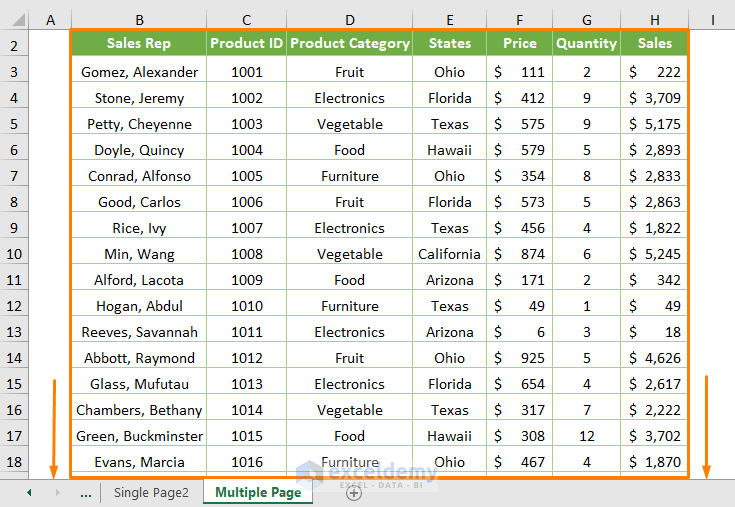
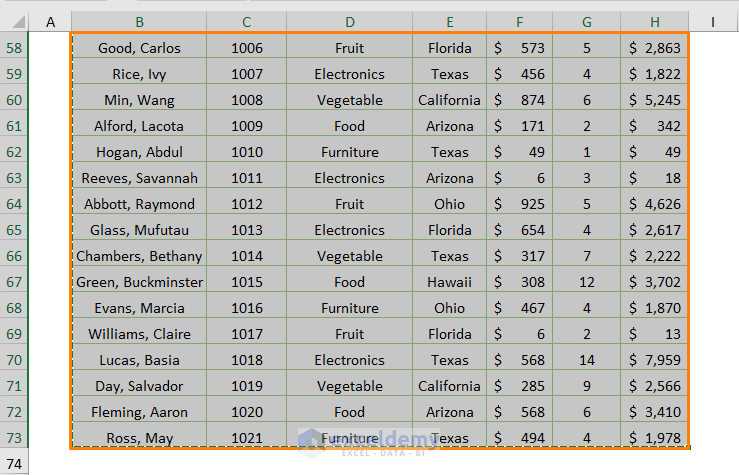
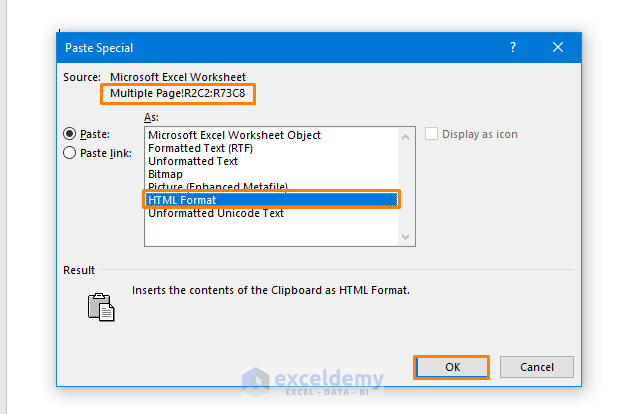
Method 2 – Merging Multiple Pages of an Excel File into a Word Document
The dataset below is in B2:H73.
Step 1: Copy and Paste the Dataset
- Copy the entire dataset.
- Paste the dataset using the Paste Special dialog box.
- Choose HTML format.
You’ll see the dataset in the document.
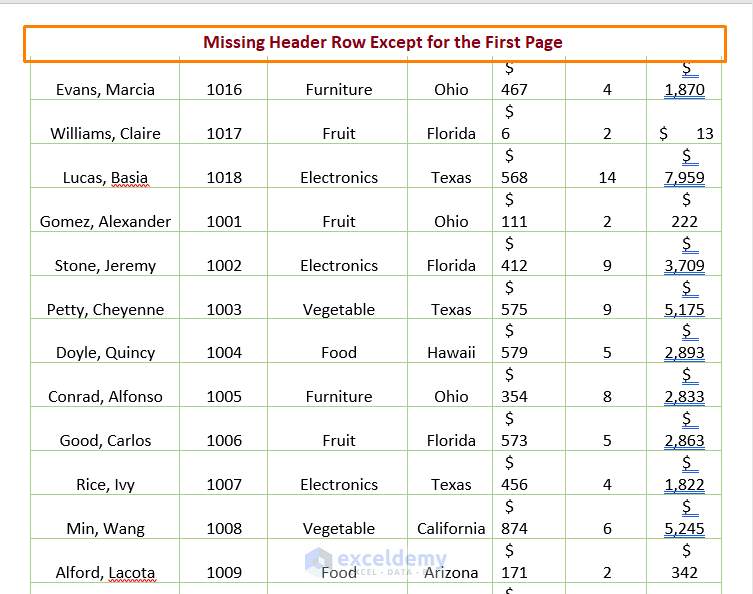
Step 2: Add a Header Row to Every Page
- Select a cell within the copied dataset.
- Go to the Layout tab.
- Select Repeat Header Rows in Data.
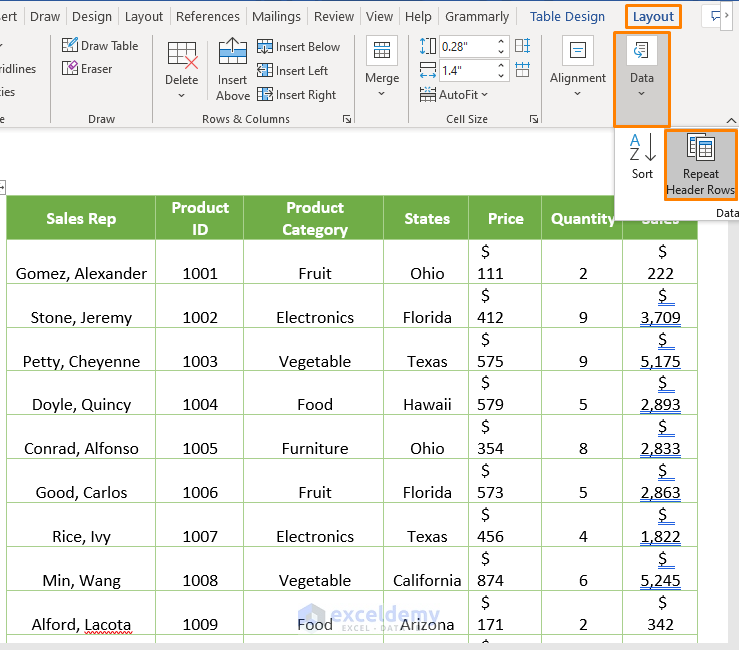
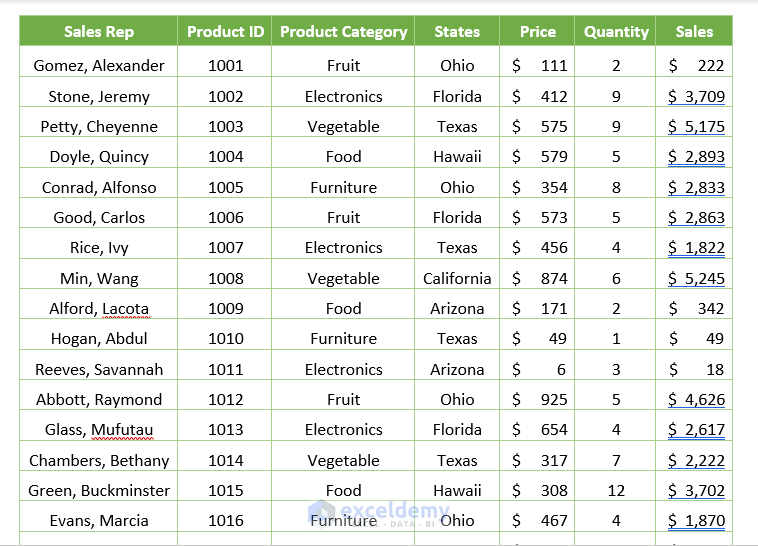
You’ll see the header row on every page.

- In the Layout tab, select AutoFit and click AutoFit Contents.
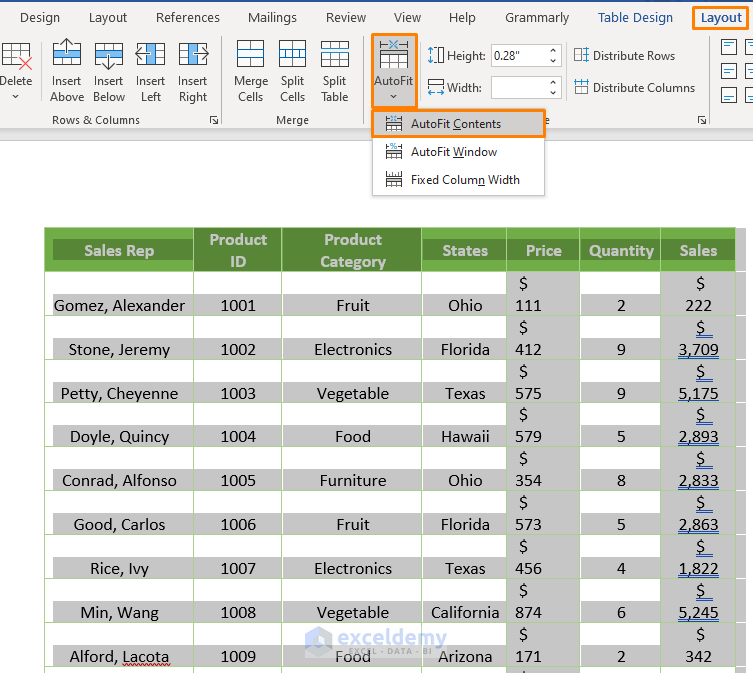
This is the output.
You can also merge and print address labels, merge and create a mailing list.
Download Practice Workbook
<< Go Back To Merge Excel File | Merge in Excel | Learn Excel
Get FREE Advanced Excel Exercises with Solutions!
